Time for another update.
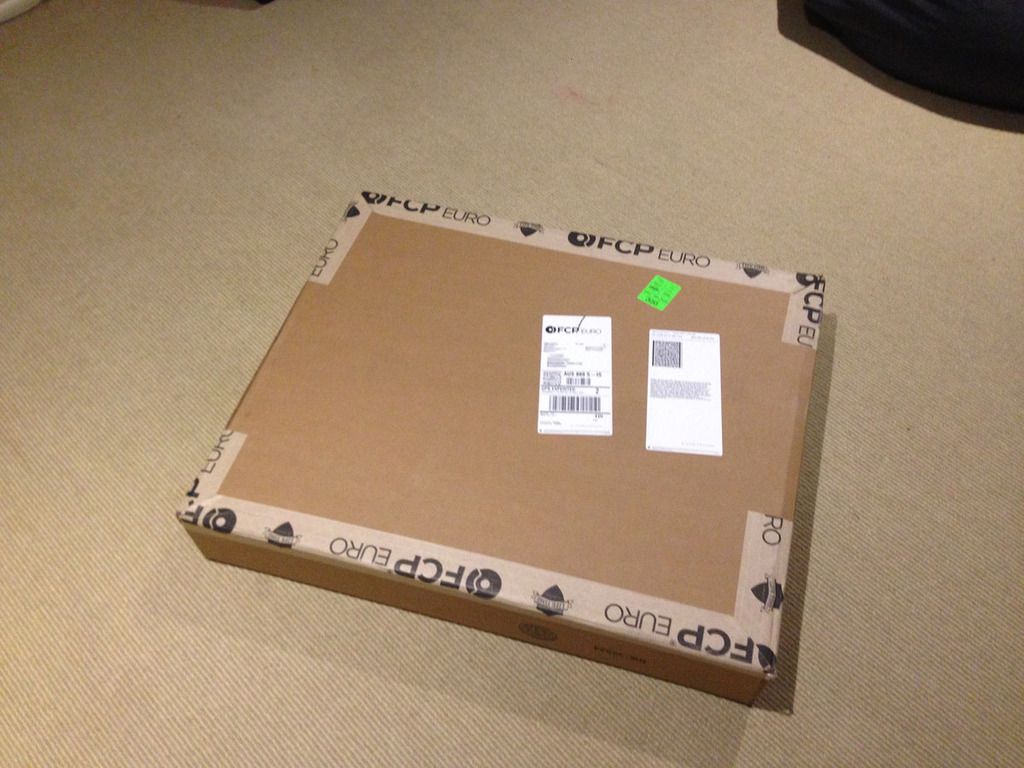
The rear end of my car was due for a few maintenance items so off to FCP Euro I went to make an order. Excellent service from them. Everything was in stock, well priced, well packed, and arrived safely in one week as an international delivery. Will definately be using them again.
 www.fcpeuro.com
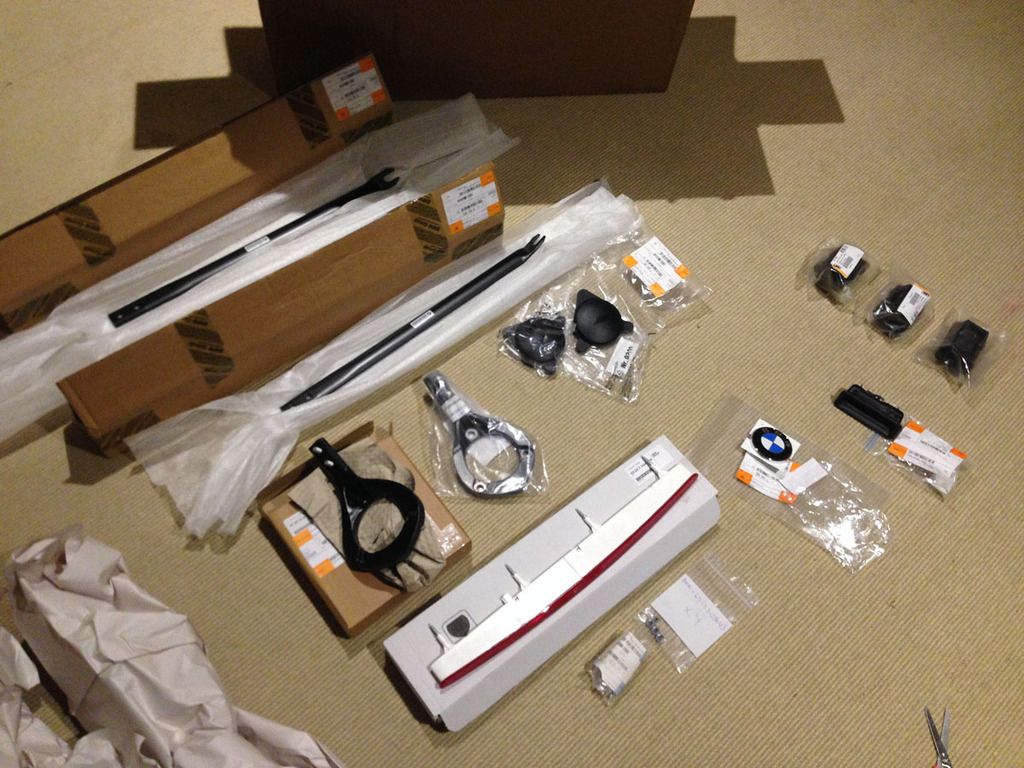
Here's the list of items I ordered (including part numbers) for anyone interested:
For BMW 1M front struct brace:
BMW Spring Dome Strut Left - Genuine BMW 51618051973 x1
BMW Spring Dome Strut Right - Genuine BMW 51618051974 x1
BMW Strut Brace Covering Cap - Genuine BMW 51617891281 x2
BMW Strut Tower Brace Left - Genuine BMW 51618055091 x1
BMW Strut Tower Brace Right - Genuine BMW 51618055092 x1
For centre tail-light replacement:
BMW Third Brake Light - Genuine BMW 63257164978 x1
BMW Compression Spring Third Brake Light - Genuine BMW 63257211238 x4
BMW Hex Nut - Genuine BMW 63259128043 x4
Other miscellaneous parts:
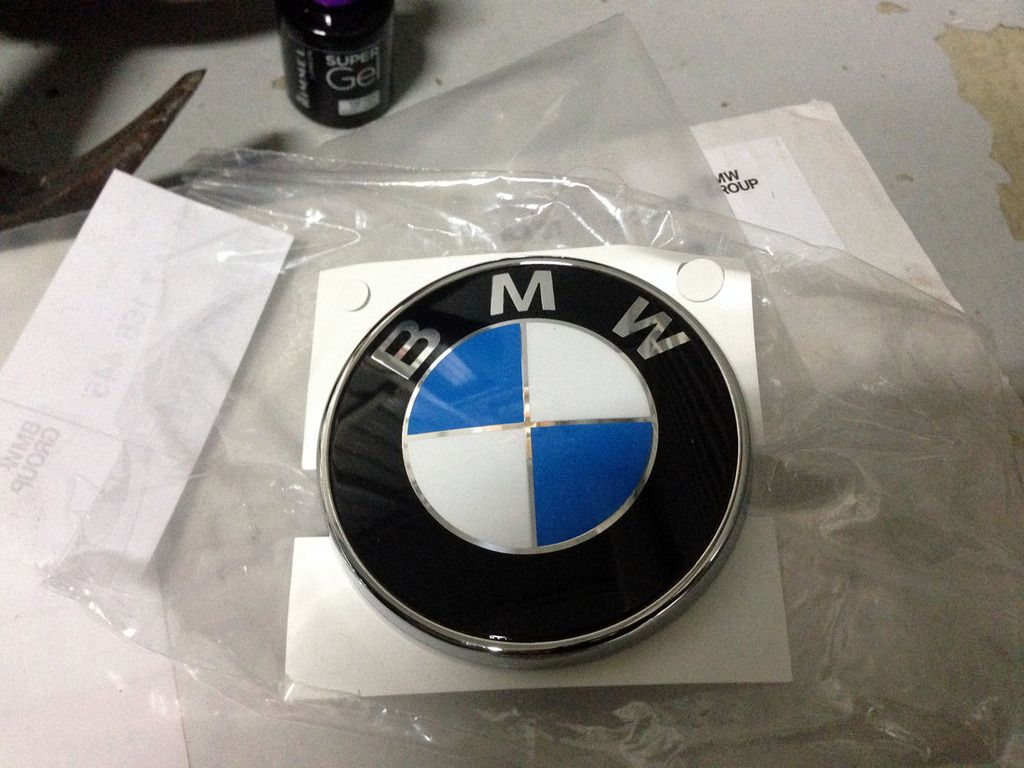
BMW Plaque (D=70 mm) - Genuine BMW 51147166445 x1
BMW Trunk Release Switch - Genuine BMW 51247118158 x1
BMW Jack Pad - Rein 5717237195 x3
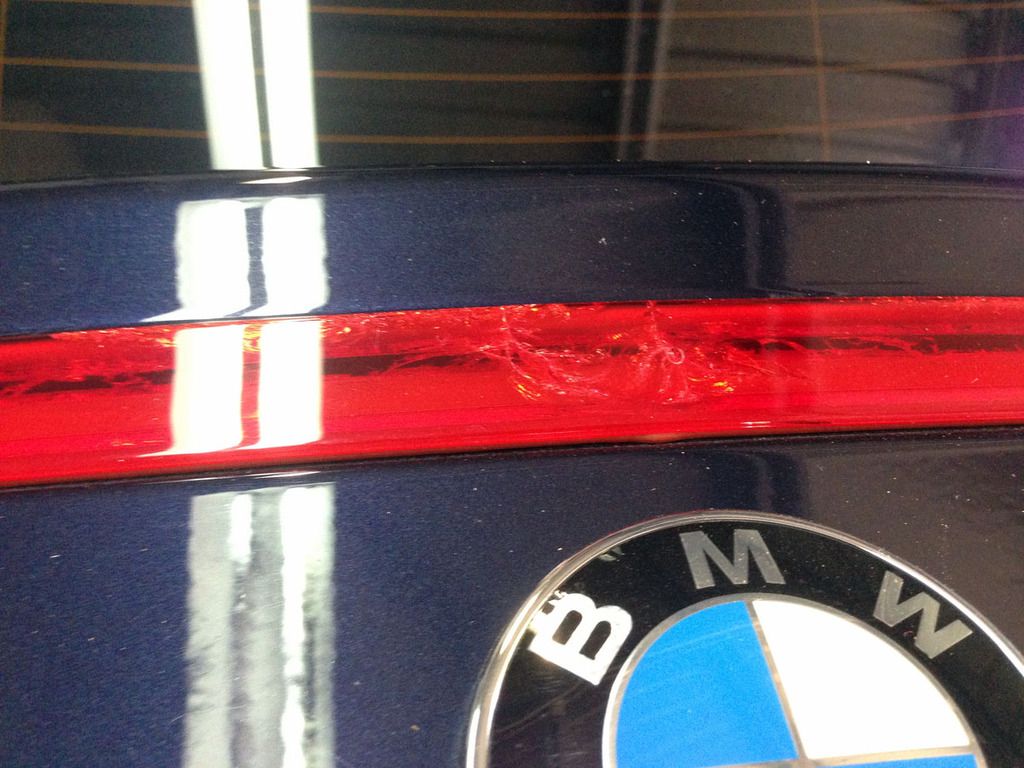
The major item I wanted to replace was my cracked third brake light. I followed Dackelone's DIY which is available below. Thanks for the helpful info Dack.
 http://www.1addicts.com/forums/showthread.php?t=845005
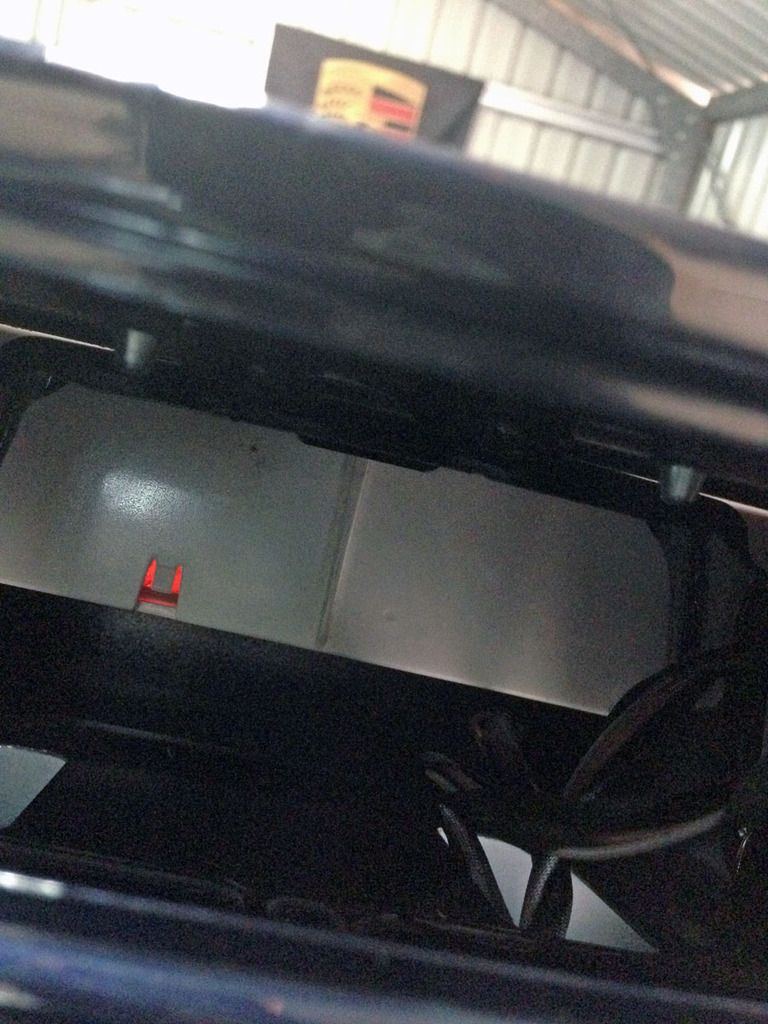
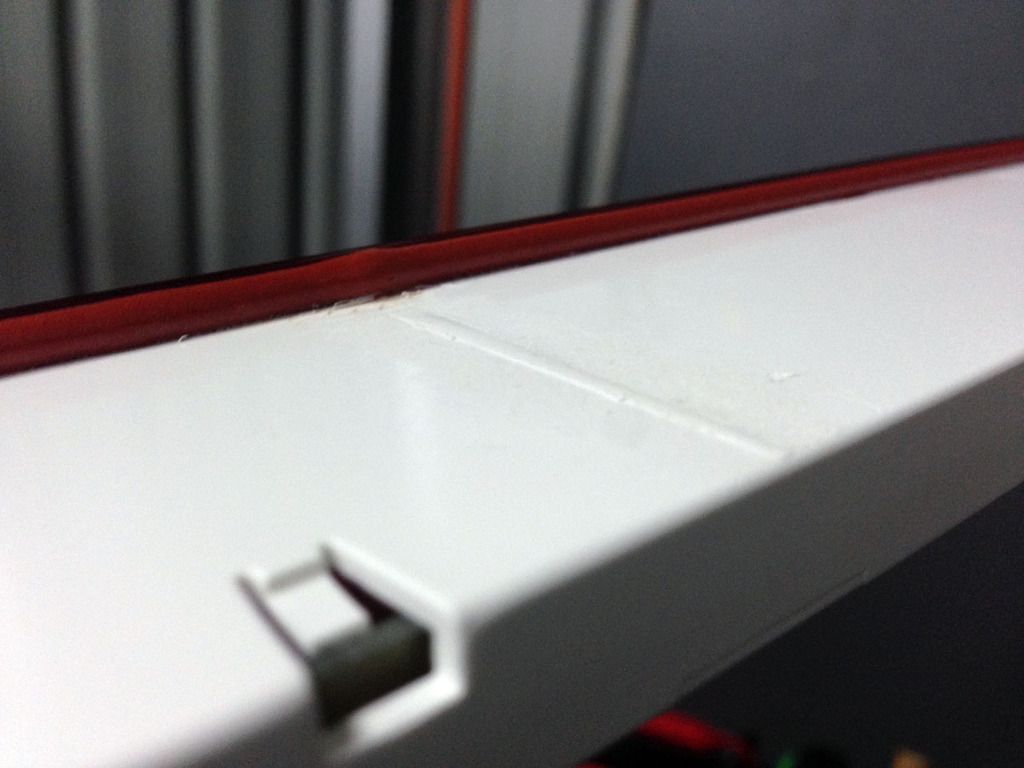
Now I thought this would be a simple swap but it turned out to be a real headache for me. It turns out that I already had the current part numbers installed in my car. The existing third brake light was July 2013 built and my replacement was July 2015 with the springs looking to be the same thickness. I suspect the centre of my brake light was cracked due to incorrect installation of the part. It appears the metal tab on the bootlid had been ground flush like required in the DIY (I added some sealant again just to be super sure of no rust issues down the track) but the plastic tab on the bottom of the light was still there. This made removing the cracked light virtually impossible as it was wedged in place. I ended up having to get a chisel and squeeze it up through the boot lid before carefully working off the plastic lip enough to push the existing lense out. I still had to crack the lense to give enough space to push it out of the boot opening. Grr.

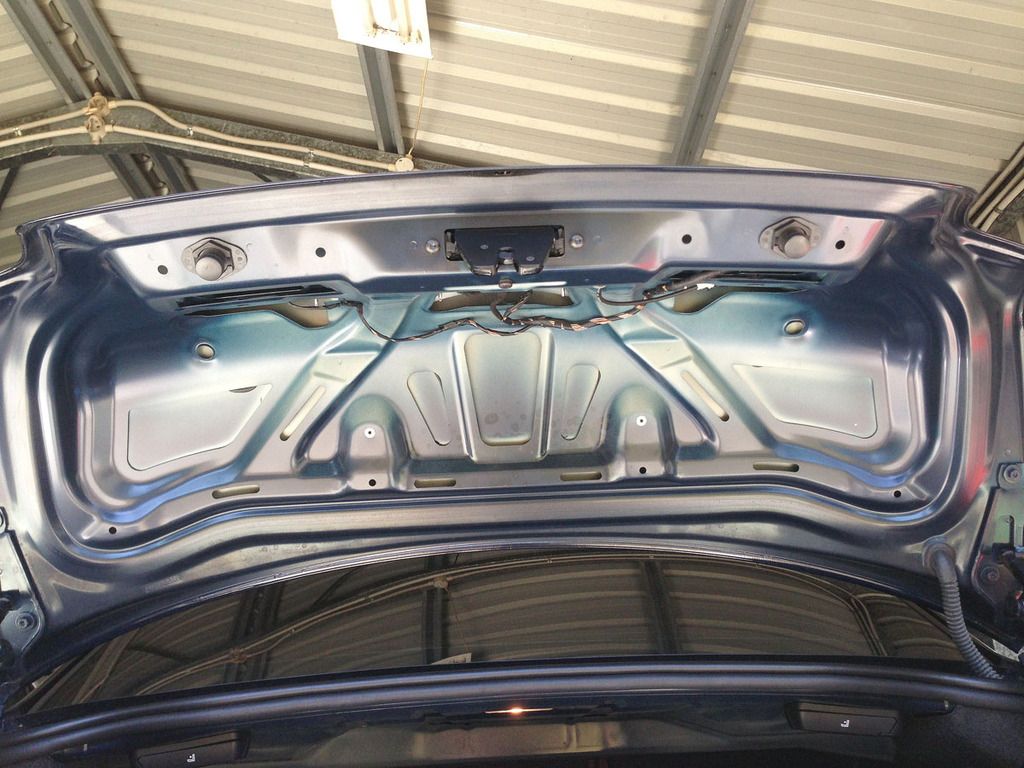
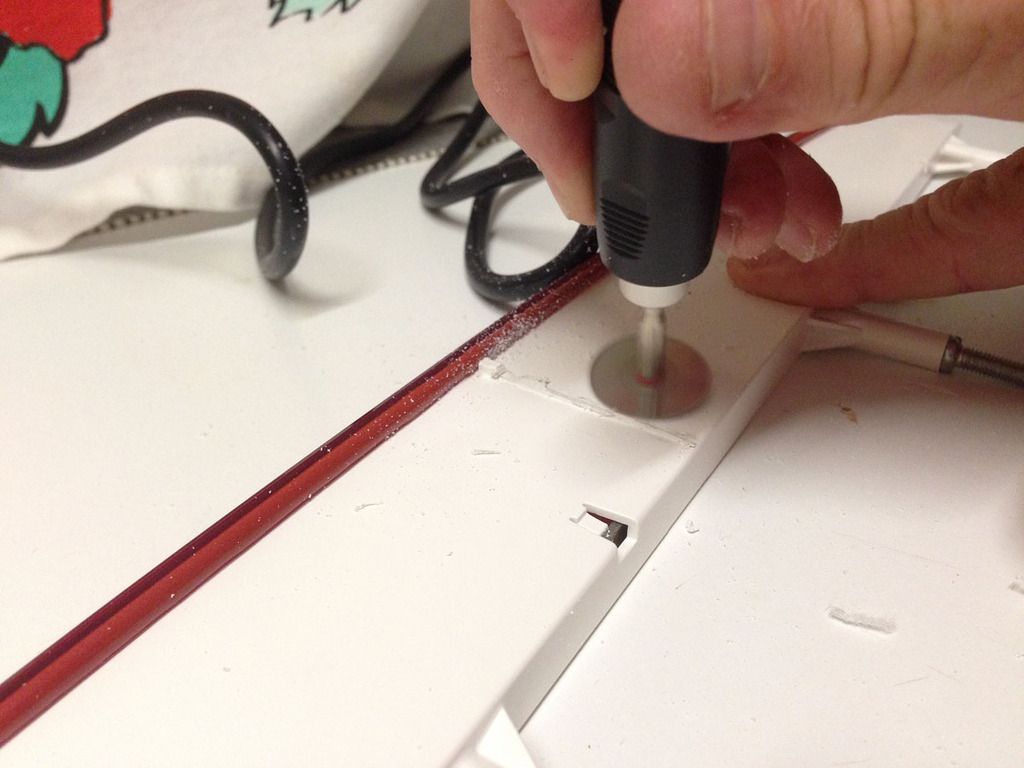
Here you can see the known problem of the plastic tab getting in the way of fitting the new part. Out came the dremel and I was neatly able to remove the tab and the new light slid smoothly into place.
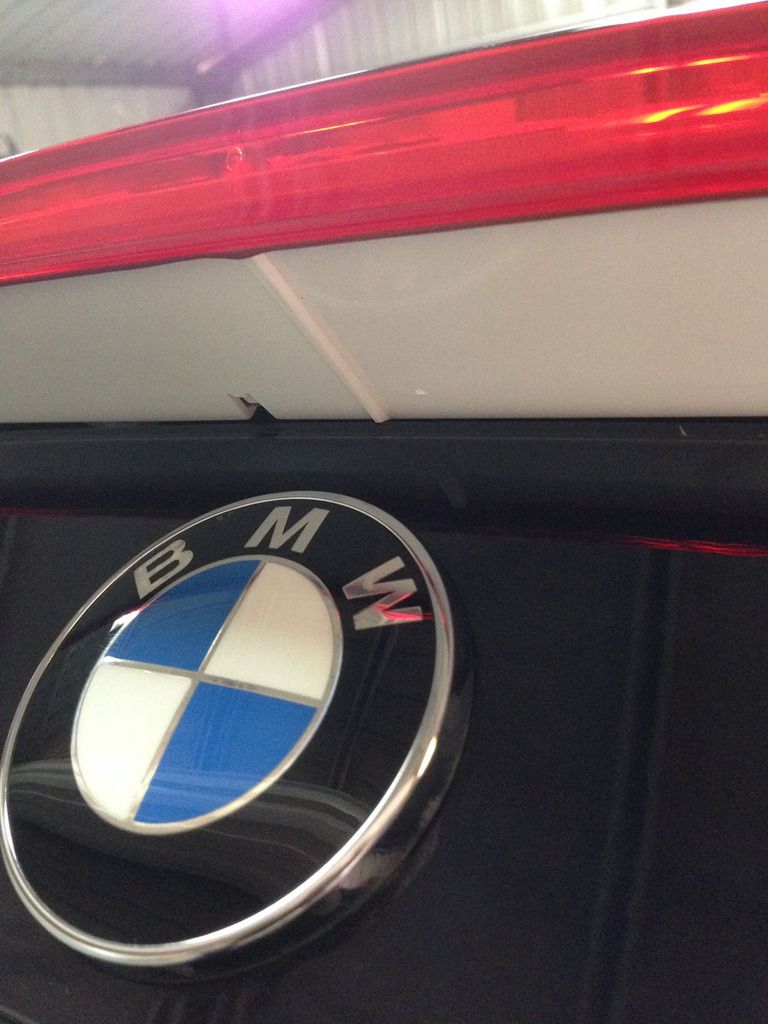
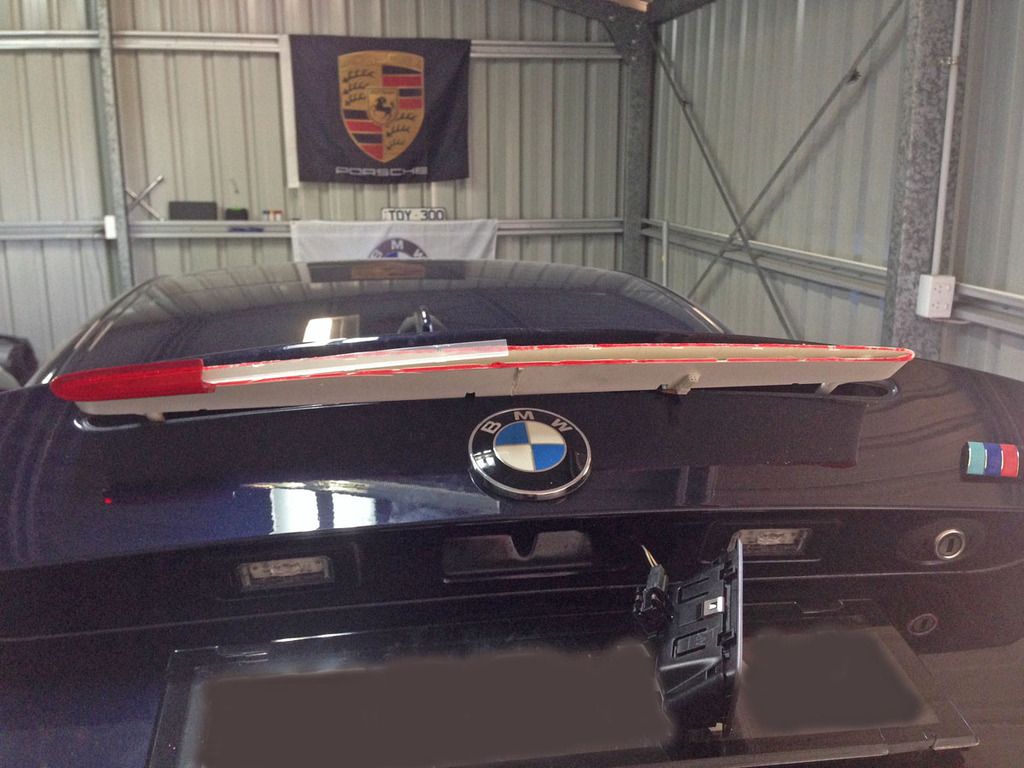
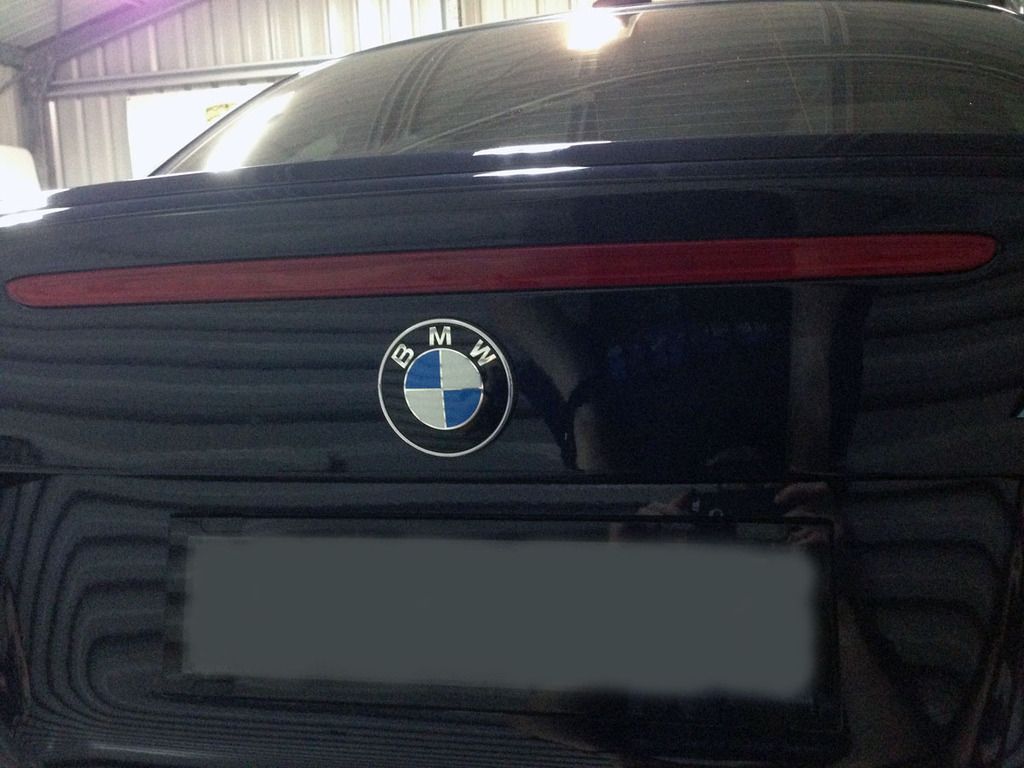
Here is the finished product. Crossing my fingers the correctly installed brake light combined with the softer springs and nuts will prevent the new lense from cracking.


Alongside this work I decided to replace my trunk release switch. The seal on my existing switch was quite worn and getting sticky. The trick here is to use a screwdriver covered in a soft cloth and pry from the top left and right of the switch and it will release the two clips and the switch will pop out. Then you just need to unplug the cable (mine was stuck in pretty tight), plug the new switch in and push it back into place.

Finally I ended up replacing my BMW badge/plaque (70mm) on the boot as it was wearing through. Again this is quite a simple swap. I heated the badge with a hairdryer to loosen the existing sticky backing. Then I used some fishing line and carefully slid it behind the badge to break the seal. After a bit of wiggling around the badge pops off the two rubber grommets. Then it was just a matter of cleaning the boot lid and carefully installing the new badge in place. My rear end is all new and looking schmick again.

You will see that I also ordered three jack pads to replace my worn ones. I have a jack pad adapter and hockey puck to ensure that when the pads get used in future they won't get hacked up. I plan to install these shortly. I hope the old ones will just pop out with a bit of prying.
Finally, I also have the BMW 1M front strut mount brace to install. I ordered this part as I have coilovers on order and will need the triangular style brace in order to be able to use the damper adjustment knob. I've been told that the damper knob will fit with the 'M' covering caps in place. These should keep the coilover tops and engine bay looking cleaner too. Can't wait for the suspension upgrade.
