I've been wanting to do this for a really long time now. I've got a lot of people saying it wont look good. I'm really glad i did it. and this is how i did it.
i ordered 3528 SMD LED's of ebay - 20 peice- $2.99
i ordered white face gauges of ebay - $23.99
i had a local sign shop print out stickers of the m power symbol and 135i badge.
this is how the gauge faces turned out.

to remove the cluster there is 2 screws above the cluster.
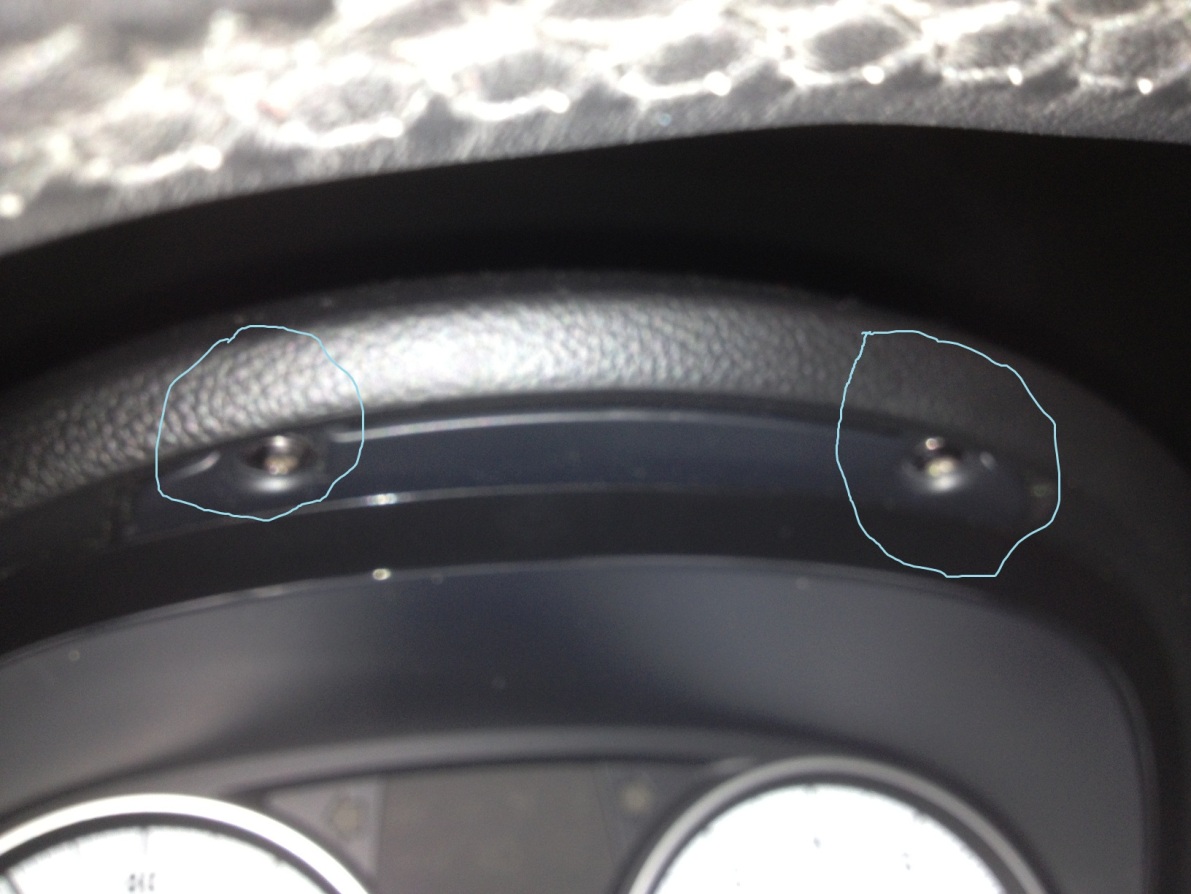
after you have those out just pull on the cluster and it will come out towards you. remove the cable from the back of the cluster. and now you have the unit free. on the back of the cluster there is 6 tabs that is holding the black housing around the cluster together. there is also a sticker that needs to be peeled back.

place this piece aside for now.
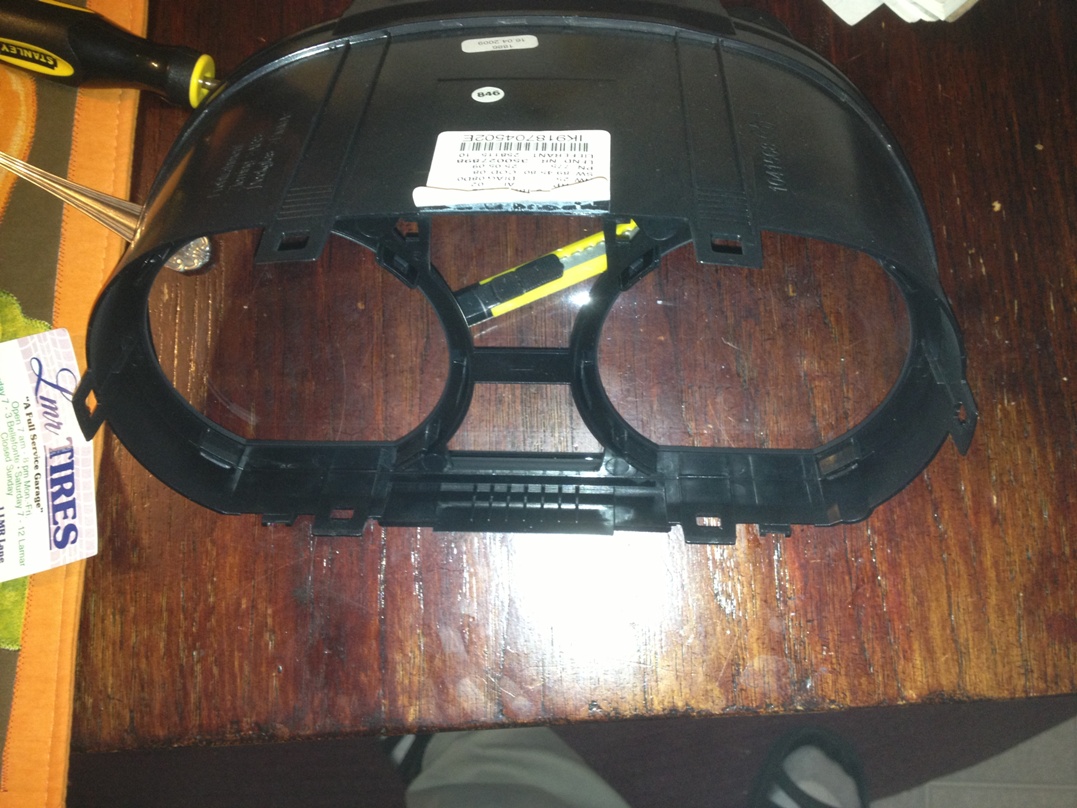
now you have to remove the back black portion of the housing. or you can leave it on, its up to you. i took it off.
there are 4 tabs around the receptacle for the plug in the back.

just use a small screw driver to press those tabs to release the housing.

now follow this video to remove the needles
http://www.bimmian.com/M-Style-Red-N...r-E91-3-Series
once those are off release the 4 white tabs holding the circuit board to the faces.
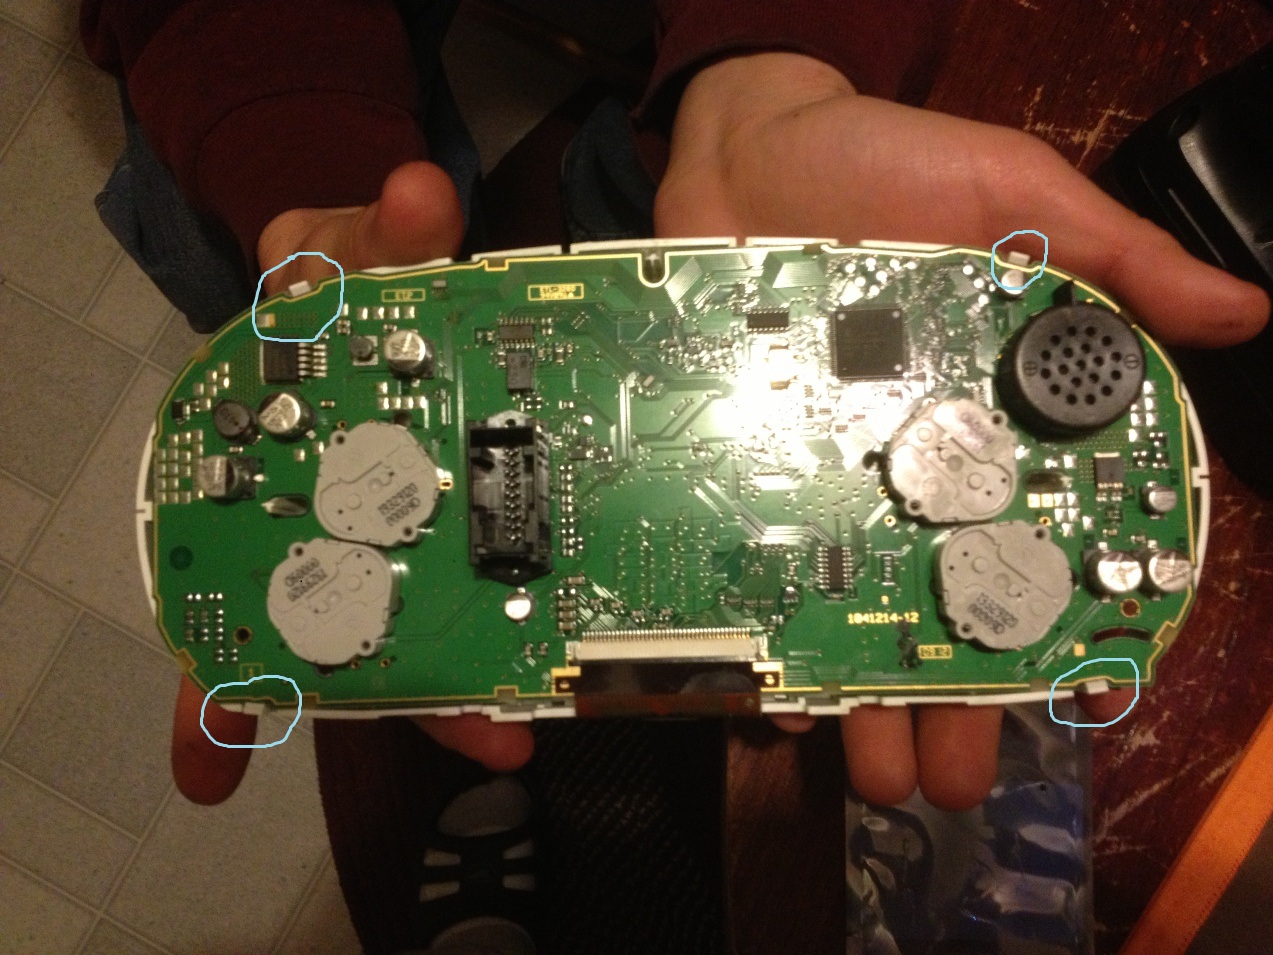
you also have to disconnect the ribbon by pulling out on the black tab and the ribbon slides out.

you can now set this piece aside. or if you were wanting to put on the white faces now would be the time to do it. just follow directions that come with the faces.

these are the LED's. i had a friend that is really good with soldering and he really helped me do this right. there is solder on both sides of the LED and all you have to do is melt each side and pull the LED off with tweezers or something small to grab them. and then solder the new ones on. there is a corner that is missing on the LED's so make sure that it lines up the same as the old ones.

after you get the new LED's on the board, re install the parts in reverse order.
re installing the needles is a pain in the a.
this is what it looks light with lights off.

and this is with lights on.
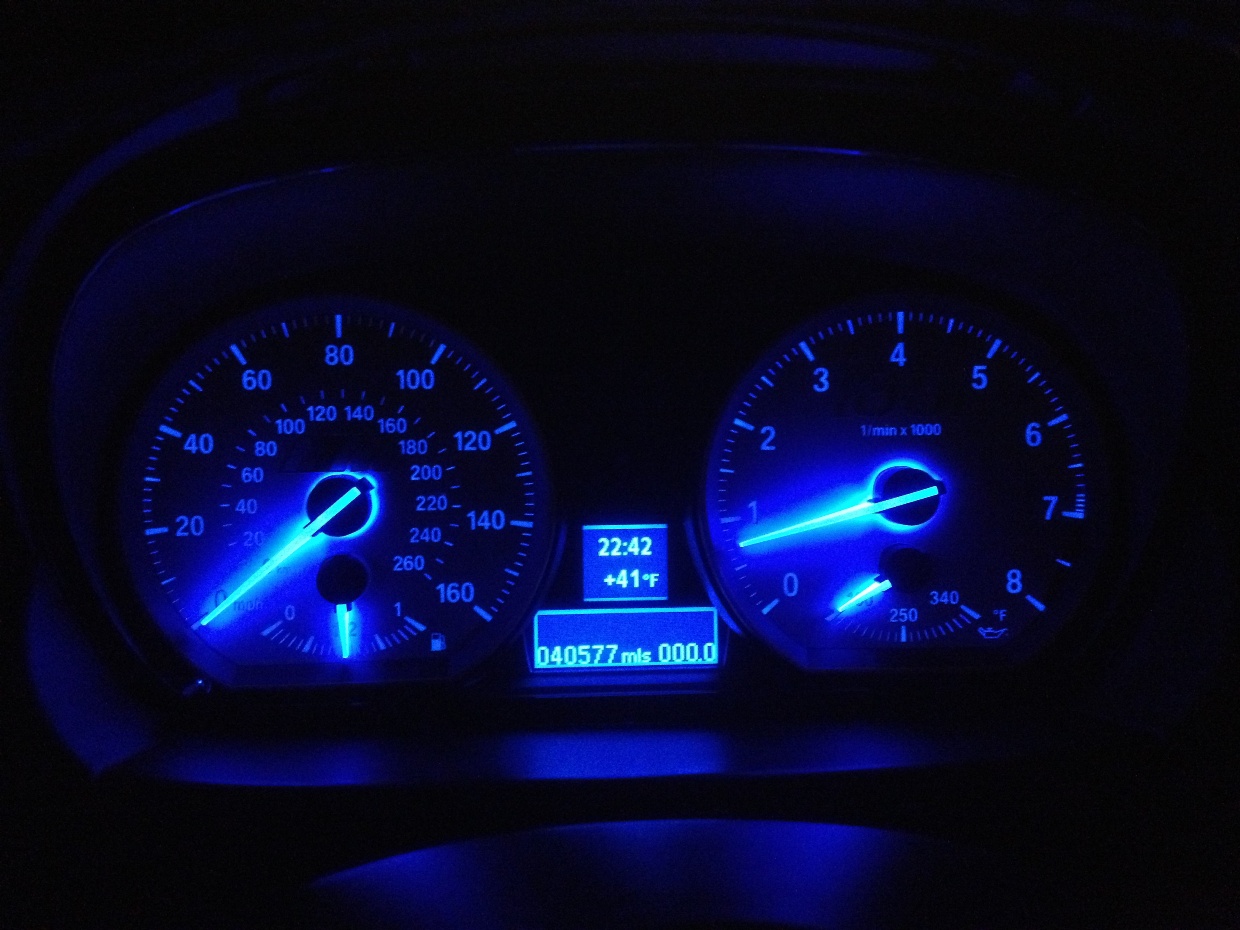
and this is from sitting in the seat.
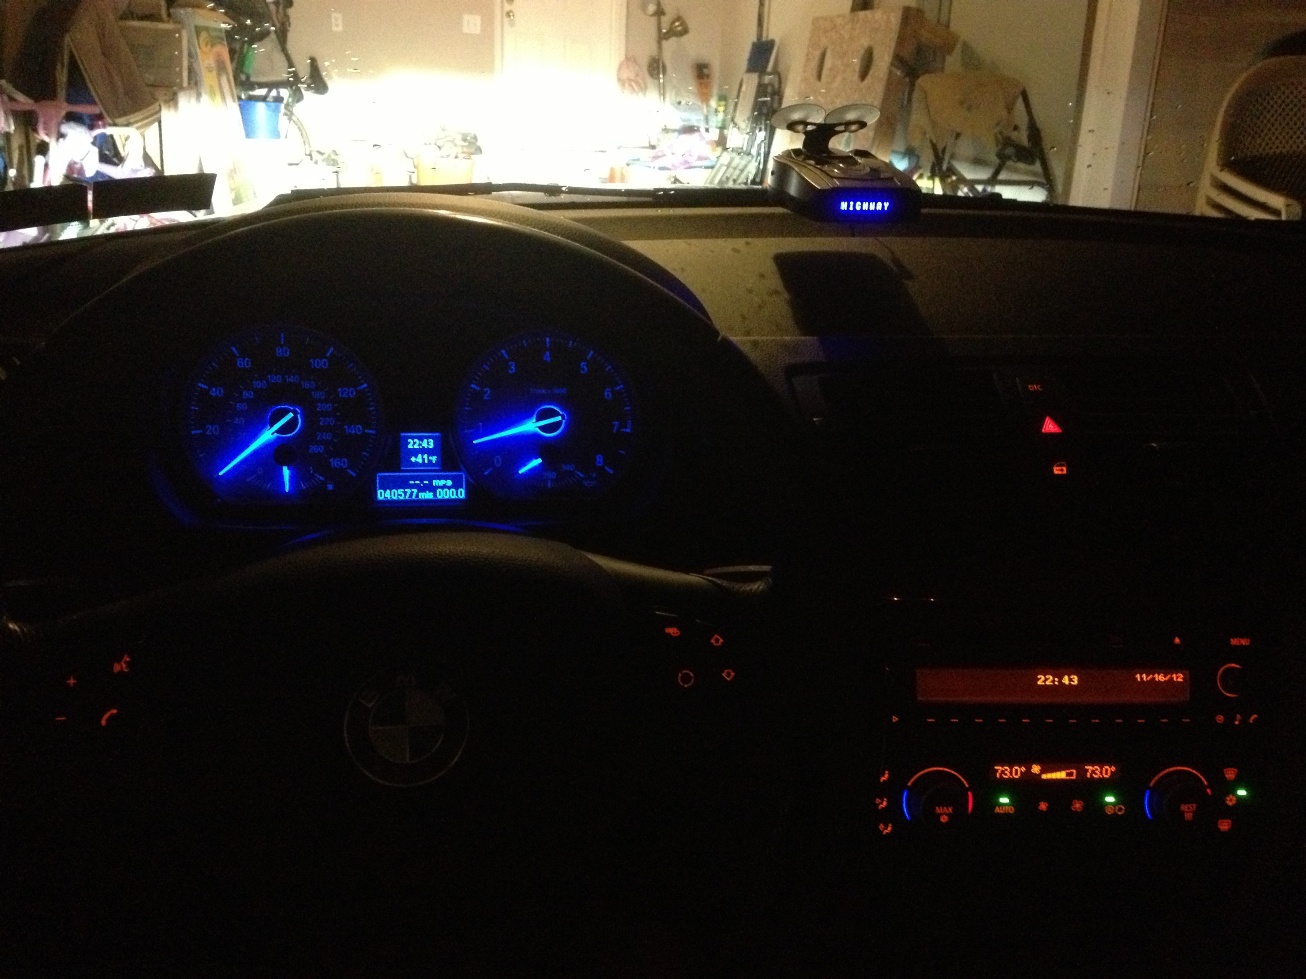
i'm really happy with the outcome and i cant wait to tear apart the steering wheel and door handles and everywhere else there is a orange LED and replace it. time for everyone to tell me how much they hate it but i like it and i doubt i'll run into someone with the same look, even minus the blue LED's. i like it being unique. thanks for looking!