This is a rough DIY for installing the OE Audi S6 LEDs.
Get the supplies, hardware, and tools
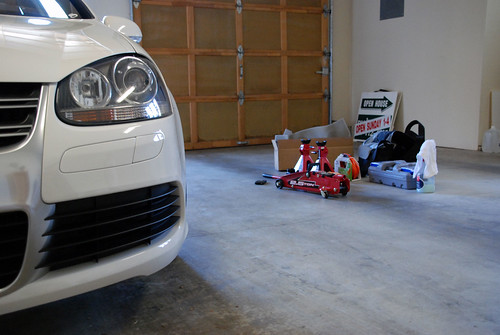
Requirements (or highly recommended items): OE Audi S6 driving lights acquired direct through Audi or online, Audi S6 LED harness, jack + suitable jack-stand(s), electrical connectors + tools, electrical tape, thin metal strips for custom brackets + hardware, Dremel + cutting tools, hex and torx bit set(s), and a second set of hands.
 Front & lower grill removal
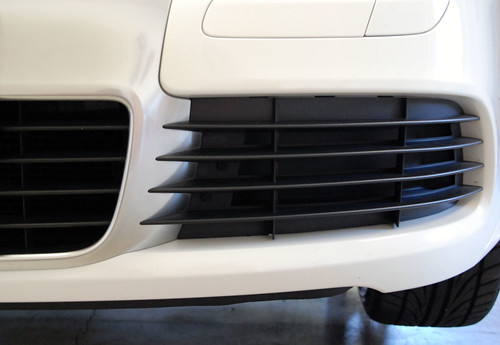
Start with the two lower grills. Mark the bottom edge of the last horizontal grill on each side. This will be the highest that you are allowed to cut (for bottom placement). Both are secured with two philips screws closest to the aluminum center grill. Once these are removed apply pressure near the top of the grill to unclip then pull straight out.
The center aluminum pieces slides off just as easy assuming you remove two screws from the top under the hood, two behind your license plate frame (towards the outer edges), and two (on each side) which are exposed once the lower grill pieces are removed.
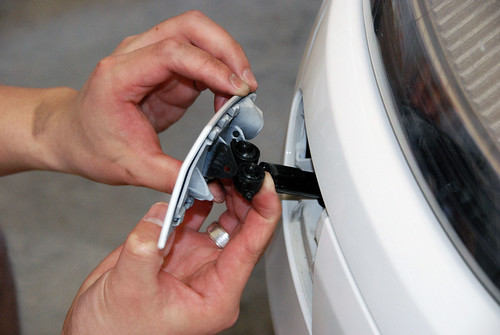
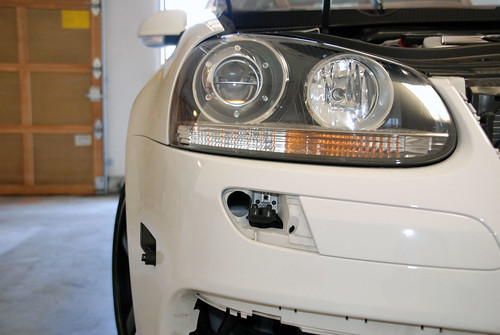
Before moving on to the bumper delete, you'll want to disconnect the headlight washers from the bumper cover pieces. Do this by prying the bottom edges up to slip your fingers underneath. The washers slide out at ~45 degree angle. Unclip the covers and lay them to the side.
 Bumper removal
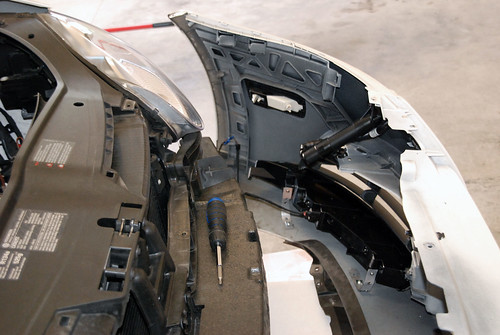
Now comes everyones favorite part locating all the necessary screws to loosen and put aside. Start underneath the front of the vehicle and locate the two screws in directly underneath the middle of the bumper. Follow that with three screws on the underside (left & right). Then, remove three screws from the front edges of the wheel wells. The final two screws are at the top of the bumper piece behind where the aluminum grill used to be. With a second set of hands, the bumper will now slide straight off.
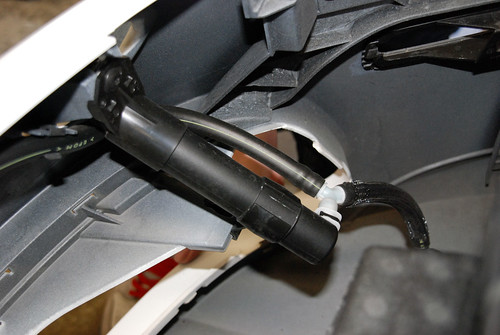
Before excitedly removing the bumper completely, unclip and unscrew the headlight washers from the bumper. You'll notice that a single hose feeds both washers [which is also secured in place with metal clips.

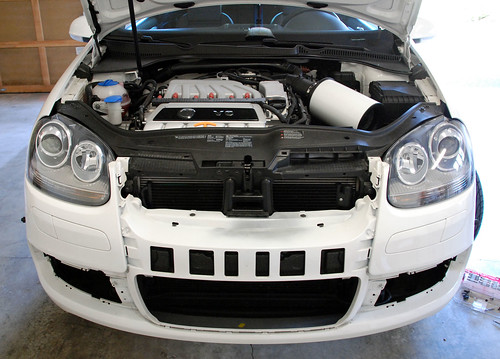
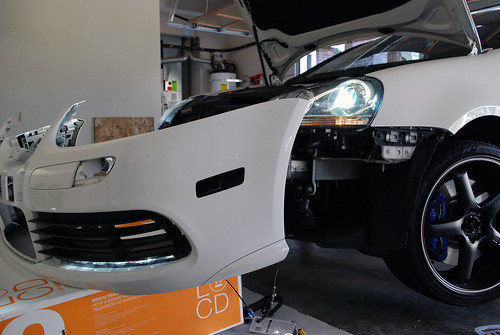
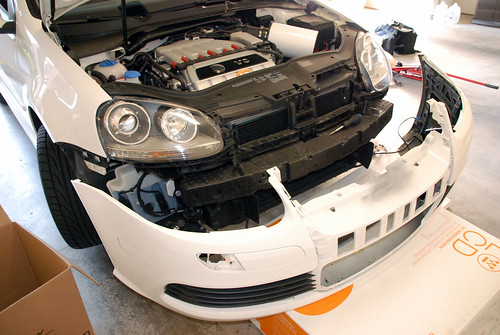
With the front bumper removed, you'll have one naked looking MkV R32.
Bumper trim + brackets
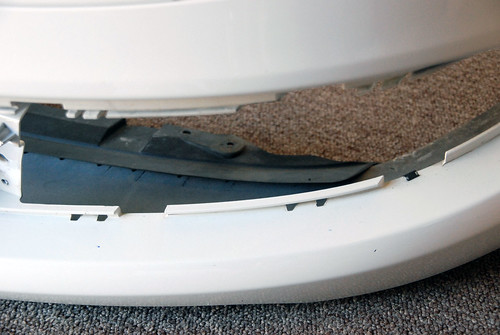
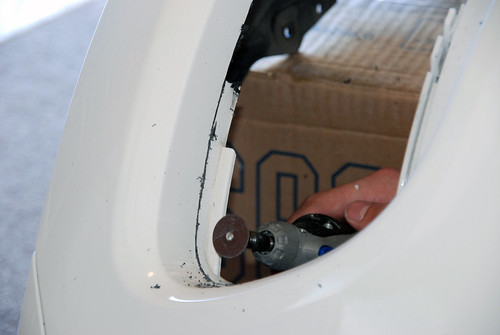
This next step requires a little more trial and error. Because the S6 LEDs are not a direct drop in solution for any Volkswagen, the process of fitting requires patience and small passes with a Dremel cutting disk. The process was tedious - a combination of cut and test fit, cut and test fit. Using the last horizontal edge of the lower grills as guides, I marked the lowers with a pen to give me a rough idea of where to cut.
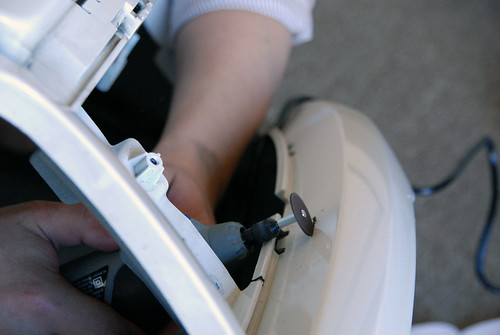

Once both sides had been trimmed down enough to fit the LEDs, Kevin cut and bent a set of brackets to secure the lights do the bumper.
Electrical, wire as fogs or tap sidemarkers
Because I had already deleted my North American sidemarkers, I had a set of previously used harnesses to tap for power. Unfortunately, because the LEDs were not plug 'n play, I simply snipped the sidemarker harness and reconnected with to the OE Audi S6 harnesses. <strong>Remember, brown is ground.</strong>
Some individuals might decide to run the Audi harness directly to the fuse box
and reprogram their light switch in order for the LEDs to act as fogs, I chose to reuse the sidemarker wires allowing me to run the lights full time or as parking lights.
Final results

With the lights properly tested and wiring secured, it was time to re-assemble the front end of the vehicle. The end result was well worth the frustration and sore finger tips. I imagine the total cost had I commissioned a body shop to install the lights would have been in excess of $400.