Quote:
Originally Posted by 128_Pilot

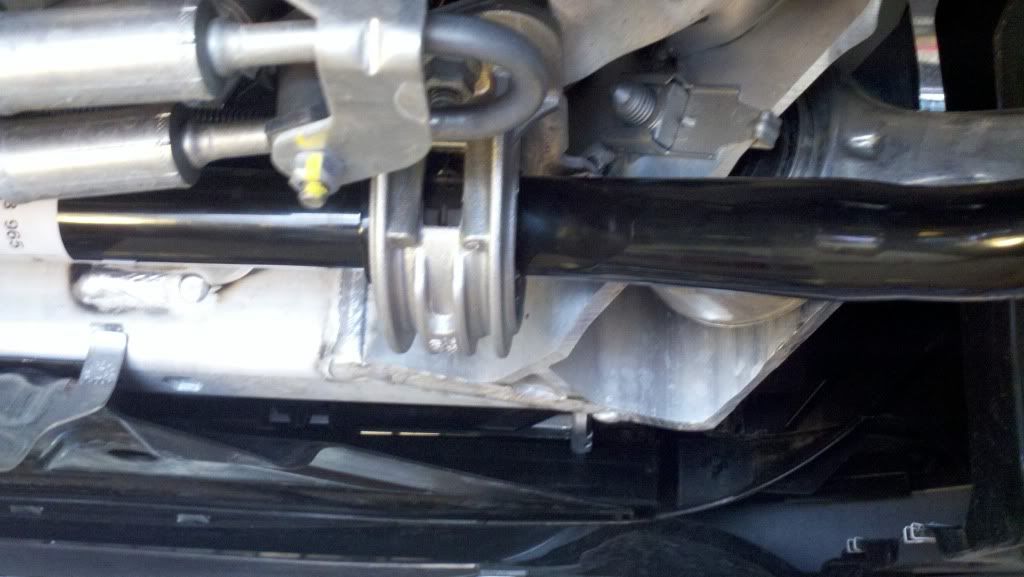
Yes one thing when installing the lower arms, some folks advise to lube up the one bushing end to help sliding them into the sub frame. When I did this it was still a SOB to get in which makes sense due to the fact the bolt that secures the OE one also pinches together the sub frame. Couple of well placed smacks with a rubber mallet to open things up a little will go a long way. Just don't go ballistic. Here is a photo (not a good one sorry) showing you what I am talking about. If look closely on the bottom of the sub frame you will see how they cut out a U shape to locate the control arm. After I opened this open a tad they slid right in without the need of a rubber mallet to force them into place. I was kinda surprised how malleable the sub frame was to be honest. Anyways, check your fitment and if are tempted to use a rubber mallet to force the arms in, I'd rather see you open up the frame a tad instead.
The process over all is very simple, and very easy if you are using a lift. Hope this helps... have fun!
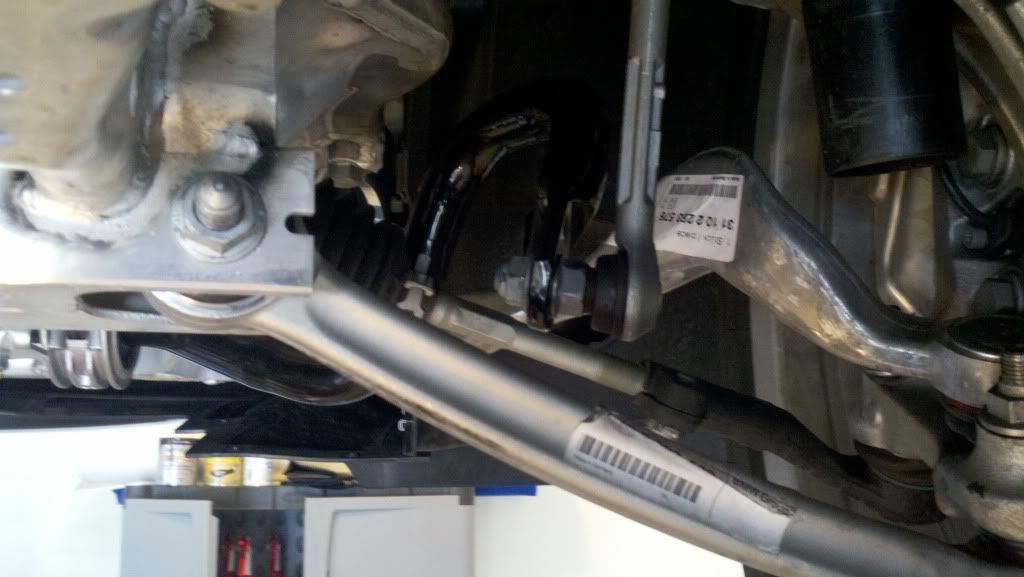
The front control arm connecting to the sub frame (tension arm) as you can see in this photo (behind the sway bar) is made in such a way that it did not change the spacing due to torquing the bolt at the factory as compared to the lower control arm connecting point to the frame. This did not require massaging, the arms slid right in.
 |
Thanks for the tips. I plan to do the install and get the alignment done tomorrow. I can't wait to see how it turns out.