EDIT 4/14: I'm going to go back and redo this with fmx's advice sometime soon. It'll be redone with more pictures and a better procedure regarding the fin and the side ski railings. Will keep ya'll posted...
Bought a cutout of semi-gloss black for my roof from Don Nguyen here on the trade section. I love the blacked out roof look on white, especially with the sunroof.
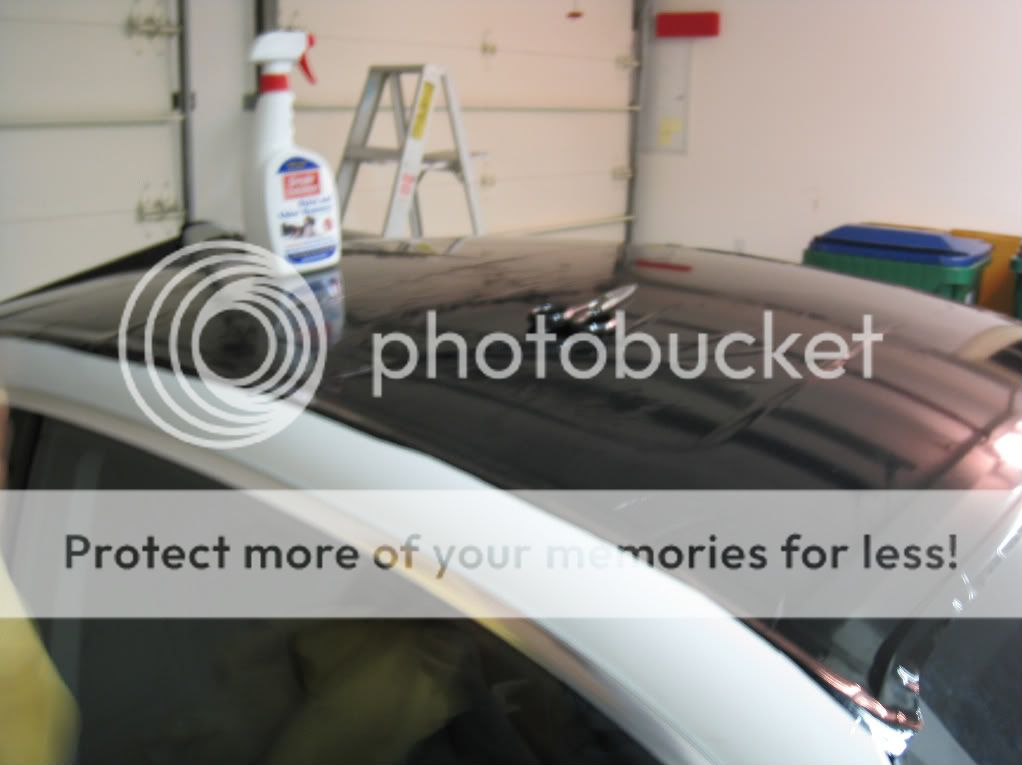
Items Needed:
Dish soap and water in a spray bottle
Vinyl (get it in a size thats larger than your roof, obviously. Don cut out a perfect size for me with plenty to spare).
Old credit cards
Clean rags
Total time: 2-4 hours, and letting it sit overnight.
You want to do this with a minimum of at least two people. I ended up doing it with my sister, under the impression as a chick she was good at stuff like this. Now, in retrospect, I wish I had done things differently, and thusly due to the experience I have doing this, I will offer my advice in retrospective terms. It takes about two days to completely finish your vinyl. The 2nd day is for touchups after the vinyl sets.
DAY 1
1) Spread out the vinyl over your roof and hold it out on four corners. I scotch-taped it down.


2) Cut a 4'' front to back slit where your antennae fin is and fit it in there and make additional cuts to make it fit. Don't overcut, as you will adjust this later and tuck the excess in under the fin.
3) Cut off any super excess parts from the front, side, back. Leave about 5'' overhang. The more overhang you have, the safer you are. Just, too much becomes a bit annoying to handle.

4) Next, once you got a general size and slit for the fin, you want to peel off the vinyl, from front to back. This is where you could use an extra set of hands. As you pull off the vinyl and bend it back towards the trunk 6'' at a time, you take the spray bottle of soap water and generously spray puffs of soap water onto the bottom of the vinyl (the sticky part). Keeping it moist prevents the vinyl from sticking, but still be careful about the vinyl sticky parts sticking together.

You should end up with this kinda as excess/trash

5) Once you've peeled the vinyl, you and your buddy want to stretch the vinyl down onto your roof, fitting the fin into the slit to minimize the amount of tenting that it'll cause. Stretch it enough so that it matches the curvature of the roof. Generally, stretching will leave stretch marks where your hands were, but thats why you have excess along the sides. Throughout this stretching and roughly fitting process, you want to spray under the vinyl and ontop of the roof so that it remains slippery so you can make adjustments. Also, stretching too hard can cause rips, but its pretty tough to do that. There is excess vinyl around the roof for a reason =D. When you and your partner managed to get as close to a stretched curve to the roof, set it down and tape down the sides (It might be a little tough since it might be wet).
I couldn't take any pictures of this process, and I apologize, since this is the most important part. You need to stretch it to fixate around the curve of your roof, otherwise you'll get folding and creasing parts later on from excess vinyl. Definitely do this with two, even four people (one per corner) to get this done right. Doing this perfectly makes the rest a piece of cake.
6) Also missed pictures here. Flatten things out and push out the bubbles with a credit card covered by a towel. Its kind of like using the credit card as a squeegee to remove the air pockets. Cover it with a layer of towel/rag so that the credit card doesn't scratch the vinyl. Do a rough job of it, and adjust the taping/stretching as you see fit. The fin is a tricky part. Do additional cutting as you see fit, so long as you keep to leaving about 1'' of excess that you can tuck under the fin. Don't forget to continue to spray along the edges to allow you to make adjustments...
7) Once you've got a general nice application and tuck, you want to take a brand new razor (new so that it's sharp and won't snag on the vinyl) and cut until there's only 1'' excess around the rims. In order to avoid cutting my paint, I just put an old credit card under the vinyl and eyed the cut onto the credit card. It took a while as each side is like 25 credit cards long lol. Make sure you keep an excess of at least 1'', and at the corners even more to be safe. You should end up with something like this:

This picture shows it being cut too much (Yeah, well second time around I can make it perfect)
8)Work on the fin now by tucking in the excess with your credit card. Creases and bubbles will form. It's a simple matter of patience and applying pressure to get rid of them. If you didn't stretch the vinyl over enough, you will end up with excess vinyl in the middle that creates one big crease. In that case, I ended up make a small incision and just overlapping. It's hardly noticeable in small cuts like 3''.

9) Cut out the sunroof now. This was kind of tough since you can't slide a credit card under it--at first. What I did was took a razorblade and made a small incision along the indent of where the sunroof around the edges were. From there I cut inwards. You want to leave again about 1'' excess so you would cut a smaller rectangle than what the sunroof forms. After the first incision, use the credit card cutting technique so you don't cut your sunroof. Tuck in with your credit card.

10) Now take a credit card and tuck it in your sides and rear and under the rubber on your front. Cut excess if its too long as too much vinyl will end up sticking out. This is where you want to be SURE you have too much. Cutting and ending up short leaves you a worthless application.

11) Now do the finishing touches by creasing out as much of the bubbles as you can, and set it to dry overnight.


I just left some credit cards into some trouble slots overnight. Also put a brick ontop of a towel ontop of a trouble bubble. Careful about doing that though, for obvious reasons...
Go ahead and wait overnight now. Also, I'm aware the spray bottle I'm using is for pet odor and stain removal... It was the only empty spray bottle I had laying around...