So I decided to spend my Christmas break detailing my car. Over the past few months I've been collecting new products and tools to up the level of quality and attention to detail (pardon the pun) I can give to detailing my car.
When the water restrictions came in I pretty much got my 120i, so it never got the level of care I gave my previous car. Now that I'm kitted up with a water tank and pump I'm happily maintaining my 135 to a new high standard.
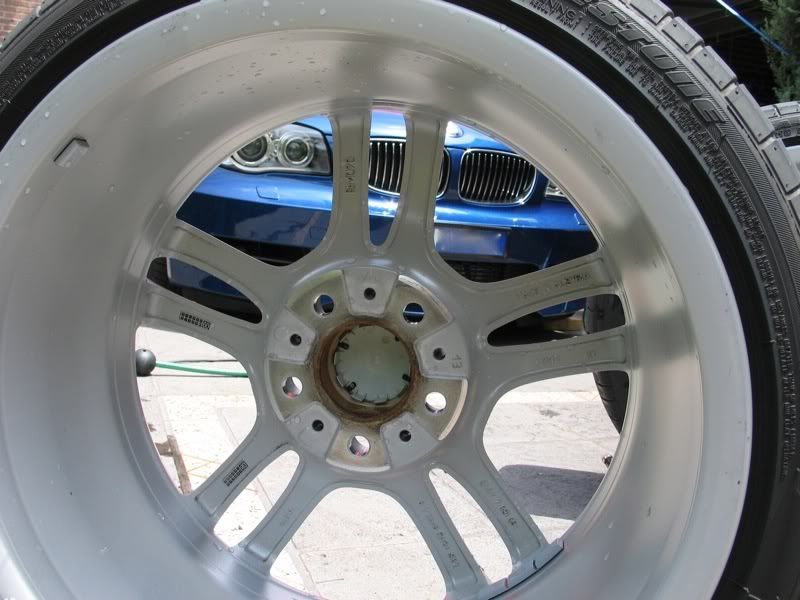
The detail took 3.5 days starting from Weds afternoon, and ended on Sunday. In all I spent around 25 hours on the car and basically cleaned, polished and protected every surface I could reach. Only area I didn't detail, beyond cleaning, was the front wheels. They got a detail only a couple of weeks ago when I had the front up on jacks.
Pics:

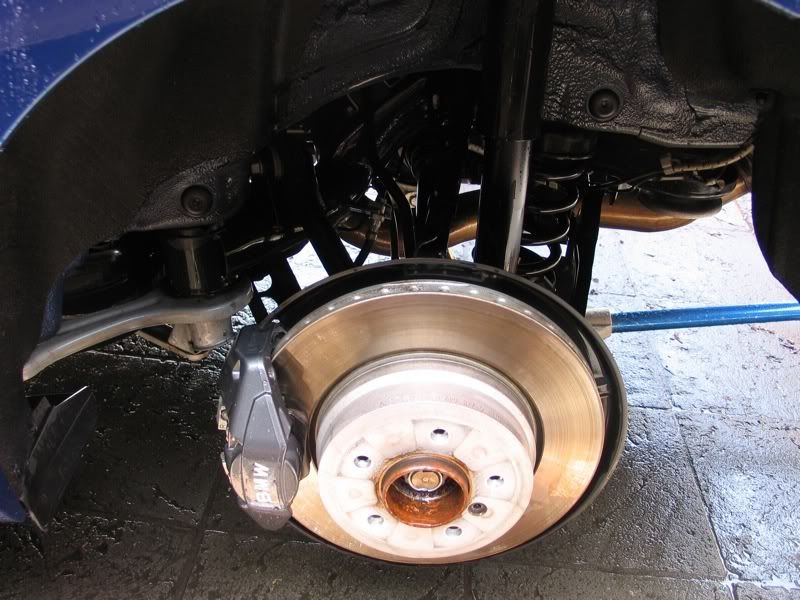
Car jacked up for rear wheel and rear arch clean - prior to this photo the engine bay was cleaned and exterior glass polished
Left rear all cleaned - air dried after photo
Not perfect, but those bits only I see and know about


Post wash and under a canopy as my neighbours tree lets off crap and I wanted this to be close to perfect

Car was clayed after this photo
Dried after the clay - which didn't show up too much crap and certainly a lot less than its first clay
Coated front wheels with Armorall Wheel Protectant (rears were done when off) - disappointingly the spray dulls the polished and waxed finish a little, but if it works like others have claimed I'll be happy
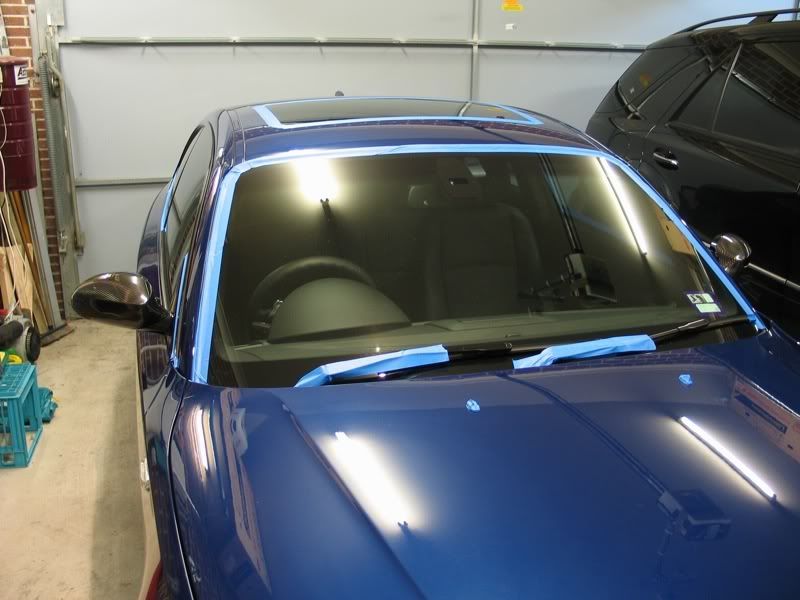
After spot use of paint cleaner on the seeping panel glue the clay didn't shift, I started taping up the plastic bits
Some more taping

And still some more...
Here the photos jump to post polishing (done in three steps with a forced rotation RO/DA)
First cost of manual pad applied wax - a bit thick but my first time using this wax so it took me a while to get a thinner coat
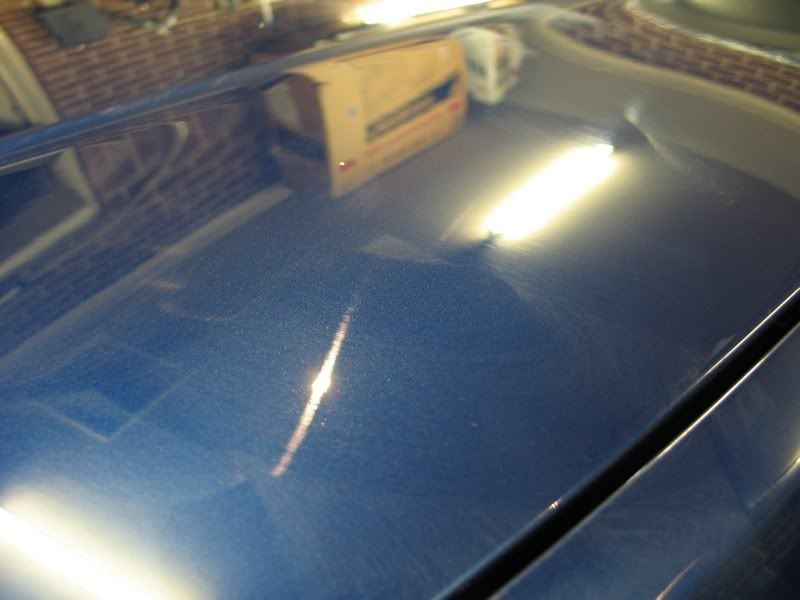
You can just make a few minor swirls through the wax - I didn't want to cut too much as firstly this car lives outdoors and will always naturally develop swirls, and secondly I'll probably keep this car for a few years and don't want to strike through after like the 10th detail....
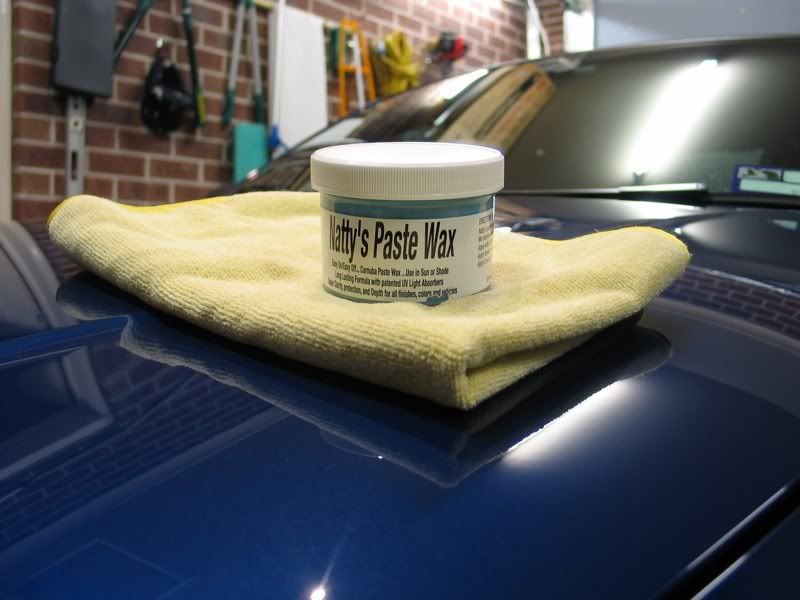
After the first layer and the wax I used - nice and cheap but easy to use. I'll discover durability in due course I guess.
Again after first coat - wax added some gloss, but polishing stages were where the real gains were made
Second layer was applied and I discovered my badge is delaminating and letting off flakes....not the thing I wanted floating about at this stage of the detail
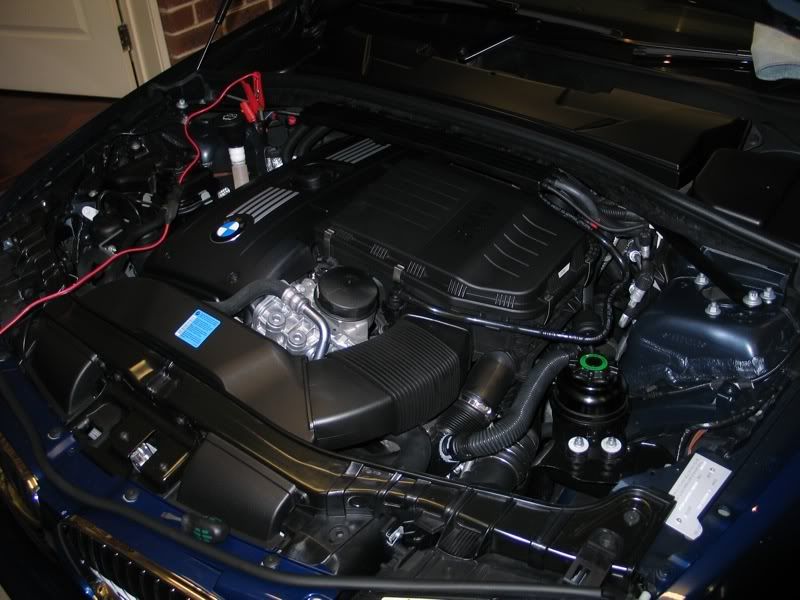
Whilst second layer was curing I finished dressing up the engine bay & gave the car a quick charge as it was only measuring 12.1v!
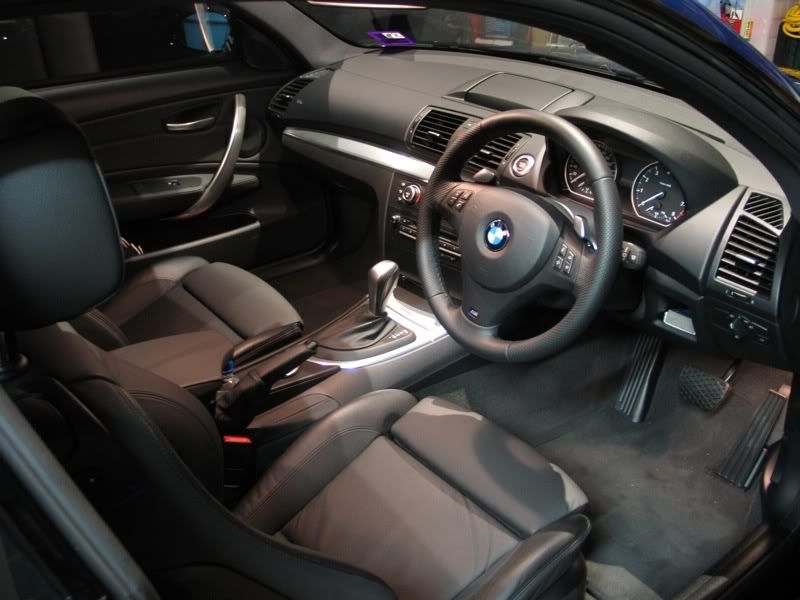
Also gave the interior a clean - door cards keep getting scratched and scuffed as feet go in an out
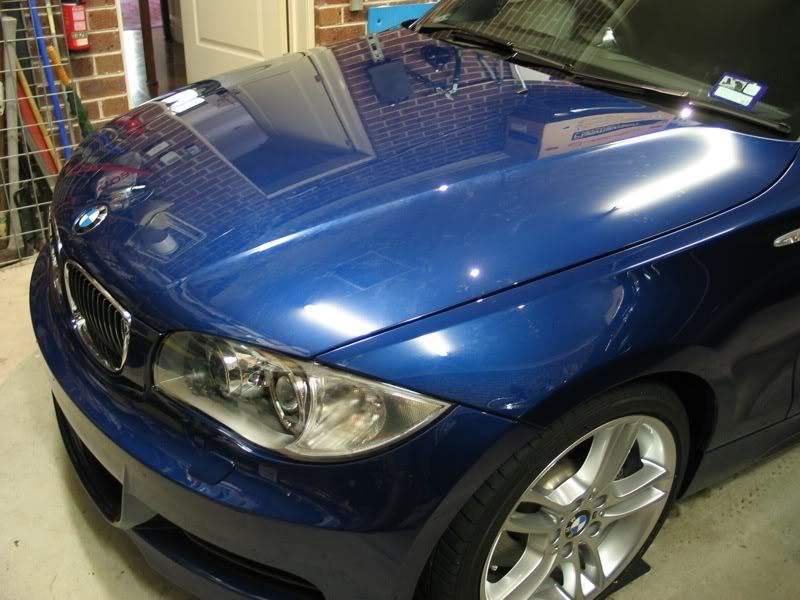
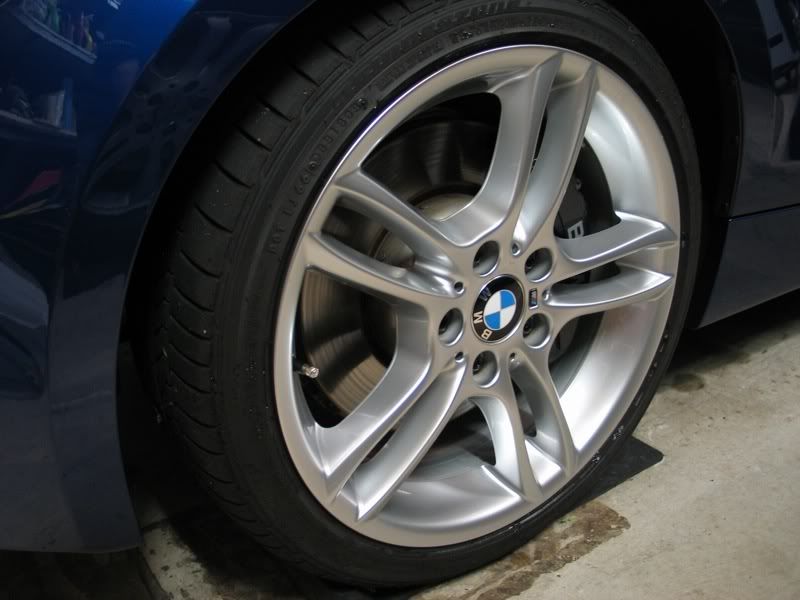
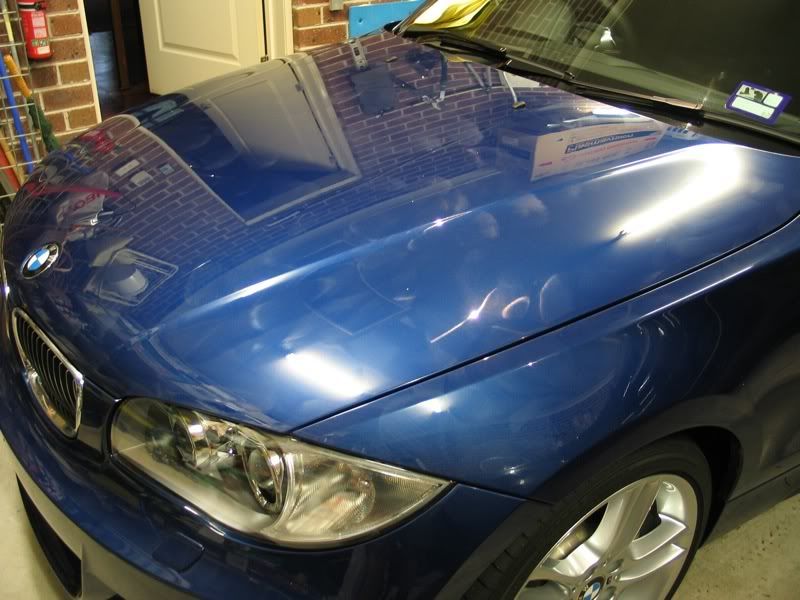
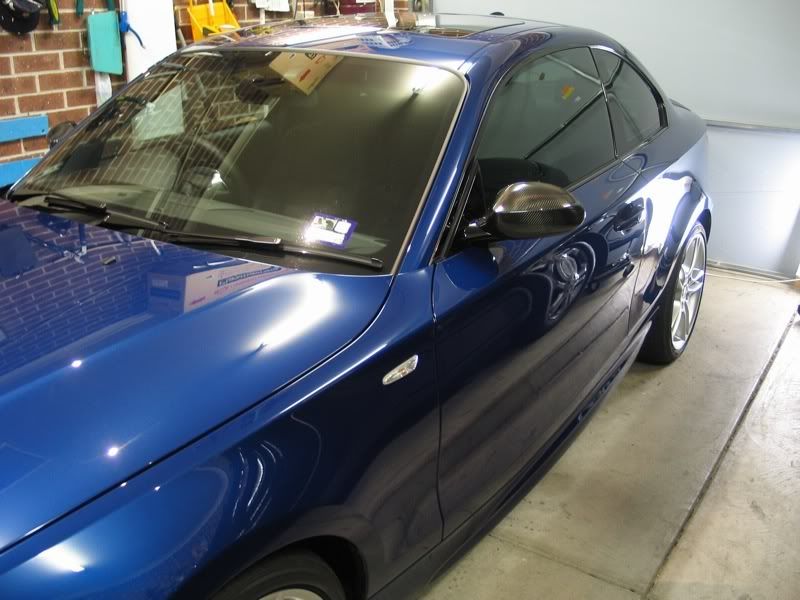
And to the end result...
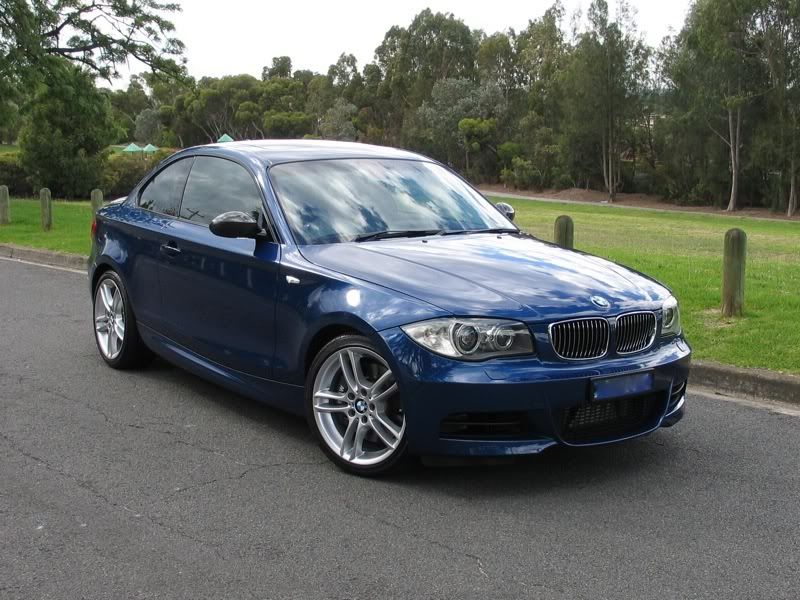
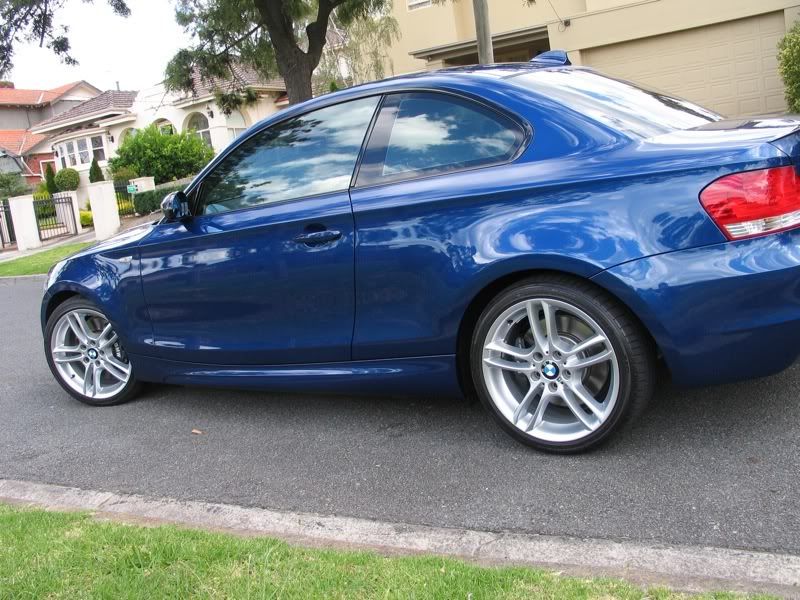
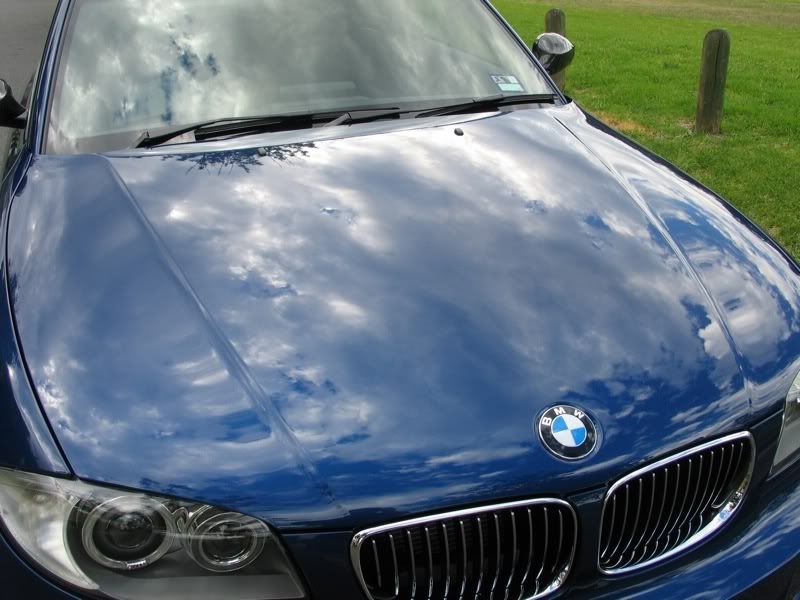
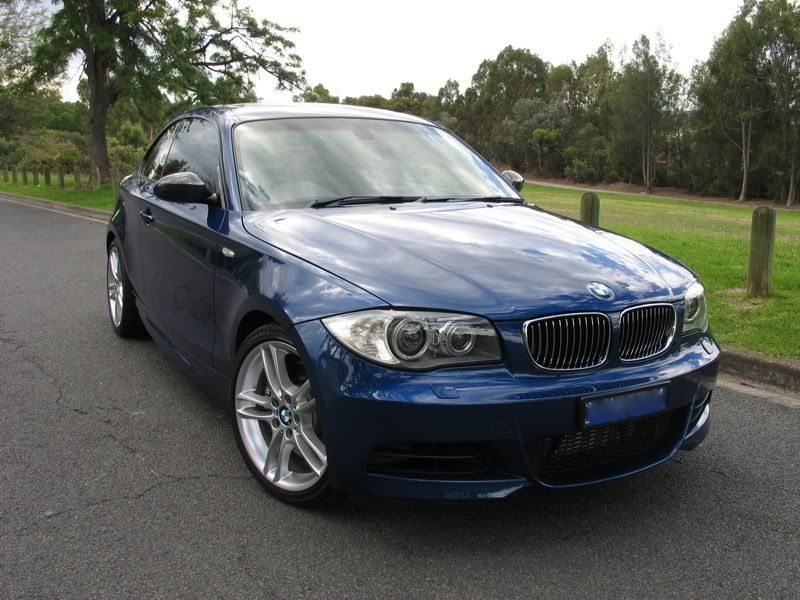
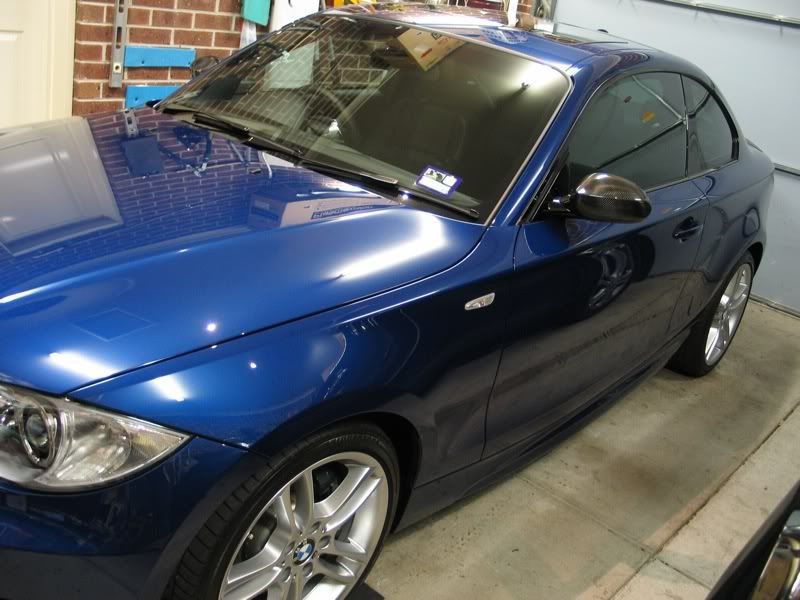
I think I achieved a nice wet look which perfectly suits the Le Mans Blue IMO.
I know I can pay someone to do this, and they'll probably get it looking as good, but I enjoyed the effort involved. I think I lost like 1kg over the period with the hard work involved, but I just consider it part of the ownership experience.