

|
|
|
|
|
|

| ||||||||||||||||
Post Reply |
|
|
Thread Tools | Search this Thread |
| 10-07-2011, 05:34 AM | #1 |
|
Enlisted Member
 4
Rep 35
Posts |
Replacing ashtray with lidded, illuminated, oddments tray
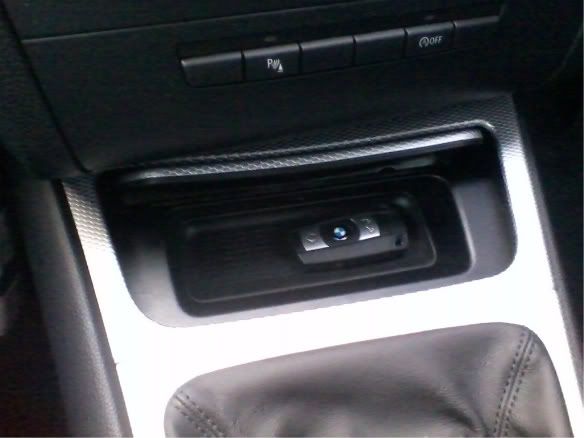 I'd been looking for a viable way of increasing the amount of storage where the ashtray is as it isn't much use for anything other than a box of tactics. Obviously there is the open box that is fitted as part of the non smoker pack but I wanted it to have a lid for aesthetic/security reasons. I found this thread on E90post.com http://www.e90post.com/forums/showthread.php?t=7049 so went looking on realOEM to see if there was something similar listed for the 1 series but unfortunately there isn't. What I did discover however, is that the main part of the ashtray is common to both the 1 and 3 series but with different mounting plates and lids so wondered if the 3 series tray could be adapted in the same way for the 1, using the parts from the existing ashtray. After finding out that the tray is only £16 including the rubber mat for the bottom, and before any discount, it was a no-brainer to give it a go and I'm happy to report it works perfectly. Optionally, you can use the LED that lights the ring around the lighter socket to light the tray, I was inspired by this thread http://www.e90post.com/forums/showthread.php?t=32678 although there is no LED that lights the ashtray itself on the 1 series, or at least there isn't on recent cars, so you have to make do with a single light source but it still provides a reasonable amount of light. The part number you need to order is 51167132376 and is listed as Spectacles tray for the E90/E92. Apparently this is what used to be fitted to the 3 series if you ordered the non smoker pack before BMW started penny pinching and fitted an open box to the 3 series as well. Here's a comparison with the original ashtray 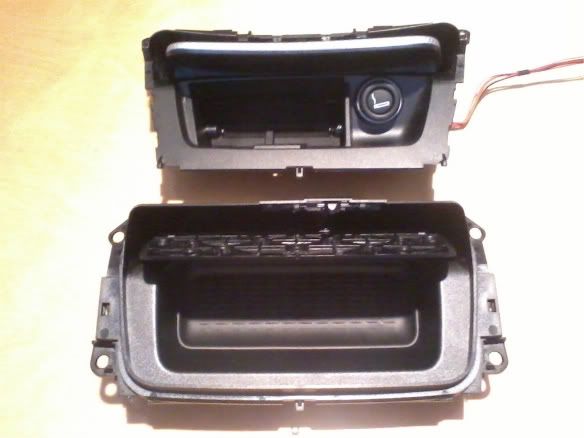 The whole process is very simple, just needs a bit of patience, and if I had to do it again would probably take an hour from start to finish including removing the centre console, obviously took a lot longer this time though. First off, you need to remove the centre console to gain access to the ashtray, there are many write ups on this but this one is as good as any http://www.1addicts.com/forums/showthread.php?t=213833 although I would recommended just pulling the handbrake handle off complete with the gaiter rather than splitting it. Now you've got the ashtray removed we'll move onto stripping both the units. Firstly, you need to remove the mounting plates. This is done one side at a time, on the new tray put your fingers inside the raised lip around the top and put your thumbs on the side of the main body of the unit, then pull quite hard until the catches pop and move that side towards the back a bit so it stays unclipped and then do the same with the otherside. Unhook the catches on the bottom and remove. The ashtray is much easier as it is more flexible as it only goes around the back. 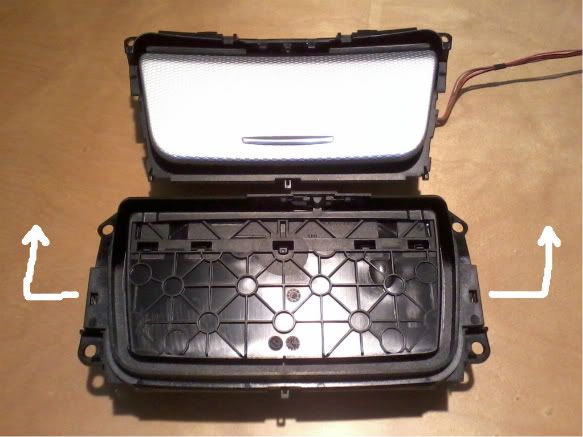 Now the mountings are off you can see the similarities between the main parts, the only obvious difference is the little horns, circled, at the front of the ashtray. The 3 series doesn't use these but the 1 does as they hook into the front of the trim piece. However, this is of no real relevance as the front edge is fully supported and sandwiched together by the console itself so i don't really see what they achieve. 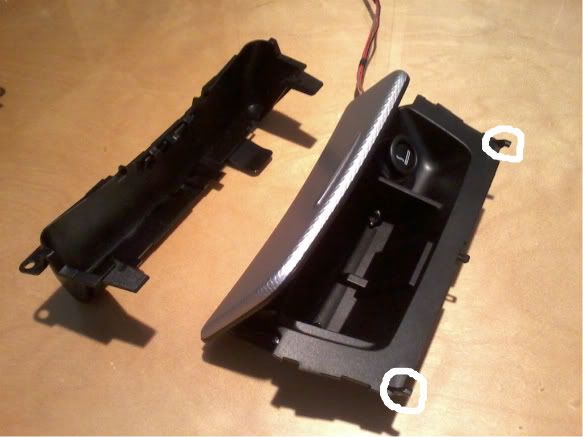 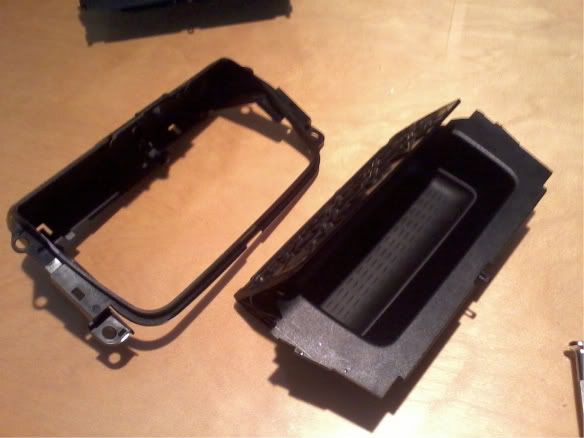 Next you need to remove the lids. The hinge is retained on the shafts by a little clip, arrowed, on the end, squeeze this in and the hinge can be pulled of. Make note of how the springs fit for when you are putting the lid back on the other piece 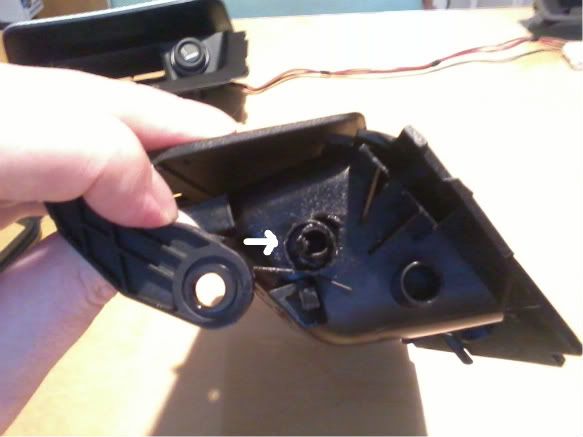 You now have everything separated and need to decide if you want to illuminate the tray or just fit it as is. 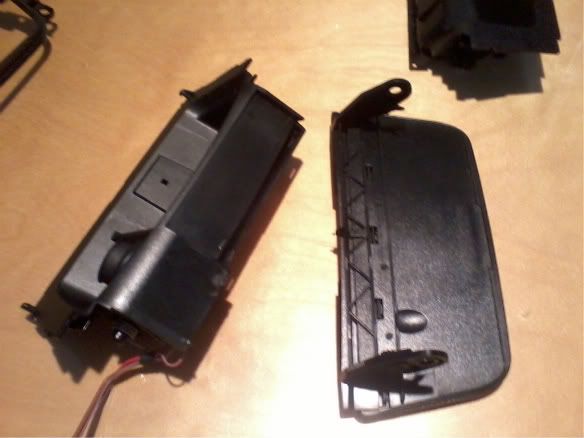 To remove the lighting from the ashtray, unclip the LED from the side of the lighter socket, left hand arrow, and clip the wires from the end of the socket. The brown wires then need joining, I soldered them but it's up to you what method you use, and the red wire needs a bit of insulation tape on the end. 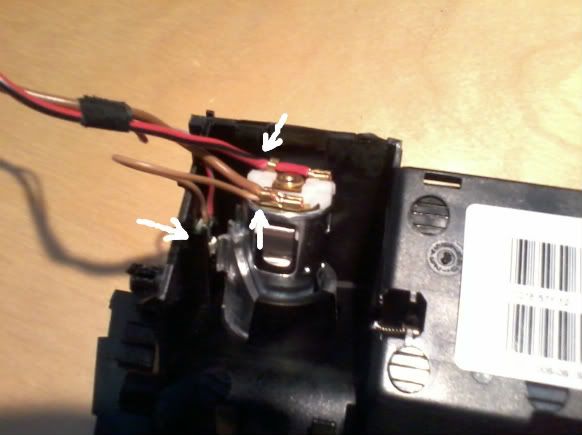 I put the LED in the back of the tray as it shines down on the contents, in the thread I linked to you'll see some people have put them in the front so the light source itself is less visible but all this would do is light up the bottom of the lid. You only need a 3mm hole to fit the LED into but the thickness of the plastic and fact the LED won't sit completely flat means the edges of the hole shield the light so only a small patch of the bottom of the tray is lit. I found a 6mm hole allows a decent spread without the hole becoming to obvious. 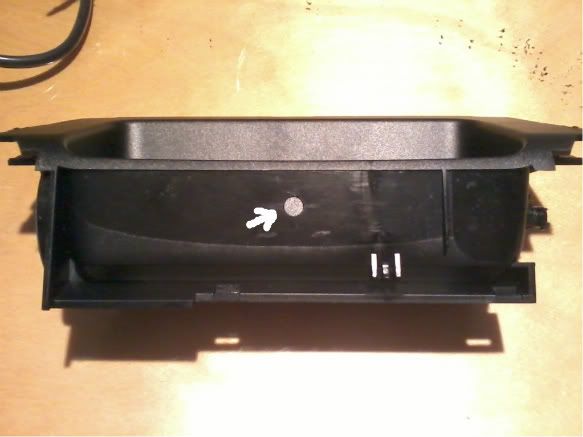 I used a blob of hot glue where the solder blobs are on the circuit board to secure it, be sure you don't get glue anywhere near the LED itself.  Worth taking the tray out to the car to be sure the lighting works before continuing and then it's time to put the tray back together. First, attach the ashtray door, making sure the springs are correctly attached and the door moves smoothly. 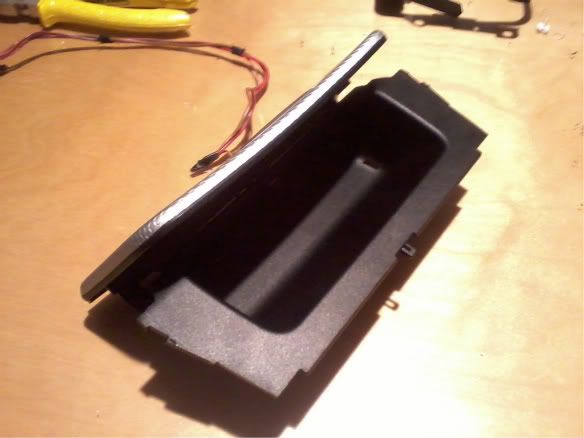 Next up is the mounting plate. There is a very small square of plastic, left arrow, that needs removing from the tray so the parts meet properly. There is also a handy gap in the middle for the wires to pass through and also holds them clear of the door when it opens. 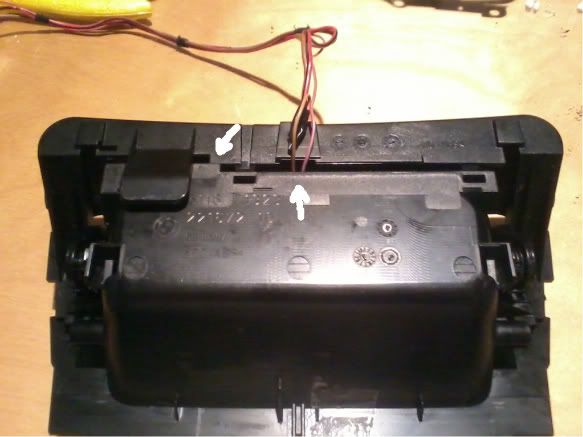 Here's the finished product ready to reinstall.  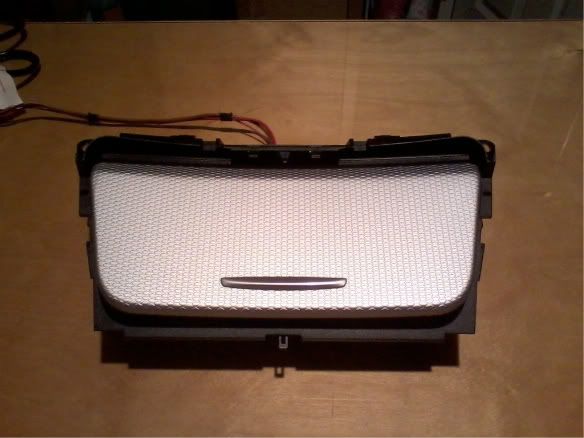 Because of the length of the wires they can't follow exactly the same route as originally but are kept nicely out of the way by cutting the corner and secured with a bit of gaffer tape to the bottom of the tray to stop any chance of rattling. 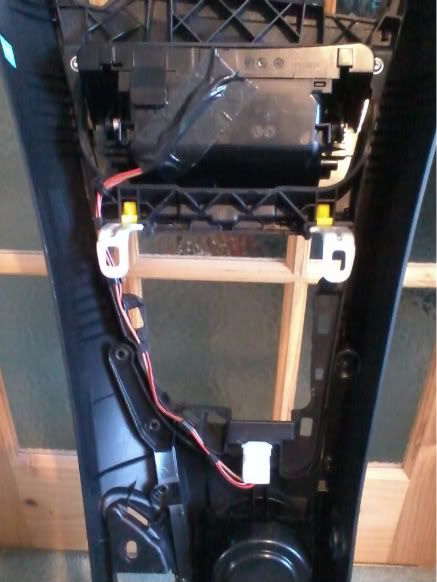 Job done, see picture at top of post. The tray is more than big enough to hold a pair of sunnies and my old iPhone fits fine along with keys, coins and that original box of tictacs, criminal that BMW don't offer this as an official option. I'm considering fitting a USB socket in the side panel connected to a charger driven by the old wiring but that's for another day. Last but not least, this is totally non destructive so if you really wanted to return it to stock you can easily, bar having to solder the terminals back onto the lighter assuming you did the lighting mod. |
| 10-07-2011, 07:55 AM | #2 |
|
driver

7
Rep 56
Posts |
Excellent i will try this!

__________________
|
|
Appreciate
0
|
| 10-07-2011, 11:48 AM | #3 |
|
Second Lieutenant
 
35
Rep 283
Posts |
I did the same thing except I switched mine out with a cubby that doesn't have the retractable top. Either option is great since the ashtray is useless in my opinion.
|
|
Appreciate
0
|
| 10-07-2011, 03:00 PM | #4 |
|
Lieutenant Colonel
 85
Rep 1,609
Posts |
I will keep the ash tray in case the next buyer is a smoker.
__________________
7/08 135 Coupe, Crimson Red, 6 SP, Sport, Taupe Lette/Aluminum. Performance Mods: JB4 on Map 5, BMS DP Fix V3, Injen polished intake, AR Catless DP, Maddad resonated mid-pipes, aFe exhaust polished tips, ST Suspension Coil Over and Hotchkis front sway bar. Others: BMS OCC, BT Scanner, Mud Flap. Next Mods: AA Front Strut Brace.
|
|
Appreciate
0
|
| 08-29-2012, 07:36 AM | #6 |
|
Registered
0
Rep 1
Posts |
just done this mod I used both leds and it took a morning from start to finish , well worth doing . the only thing to watch is light 'leak' from the led mountings a bit os black paint on the side of the led cured that
|
|
Appreciate
0
|
| 02-07-2013, 01:50 PM | #7 |
|
Private First Class
 13
Rep 192
Posts |
I am going to assume that the brown wire is the ground? I need to tap into power and ground for my throttle controller and I figure I'm installing this tray I might as well do it now.
__________________
F32 Project
|
|
Appreciate
0
|
Post Reply |
| Bookmarks |
|
|


