


|
|
|
 |
| 10-13-2014, 04:56 AM | #24 |
|
Lieutenant
   
77
Rep 541
Posts
Drives: 2008 135i AT Monaco Blue
Join Date: Dec 2012
Location: Brisbane, Australia
|
Another small update.
My aFe dual cone intake arrived and I was able to fit it over the weekend. I've only driven a small amount since the install but you can definately notice more turbo spool. It is not as pronounced or loud as I had expected however. There is also a nice little 'bark' on letting off the throttle too. Overall a nice addition to the car to give it a little more aggression without going overboard. I intend to have a lid fabricated to sit over the intakes to make it look more factory. My plan is to not entirely seal the pods so that I can still hear some induction noise (that was the whole point of me getting this intake as I already had a high performance BMC panel filter). In my opinion this kit will also deliver slightly cooler temps than some of the other available open filter options like BMS as the aFe has an enclosure around the filters with the snorkel feeding directly into the enclosure. The AFE kit comes with a whole heap of gear. It was a welcome surprise to see it also came with the filter cleaning kit. For anyone carrying out the install, I relied on the supplied aFe instructions and the first half of the below two tutorials from BMS and Dackelone: http://burgertuning.com/instructions...ual_filter.pdf http://www.1addicts.com/forums/showthread.php?t=586891 In my view I would flag the two hardest steps as releasing the rear inlet tube and installing/seating the airbox base grommets to ensure the enclosure is sitting flush. The box unpacked: 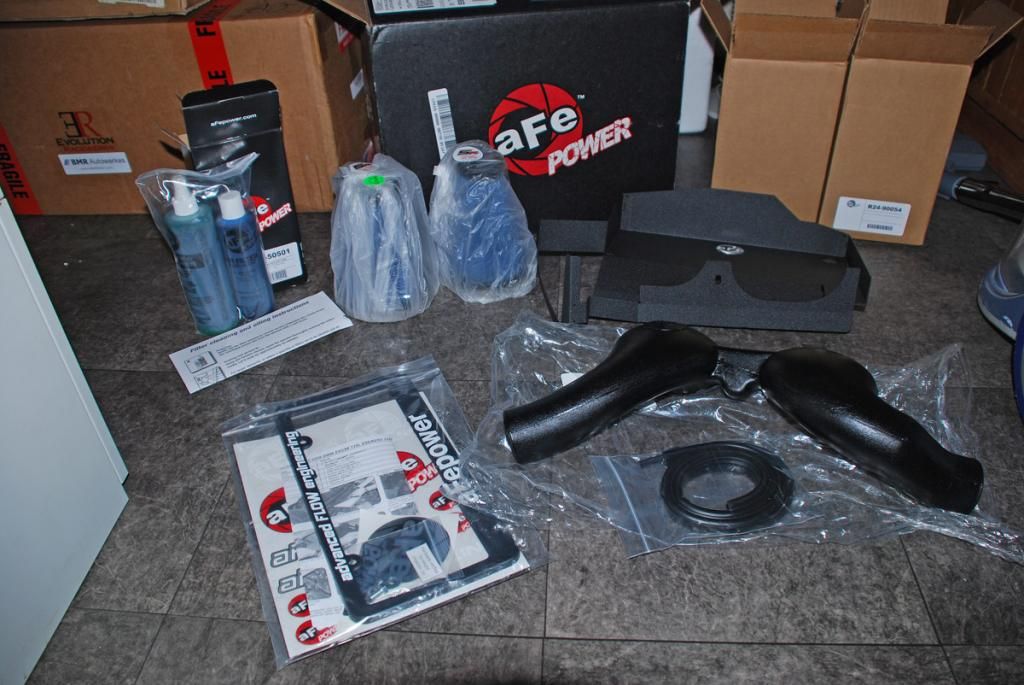 My installation mess: 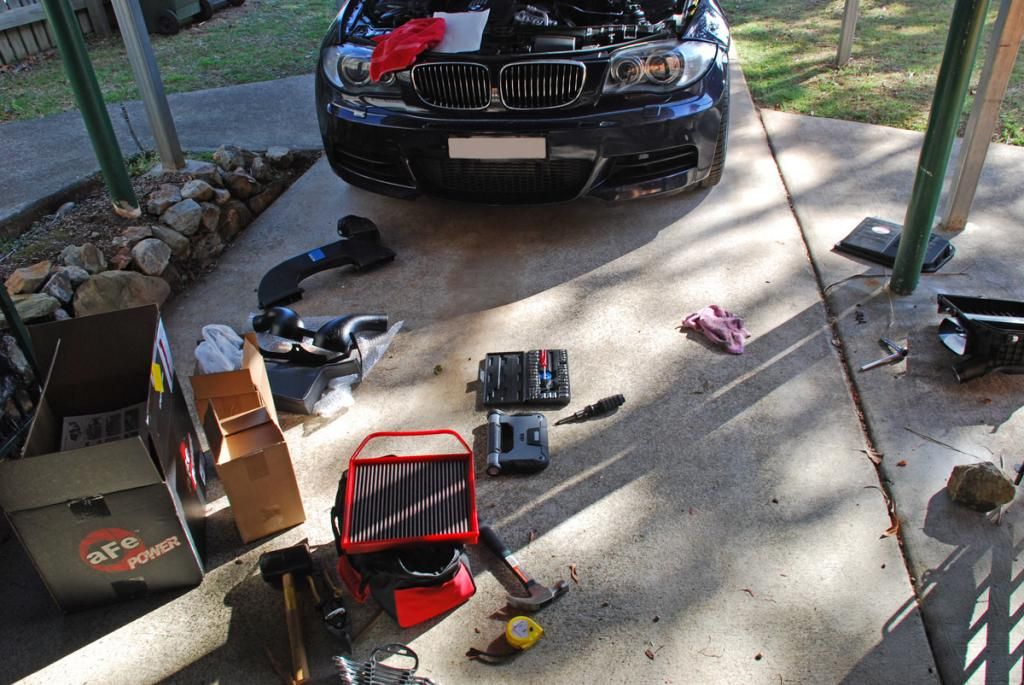 Stock intake removed: 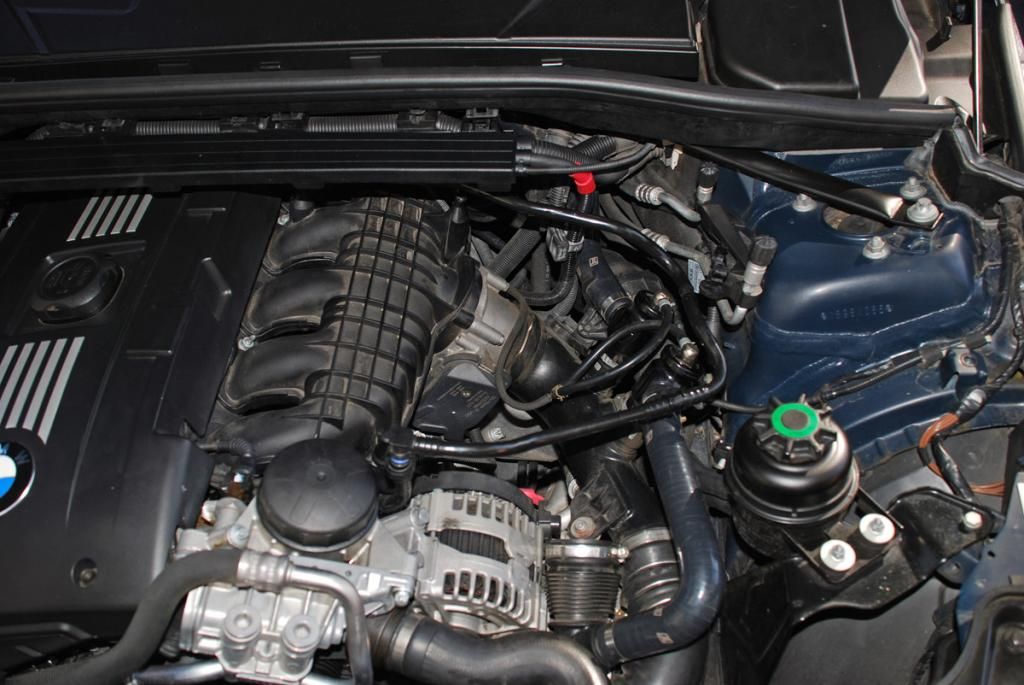 The finished product: 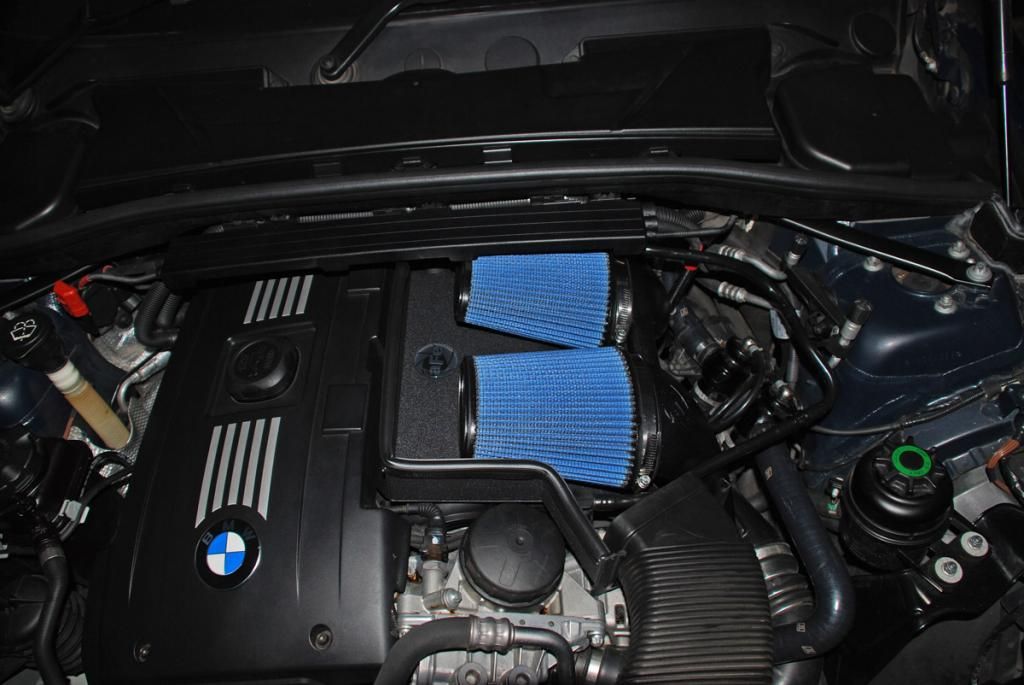 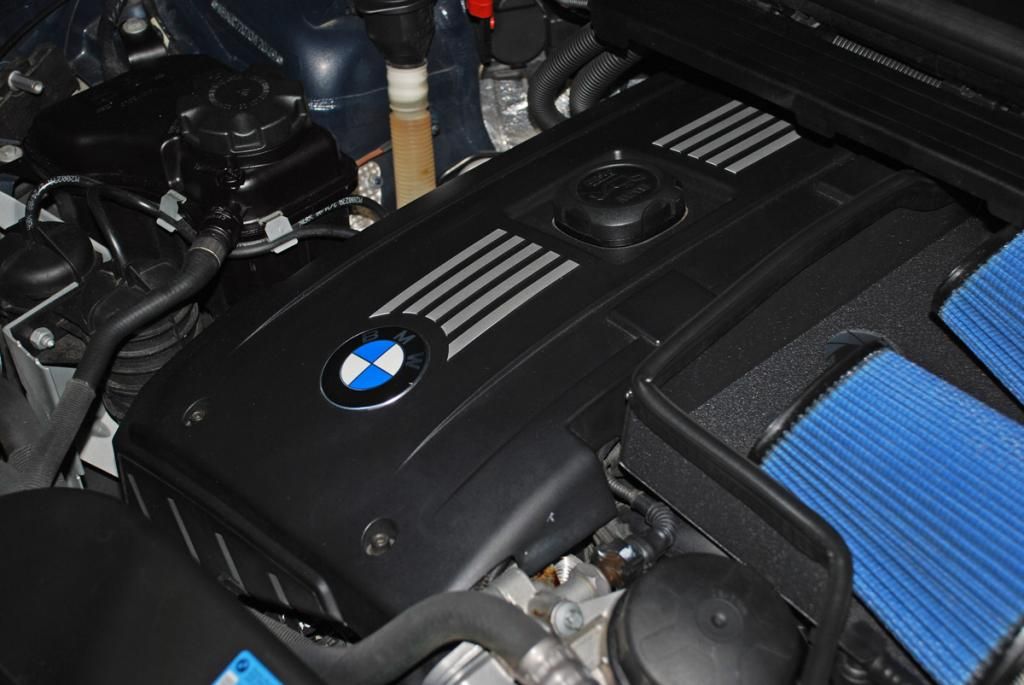 I also took the opportunity to snap a few pics of my Turbosmart Kompact diverter valves. Excuse the dust - A steam clean may be in order... 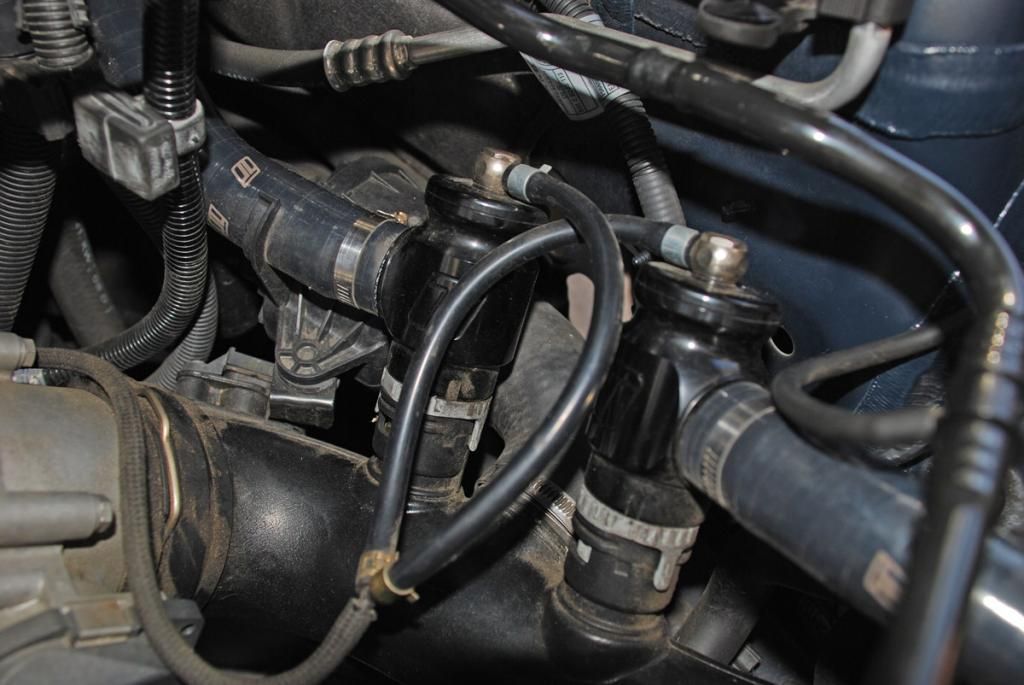 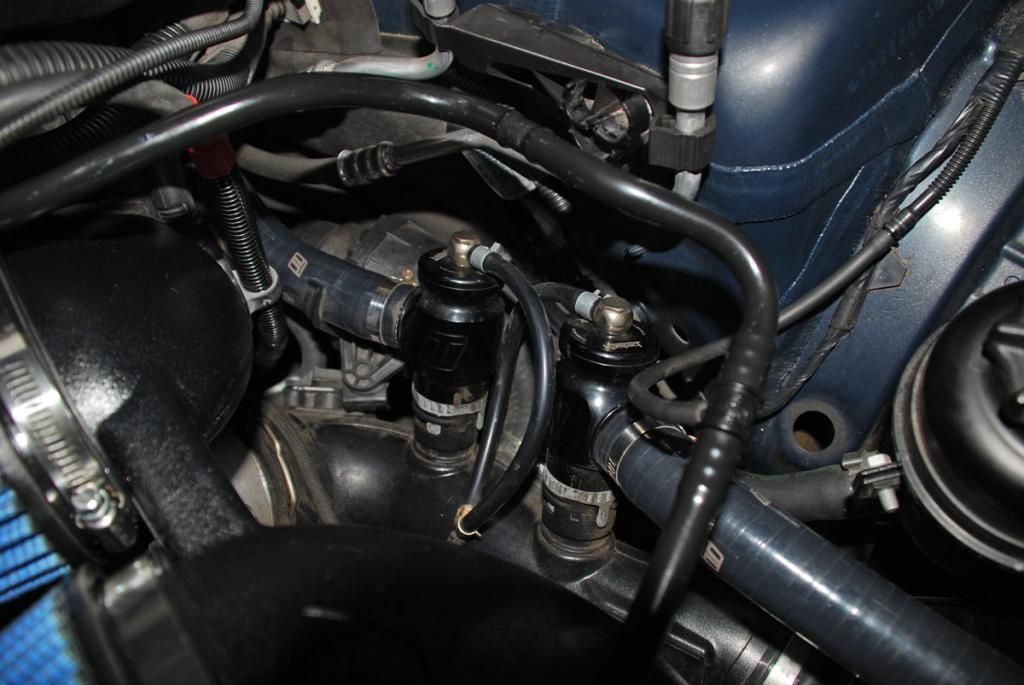 Finally, I thought I'd just show my simple cargo net installation in the boot. I got a cheap boot mat from Supercheap Auto that was a reasonably good fit for the boot dimensions and then sourced this cargo net from Ebay for $12. Holds the groceries and bags nicely! Sourced here FYI: http://www.ebay.com.au/itm/261318098...84.m1439.l2649 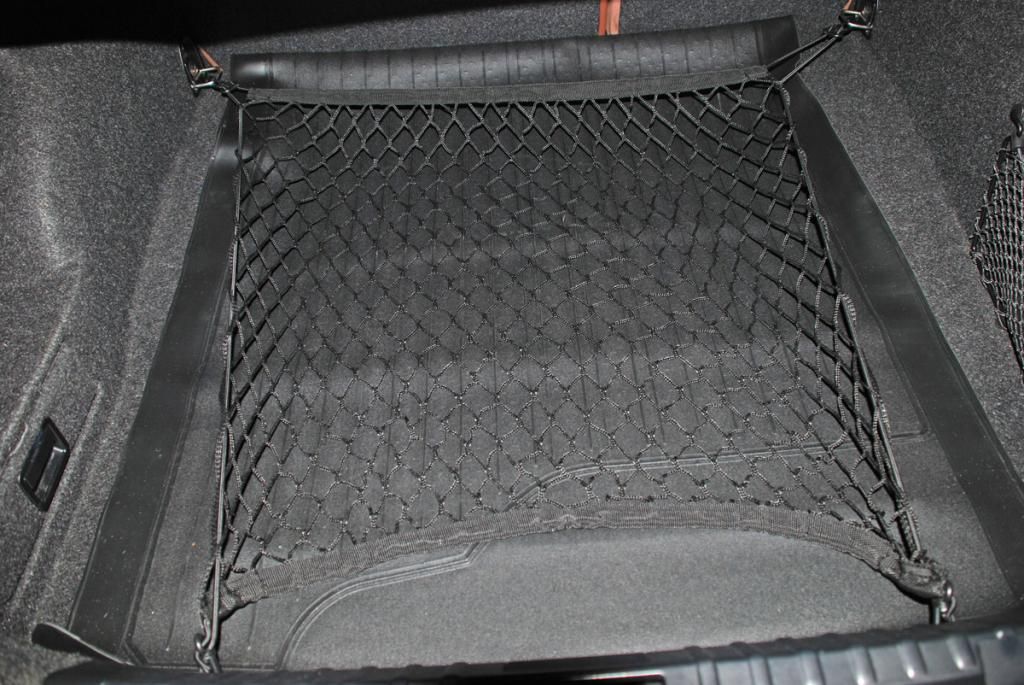 Mobility kit mandatory with the removal of the stock run-flat tyres: 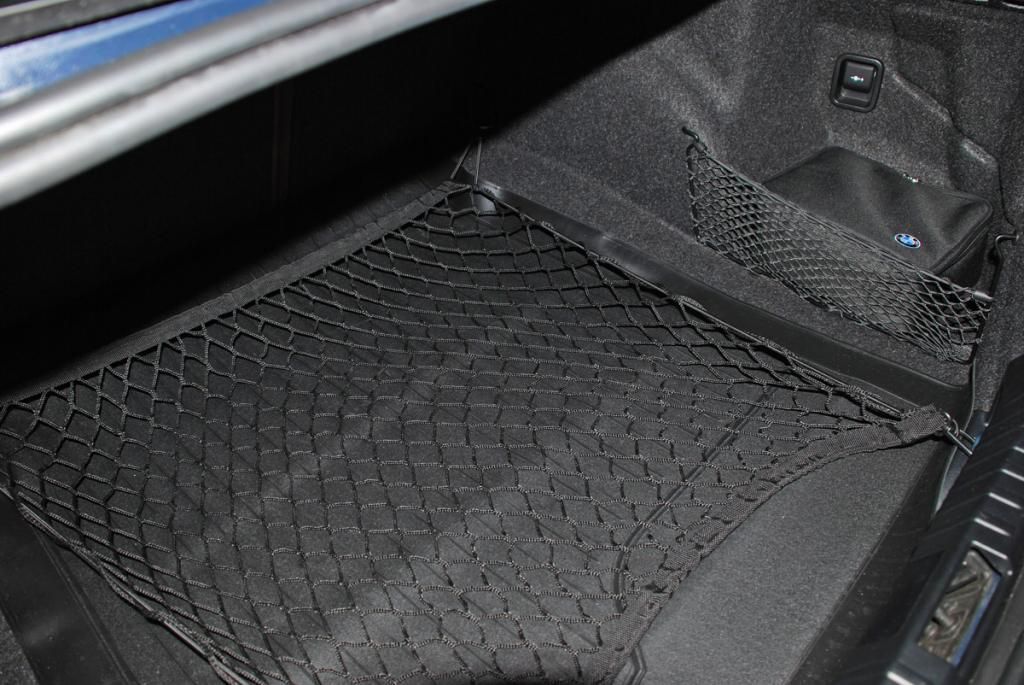
__________________
|
|
Appreciate
0
|
| 10-21-2014, 07:05 AM | #25 |
|
Lieutenant
   
77
Rep 541
Posts
Drives: 2008 135i AT Monaco Blue
Join Date: Dec 2012
Location: Brisbane, Australia
|
Another small update to the interior.
I received my set of black RHD auto pedals from Pedal Haus (www.bmwpedals.com) the other day. These pedals were to be the finishing touch on my interior and a great complement to my newly added carbon trim. They arrived in record time (1 week USA to Australia) and I must note the excellent customer service from the guys at Pedal Haus. They were very prompt with emails and postage (the kit was very well packaged) and made the whole process very smooth. They even took some photos of the pedals for me prior to shipping them out. While the pedals are expensive, you get a complete kit as part of the package. This includes a drilling template and zip ties for the brake pedal and all the screws and nuts necessary to mount each of the pedals. The dead pedal is mounted via pre-installed 3M double sided tape and I've found it is a nice firm fit. The brake pedal is installed via removing the stock rubber cover and using the drilling template to drill four (or three in my case) holes into the pedal base to install the screws, washers and nuts. I'm not sure if my RHD auto brake pedal is different to other markets but there was no way for me to drill the top right hole as it would have meant drilling through the pedal arm. The nut wouldn't have been long enough anyway so I just went with the three holes. The brake pedal is very tight with just the three and doesn't must a cm regardless. Finally, the accelerator pedal is installed by drilling four small pilot holes through the stock hard plastic pedal and then screwing in four self-tapping screws. Again this pedal is also completely tight with no movement whatsoever. In terms of feel, I am very impressed by the pedals. With the raised sections they are very grippy whether wearing shoes or going barefoot. I am yet to drive in rainy weather so I cannot comment on their wet grip, but I suspect they will at least equal the stock rubber brake pedals. In my view the black pedals they offer are the best style on the market. These were on my to-buy list even before I purchased my car. The black finish with the silver raised sections reminds me of bulldog collars for some reason and provides a very aggressive touch to the interior. As soon as you open the door you know the car means business.  My only gripe is the colour matching between the dead pedal and the other pedals is not a perfect match. I was a little disappointed to see this upon opening the package but upon installing the pedals it is not as noticeable and I can live with it. I did speak to Pedal Haus regarding the colour and they explained it was a result of the three step plating process and timing in the dye during the anodising process. I would love to see a better match for future batches but otherwise I'm generally pretty happy  Mandatory photos below: The full kit: 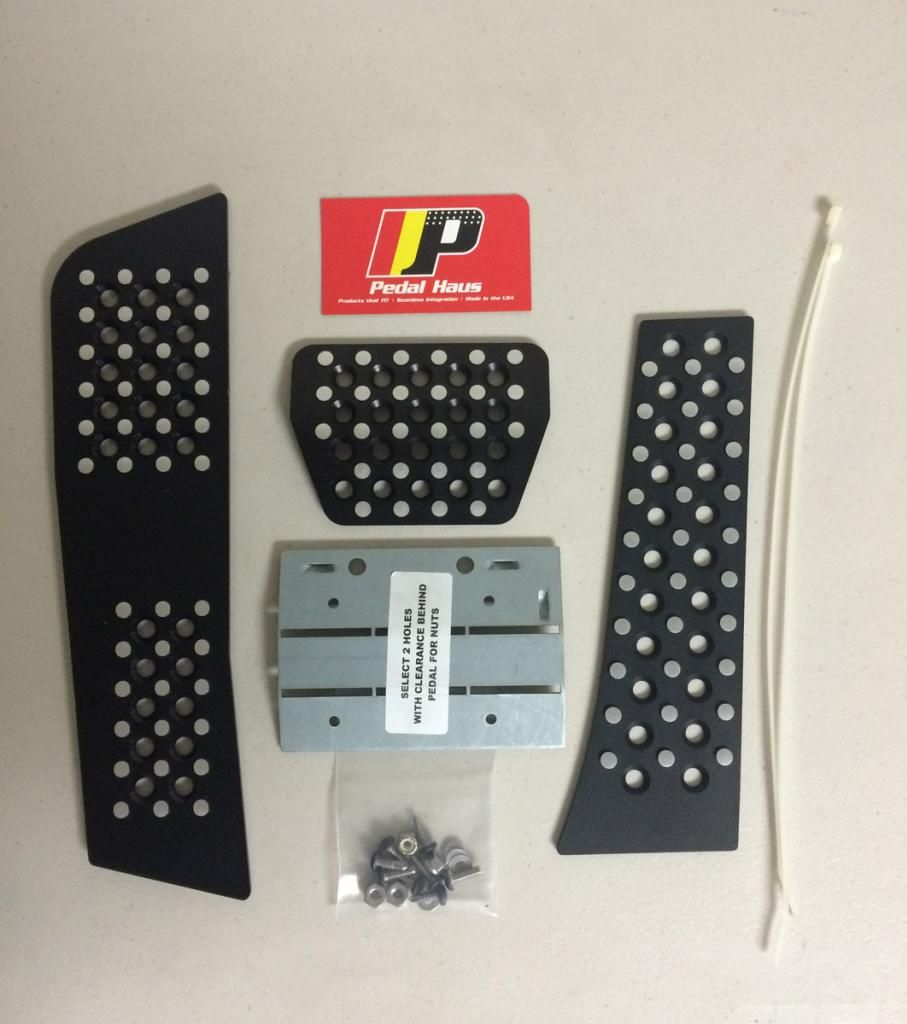 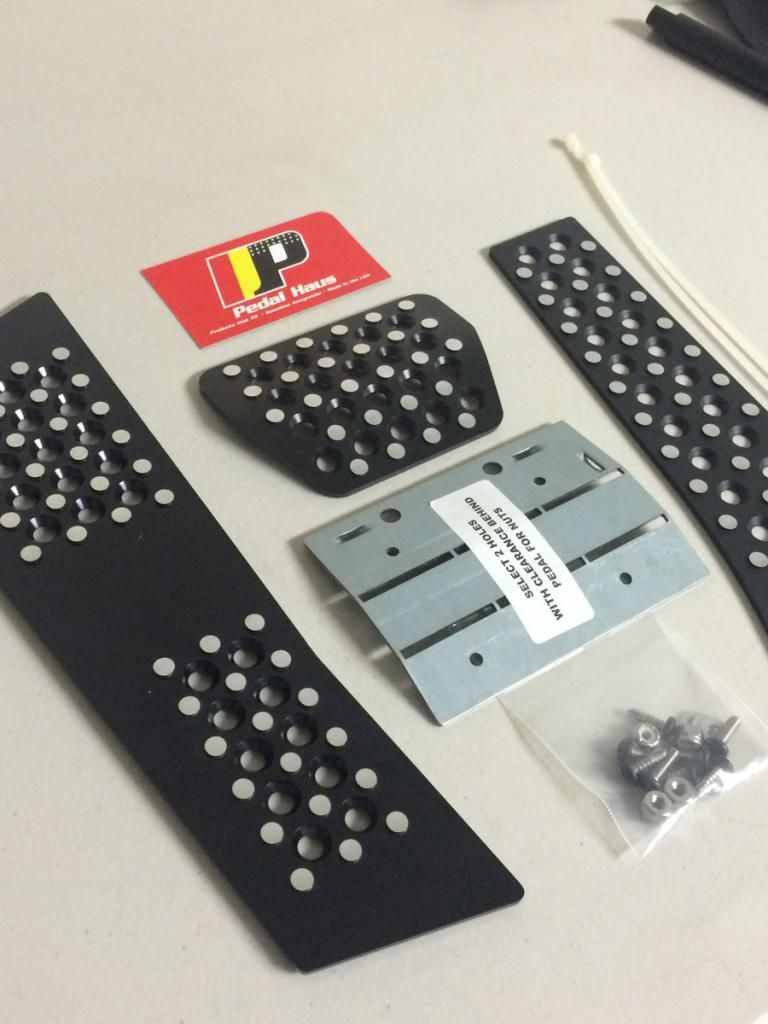 The colour and finish: 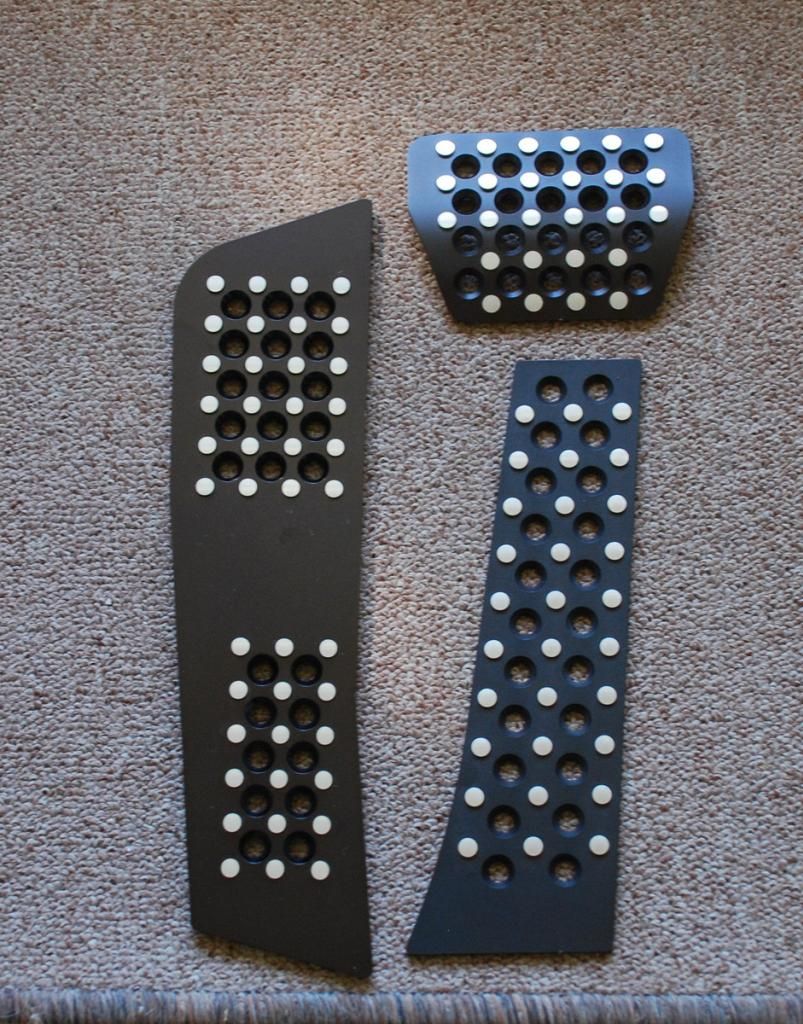 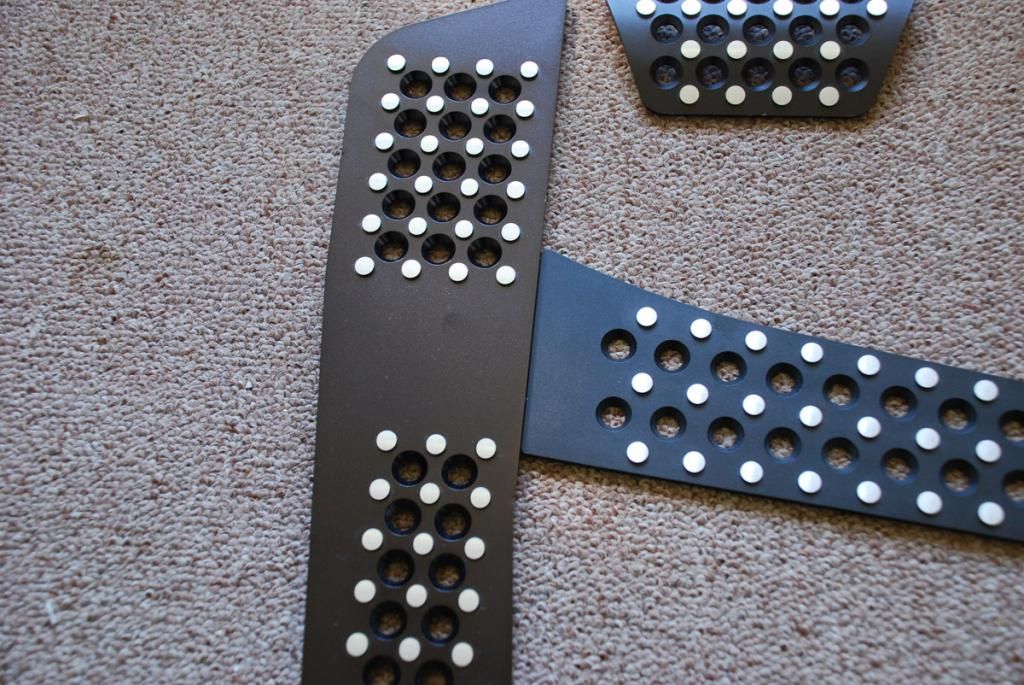 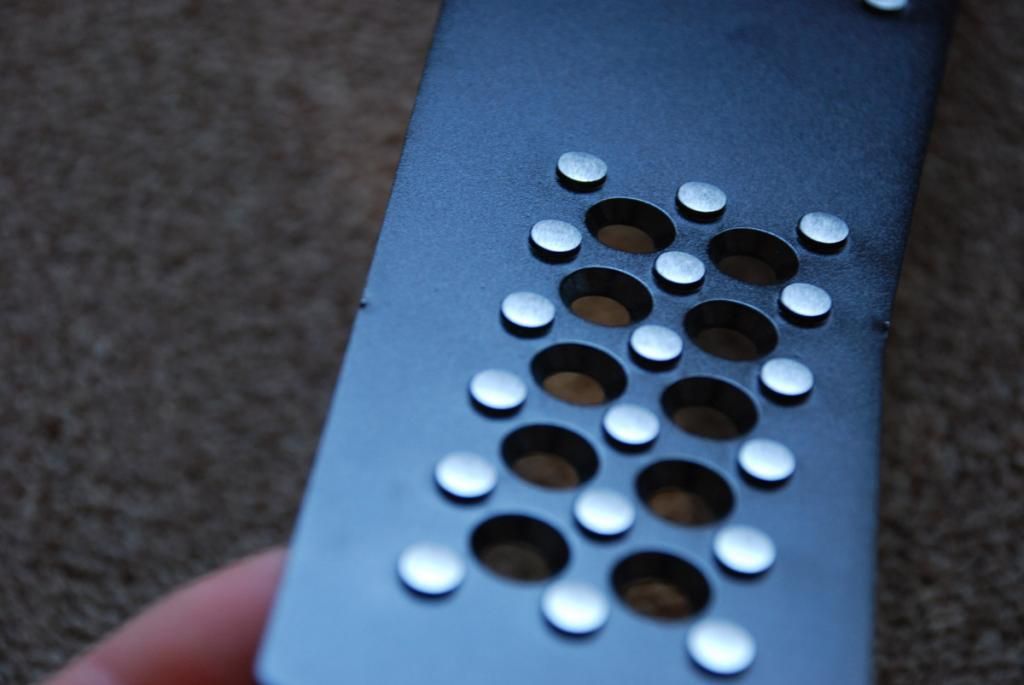 See the alignment of the top right hole is blocked by the pedal arm preventing drilling. Not a big issue as the pedals are still held firmly with three but just worth mentioning for anyone else installing. 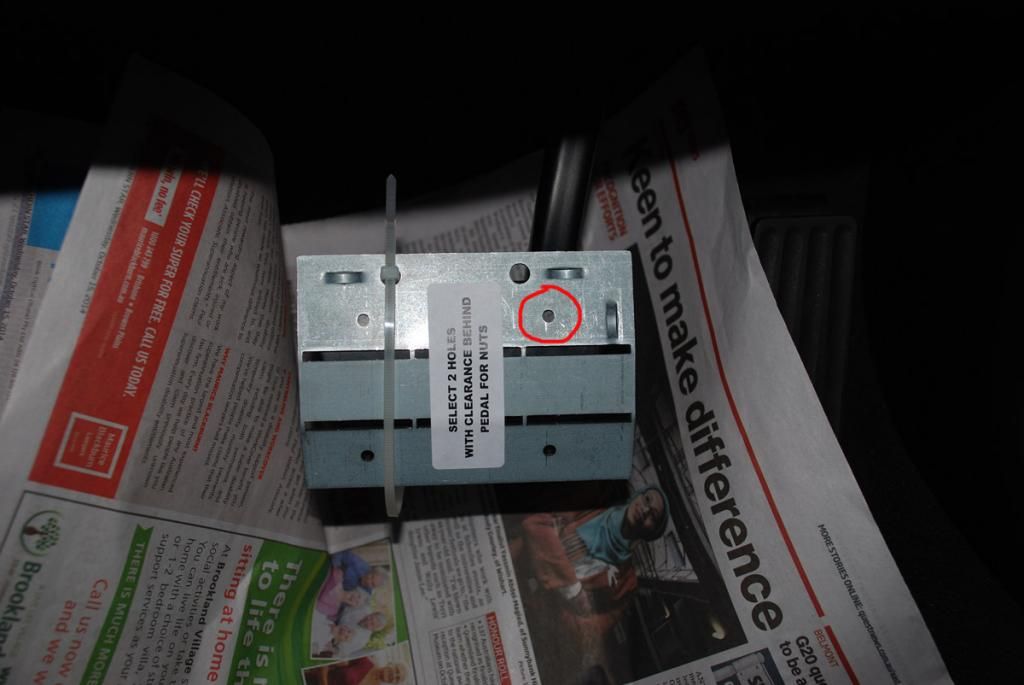 Before install: 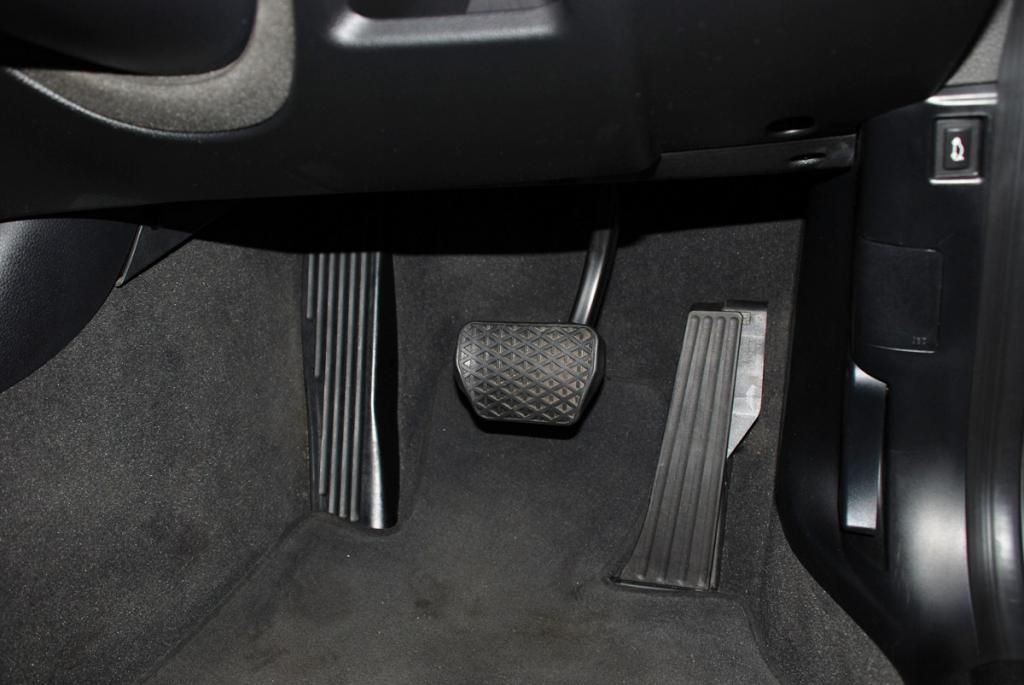 Finished product: 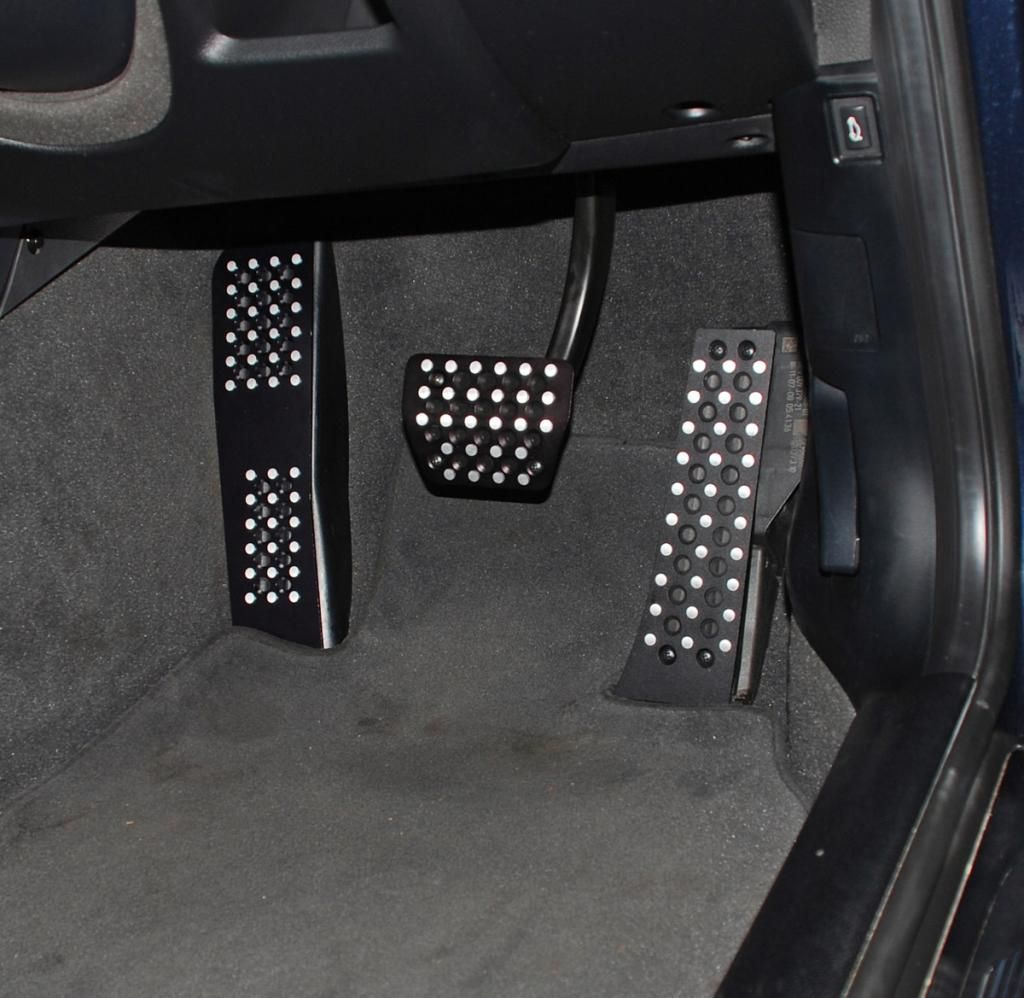 I will try to get a few photos of the complete interior in the next 2-3 weeks as my centre console carbon trim is booked in to be completed shortly. 
__________________
|
|
Appreciate
0
|
| 11-22-2014, 01:21 AM | #26 |
|
Lieutenant
   
77
Rep 541
Posts
Drives: 2008 135i AT Monaco Blue
Join Date: Dec 2012
Location: Brisbane, Australia
|
Time for the next round of updates. I've had quite a bit going on the last month or two.
First up, it's always sad to see your car on the back of a tow truck but unfortunately my water pump failed me about a month ago. Zero warning at all. I was about 10 minutes into a trip on the motorway and I got an engine overheat message, lost all power and had to coast across three lanes into an emergency bay with my hazard lights on. I'm aware this is a common failure item but it is disappointing to see such a crucial part of the car fail after only 66 000km.  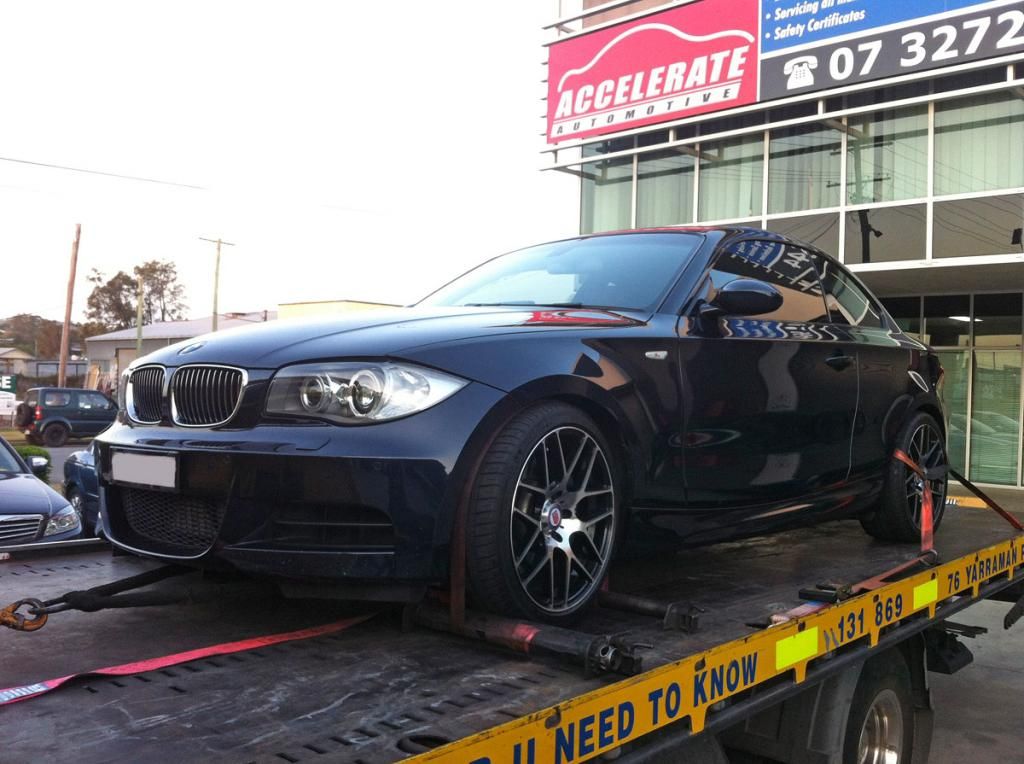 Fortunately I was able to have the car towed to the guys at Accelerate Automotive who diagnosed the car and fixed me up with a new water pump (latest part number), thermostat and coolant. She's good as new now and hopefully reliable for another 66 000km. Thanks go to Alan and Carl at Accelerate who fit me in at zero notice  http://accelerateauto.com/ This failure has got me thinking about replacing the high pressure fuel pump (HPFP) too but hopefully I will at least get some notice (e.g. long cranks) alerting me to its potential failure so I have time to order a new pump from ECS. Now onto more positive updates. I finally got the last part of the 3M vinyl installed on my centre console trim. The interior now finally looks complete and the combination of carbon fiber trim, terra cotta leather and black pedals looks stunning.  I had huge problems trying to source somebody who was willing to wrap the trim for me. I requested quotes from a bunch of places but they were all unwilling to assist for some reason. After almost giving up I stumbled across Tru Blu Tint who were willing to help me out. Truman did a fantastic job wrapping my centre console trim and even tidied up my attempt at the shift knob wrap. Very happy with Truman's work and customer service. I will probably be headed back to him to get a 2 channel dash cam hardwired to my car soon.  http://www.trublutint.com.au/ The finished interior: 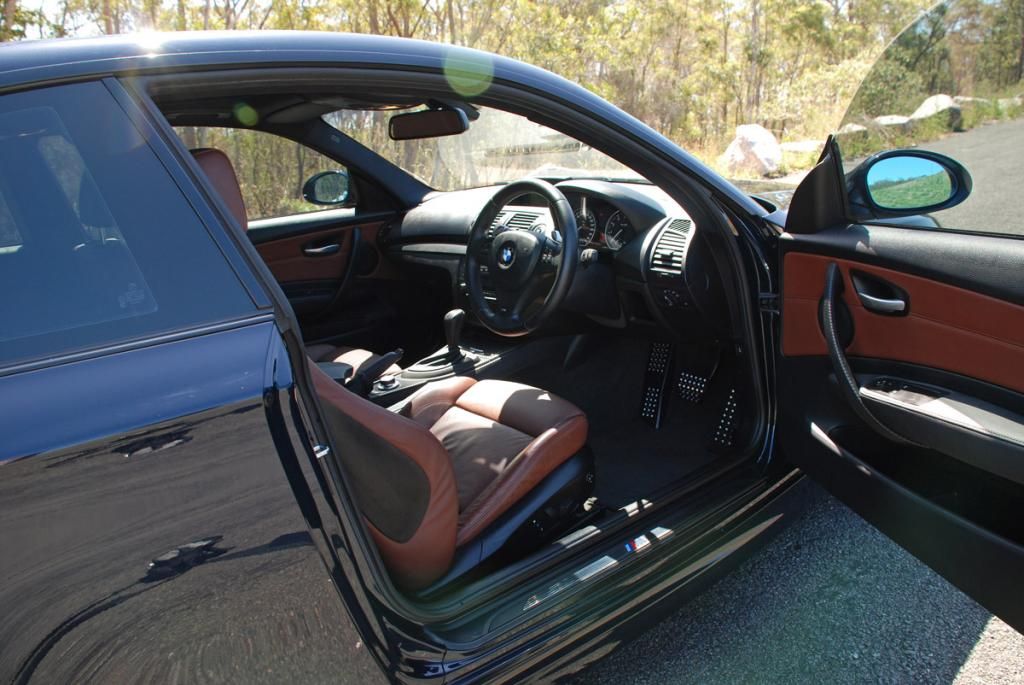 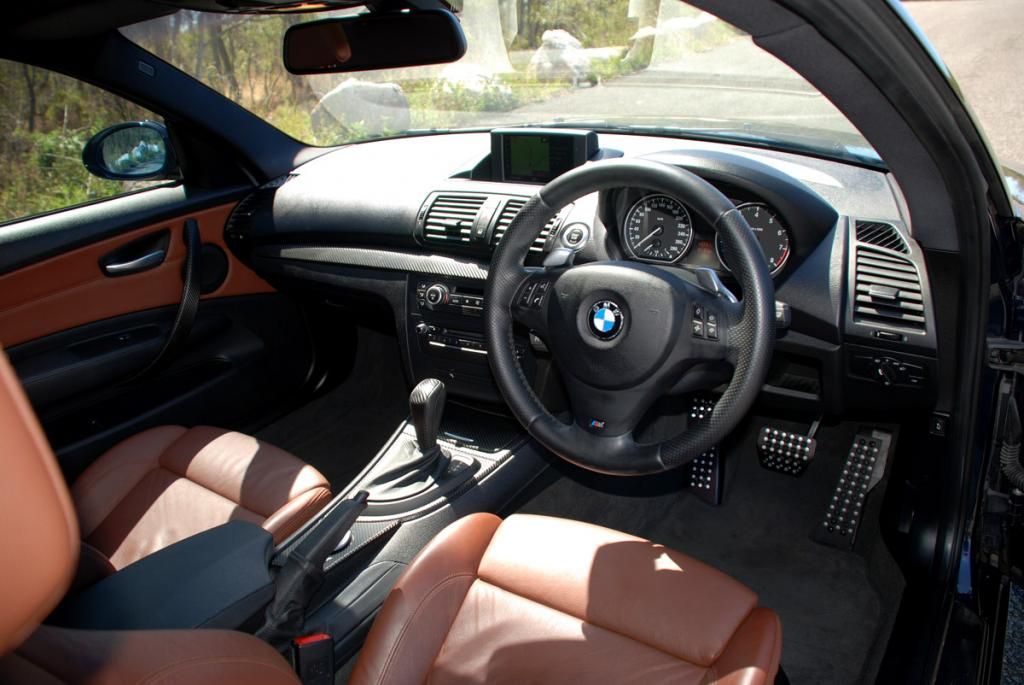 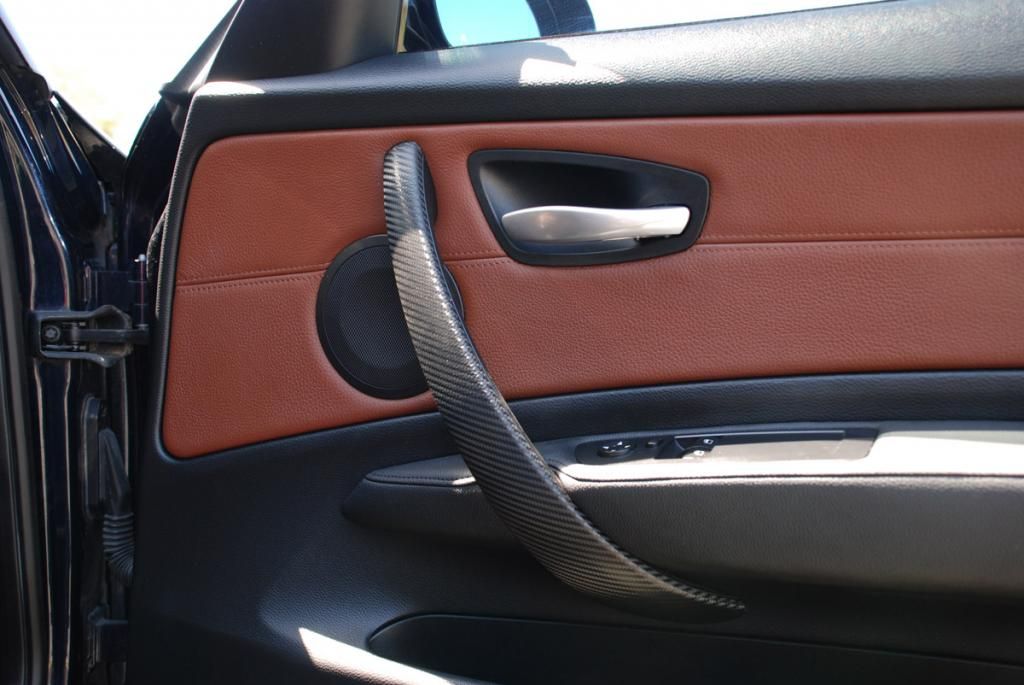 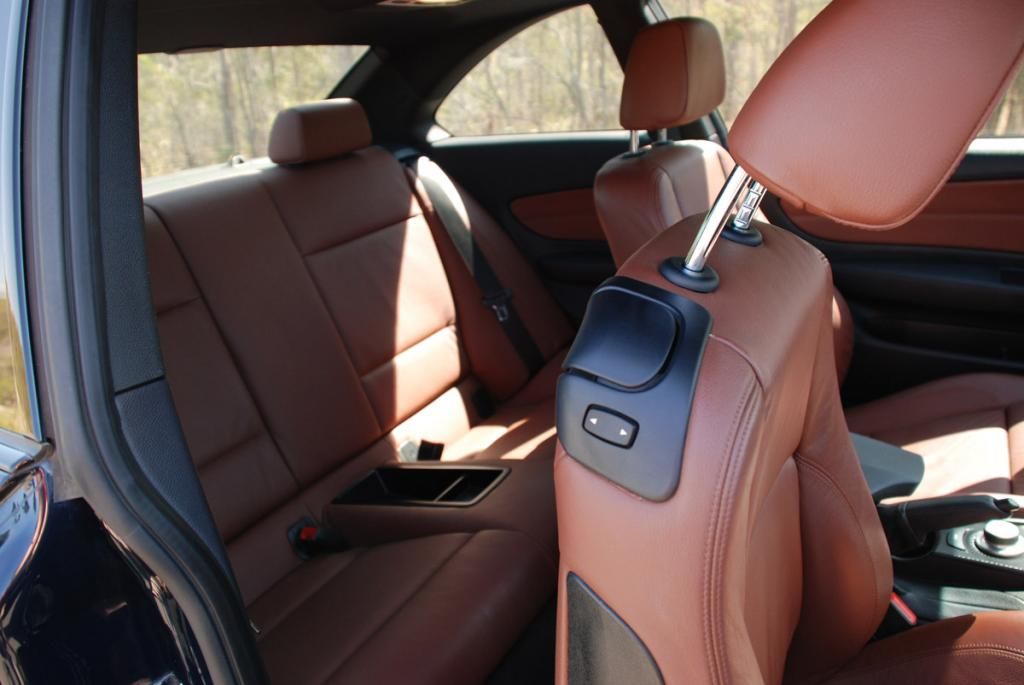 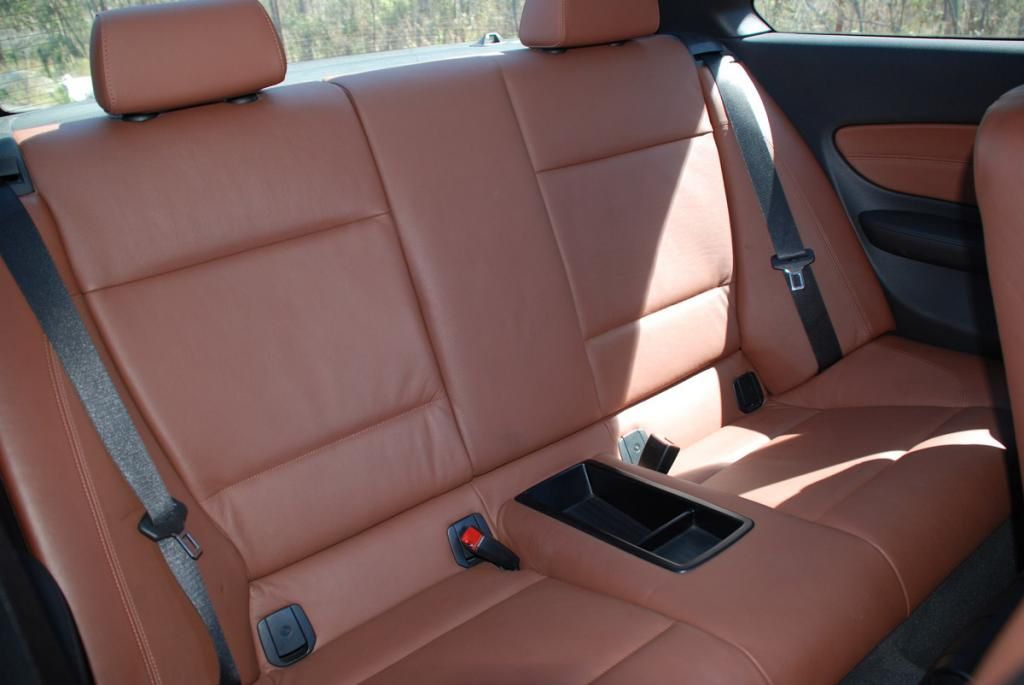 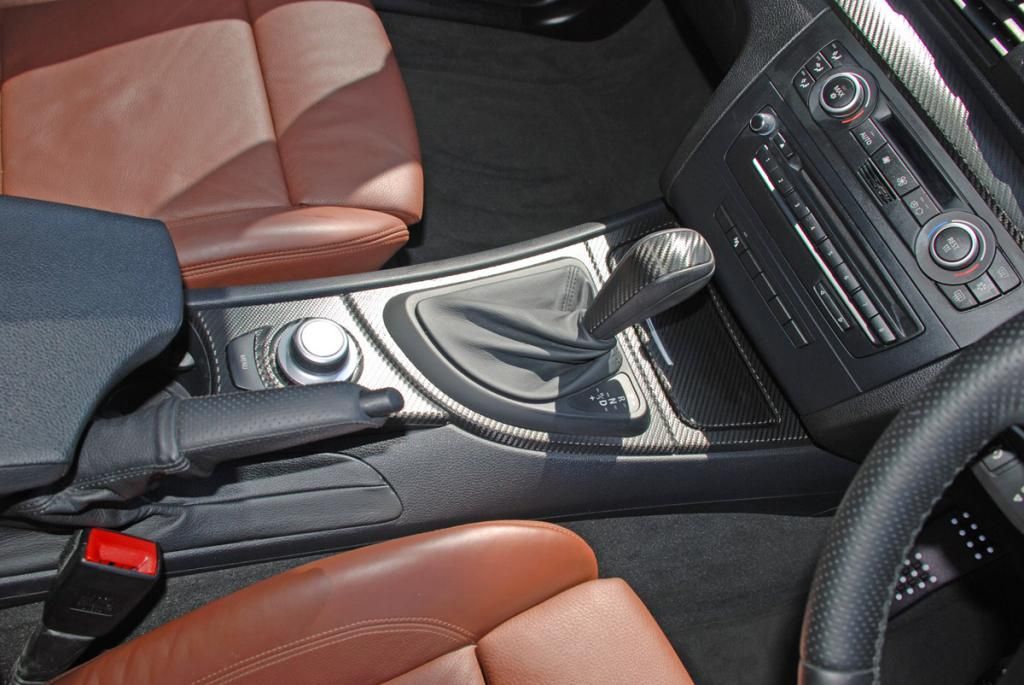 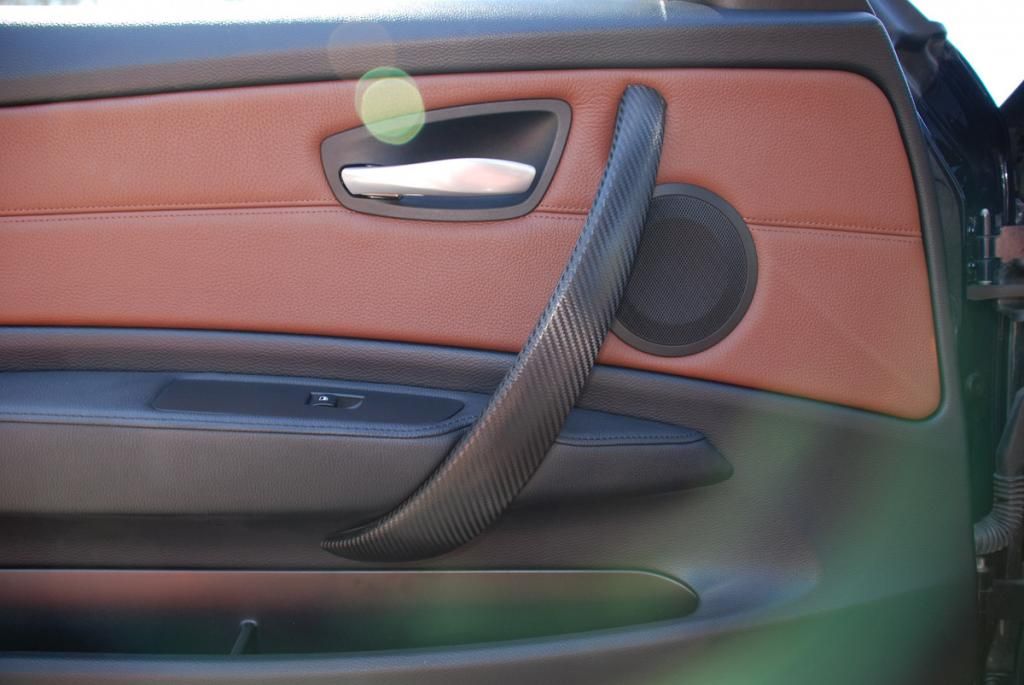 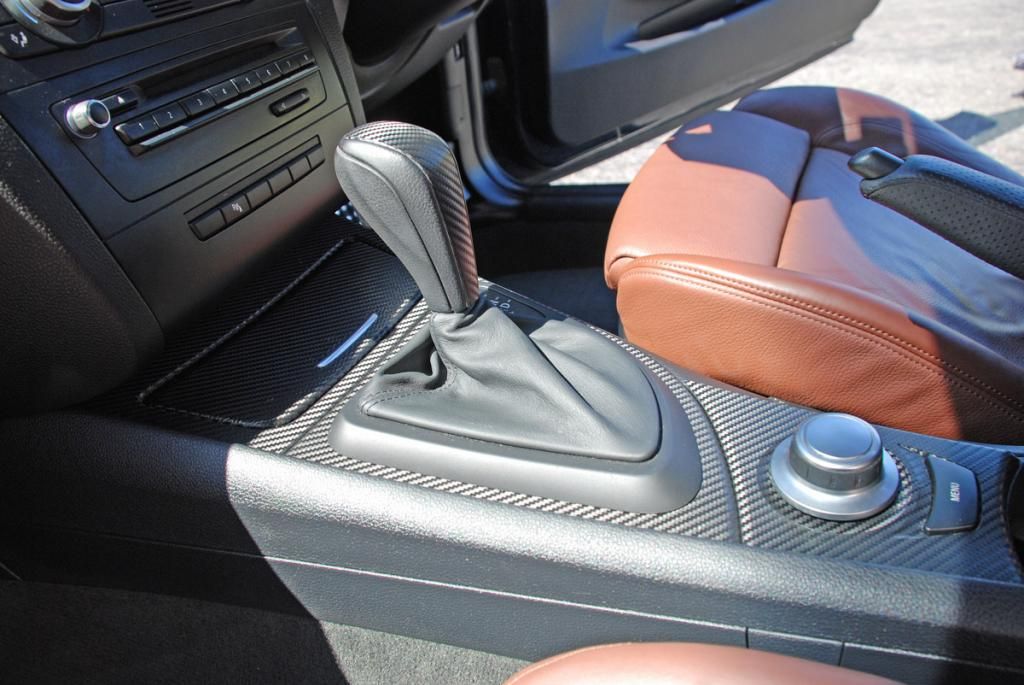 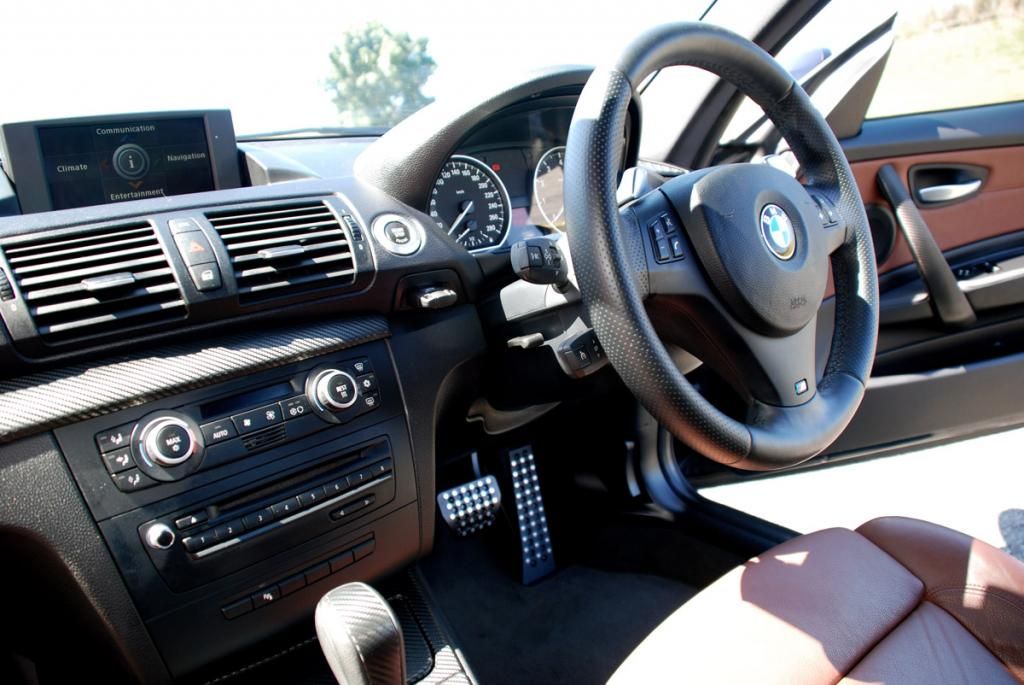 My final update is the one I've been most excited to get completed - my quad exhaust!  This has been on my to-do list ever since I got the car. I just had to decide whether I wanted to proceed with the extra hassle and expense of a centre exit quad i.e. Hartge style, or go with modifying my existing Berk Street axle back exhaust for wide exit quads. I was back and forth with Aaron at Rob Bliss Exhaust Centre re the options and ended up going the latter. The deciding factors for me were I loved my existing exhaust sound (nice and quiet cruising but has a nice bark about 3500rpm) and centre exit diffusers are becoming hard to find. Rob Bliss has designed quads for a number of Brisbane guys on the forum so his experienced exhaust shop was always going to be my top choice. I had them cutout my existing diffuser to allow a quad exit and then I sprayed it in Dulux gloss black myself. This was a very cost effective option and I wanted to maintain that OEM understated look to the car. I can highly recommend Rob Bliss Exhaust Centre for any exhaust work. Aaron was very patient and helpful and they did a great job for a great price.  http://robbliss.com.au/ Here is the finished product showing their workmanship. They essentially ran a stainless cross pipe over to the other side of the car and then welded on the four new tips. I'm very happy with the final look and sound. You can actually hear the exhaust and turbos spooling clearly through the driver's side window through tunnels now.  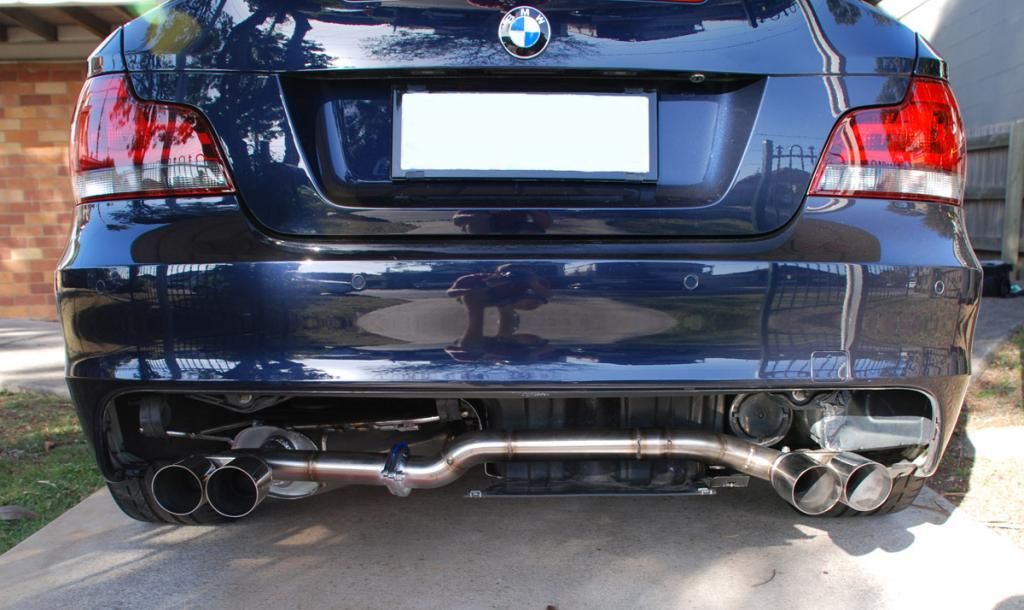 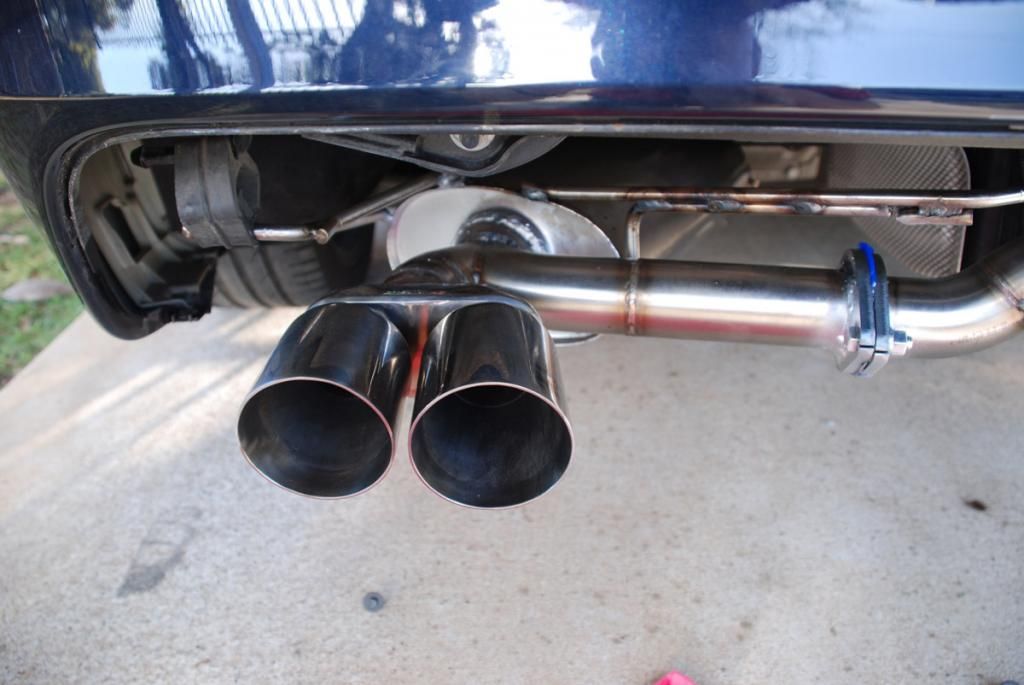 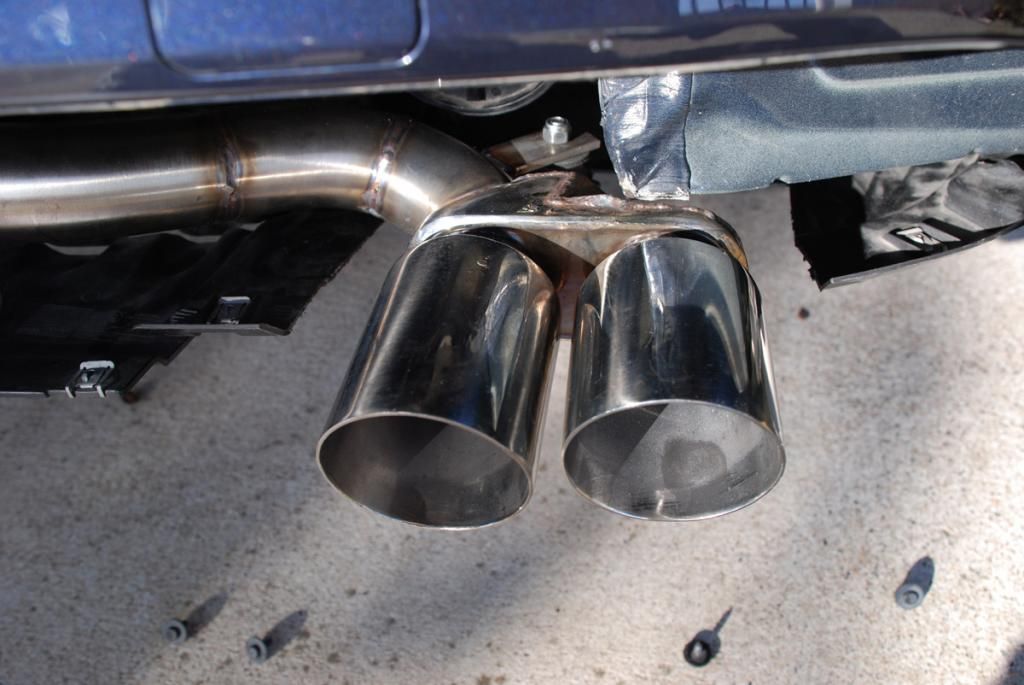 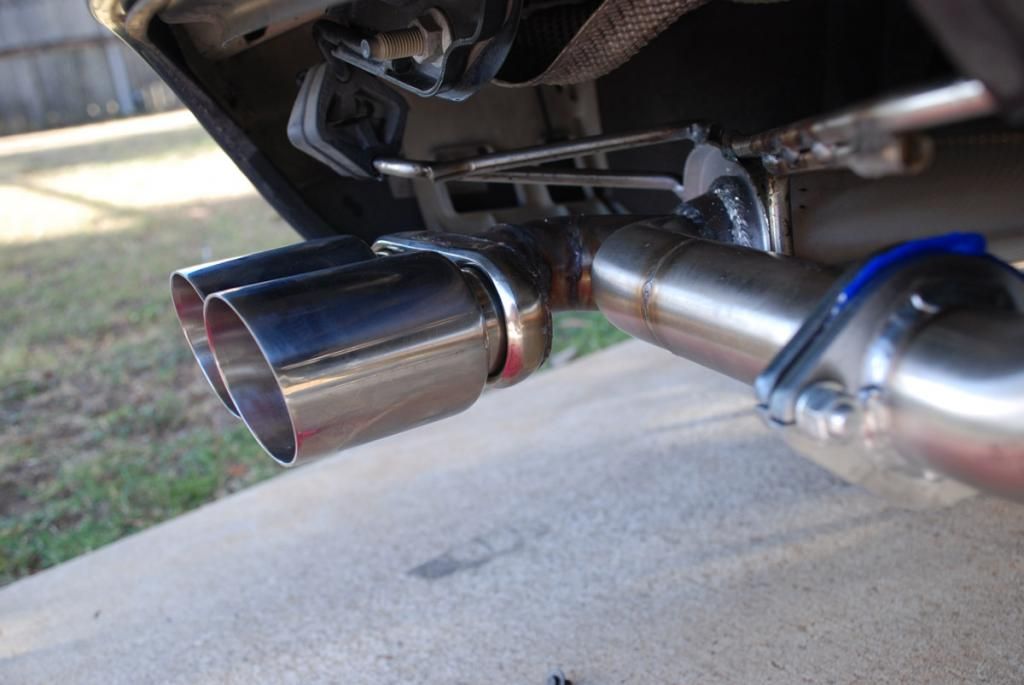 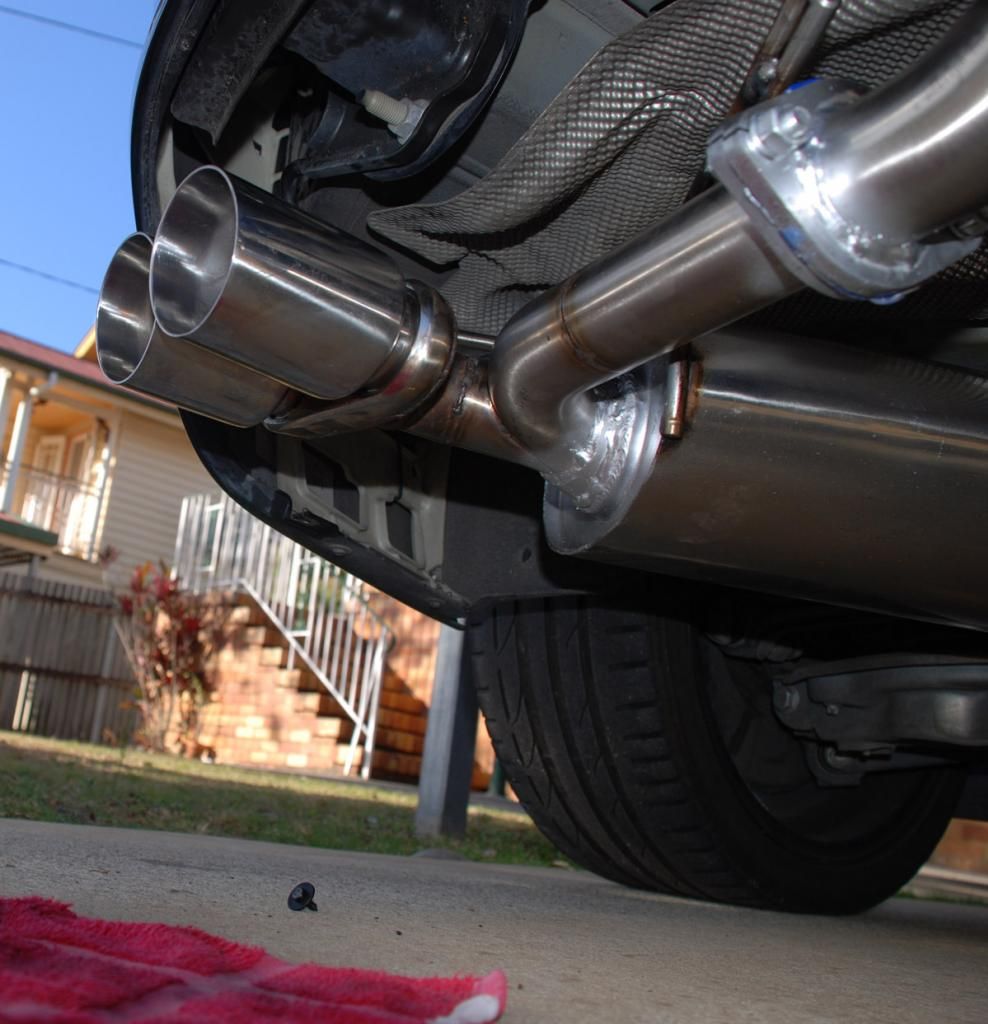 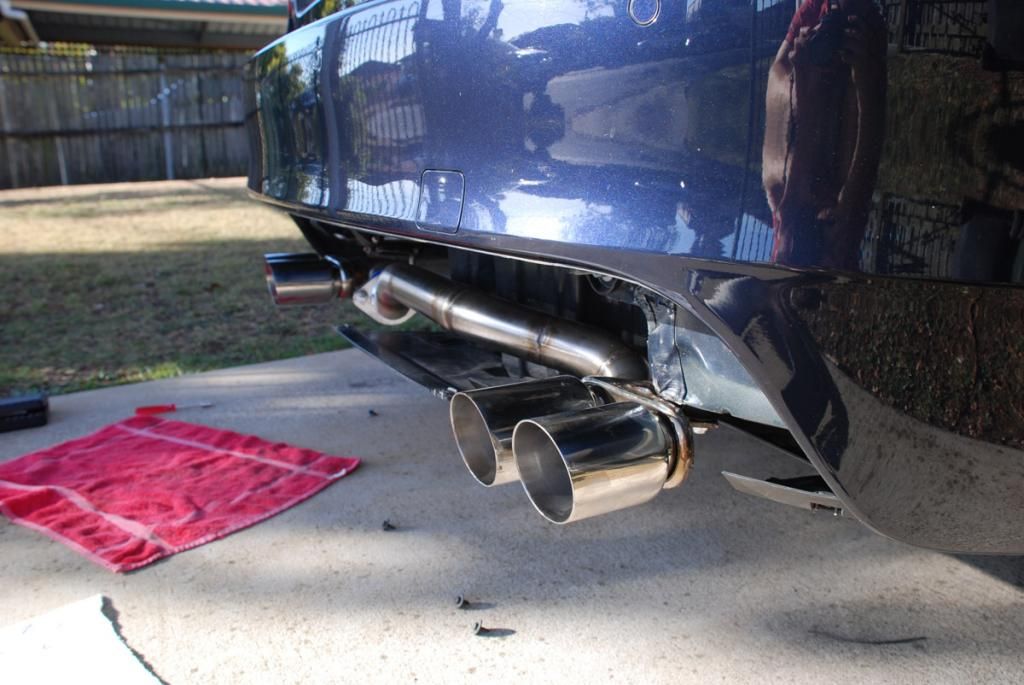 Here's the stock diffuser prior to painting. You can see the six bolts you need to unscrew underneath the body of the car. Also note the eleven clips that mount to the bottom of the bumper. Press into the bumper with your finger and they just pop out one by one. It was very easy to remove and reinstall, even for a beginner like me. 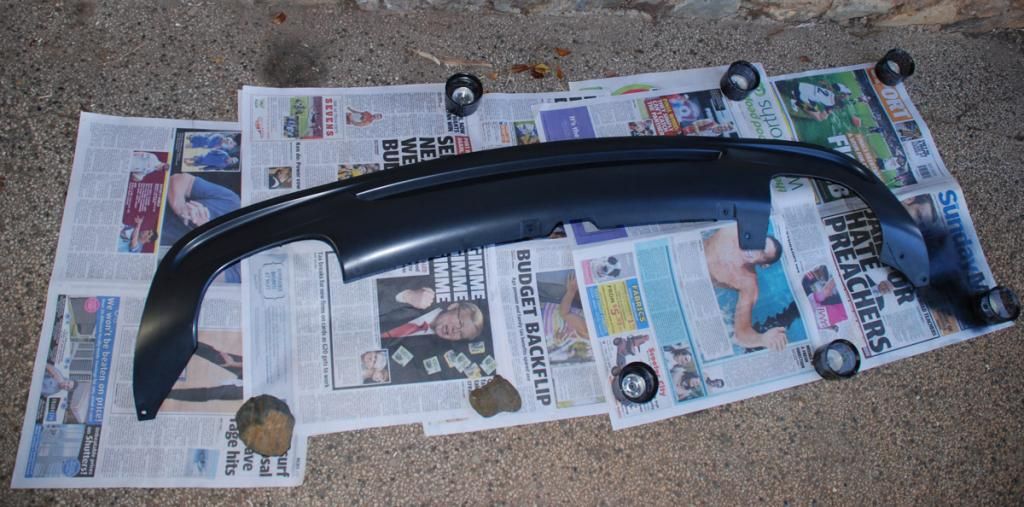 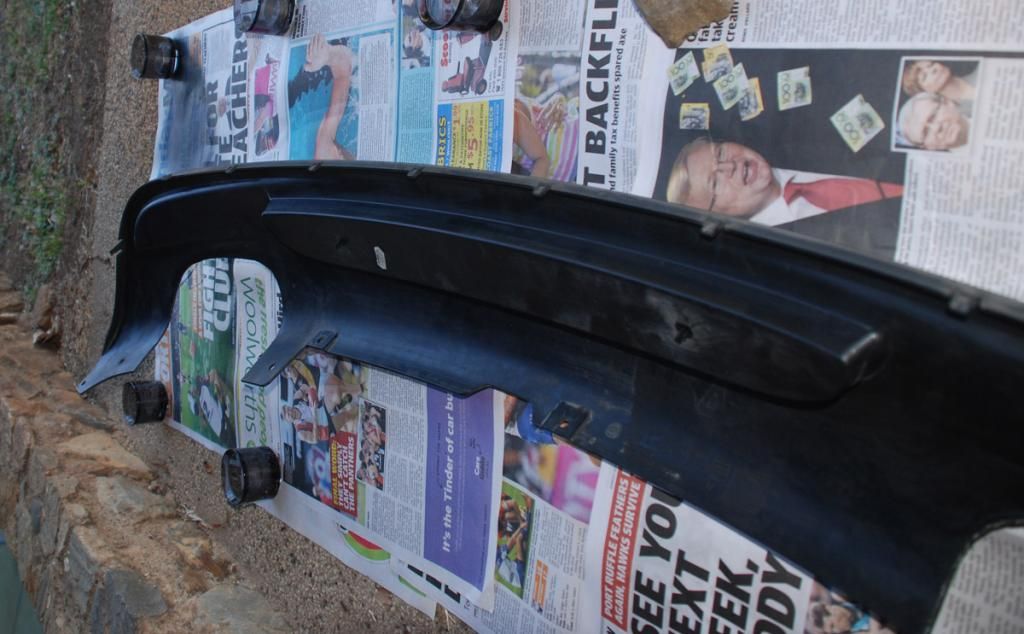 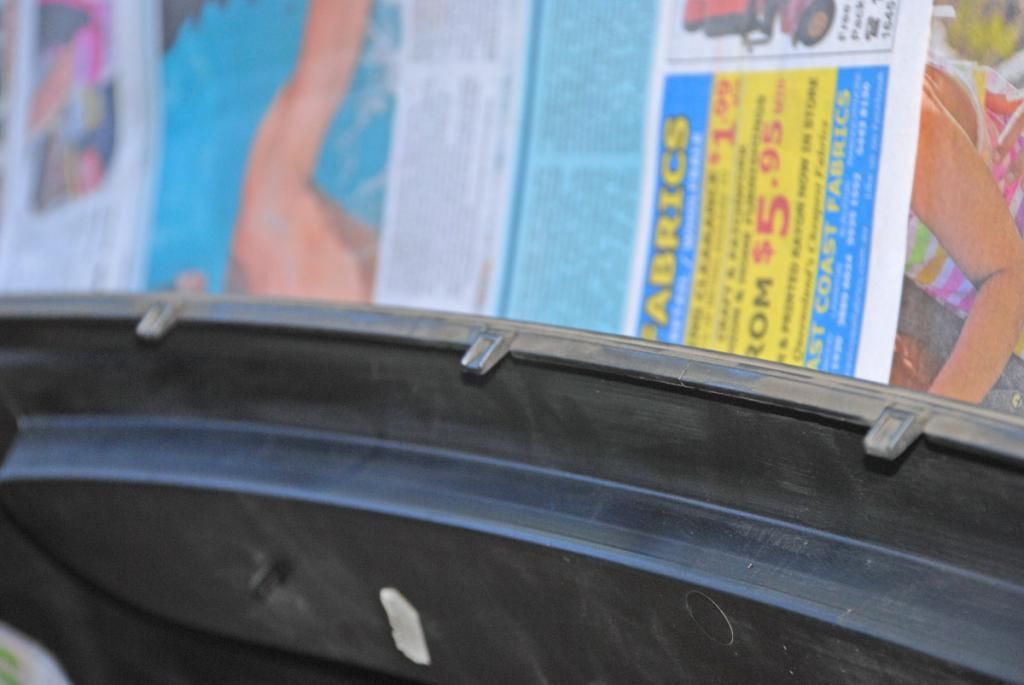 Here's the freshly painted diffuser and finished reinstall. 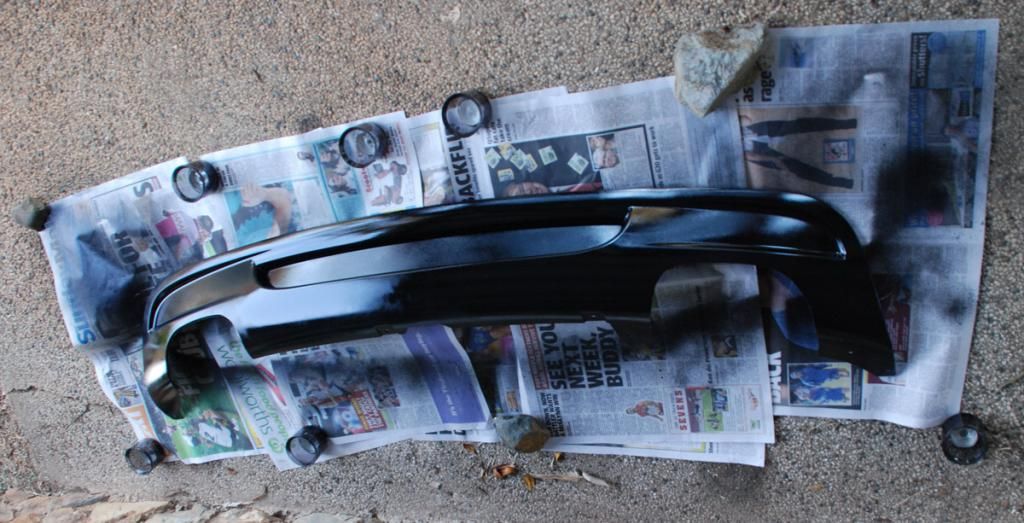 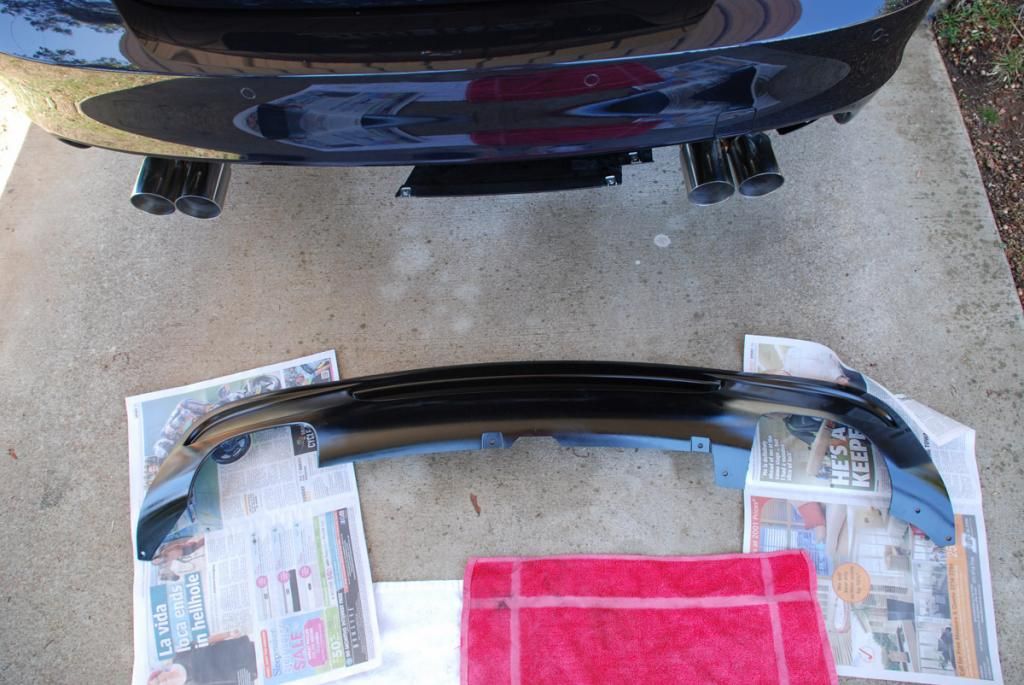 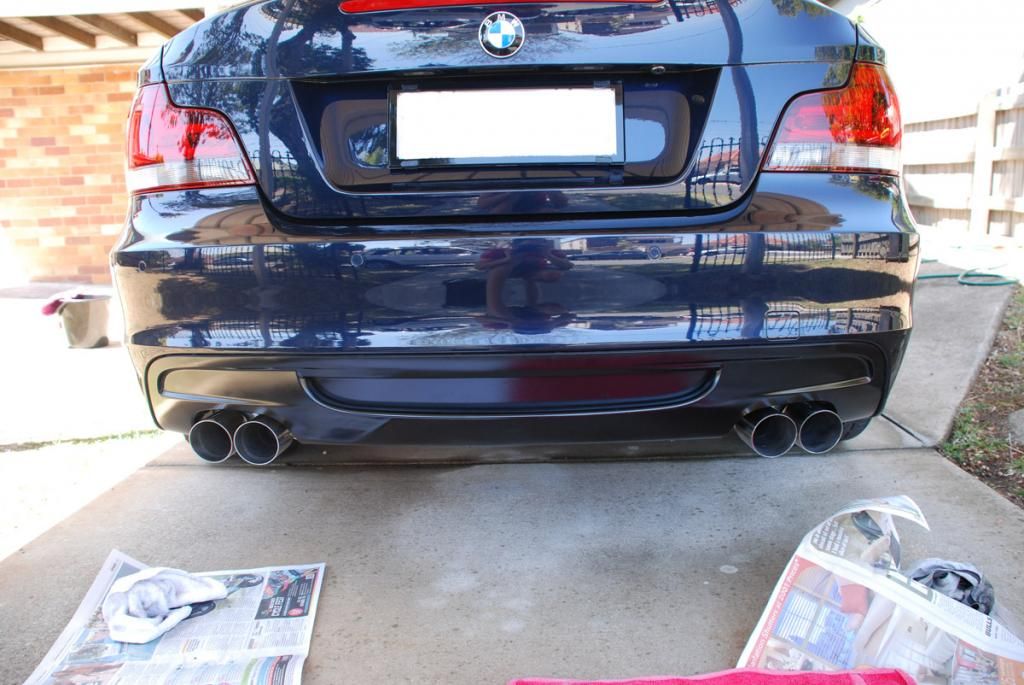 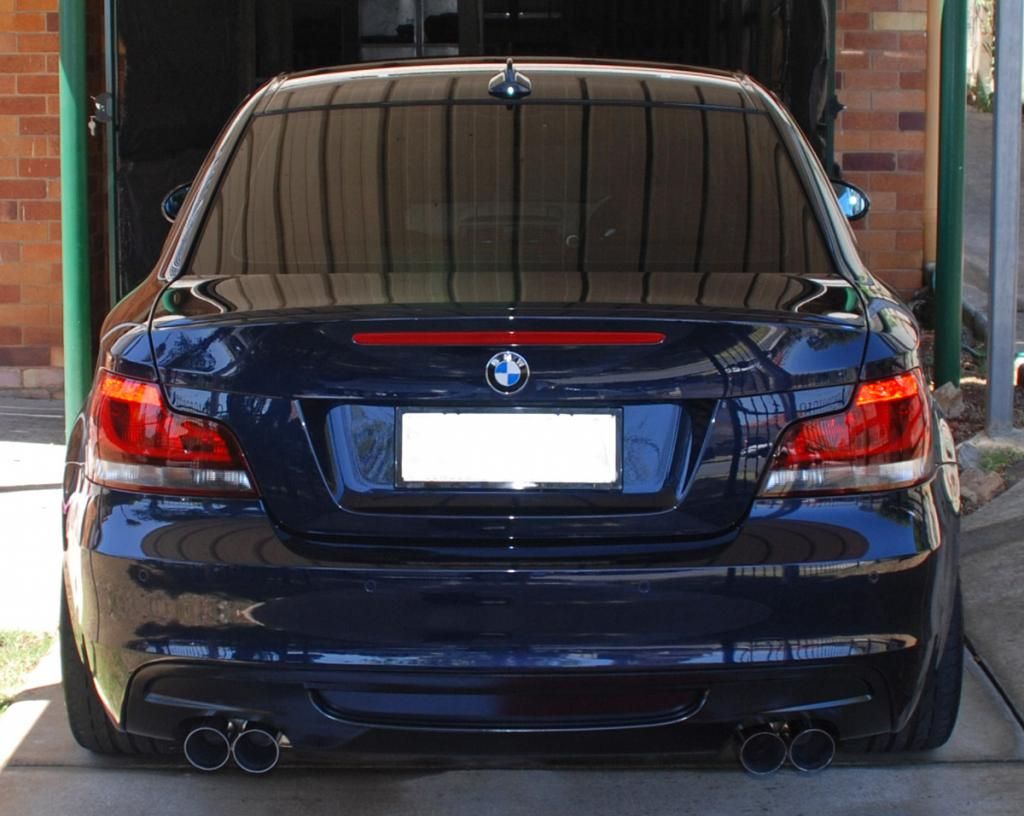 Here's a photo of the quads with standard grey plastic diffuser to show a comparison with the above: 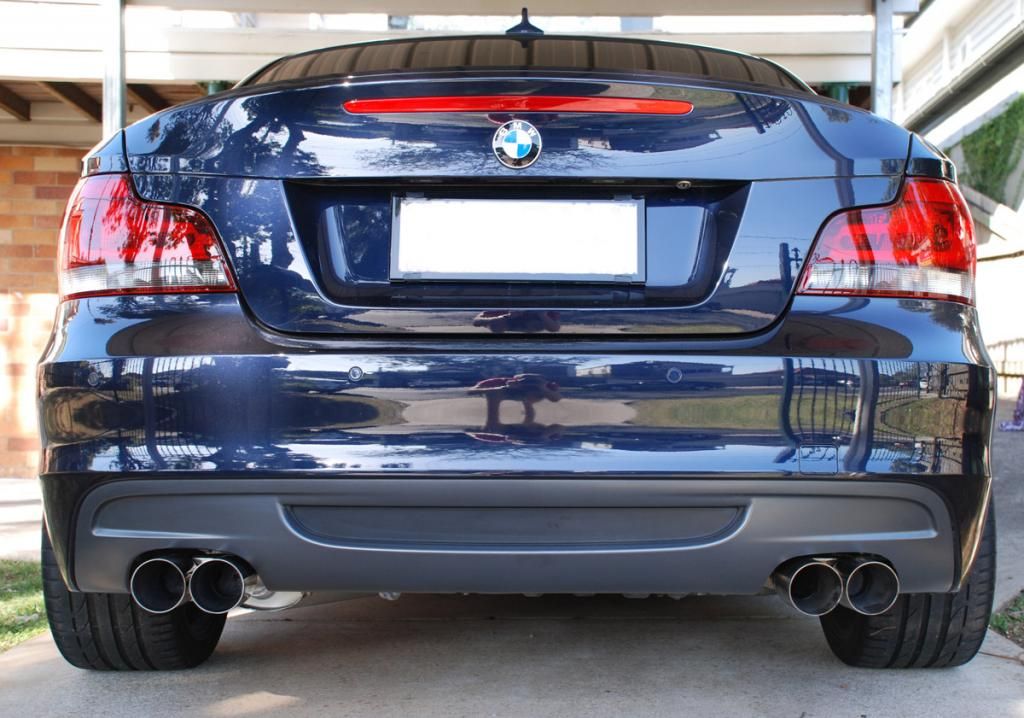 Here's a brief photoshoot showing the car in its latest form. You will see I have added an 'M' badge since the earlier photos. I don't consider this trying to copy a 1M, rather it is now an 'M Performance' model to me. It does have the 1M engine and matching quads to make it half a 1M though.  It was extremely hot and sunny out there so there is some glare in a number of the photos. I think the shots do a good job of showing off the ever-changing Monaco Blue paint though. I do intend to take it out for another shoot later in the afternoon/evening as that's when I feel the paint is at its best. It borders on jet black under sunset. 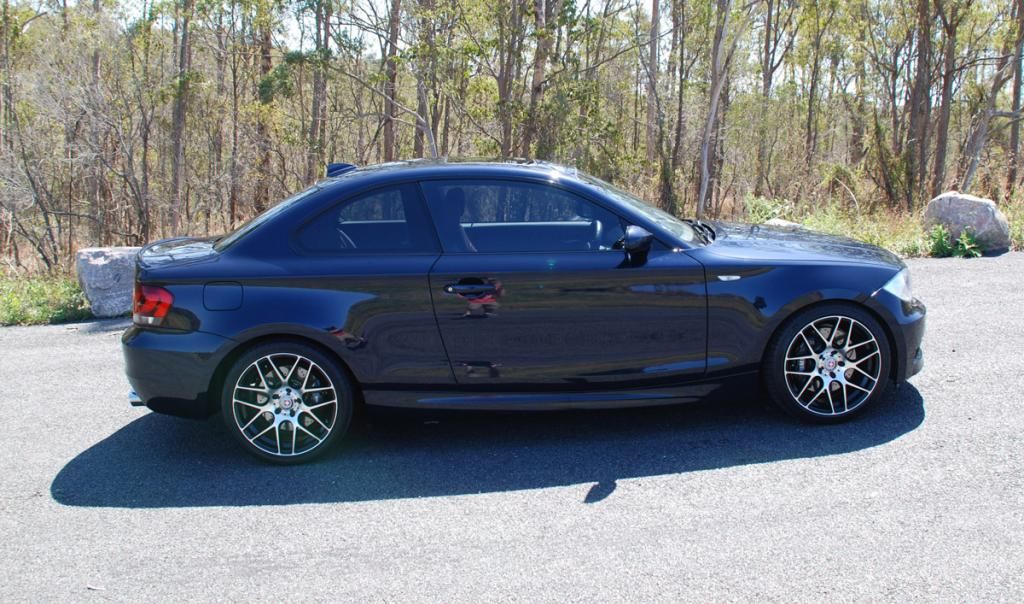 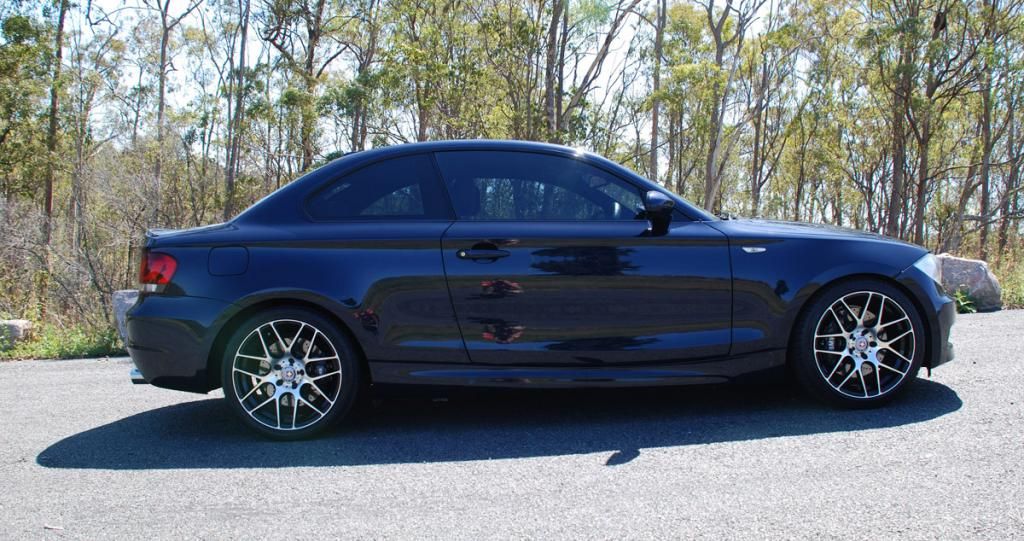 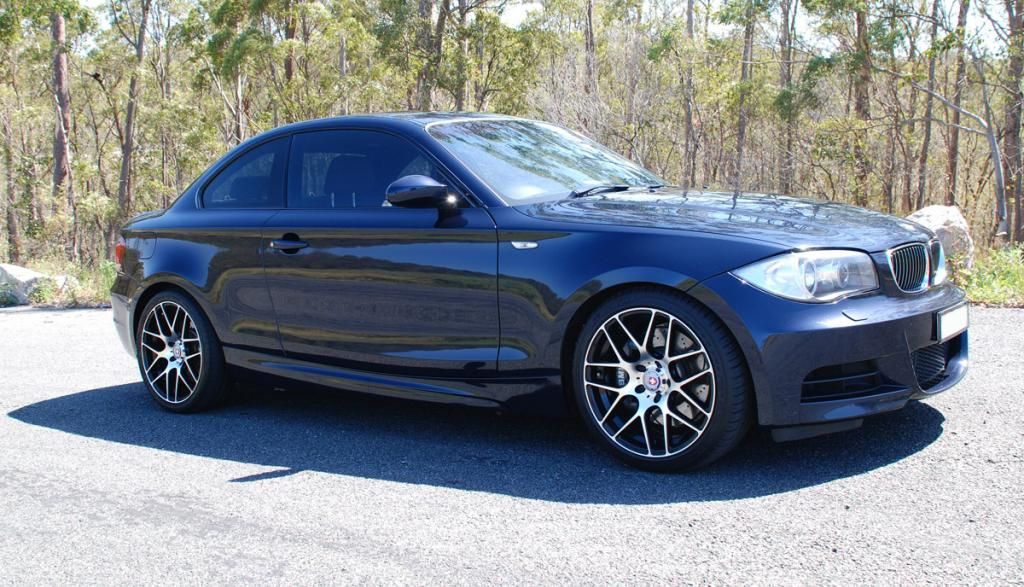 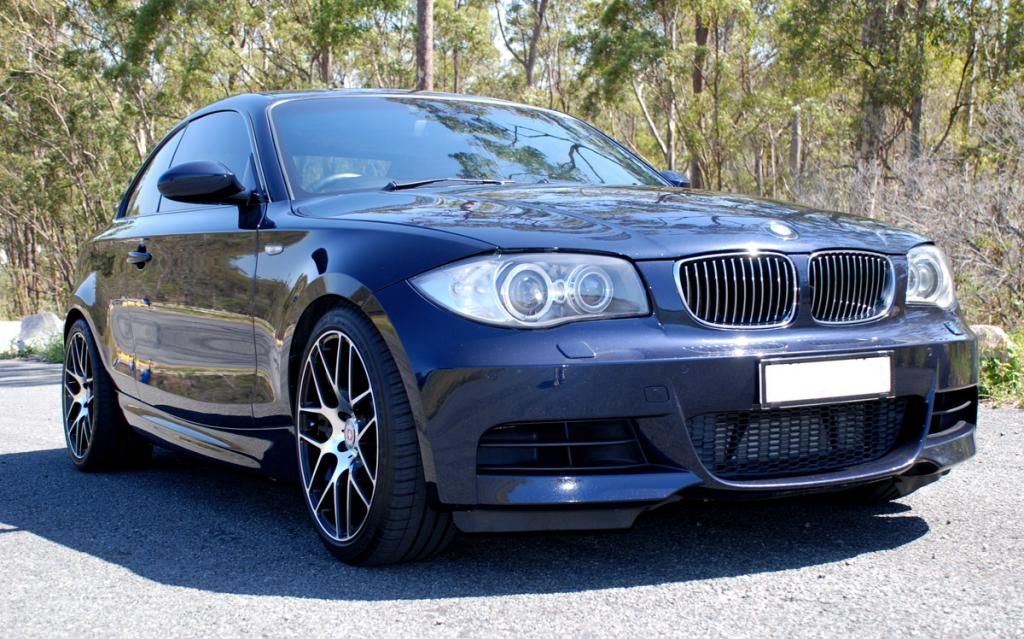 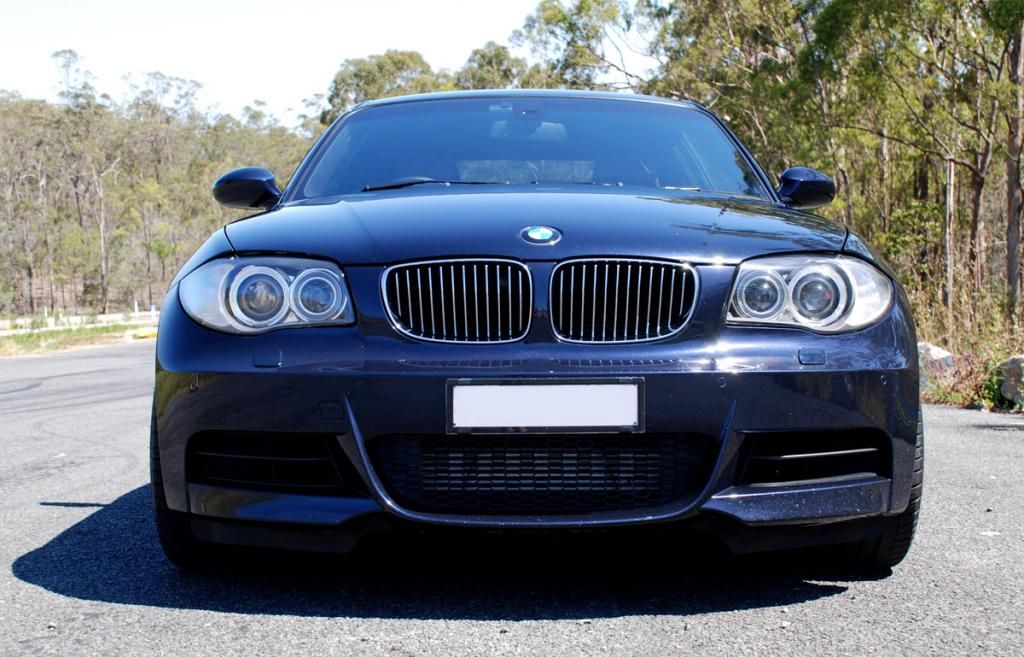 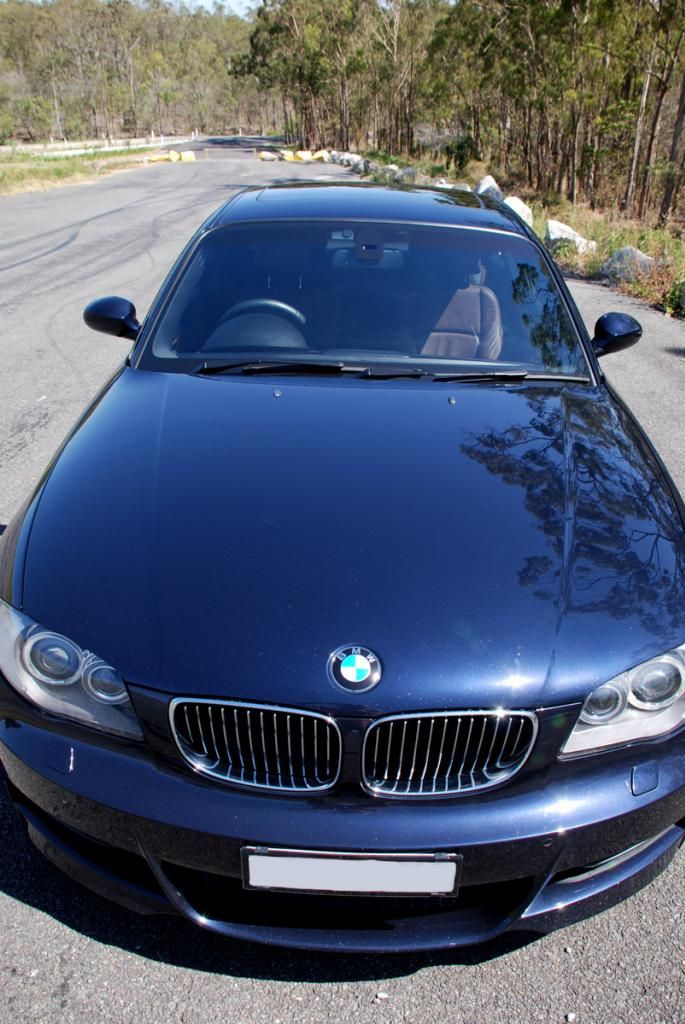 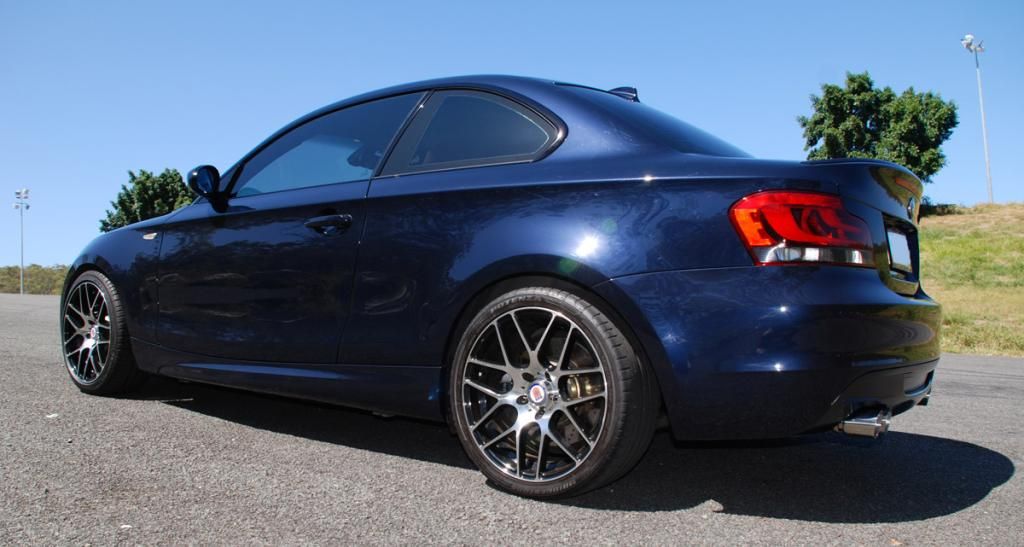 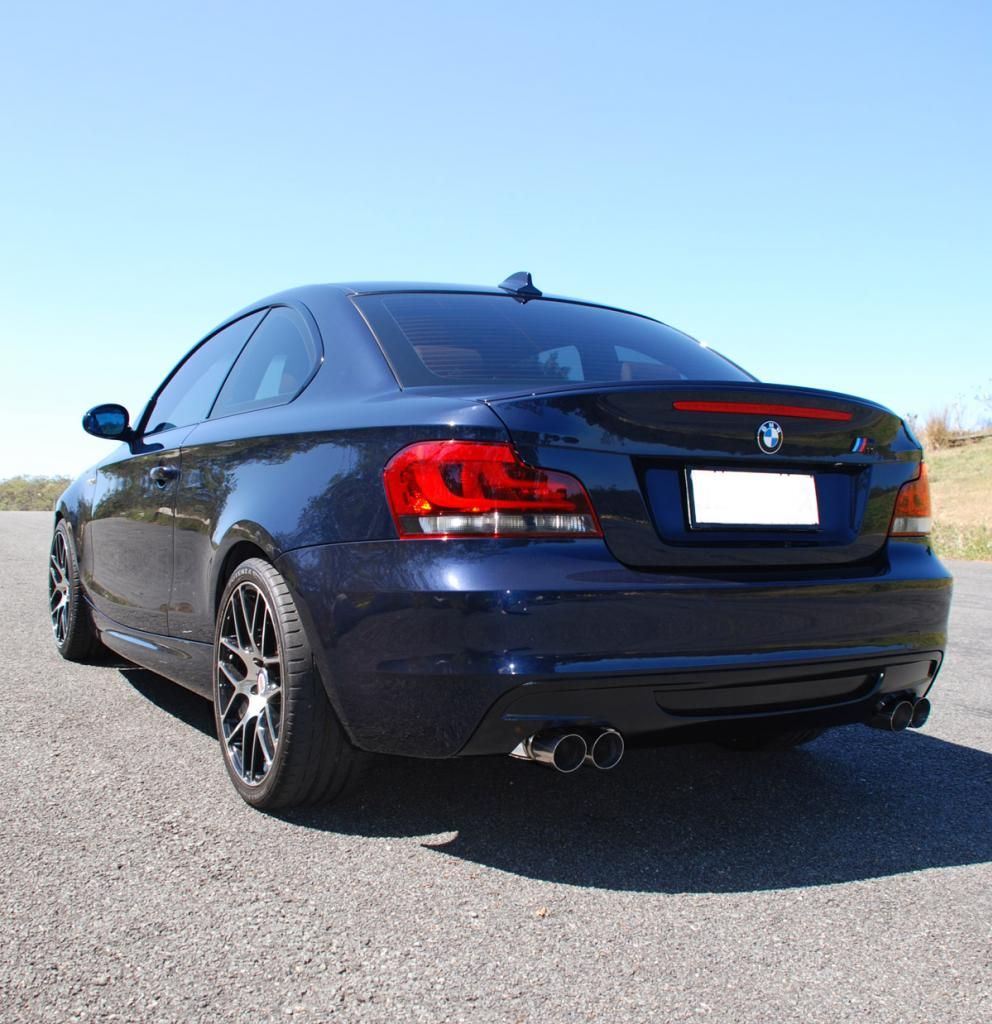 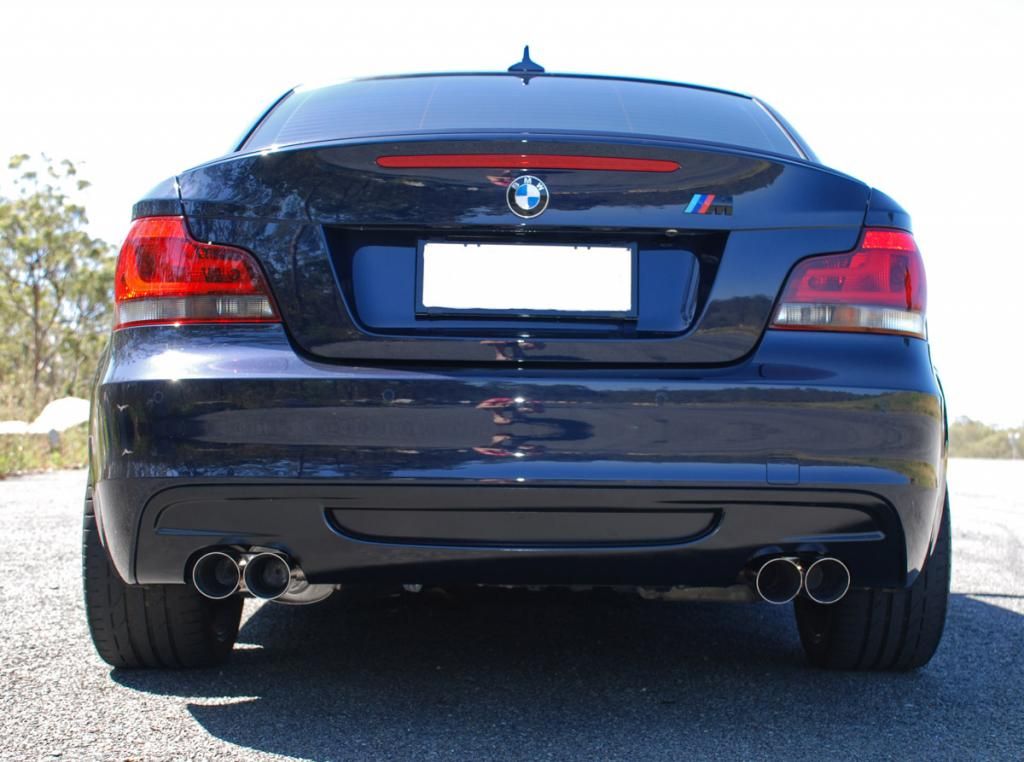 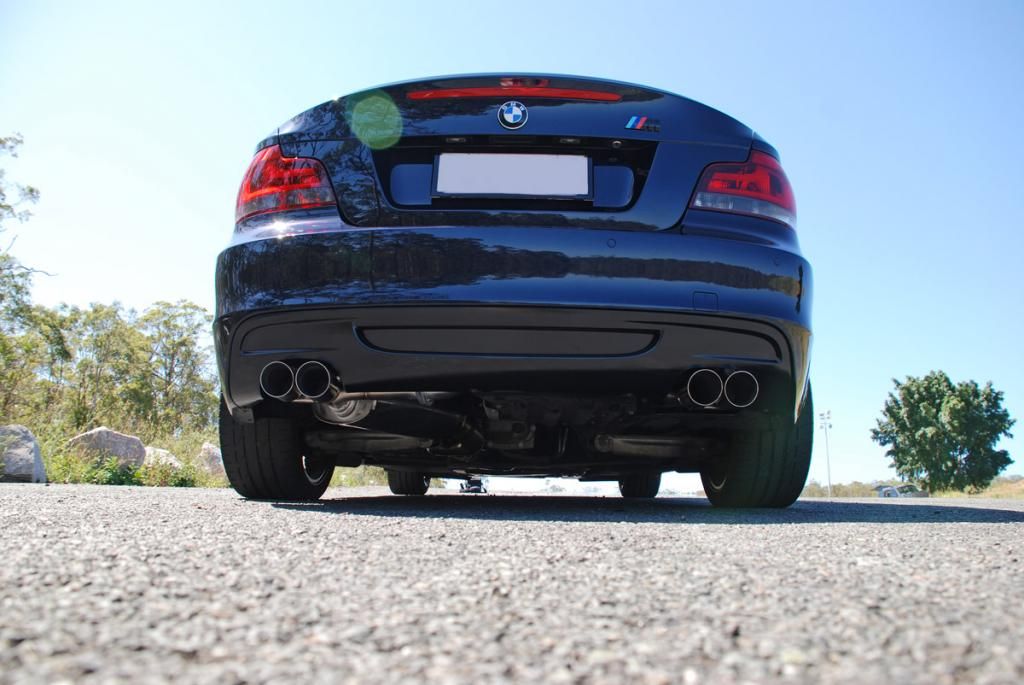 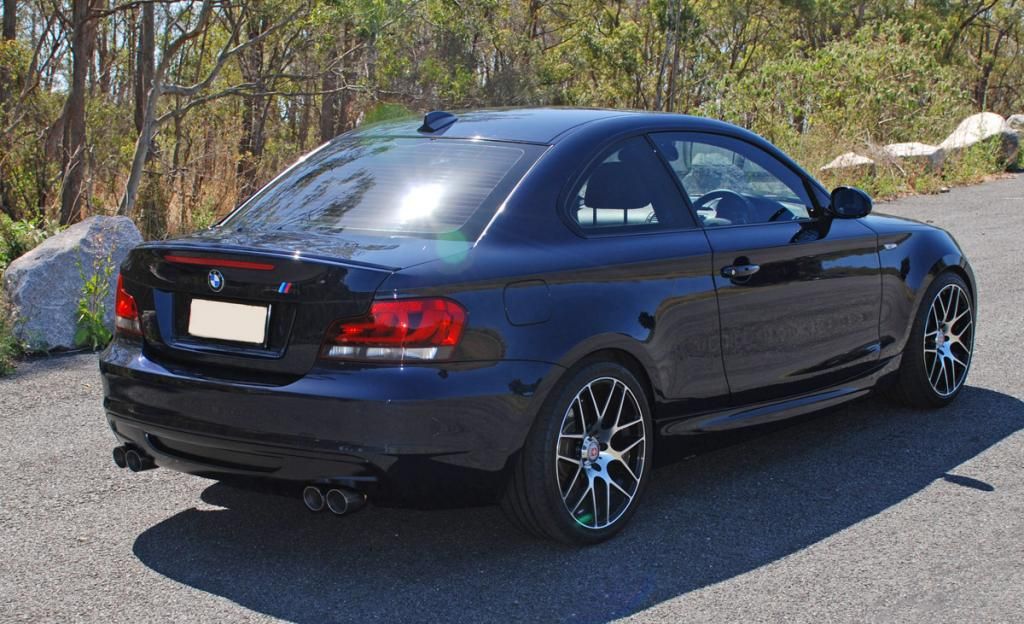 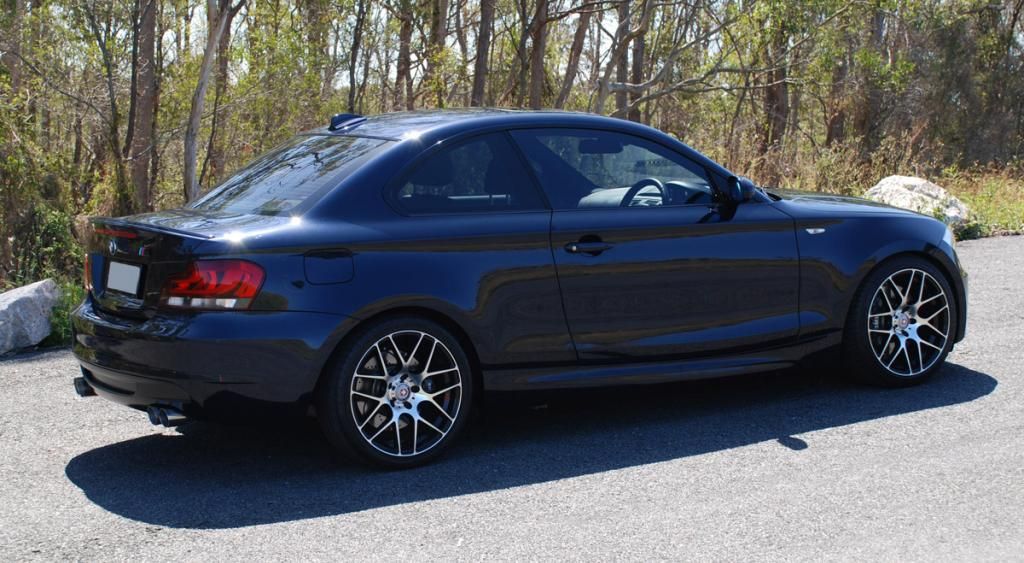 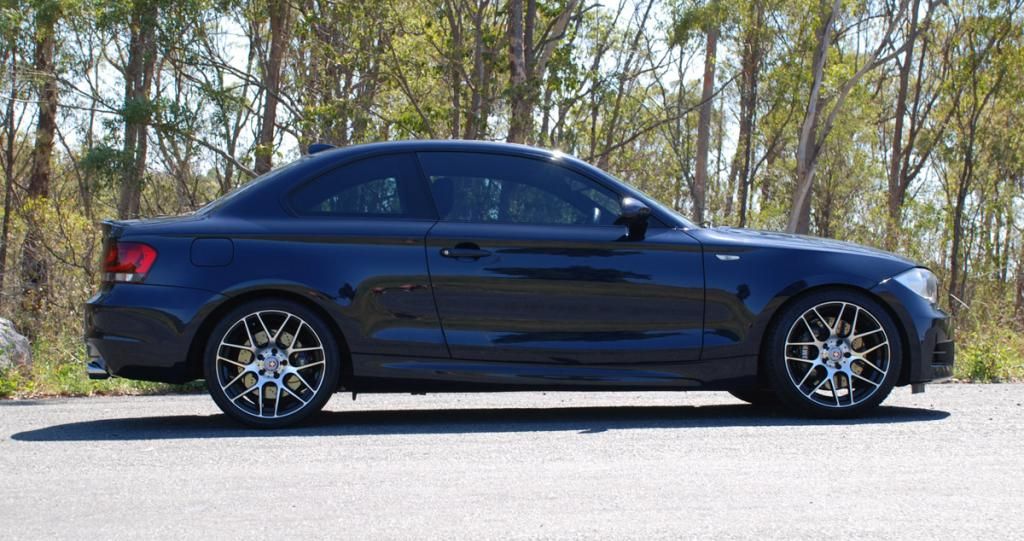 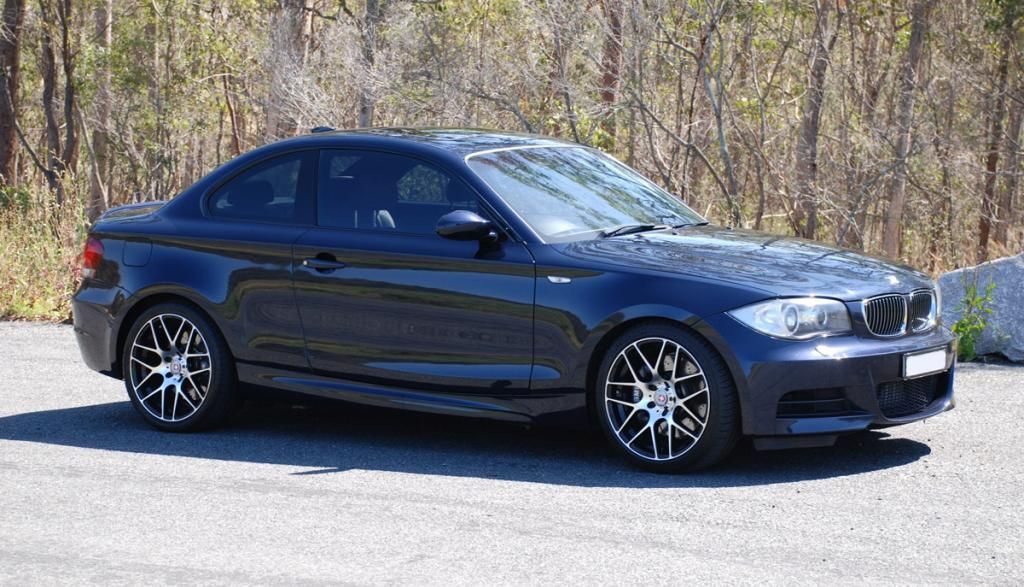 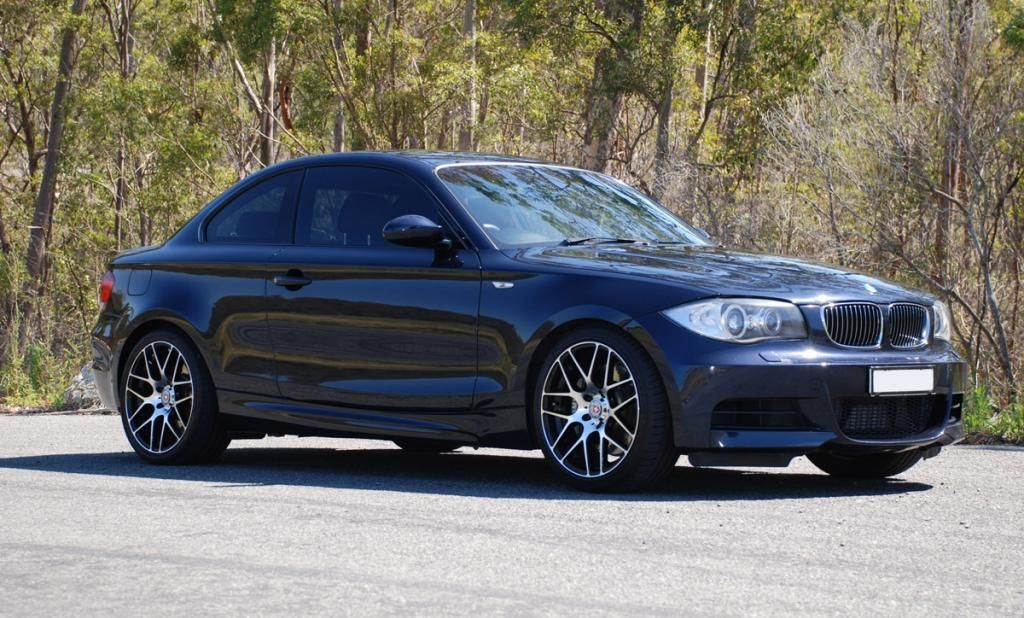 Next up will be a dash cam install (I'm leaning towards the newly released Powerucc Panorama X2 2 channel cam) and then just keep enjoying the car. Along with an oil change and new spark plugs, I will need a new set of tyres in the next 6 months so perhaps a set of Bilstein B14's and Whiteline subframe inserts could be bolted in at the same time. Time will tell. 
__________________
|
|
Appreciate
0
|
| 11-23-2014, 01:09 AM | #29 | ||
|
Lieutenant
   
77
Rep 541
Posts
Drives: 2008 135i AT Monaco Blue
Join Date: Dec 2012
Location: Brisbane, Australia
|
Quote:
Quote:

__________________
|
||
|
Appreciate
0
|
| 11-23-2014, 05:37 AM | #30 |
|
Brigadier General
 
1688
Rep 3,140
Posts
Drives: 2014 M5 6MT
Join Date: Nov 2013
Location: Massachusetts
|
Beautiful car! Loose the //M badge!
__________________
2014 M5 6MT
 |
|
Appreciate
0
|
| 12-01-2014, 06:55 AM | #32 |
|
Lieutenant
   
77
Rep 541
Posts
Drives: 2008 135i AT Monaco Blue
Join Date: Dec 2012
Location: Brisbane, Australia
|
Thanks Saiba. I agree the colour alone transforms the stock diffuser. I went with 2-3 coats of gloss black but it almost has a dark gunmetal colour about it in photos. Adding 1-2 extra coats would probably make it closer to black but I think it contrasts nicely with the Monaco Blue paint as is, especially at night where both look a different shade of black.

__________________
|
|
Appreciate
0
|
| 12-01-2014, 07:18 AM | #34 |
|
Lieutenant
   
77
Rep 541
Posts
Drives: 2008 135i AT Monaco Blue
Join Date: Dec 2012
Location: Brisbane, Australia
|
Personal preference. My steering wheel and door sills already have M badges from the factory. The boot badge signifies my 'M Performance' model rather than mimicking an all out M-car.

__________________
|
|
Appreciate
0
|
| 12-01-2014, 04:41 PM | #36 |
|
1Addict
3234
Rep 7,894
Posts |
How does the exhaust sound with it modified to add the right side exit? Any change?
Loving the initiative on that. Great idea.
__________________
|
|
Appreciate
0
|
| 12-02-2014, 02:55 AM | #37 | |
|
Lieutenant
   
77
Rep 541
Posts
Drives: 2008 135i AT Monaco Blue
Join Date: Dec 2012
Location: Brisbane, Australia
|
Quote:

__________________
|
|
|
Appreciate
0
|
| 12-02-2014, 11:06 AM | #38 |
|
Captain
    49
Rep 970
Posts
Drives: 2013 135is/6, 1995 540i/6
Join Date: Jul 2013
Location: SF Bay
|
Nice ride, but lose the M-badge and the HRE caps. You also might want to do a custom diffuser, as having the cut-out on one side only looks off.
__________________
2013 Black Sapphire 135is (526/586)
1995 Jet Black 540i Past cars: 94 530i, 95 530iT, 09 328i, 90 325i  Last edited by Worra; 12-02-2014 at 12:48 PM.. |
|
Appreciate
0
|
| 12-07-2014, 06:24 AM | #39 |
|
Lieutenant
   
77
Rep 541
Posts
Drives: 2008 135i AT Monaco Blue
Join Date: Dec 2012
Location: Brisbane, Australia
|
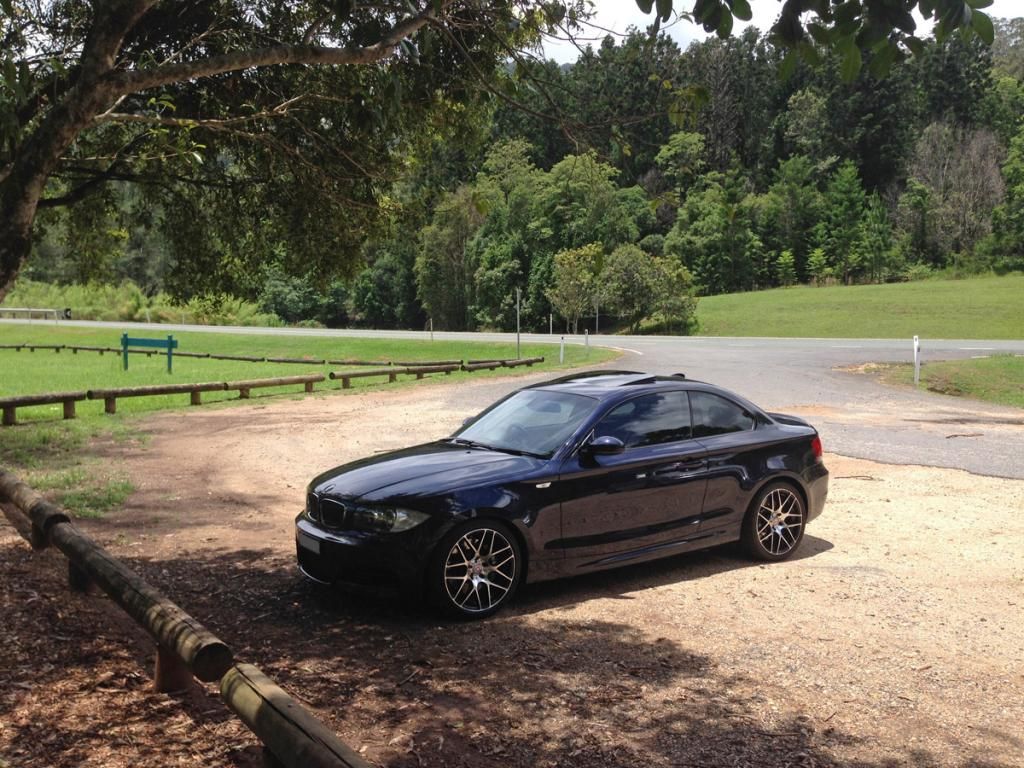
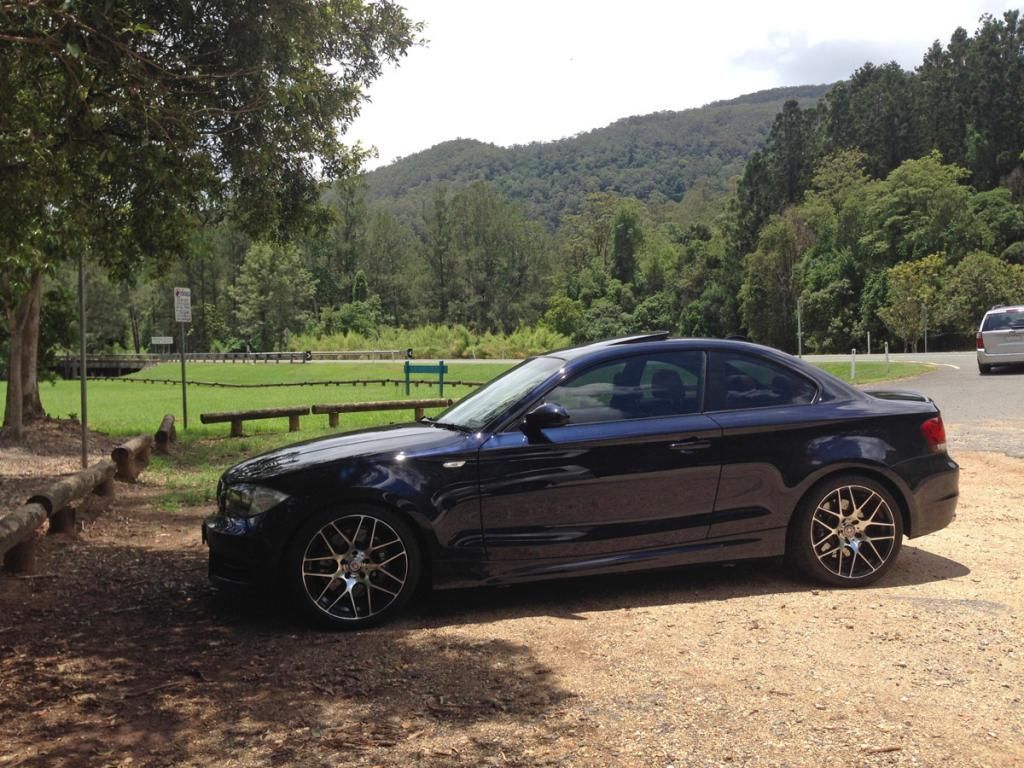
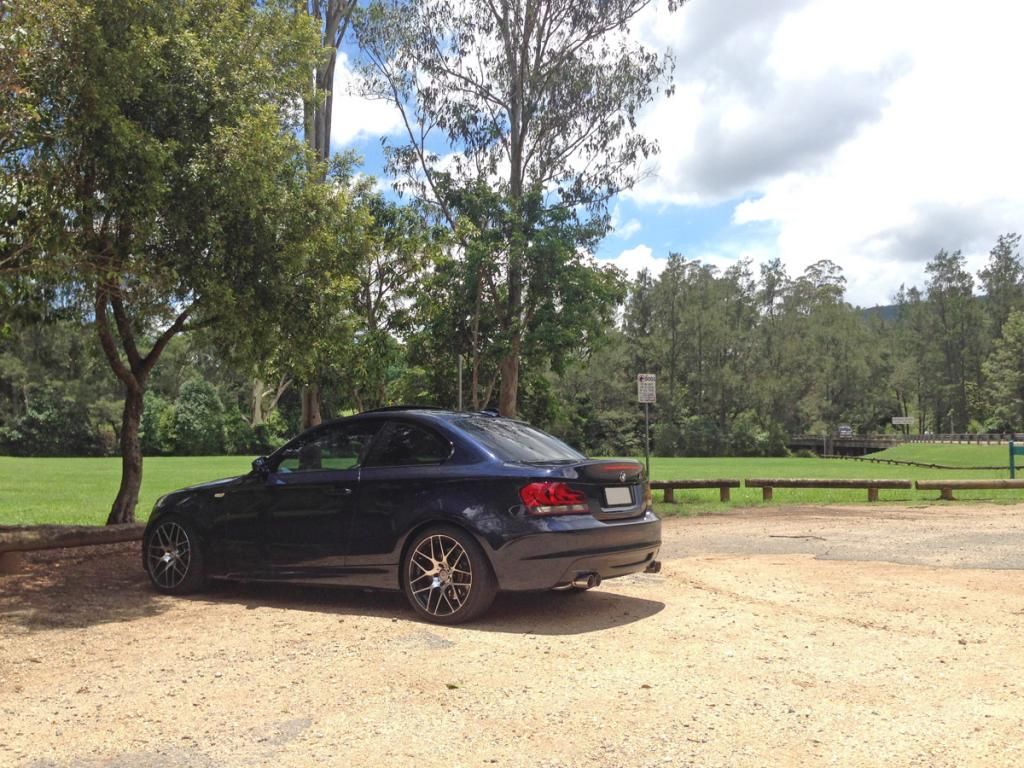
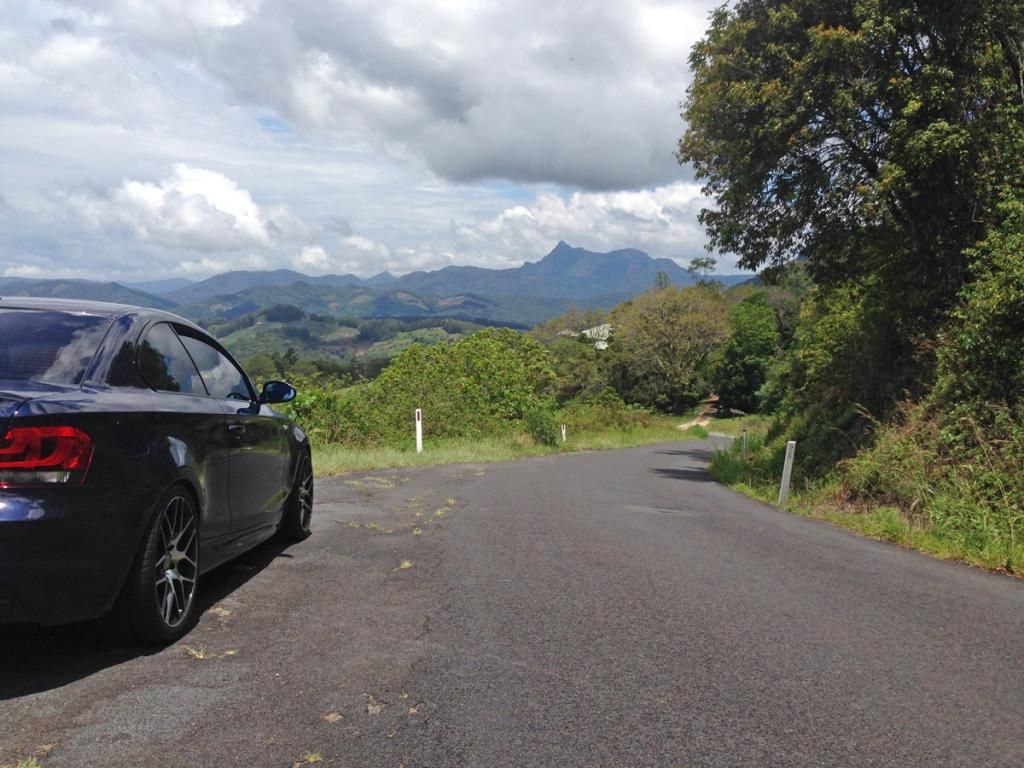
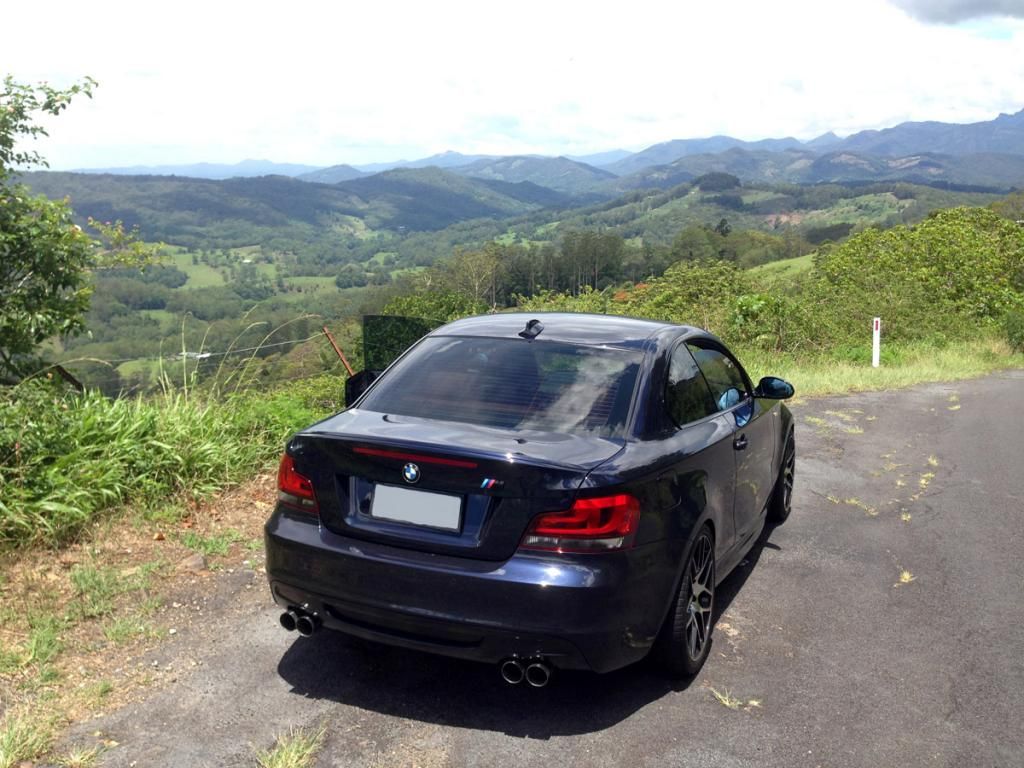
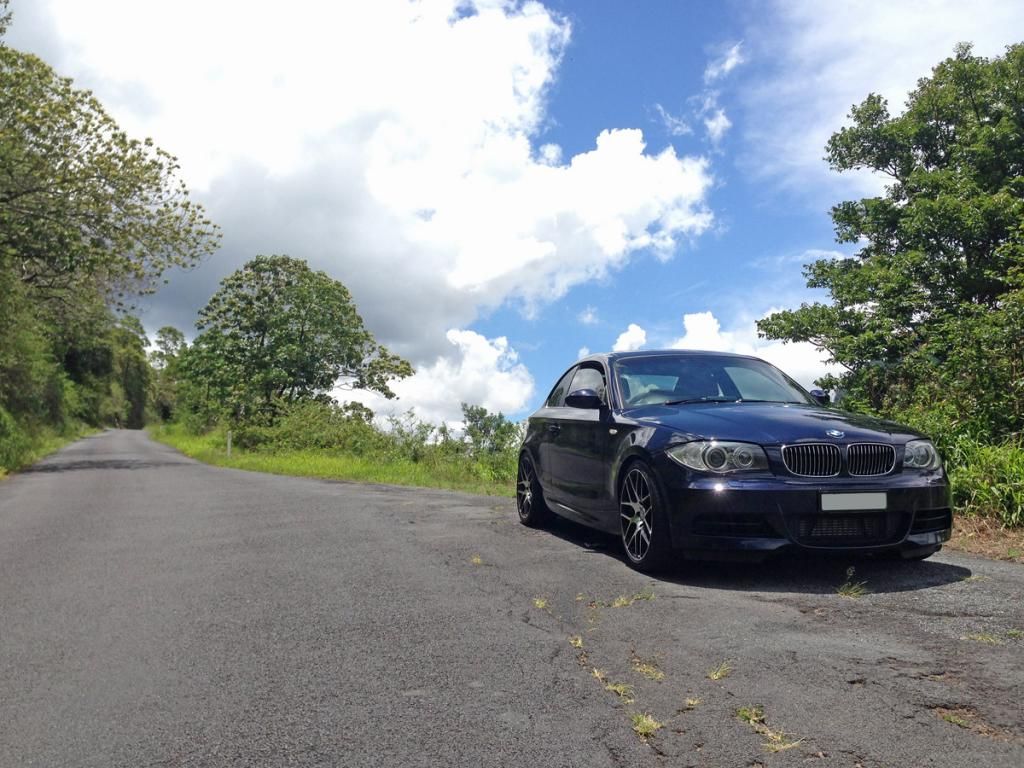
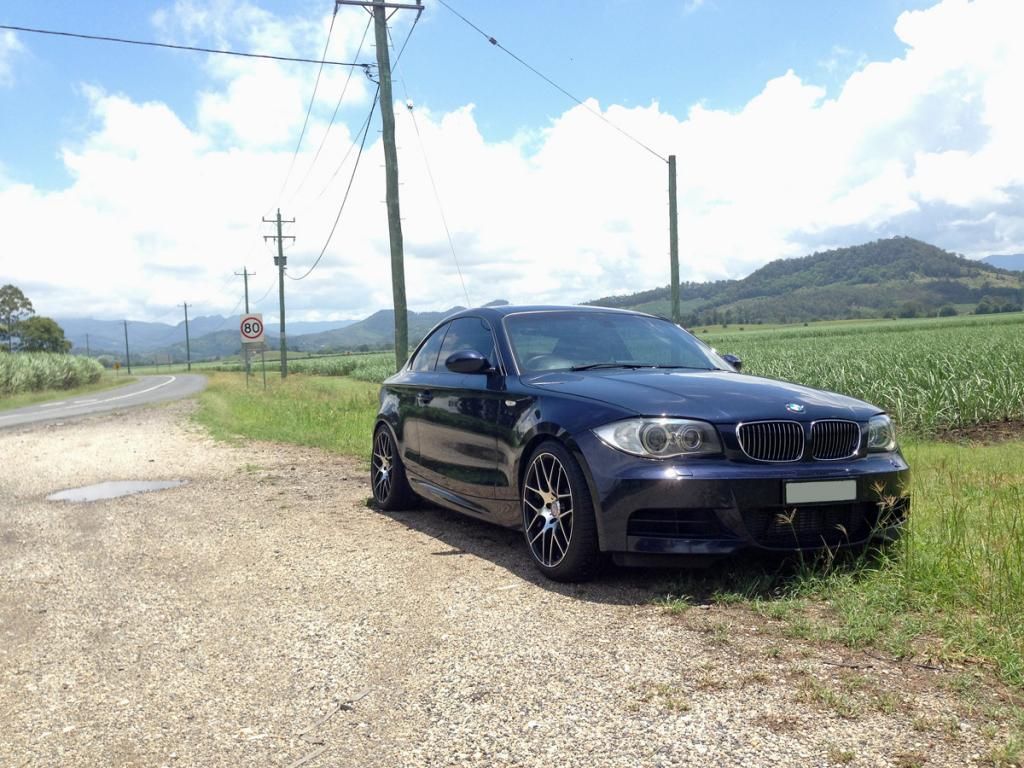
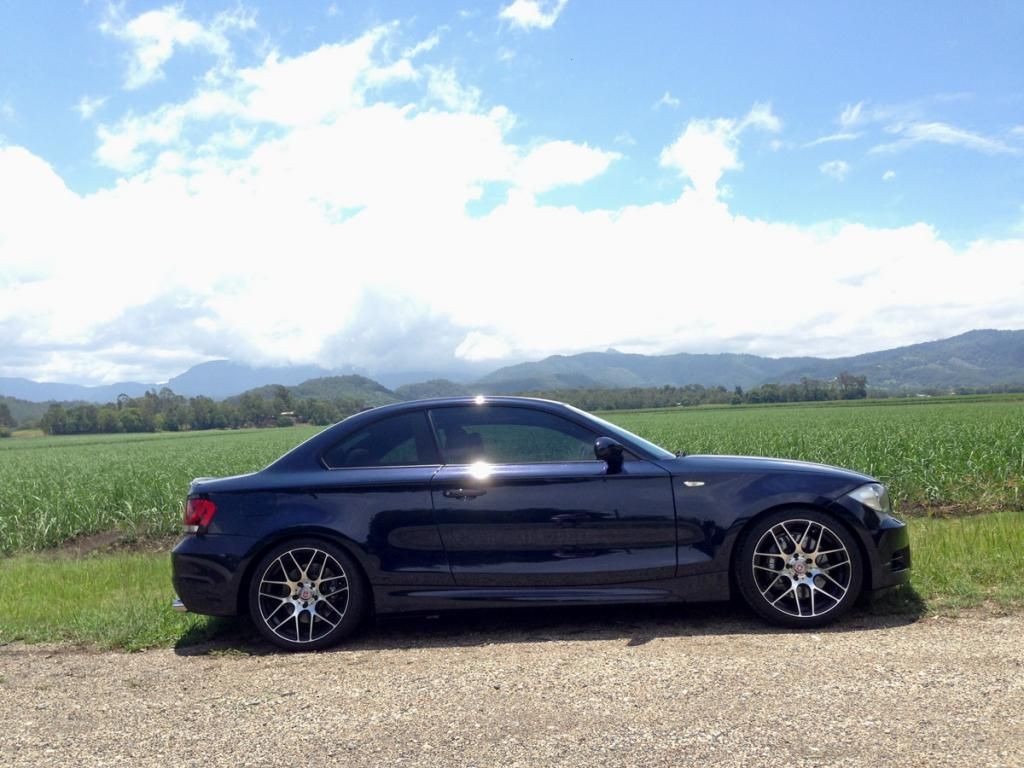
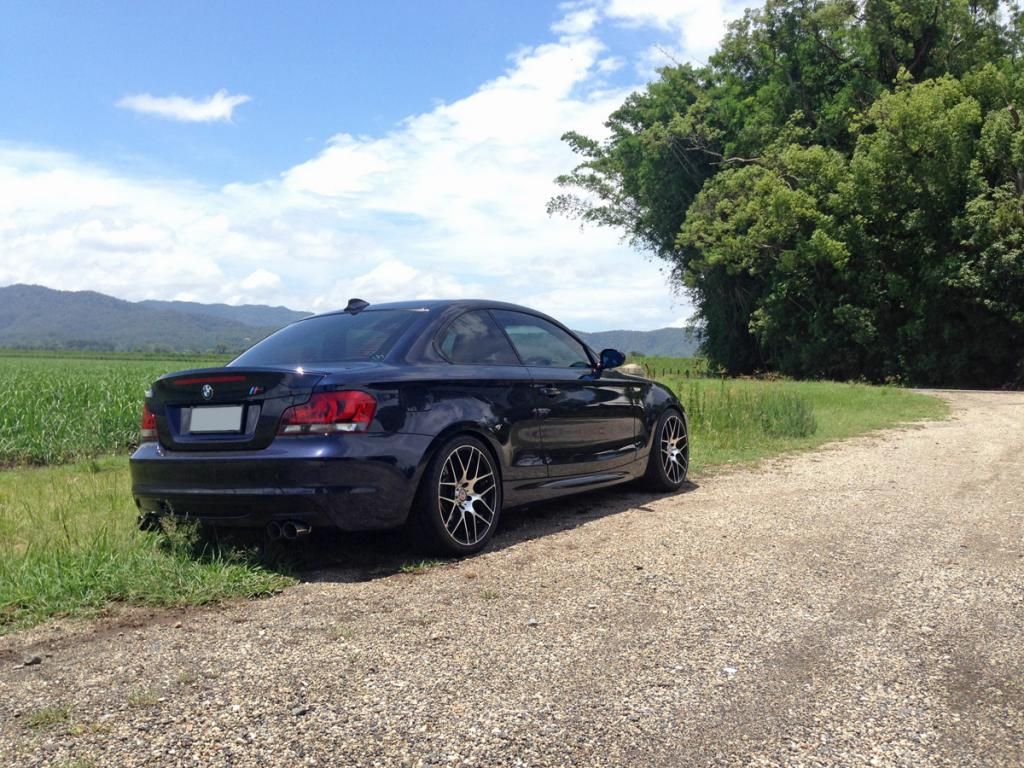
Went for a nice drive through Springbrook National Park, Numinbah Valley and Lamington National Park today and snapped a few photos along the way. Hope you enjoy the photos as much as I enjoyed the drive.
__________________
|
|
Appreciate
0
|
| 12-13-2014, 08:32 PM | #40 |
|
Lieutenant
   
77
Rep 541
Posts
Drives: 2008 135i AT Monaco Blue
Join Date: Dec 2012
Location: Brisbane, Australia
|
Another small update - diagnostics have been my focus over the last fortnight or so.
Originally I was considering adding an ELM327 dongle device to read all my engine parameters and read/delete error codes etc. I chose not to go this path as these OBD2 adaptors cannot read boost directly from the OBD2 port on the N54 engine. A direct feed into the boost lines in the engine bay is needed i.e. a traditional boost gauge. I understand these OBD2 adaptors can read boost over OBD2 perfectly fine on the newer N55 engines however. For any N55 owners interested, the ScanTool OBDLink MX adaptor with software would be at the top of my list. They have both a bluetooth (Android) and wifi (iOS) version for the various mobile phones available. They also have available OBDwiz software for Windows. http://www.scantool.net/scan-tools/smart-phone/ Obviously there are other software options out there including Torque (Android), Dash Command (iOS & Android), Harry's Lap Timer and BMWhat (Android) (for fault codes and coding). In the end I went with the tried and tested P3 Cars Vent-Integrated Digital Interface as it has an N54 boost tap option, can read and delete all shadow codes and integrates into the stock vent to look like a factory setup. Very happy with my choice! 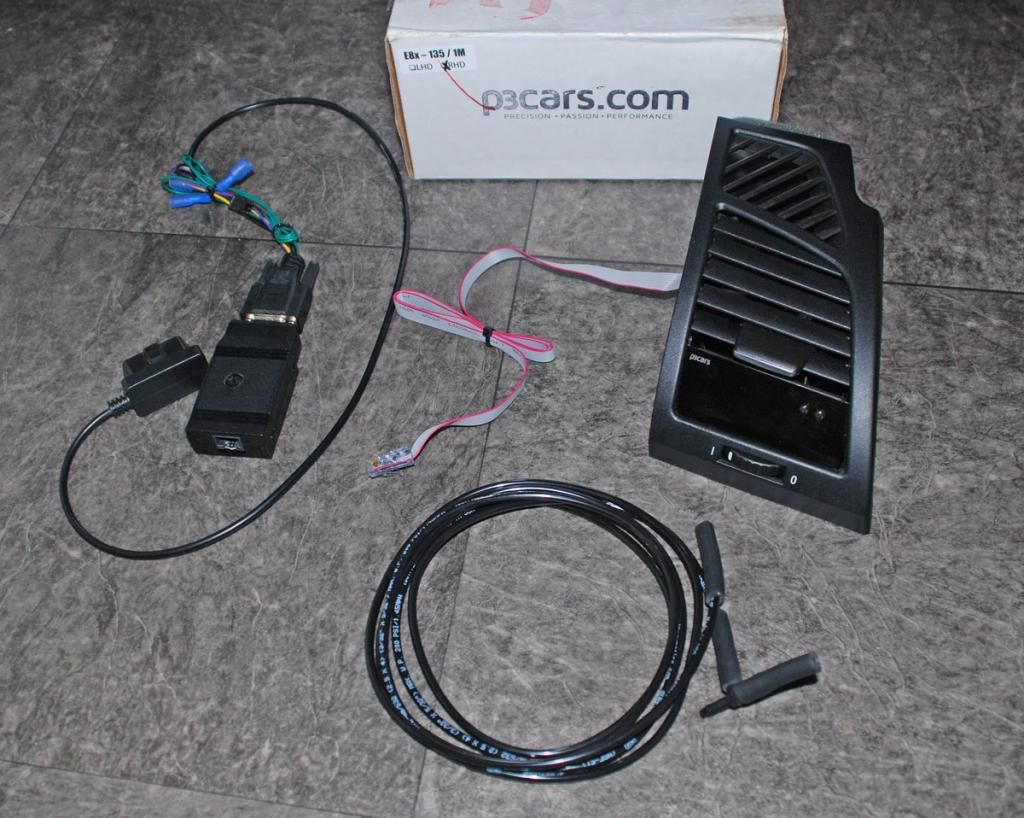 This was quite a simple install and I referred to the following guides and videos (note it is obviously the reverse for my RHD car). The only part I'm yet to finalise is the boost tap from my driver's side footwell across to the passenger side engine bay area where the diverter valves are. The P3 documentation is all LHD based so I'm still to work out the best boost line routing to get across to the other side of the car. E82 install, configuration and setup: http://www.p3cars.com/content/pdf/e8x-car.pdf E82 N54 boost line tap: http://www.p3cars.com/content/pdf/n54-tap.pdf 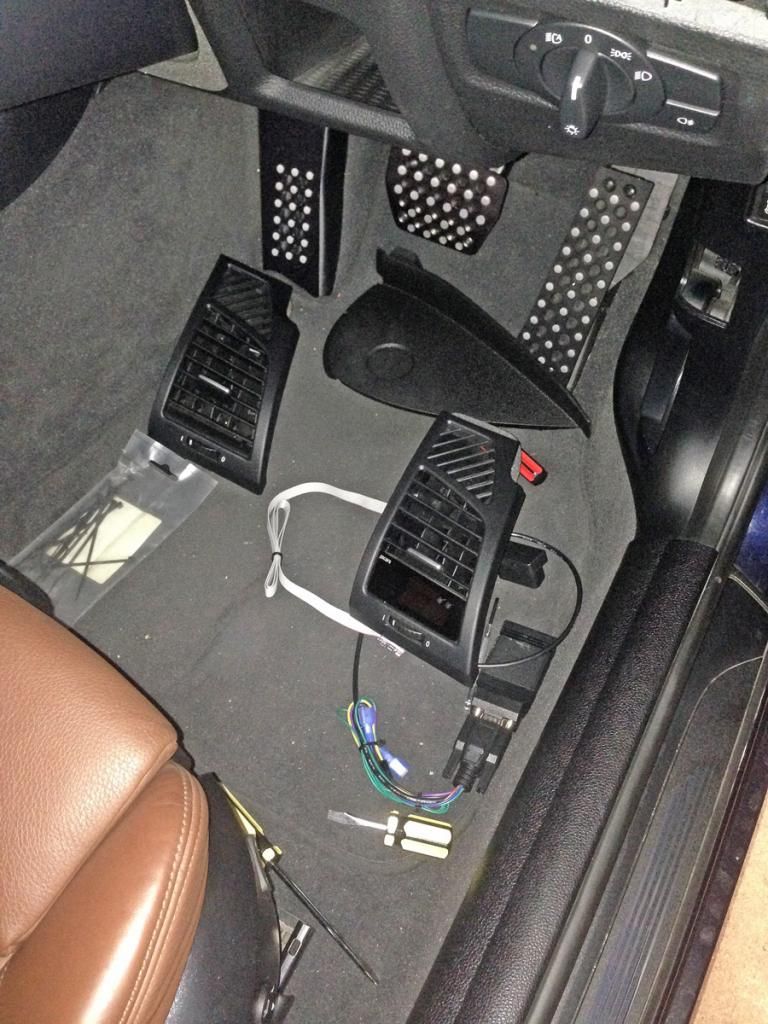 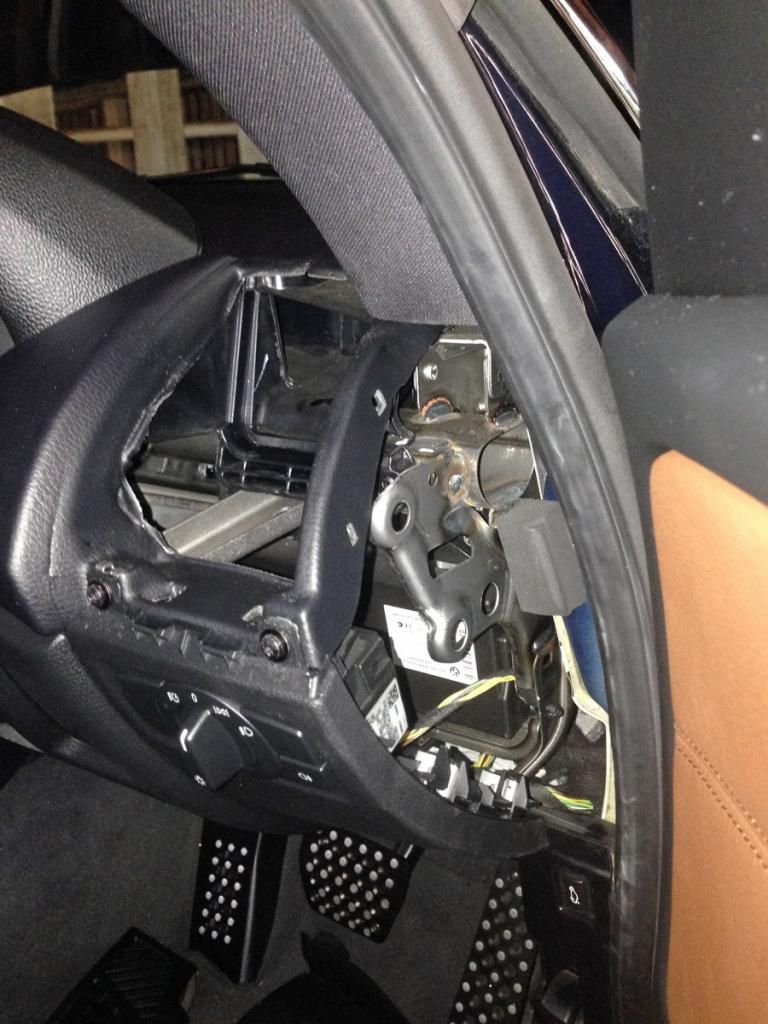 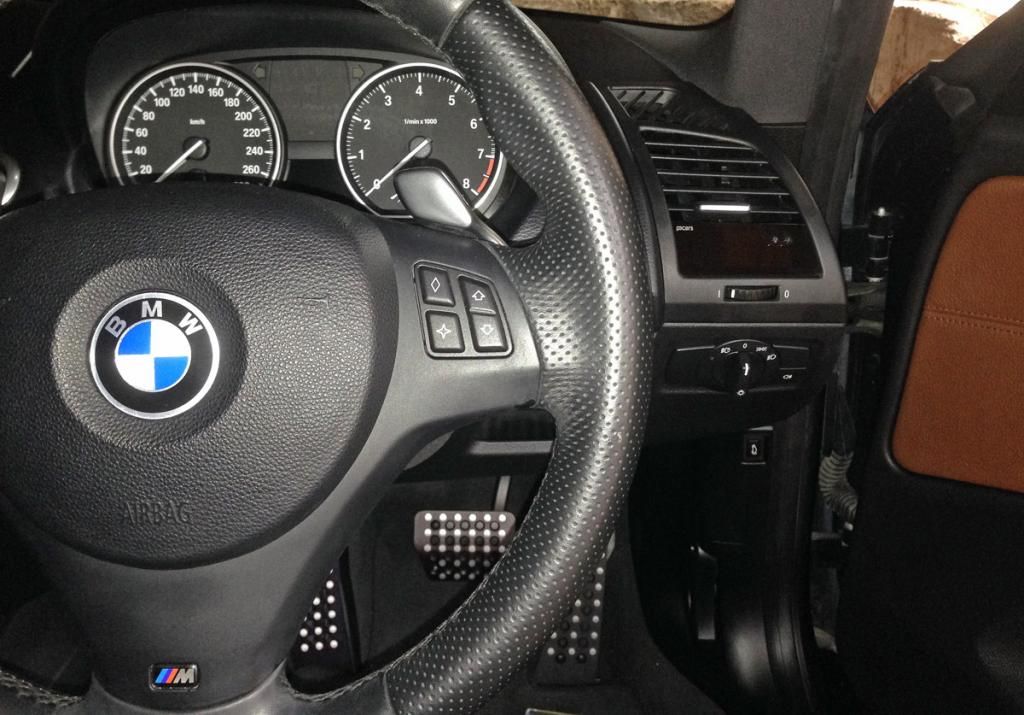 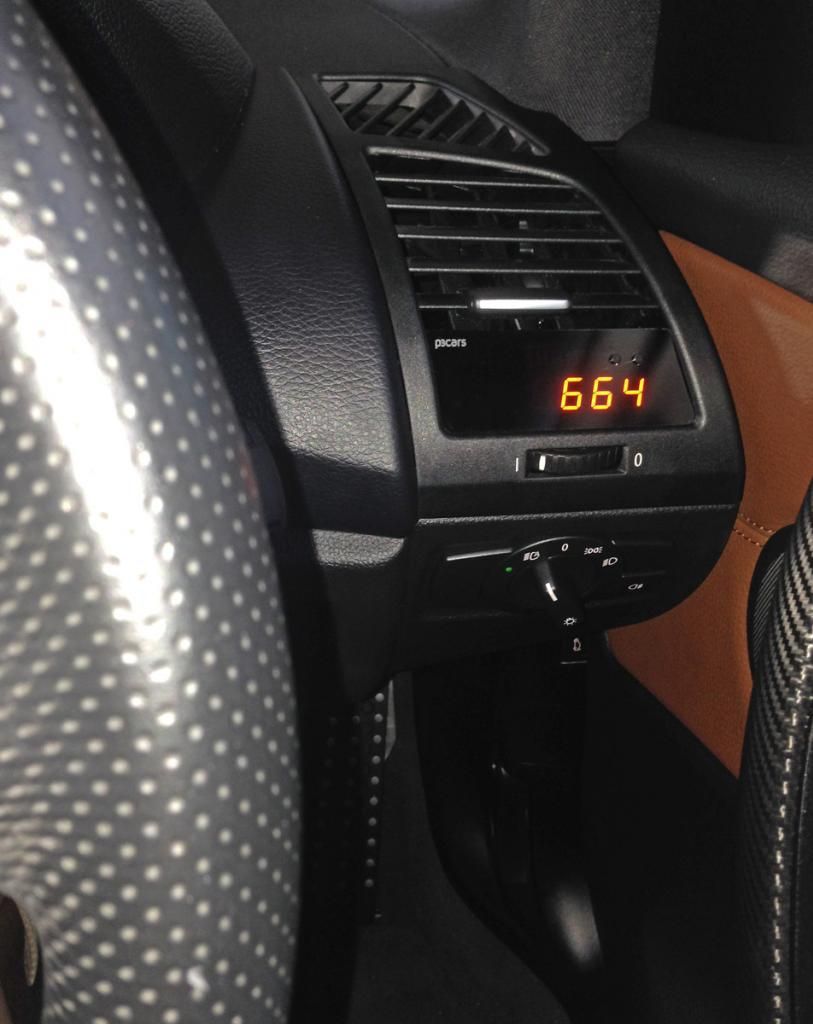 When I powered the gauge up for the first time I was a little alarmed to see a fault code show up. I quickly checked what '511b' was for and it appeared to be a transmission based error. Upon a little more digging I've determined that all Alpina flashed cars will show this error code. I understand this code is a by-product of the Alpina flash confusing the TCU module as the TCU module is looking for an Alpina DME but one does not exist for factory BMW cars. I've read it's nothing to worry about and can be ignored. Further discussion here for anyone with the Alpina B3 flash: http://www.e90post.com/forums/showthread.php?t=960916 Finally, this is just for a bit of a laugh. Ever since I had my centre console removed to finish the carbon trim I've had an annoying rattle coming from behind the centre armrest area. It has been driving me crazy so I finally decided to investigate. Upon removing the back of the armrest I found a 5c coin wedged in there AND a socket left behind on one of the nuts! I found it quite amusing. Good to know it was an easy fix to remove the rattle. Now my only rattle left to remove is the dreaded a-pillar dash rattle. This one is really annoying and hopefully one I can fix when I route the cabling for my dash cam. 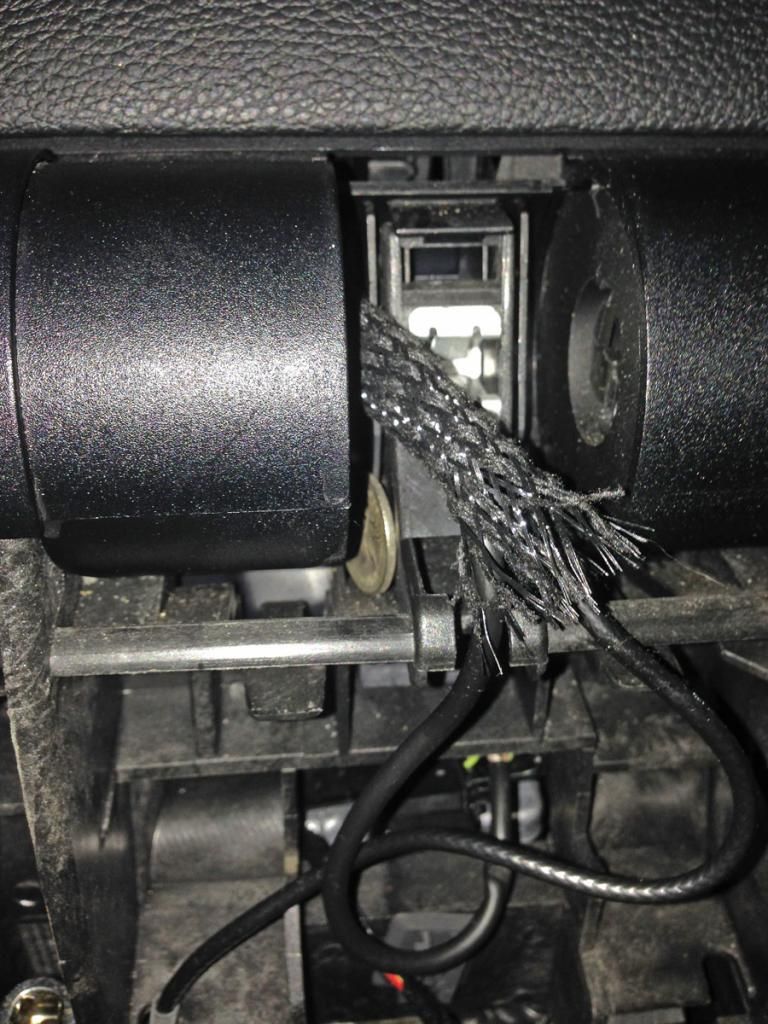 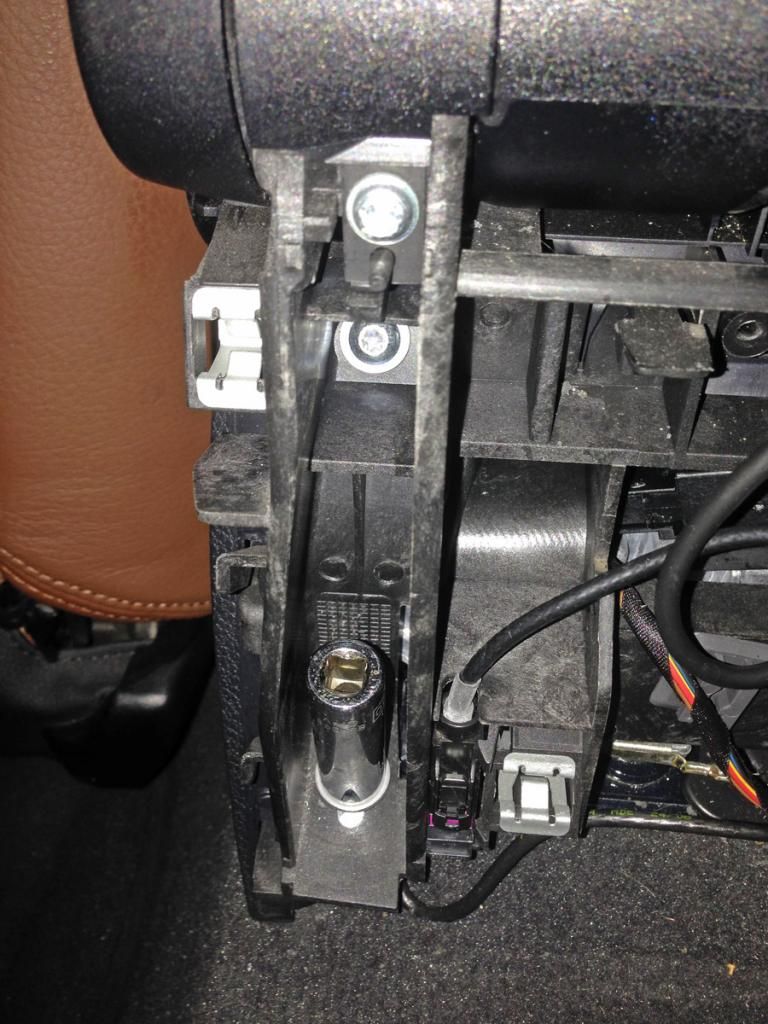
__________________
|
|
Appreciate
0
|
| 12-20-2014, 08:46 PM | #41 |
|
Lieutenant
   
77
Rep 541
Posts
Drives: 2008 135i AT Monaco Blue
Join Date: Dec 2012
Location: Brisbane, Australia
|
Tiny update - got the boost tap finished up on my P3 gauge.
It wasn't the easiest process in the world but it seems to be working ok now. I originally planned to run the boost line along the cowl above the engine bay and down to the diverter valve side of the car but it turned out the supplied line wasn't long enough for that. Instead I ran it directly across the top of the engine near some existing wires and zip tied it all up. I will monitor to make sure it's not contacting anything too hot with my current routing configuration. Any RHD owners looking to perform this install can see some guidance photos below (see blue line for rough location to follow). The hardest part was getting the line through the driver's footwell area into the engine bay. I made a small hole in the rubber piece (circled blue), taped the boost line to a coat-hanger and fed it through the rubber hole into the engine bay. Be aware that on the engine bay side the rubber hole actually leads out to a rubber extension piece the size of your little finger. Once you've removed the one plastic cover in the engine bay you should be able to see the coat-hanger and fish it out with your hand. It is a very small space and I have the deformed hand now to prove how hard it was to reach (even with pliers). Once you pull the line out you can run it to the left of the parts below where the cover would be and run it through the weatherstrip. From there I ran it along the strut brace and behind the battery positive charging terminal connection (red capped piece) and along the cowl with the existing wires. The last part is then hooking up the T-piece near the diverter valves and plugging in the boost line. Use zip ties along the length of the boost line routing at appropriate intervals to keep it tucked away neatly. I would also recommend you start your car to check for any leaks and then shut down the car and configure the P3. Make sure you set the config options to 'N54' and calibrate the gauge for your environment. The gauge will then restart and you're good to go. Refer to the above linked P3 instructions for what buttons and settings to press. I've only been for a very small drive so far but the car seems to be reading vacuum fine and I've peaked at 14.2psi so far. That was in 6th gear in D/Economy mode on the Alpina flash. This thing is so damn fast it's hard to go full boost safely and within the speed limit! I'm running a custom Cobb tune and not entirely sure what peak boost is supposed to be (I was told 17psi by the previous owner) so will keep monitoring. Good to finally be able to see what boost my car is hitting.  Install location - RHD driver's footwell area: 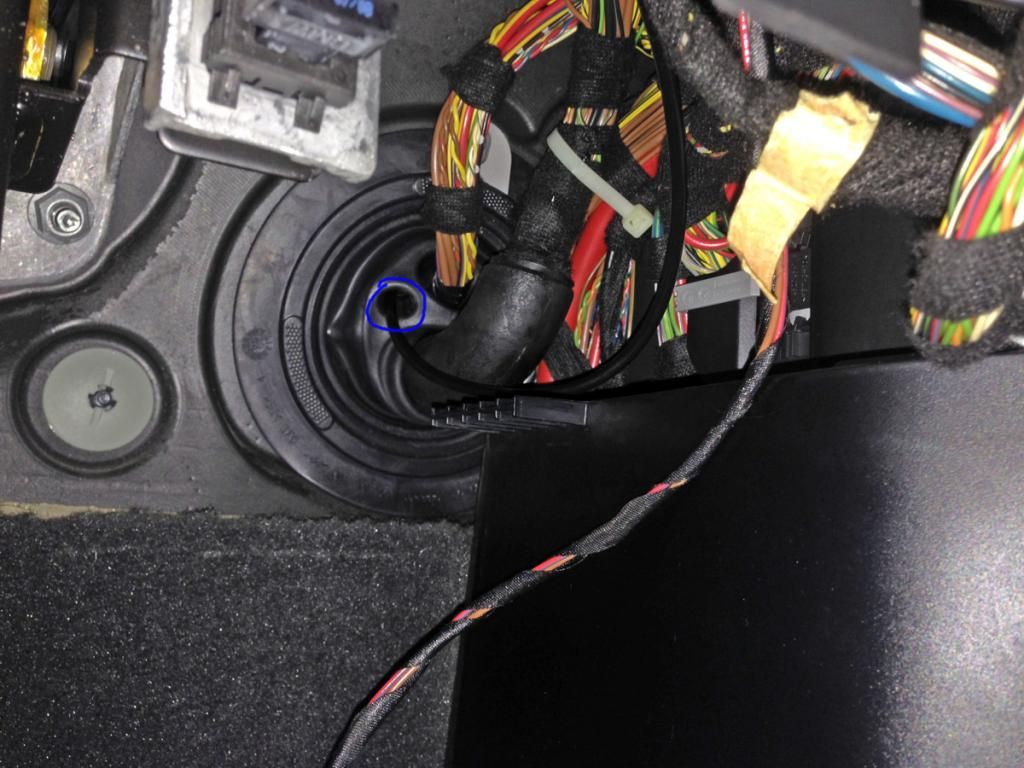 RHD driver's side engine bay routing: 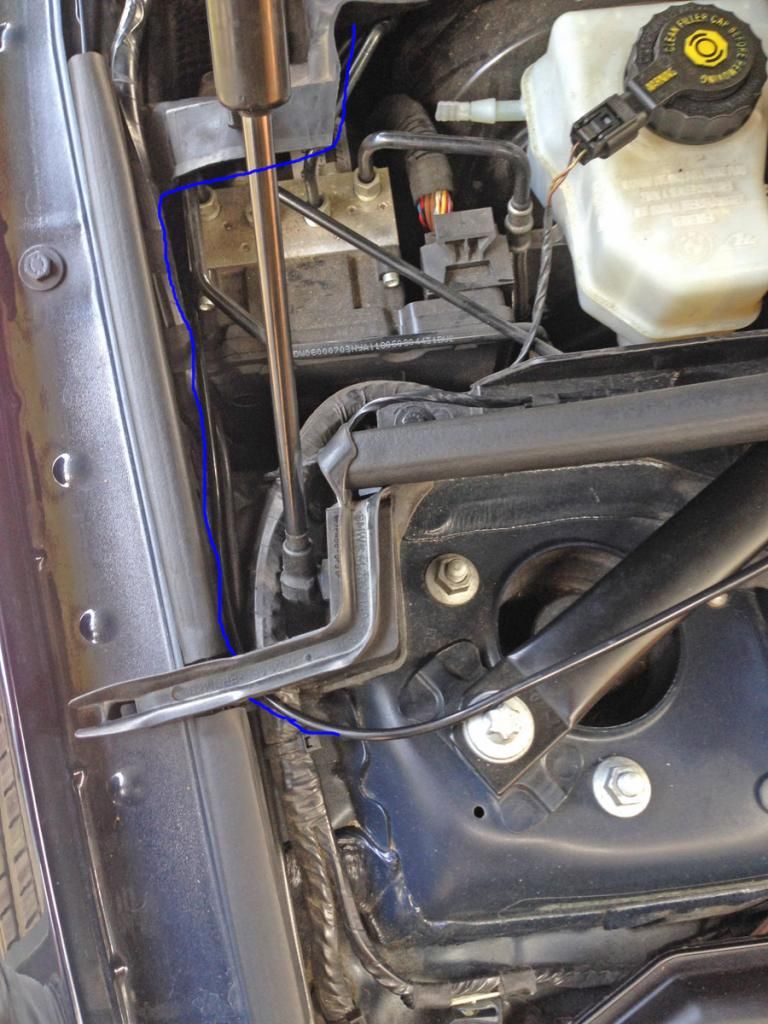 Finished product: 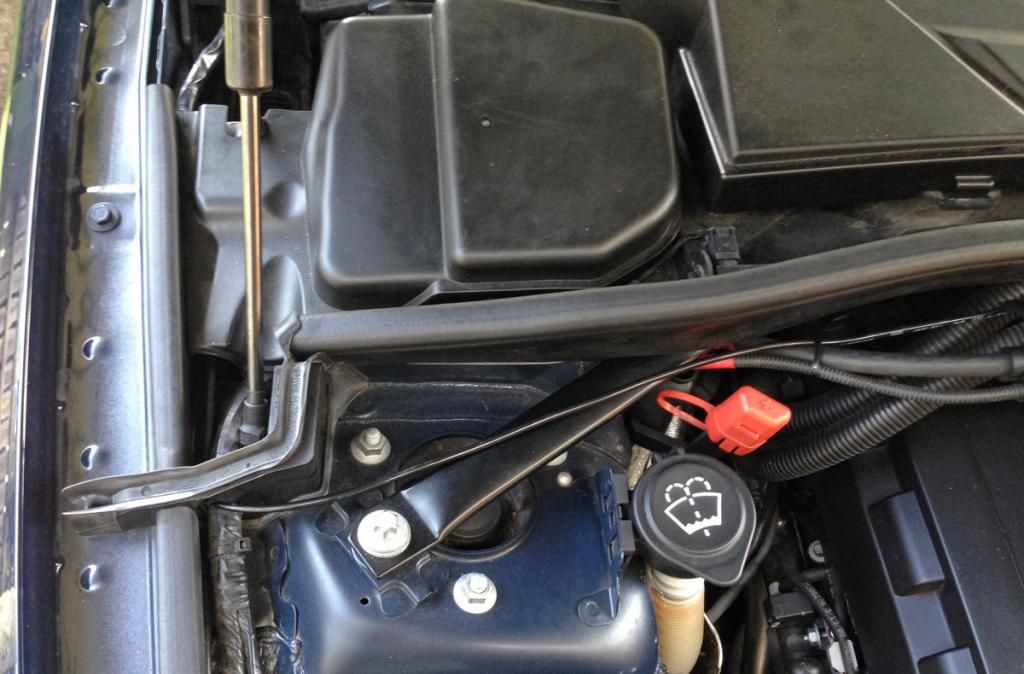 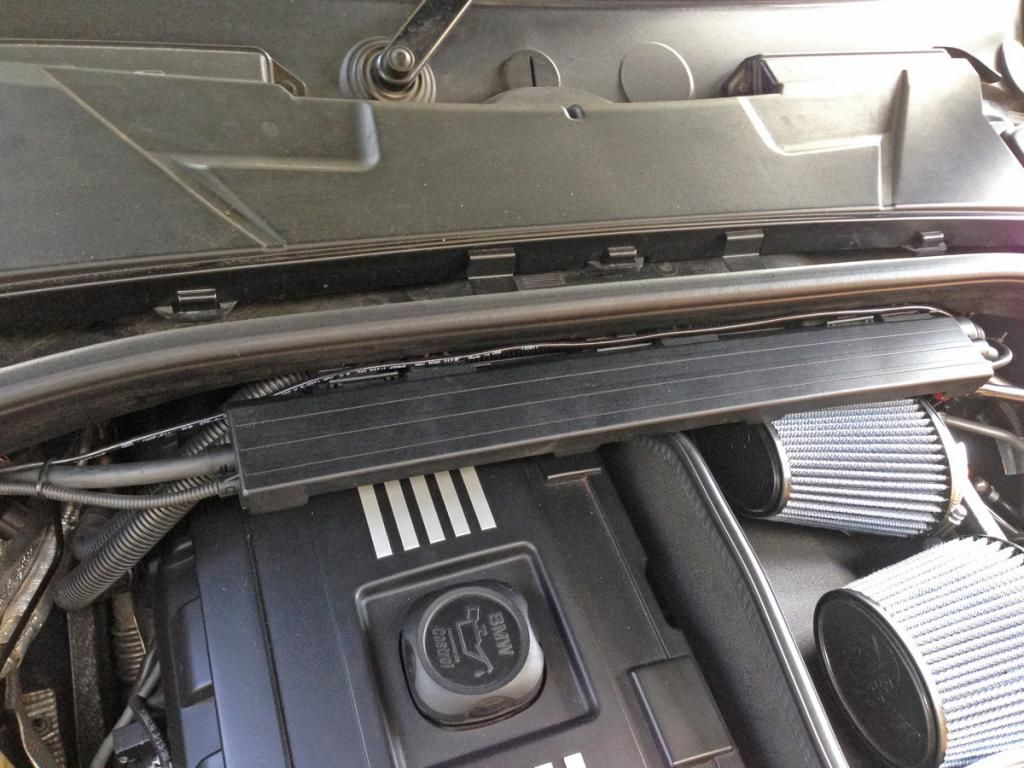 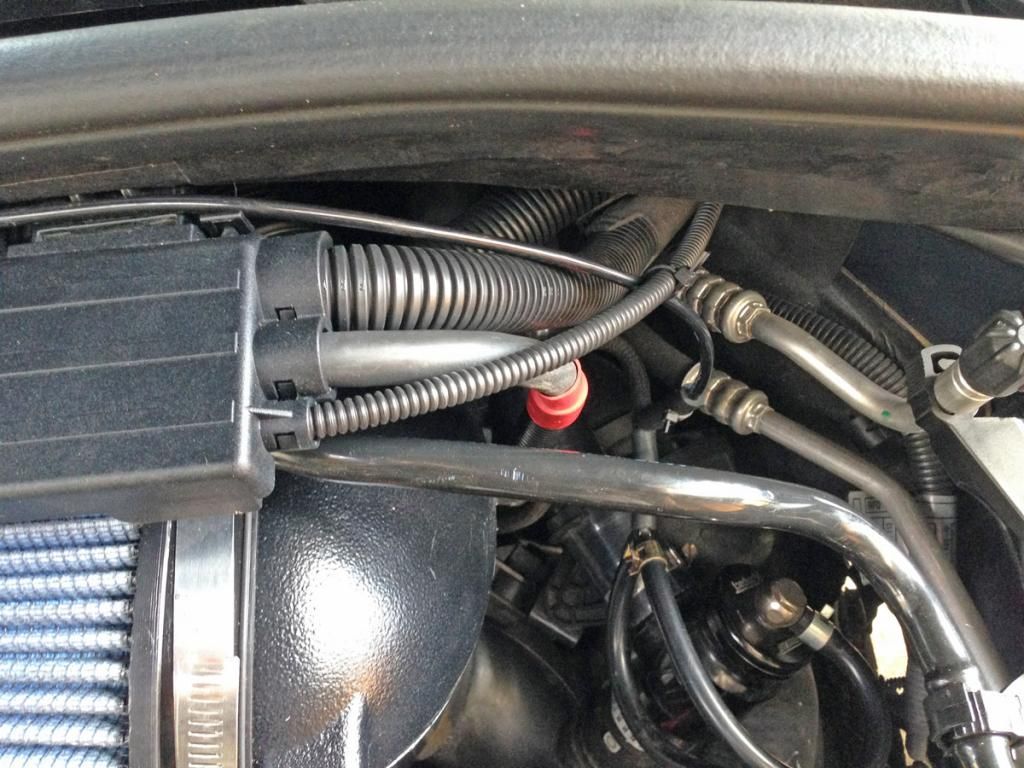 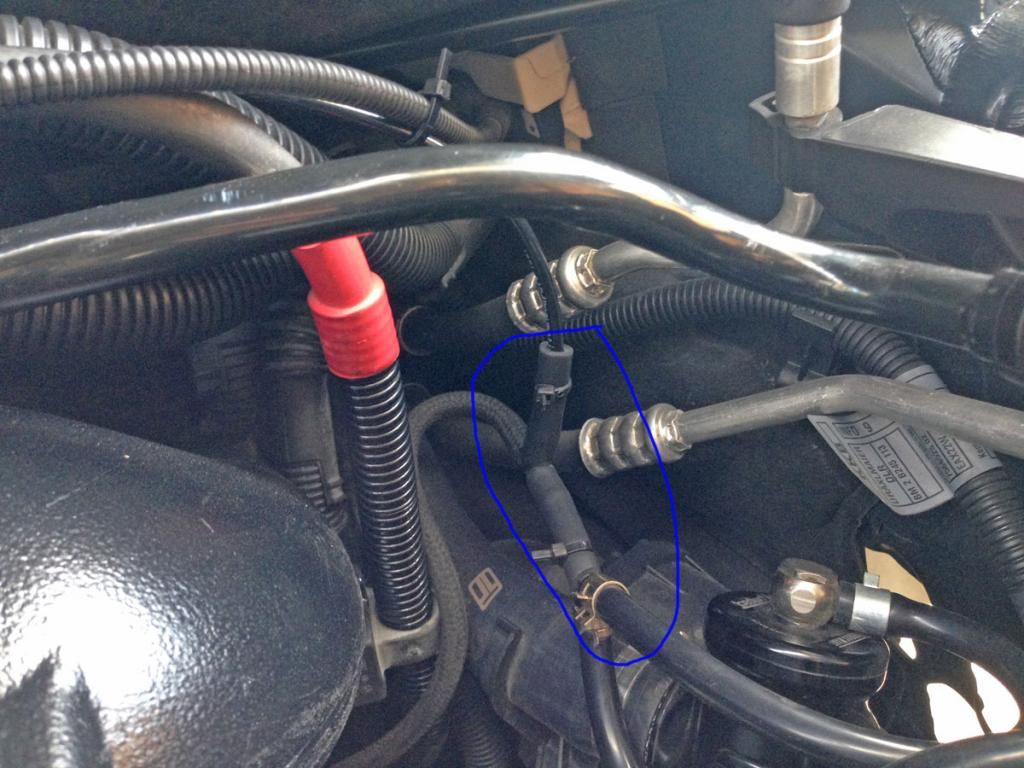
__________________
Last edited by OzJustin; 12-21-2014 at 06:44 AM.. |
|
Appreciate
0
|
| 02-19-2015, 06:40 AM | #43 | |
|
Lieutenant
   
77
Rep 541
Posts
Drives: 2008 135i AT Monaco Blue
Join Date: Dec 2012
Location: Brisbane, Australia
|
Quote:

__________________
|
|
|
Appreciate
0
|
| 02-19-2015, 07:01 AM | #44 |
|
Lieutenant
   
77
Rep 541
Posts
Drives: 2008 135i AT Monaco Blue
Join Date: Dec 2012
Location: Brisbane, Australia
|
Haven't updated my thread in a while so here are a few new pics.
Washed and waxed my car a few weeks back and took it out for a quick dusk photoshoot. The angel eyes, blacklines and sleek dark lines with sunset backing turned out reasonably well.  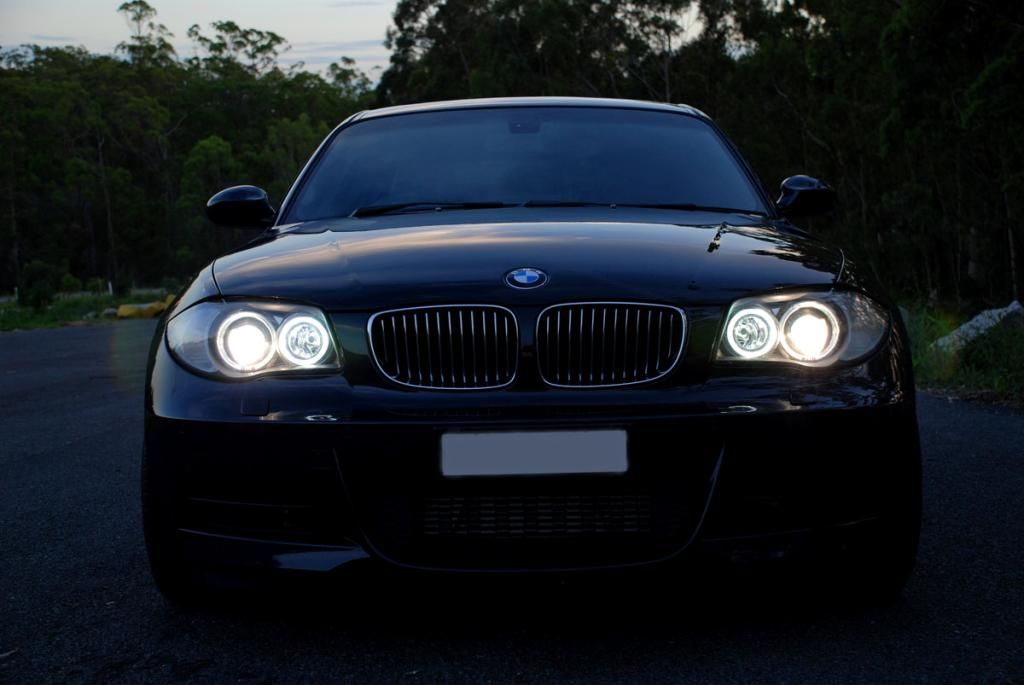 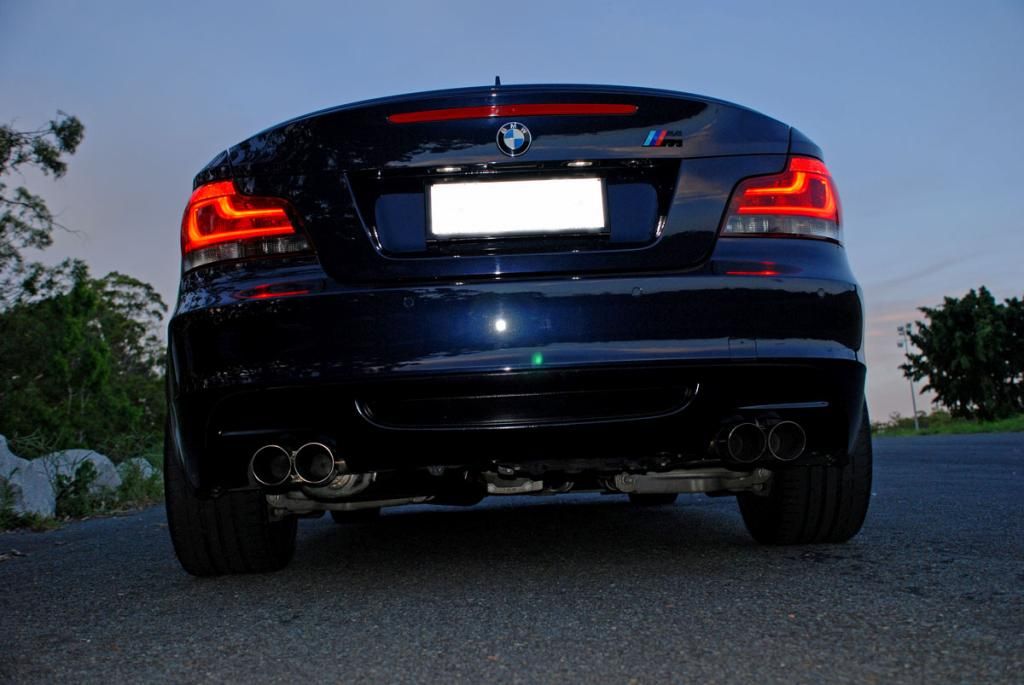 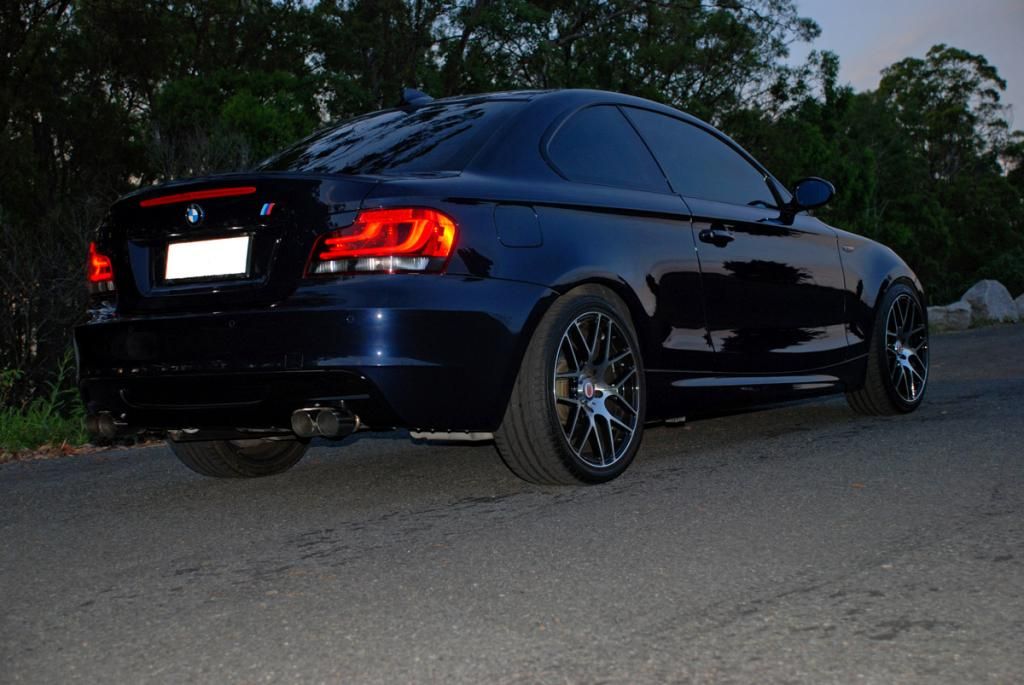 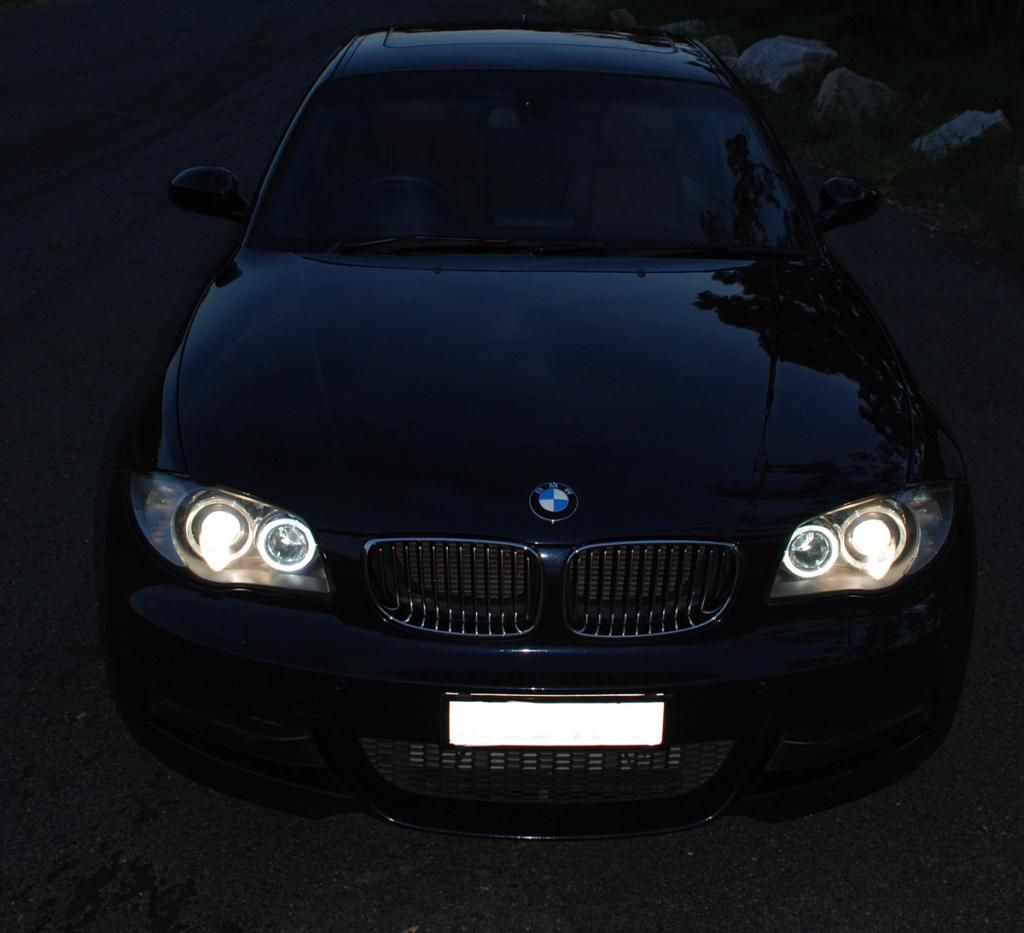 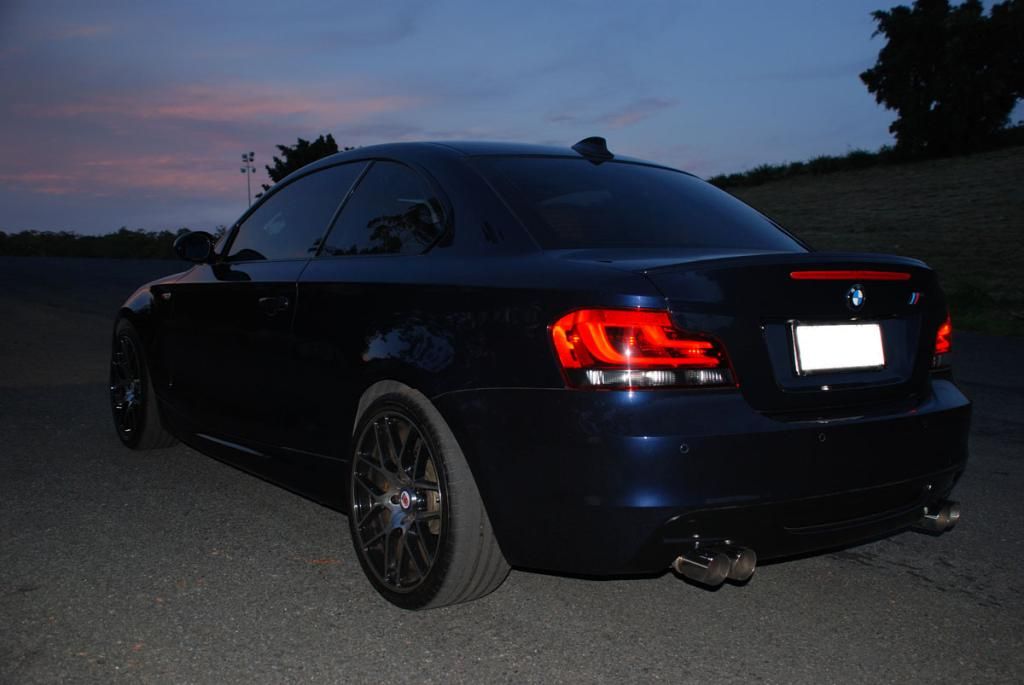 I also decided to swap my shift knob as the 3M vinyl wrap didn't want to hold so well on that high use area and was starting to peel. I ended up going with a carbon shift knob with gloss black centre. The install was actually pretty straight forward considering the number of horror stories I've read of guys knocking themselves out/giving themselves a black eye trying to yank off the shift knob. Mine popped off pretty easily and the new one dropped on without trouble. I did notice there is 1-2mm sideways movement in the new knob but it's still pretty firmly secured. Quite happy with the new look. It makes the interior look that little bit more flashy and fits in nicely with my existing carbon wrapped trim and black pedals. For anyone interested I purchased the carbon knob from this Ebay seller: http://www.ebay.com.au/itm/190717592...%3AMEBIDX%3AIT I did consider the MotiveMods shifter options but couldn't justify the price tag and I wanted something in a darker colour that would tie in better. Here's a few pics during the install comparing the stock shifter and replacement: 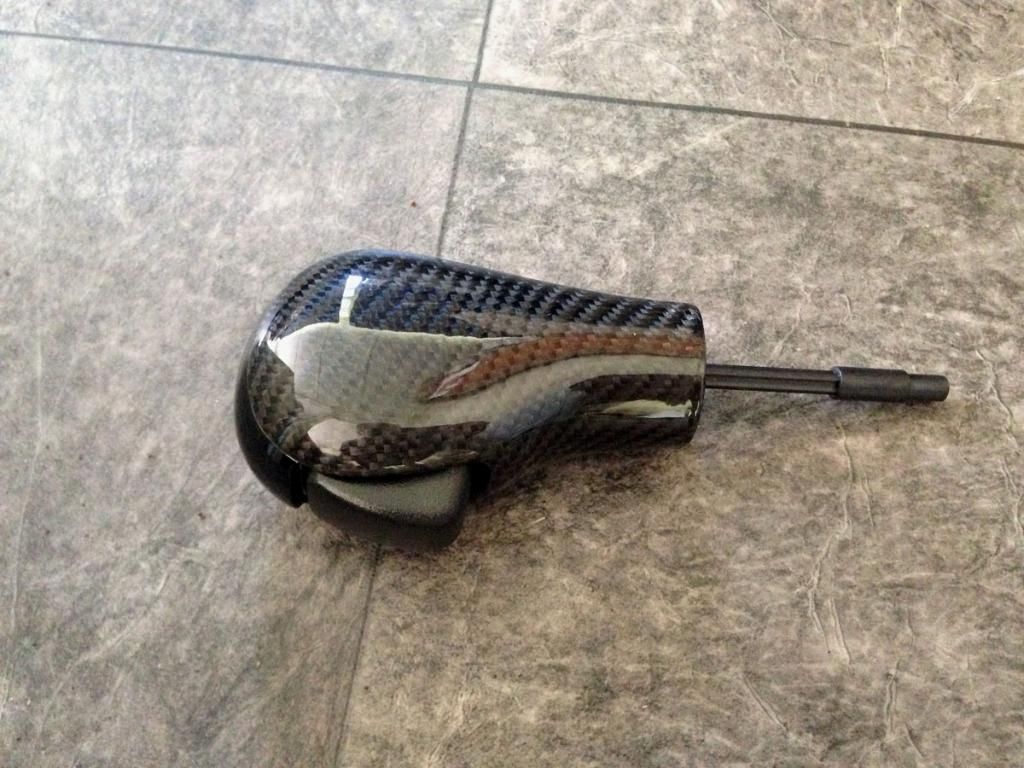 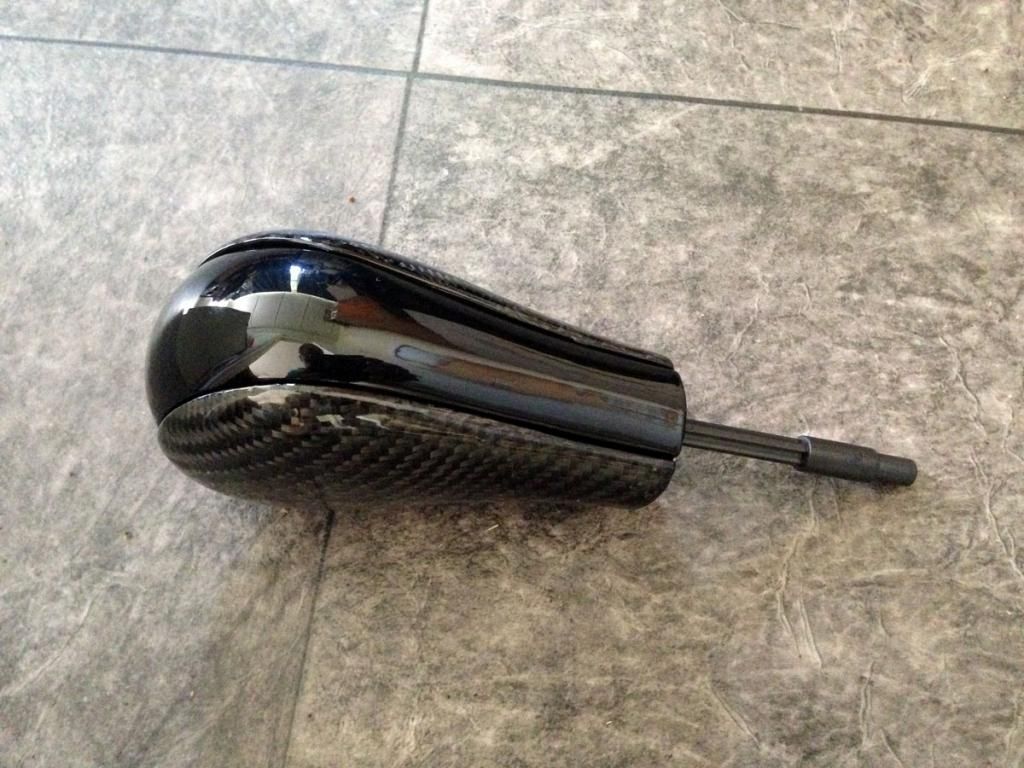 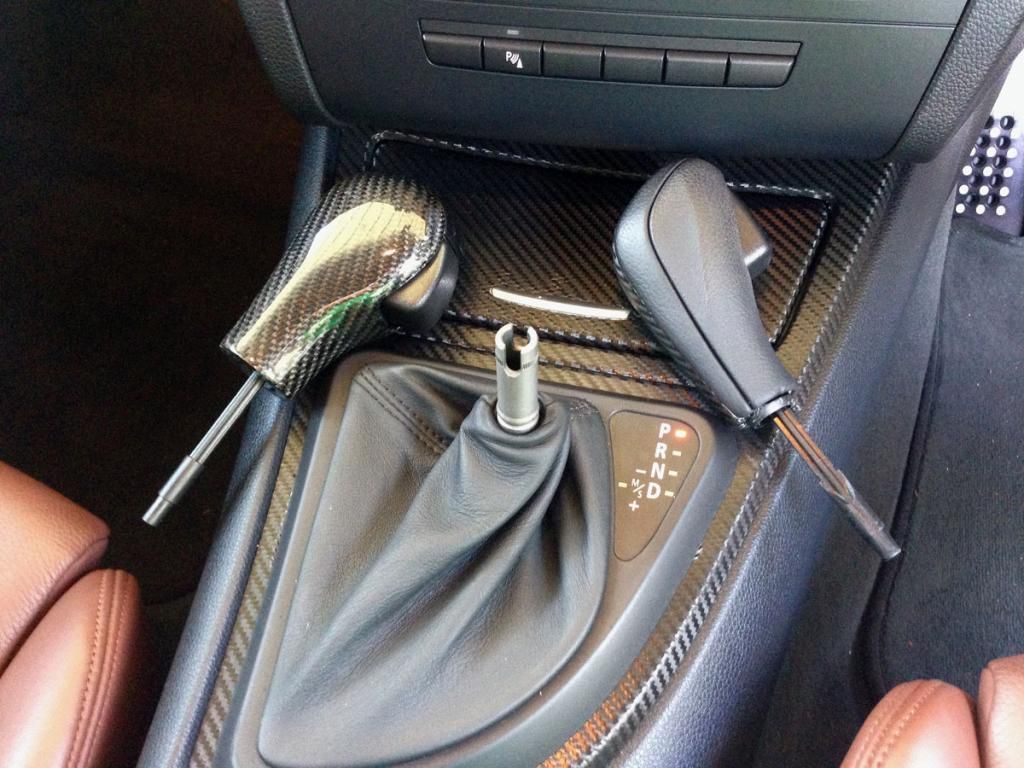 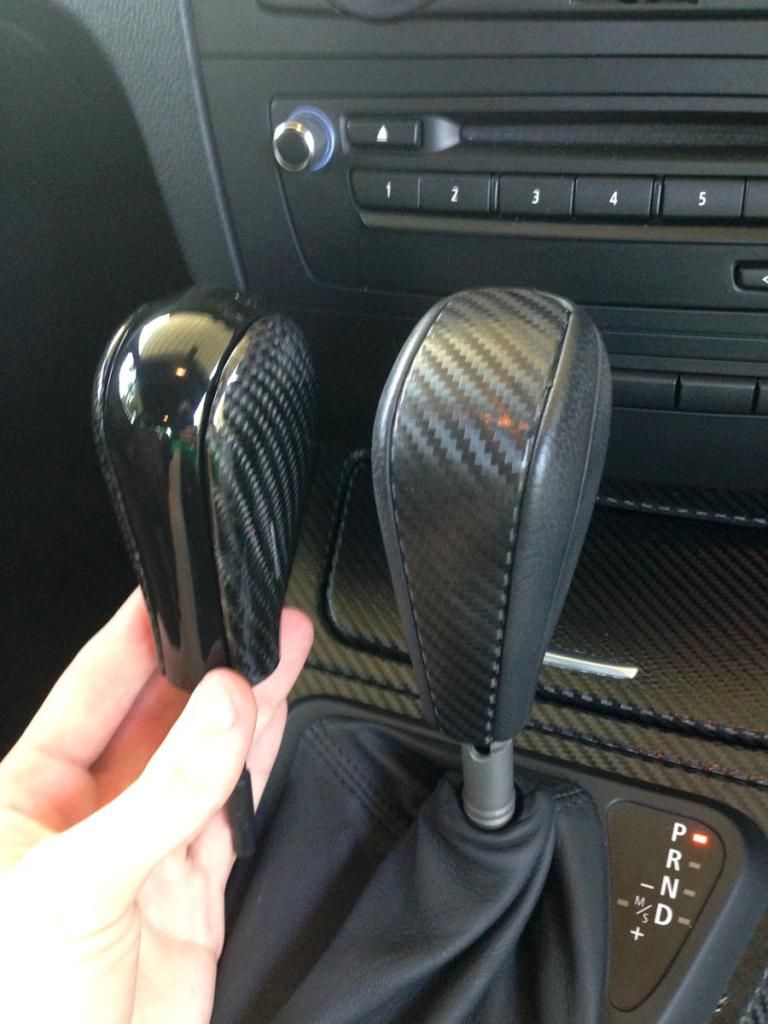 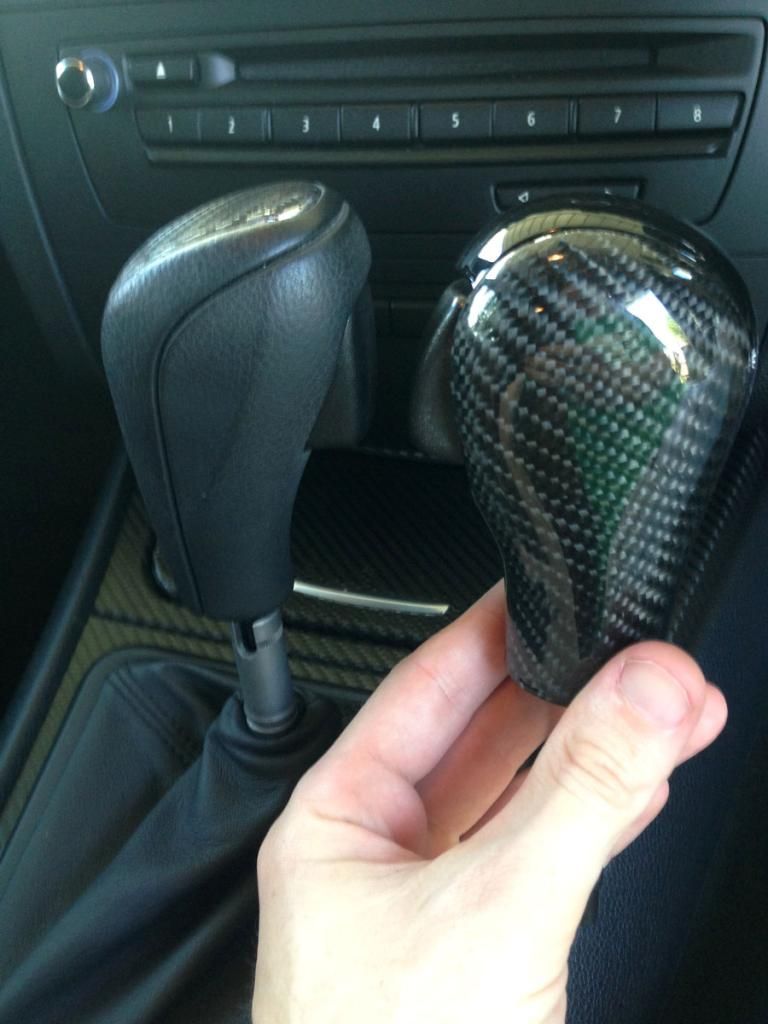 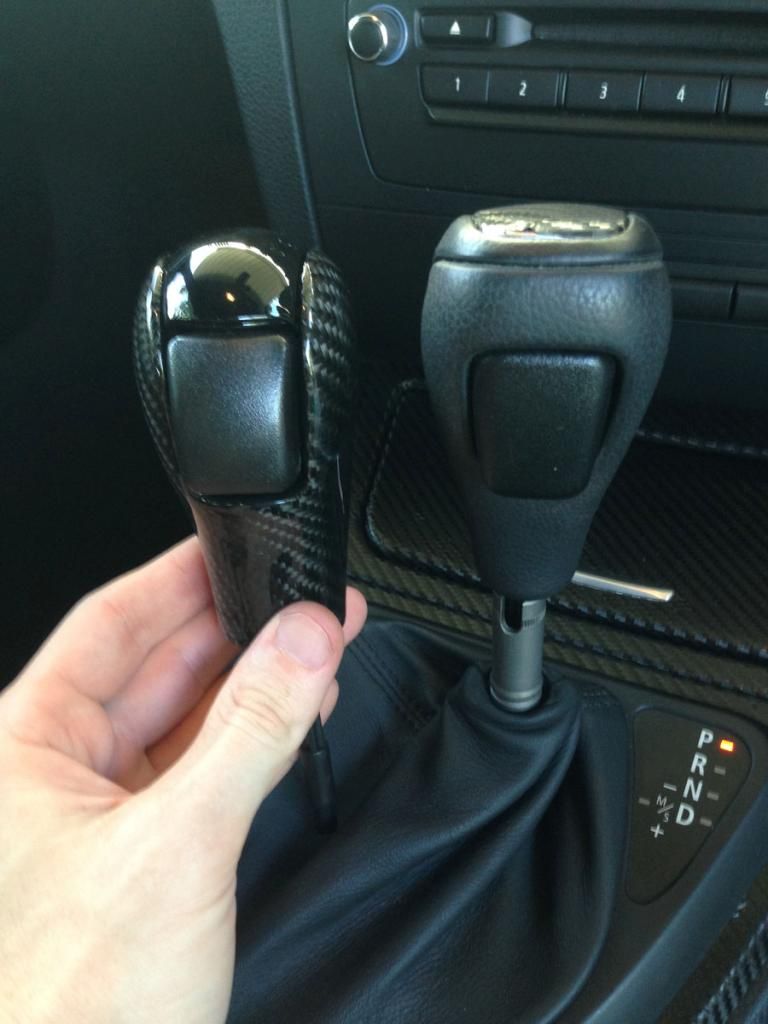 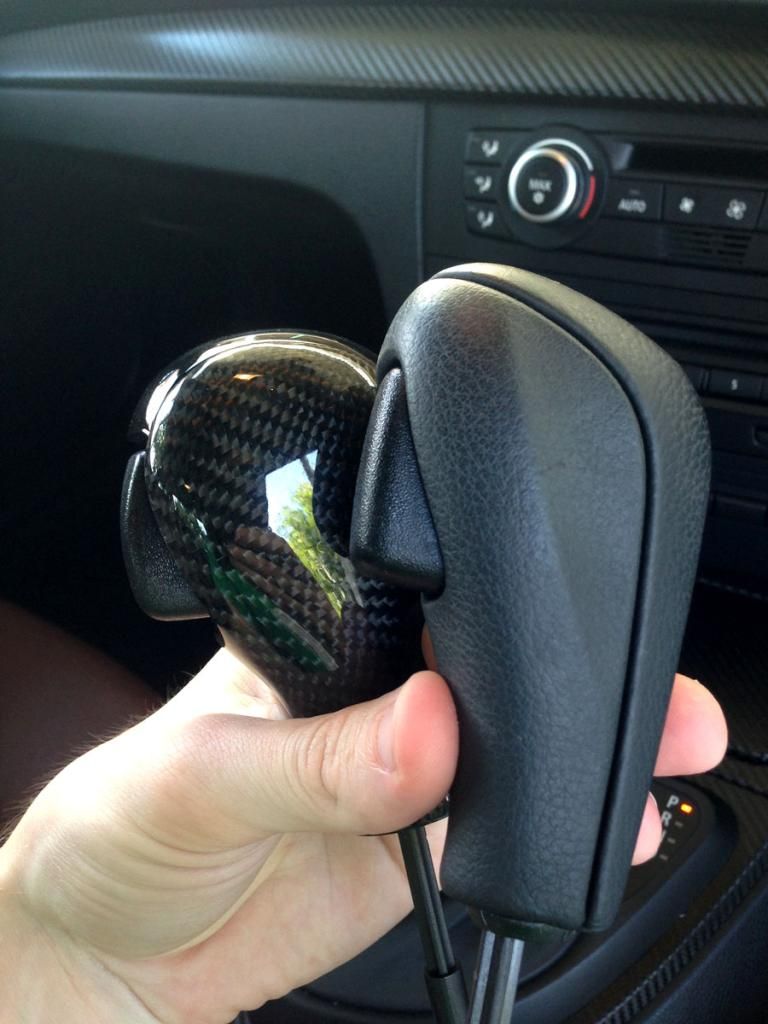 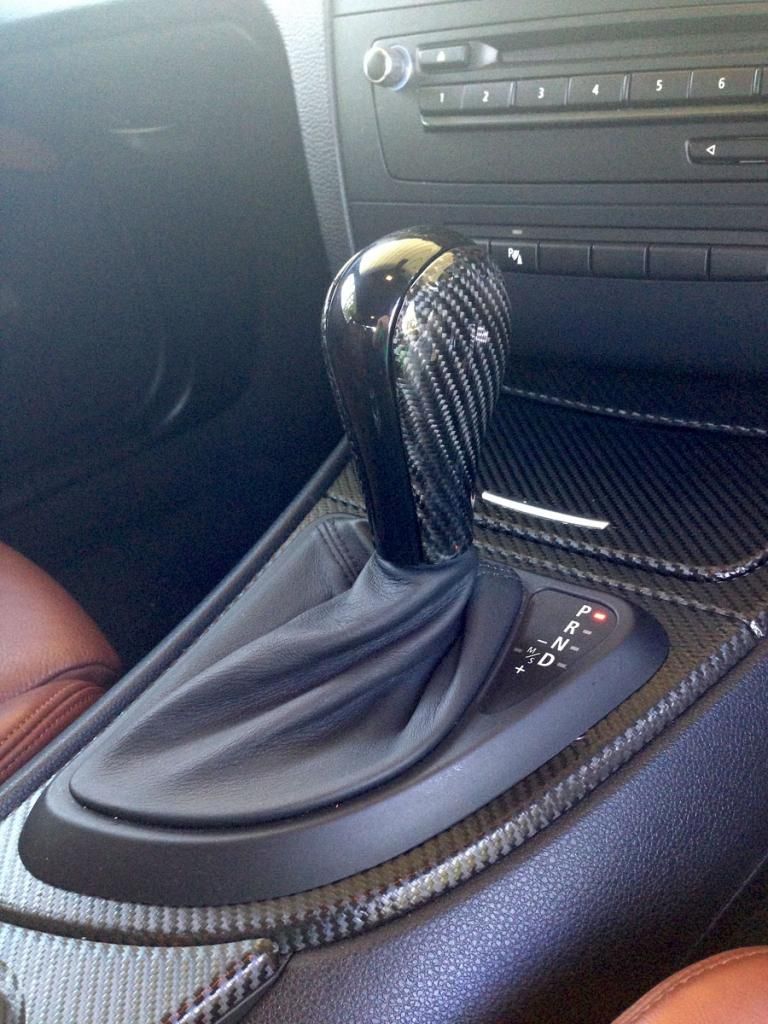 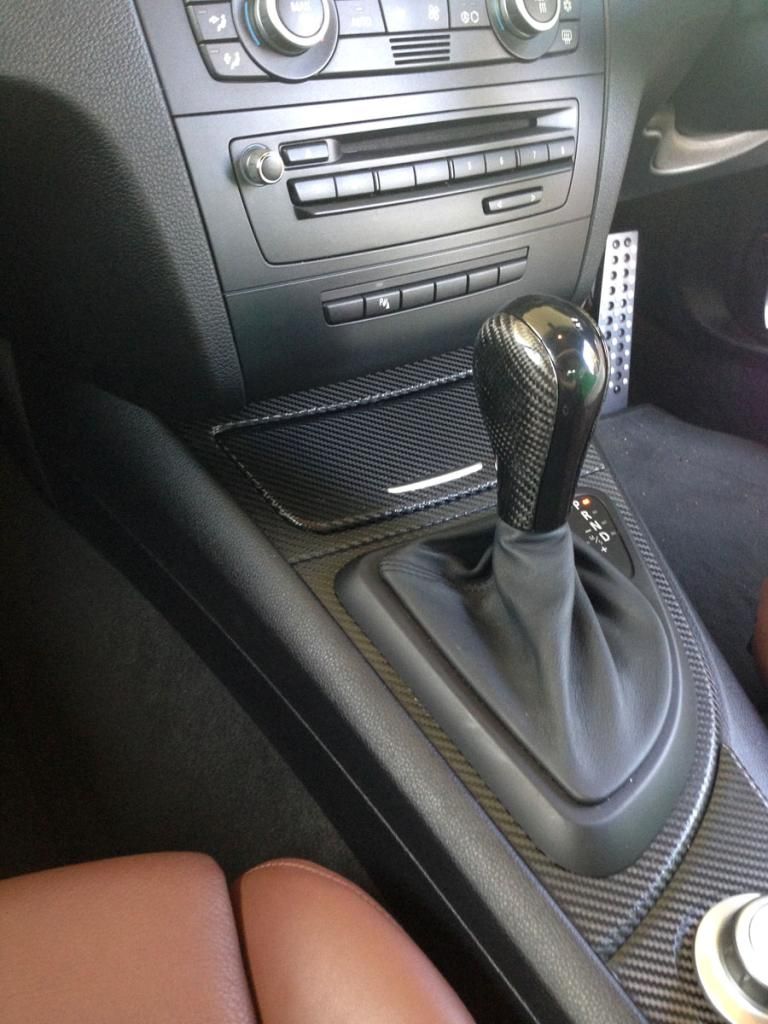 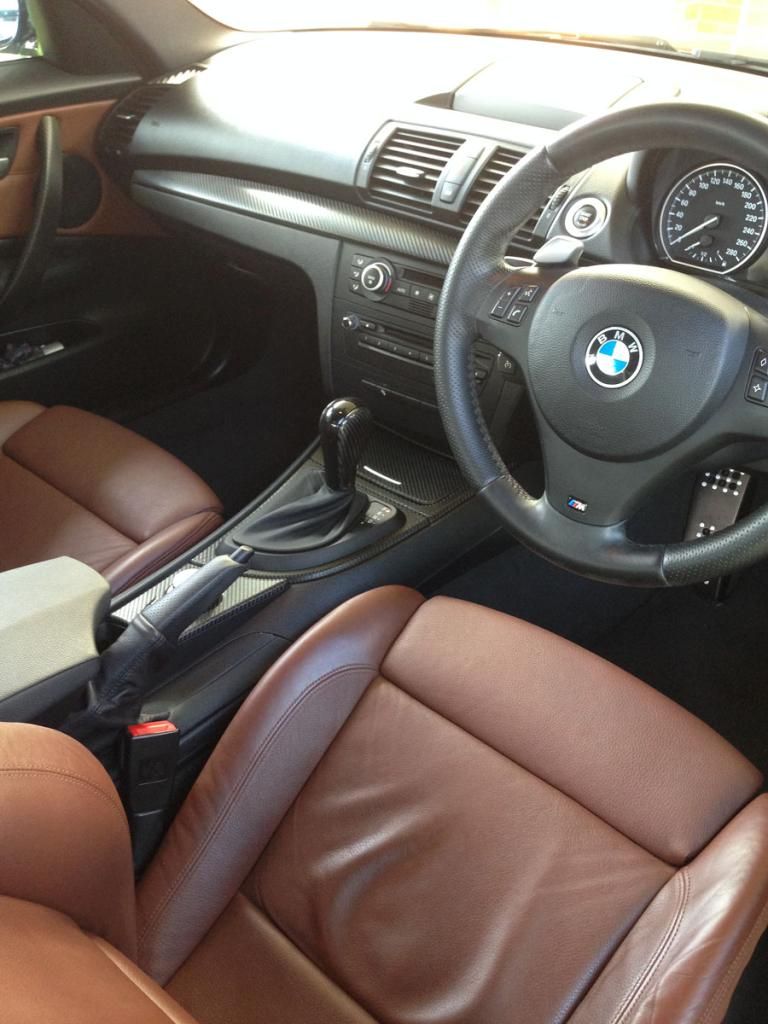 Next up - I'm approaching 70 000km now so looking for a local workshop that can carbon clean my engine (valves and intake ports). Replacing the spark plugs, engine oil, diff, transmission and power steering fluid is also on the list. She should be purring like a kitten after that major service. 
__________________
|
|
Appreciate
0
|
Post Reply |
| Bookmarks |
|
|