|
|
|
|
|
| 12-19-2023, 03:17 PM | #23 | |
|
Colonel
 1207
Rep 2,026
Posts |
Quote:
Seems the working pressure through the cooler must be much lower. I ask because I am about to try to splice a cooler into my transmission lines. |
|
|
Appreciate
1
AndyW669.00 |
| 12-20-2023, 10:43 PM | #24 | |
|
Supreme Galactic Commander (one galaxy over...)

669
Rep 1,777
Posts |
Quote:
__________________
Best,
Andy  '12 E82-PS2,Stoptechs,Clubsports+M3 bits,Accusump,Wagner DP+EVO III FMIC,ERCP,BMS Intake,Mason Strut Bar,Wedge Tune |
|
|
Appreciate
0
|
| 12-21-2023, 08:30 AM | #25 | |
|
Colonel
1207
Rep 2,026
Posts |
Quote:
|
|
|
Appreciate
0
|
| 12-24-2023, 05:07 PM | #26 |
|
Colonel
707
Rep 2,448
Posts |
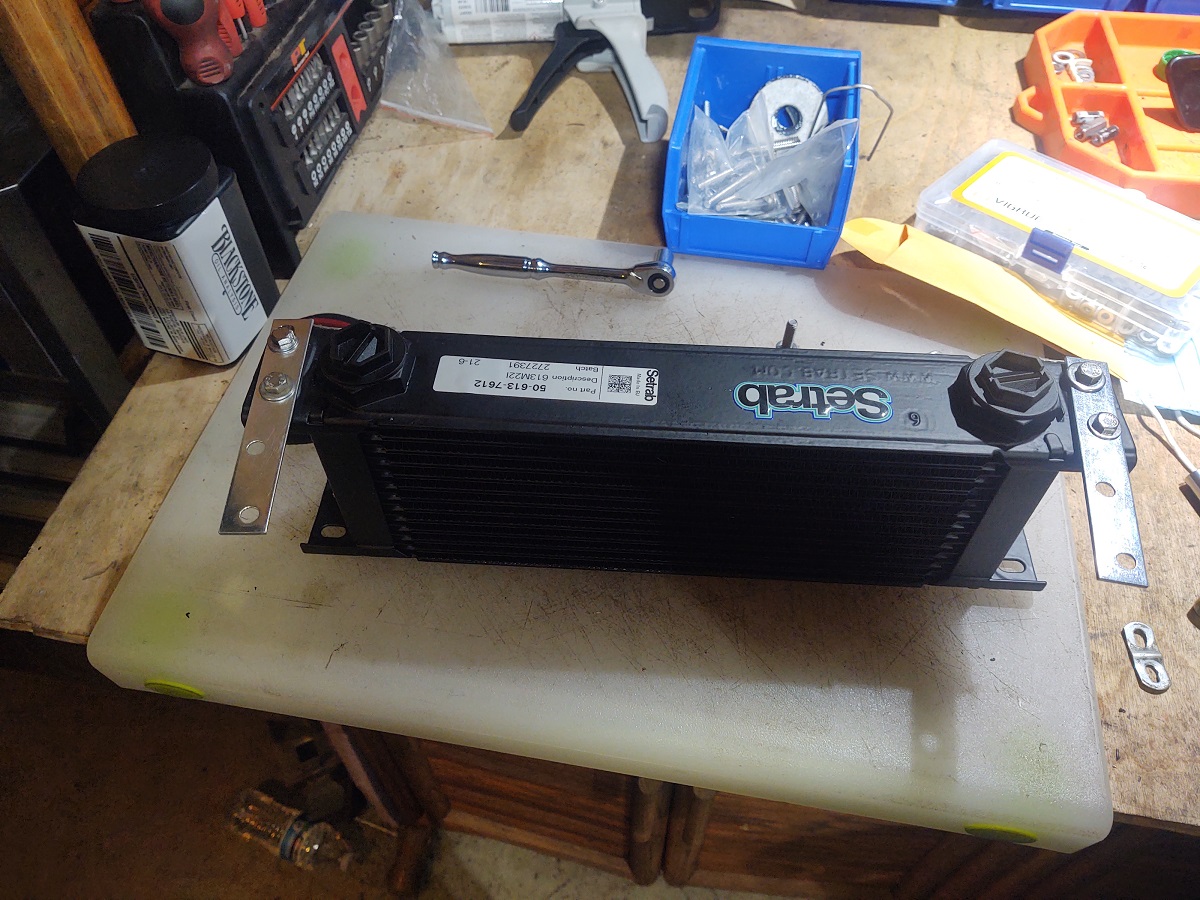
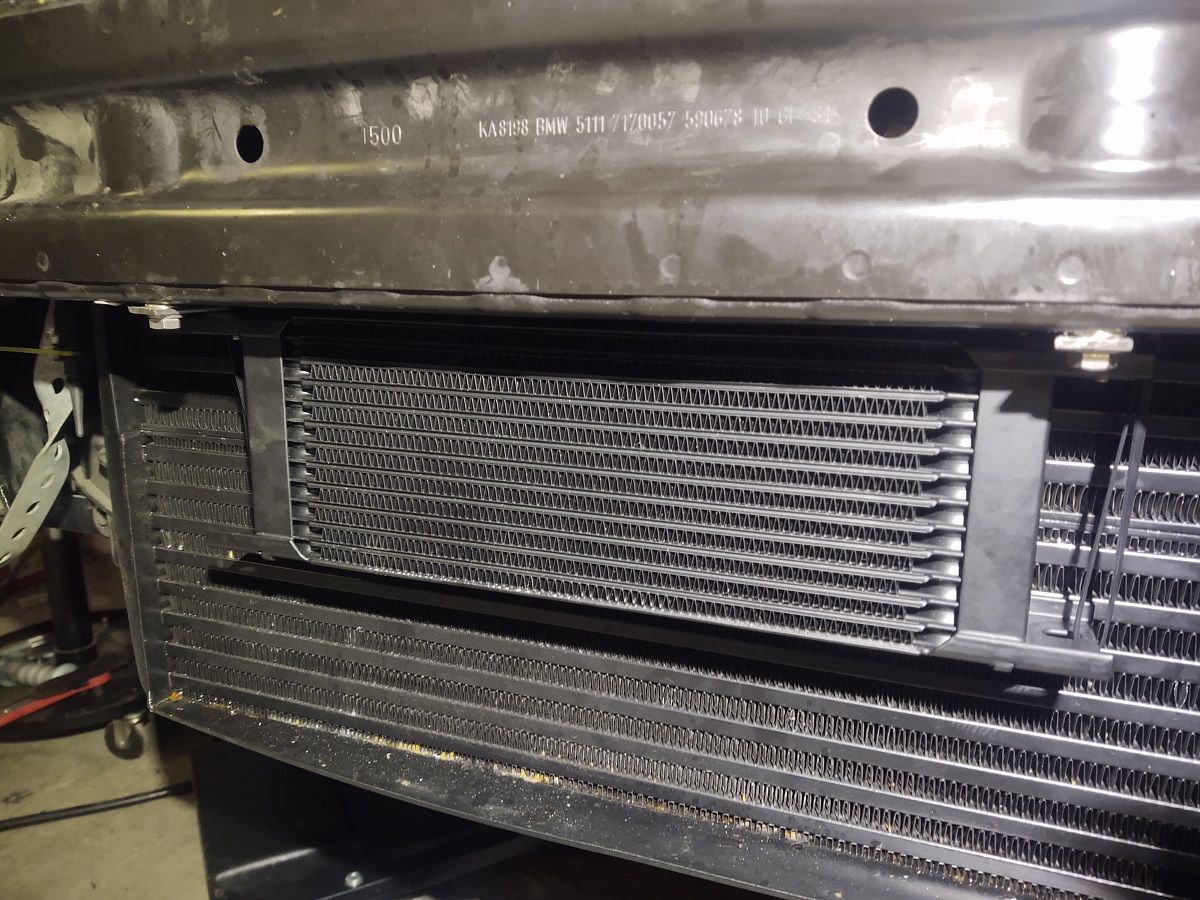
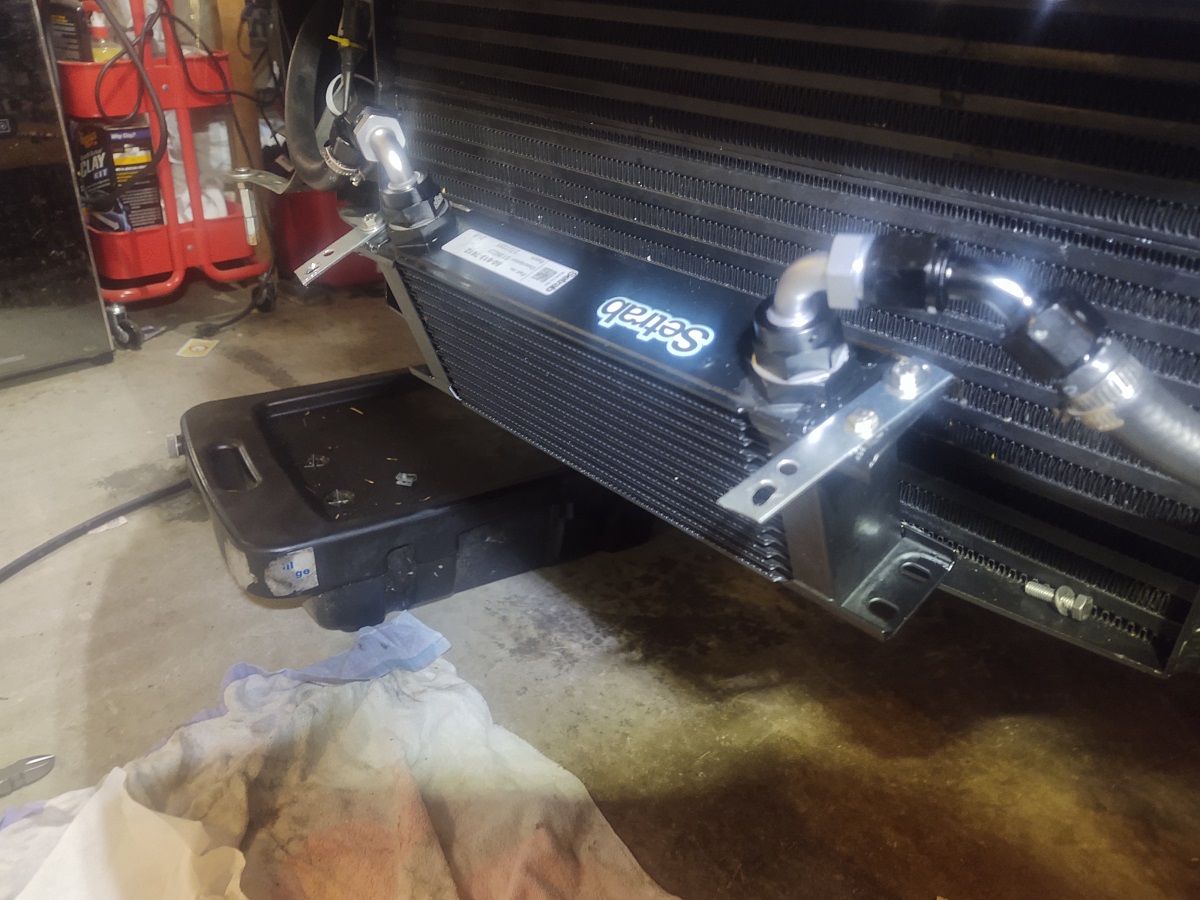
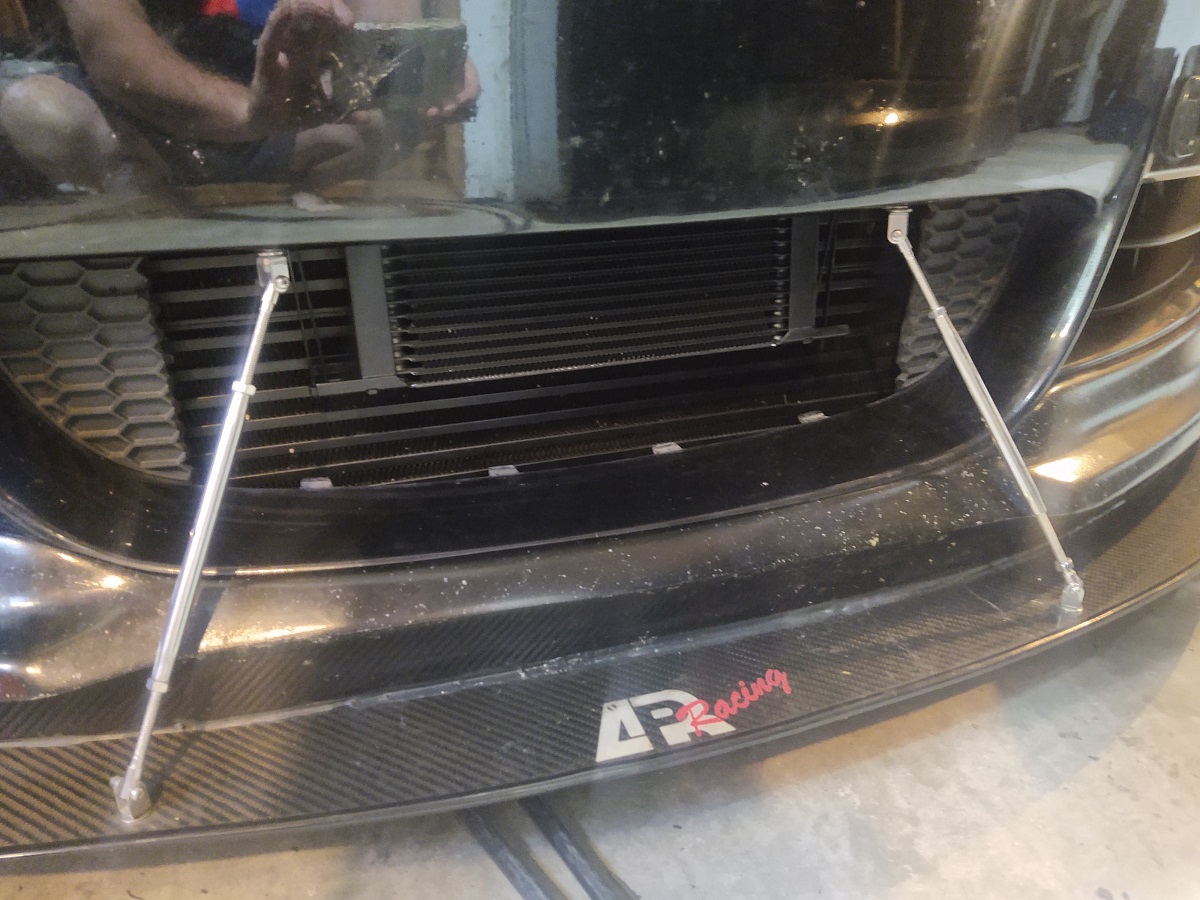
Im working on a DCT cooler set up as well. Costing me an arm and a leg but its the route I wanted to go. Using the ER drivers side cooler with custom bracket so I can use the ppk2 radiator mounting solution. Went with improved racing braided lines, AN fittings, improved racing thermostat, and converted to MT coolant lines and radiator. About half way through the install. Need to design and print a bracket for the thermostat and router the lines. Also went with a bigger DCT pan from hpr. Will post back when Im done as well.
__________________
|
|
Appreciate
1
AndyW669.00 |
| 02-08-2024, 01:10 PM | #27 |
|
Colonel
707
Rep 2,448
Posts |
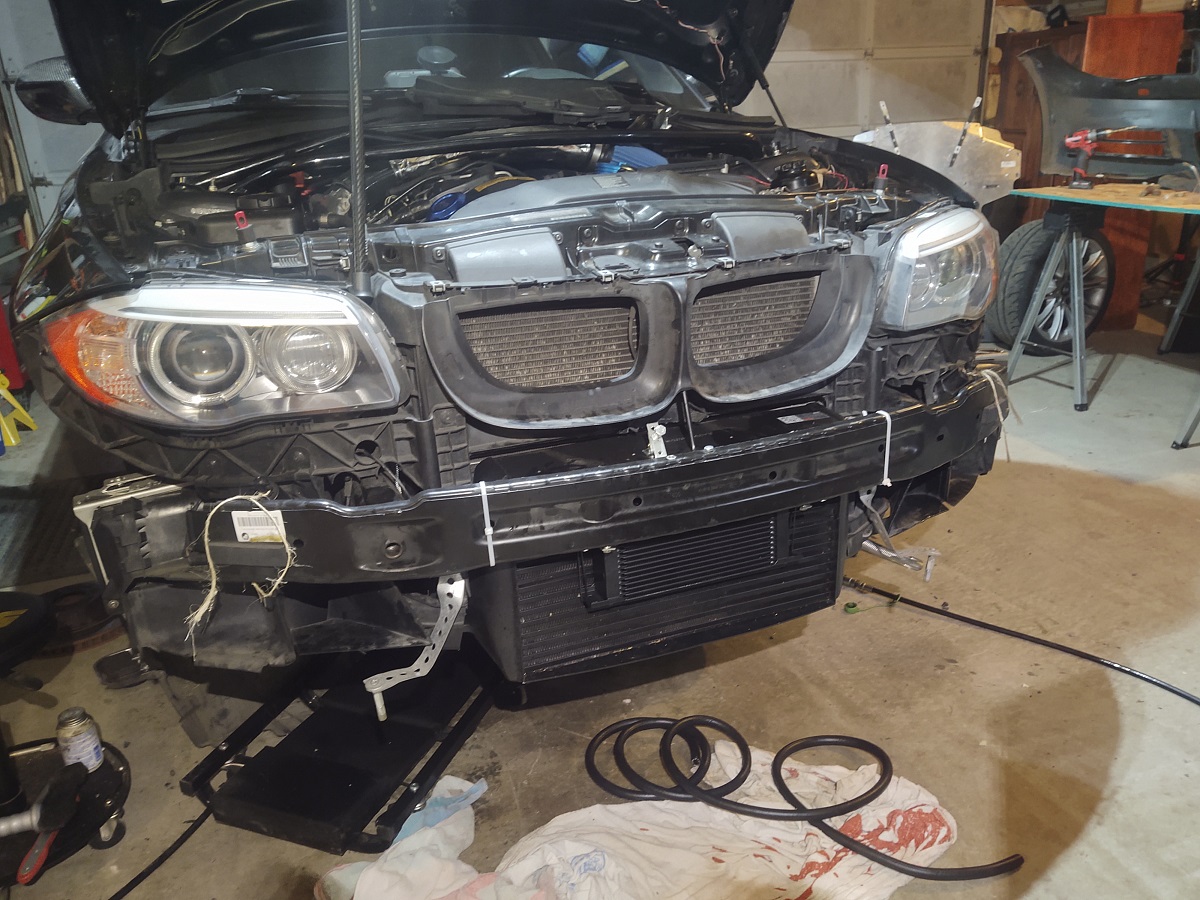
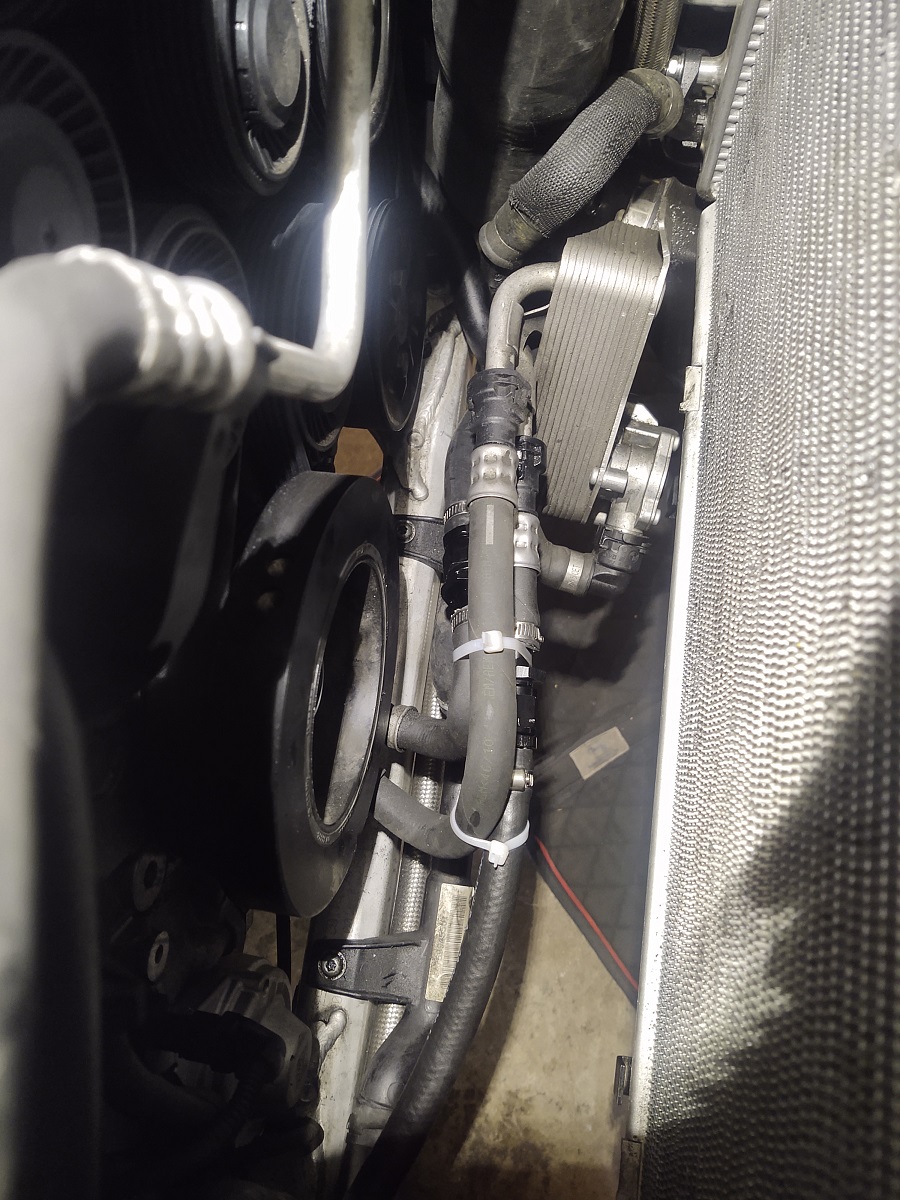
finally finished my install. hoping to go for a drive in the next day or two but so far so good. no leaks.
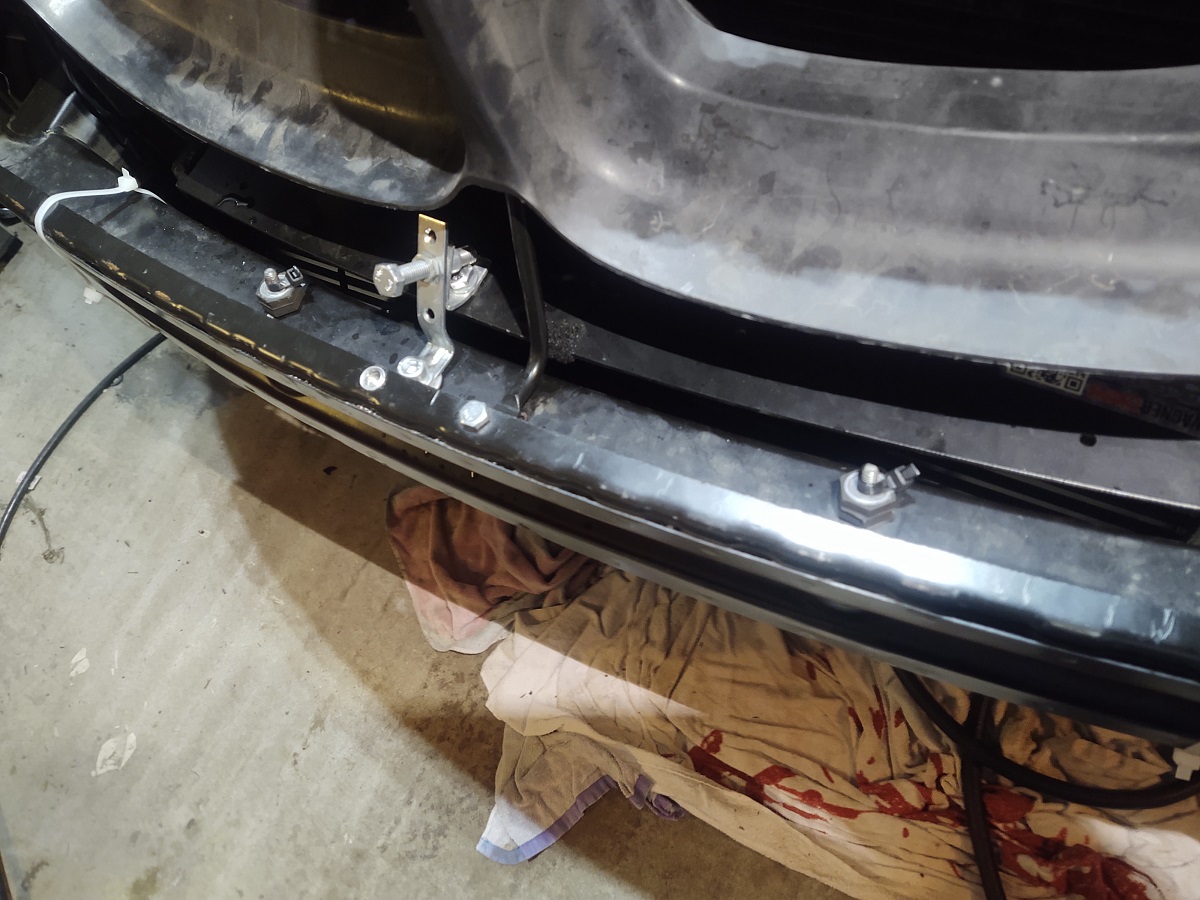
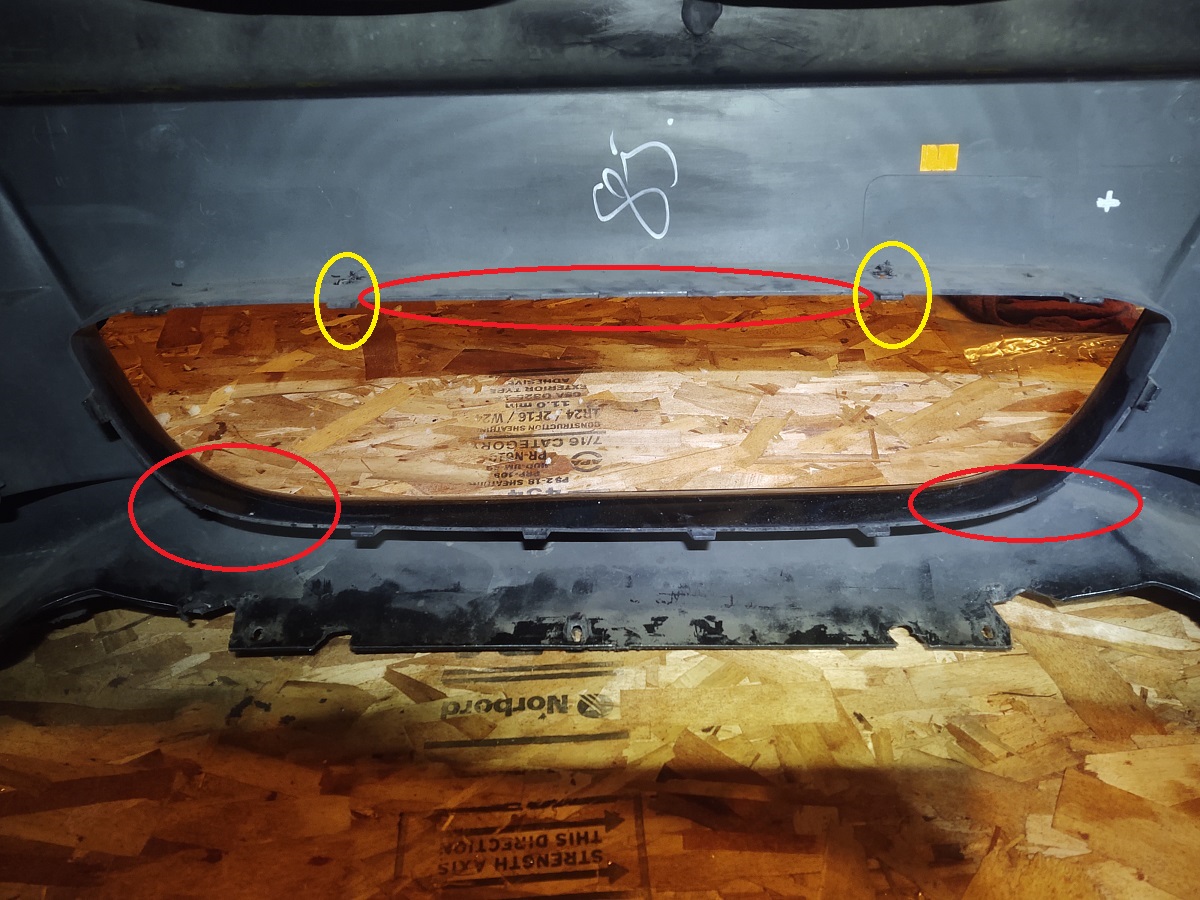
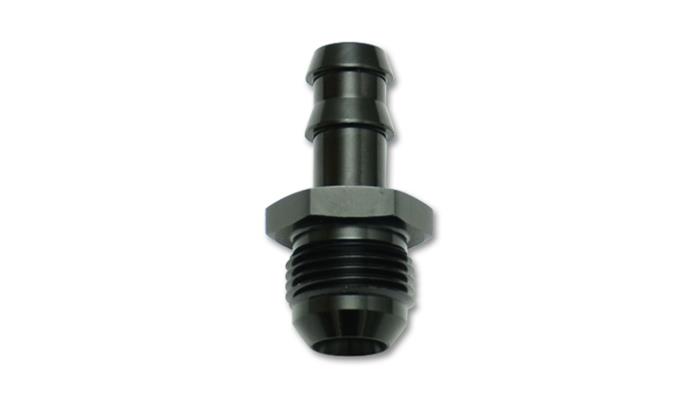
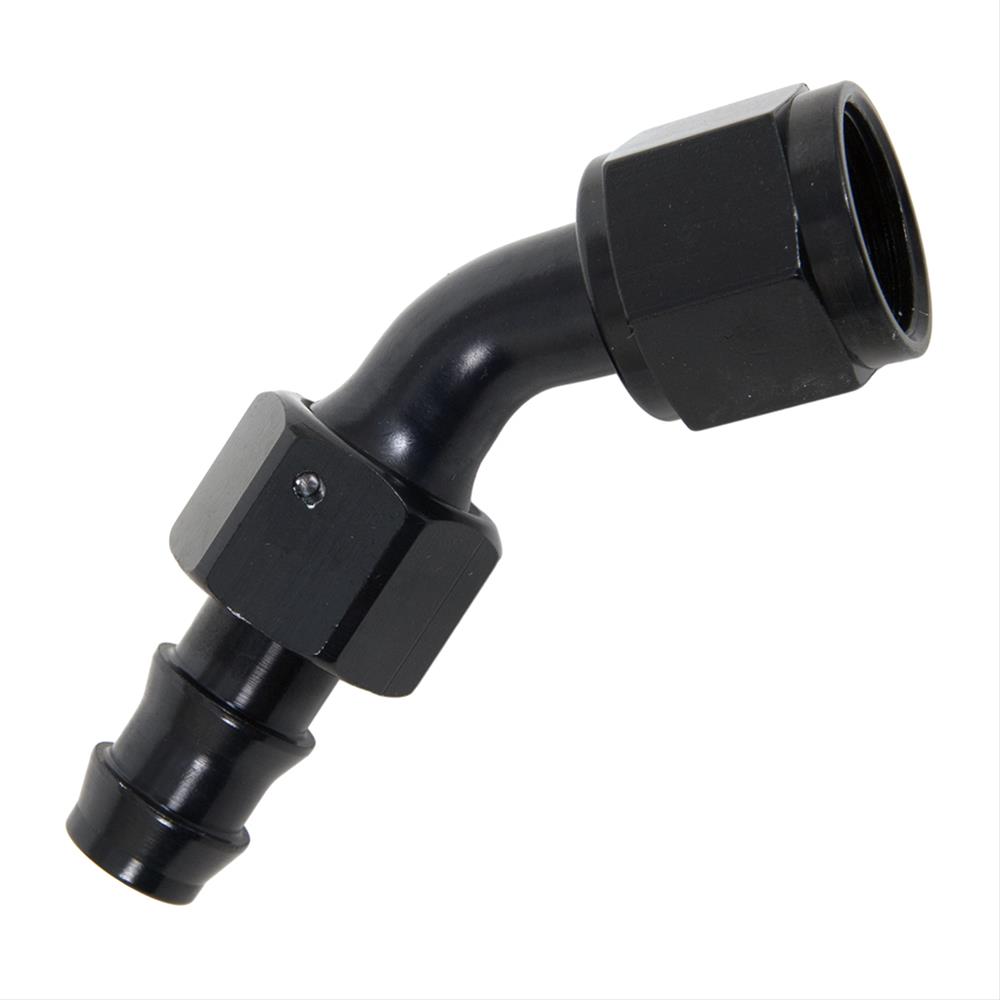
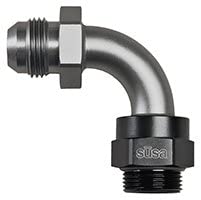
I ended up making a bracket for the external thermostat that mounts in the same location as the DCT heat exchanger. I also installed the BW dry break fitting to get an extra quart in (GTS fill) after the ISTA fill procedure was completed. In total, I have about 9 quarts in the trans now. For the oil cooler lines, I ended up using the factory hard line locations. For the location at the front of the oil pan, I made an L bracket to mount the oil line clamps to. Also, if you go with the HPR TCA, you need a 45 angle AN fitting for the upper banjo, a straight fitting will not work as it hits a part of the transmission case. All of the oil lines, fittings, and thermostat were from Improved Racing. I used an angle grinder with cut off wheel to make the lines, which was my first time doing, and it was straightforward. Everything from HPR, Improved racing, bimmerworld, and ER from customer support to quality of products is top notch. Additional pictures to show how I routed lines, thermostat bracket, etc.
__________________
Last edited by houtan; 02-15-2024 at 06:12 PM.. |
|
Appreciate
1
jsigone90.00 |
Post Reply |
| Bookmarks |
|
|