


|
|
|
 |
| 02-20-2015, 01:40 PM | #45 |
|
Second Lieutenant
 
14
Rep 250
Posts |
That interior is really coming together. I would remove that M badge on the back of the car and get a lighter color for the wheels. Would really set off the color of your car.
All in all nice build dude. Keep it up!
__________________
BMW E88 125i - Tunex Tuned@ 228whp - Cyba Scoops - Performance Kidneys - Performance Exhaust - Performance Intake - BMW Strutbar - 3d Design Carbon Diffuser - Blacklines - Golf Tee - FK Coilovers - Klutch SL14
 |
|
Appreciate
0
|
| 02-21-2015, 09:39 PM | #46 |
|
2698
Rep 7,300
Posts |
Quote:
Sweet! Great choice on the color!  |
|
Appreciate
0
|
| 02-24-2015, 05:04 AM | #47 |
|
Lieutenant
   
77
Rep 541
Posts
Drives: 2008 135i AT Monaco Blue
Join Date: Dec 2012
Location: Brisbane, Australia
|
Thanks guys. Really happy with how the car is turning out.
Looking into an intake port clean at the moment. I'll be quite curious if I net any power gains post clean. I'm currently 248rwkw...would be great to jump over the 250kw mark! 
__________________
|
|
Appreciate
0
|
| 04-26-2015, 02:56 AM | #48 |
|
Lieutenant
   
77
Rep 541
Posts
Drives: 2008 135i AT Monaco Blue
Join Date: Dec 2012
Location: Brisbane, Australia
|
Quick update. Went for a nice drive with my Dad around Lake Wivenhoe a little while back and thought I'd share a few pictures. Some quite bumpy roads out that way but it was still a fantastic sunny day cruising around the lake.
 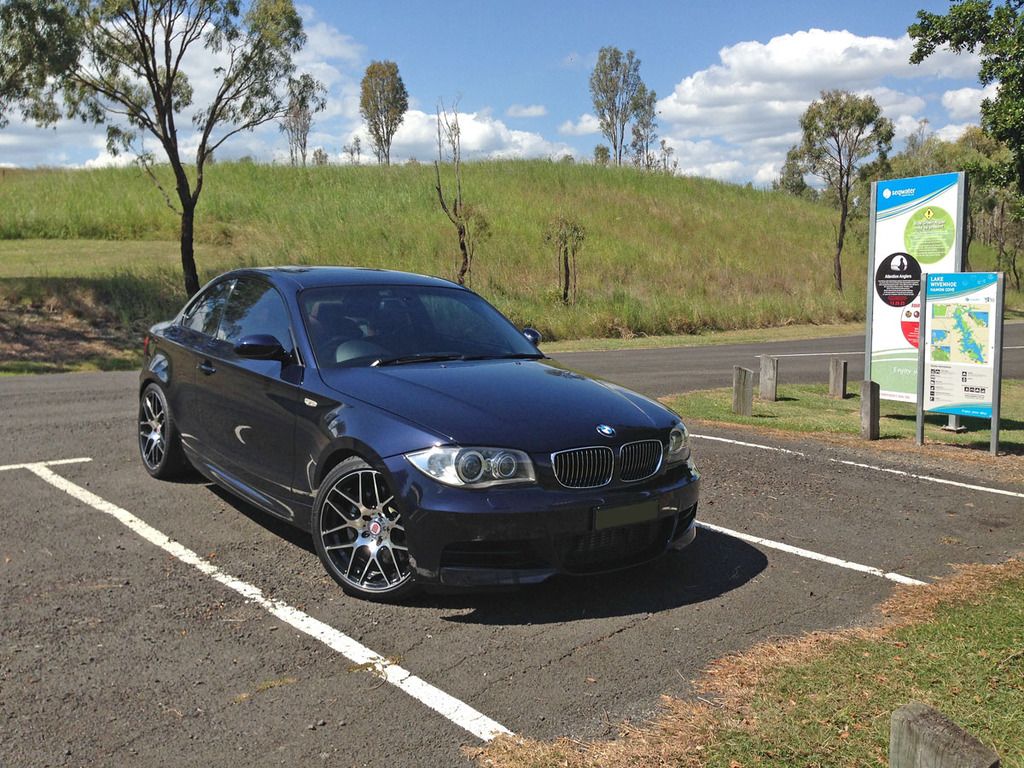 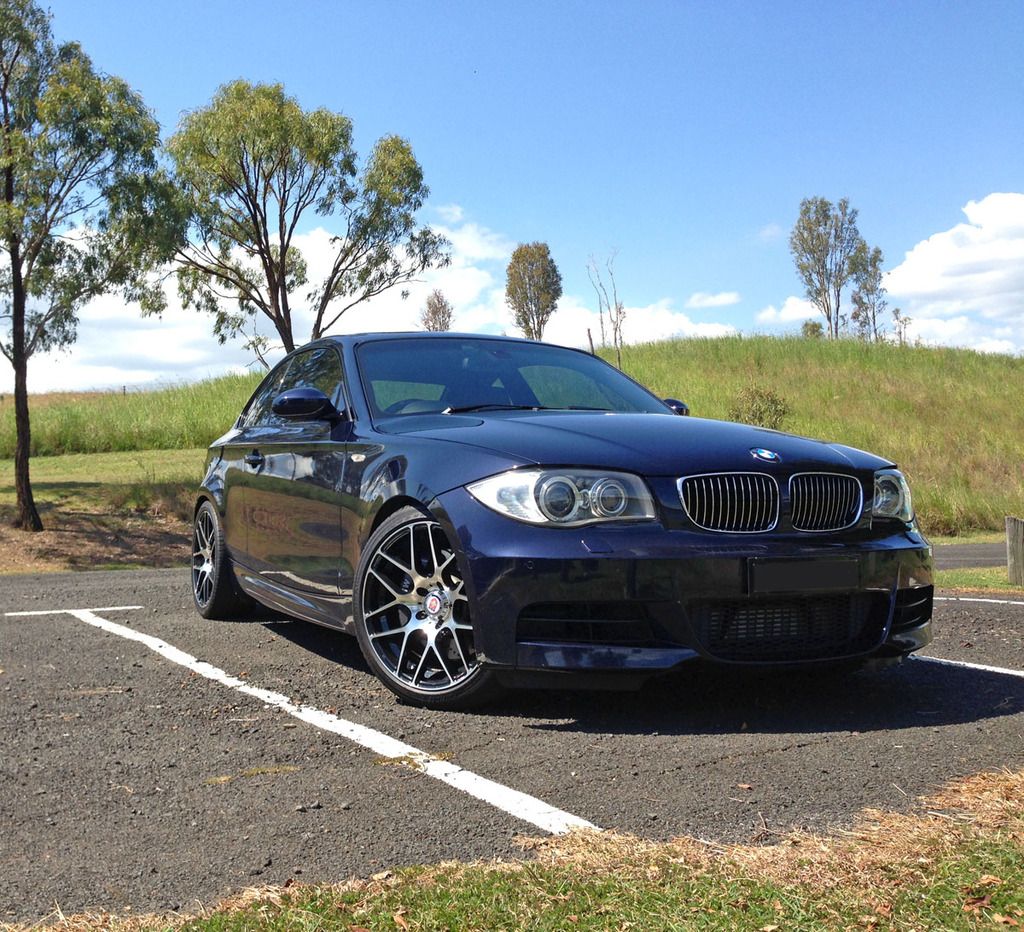 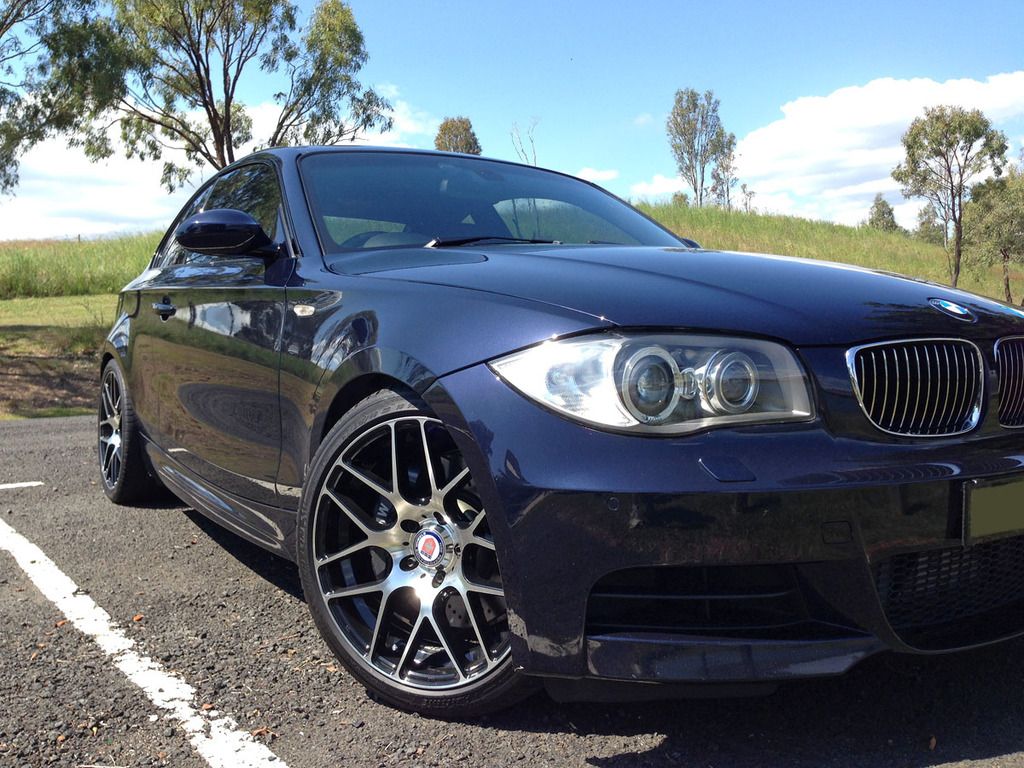 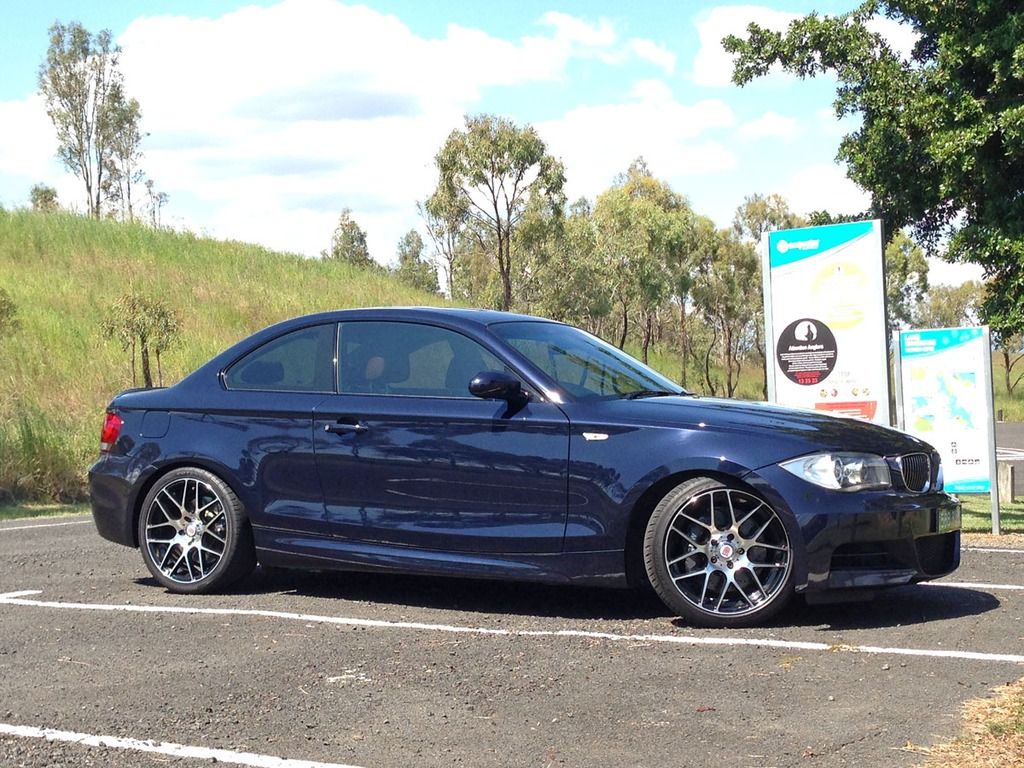 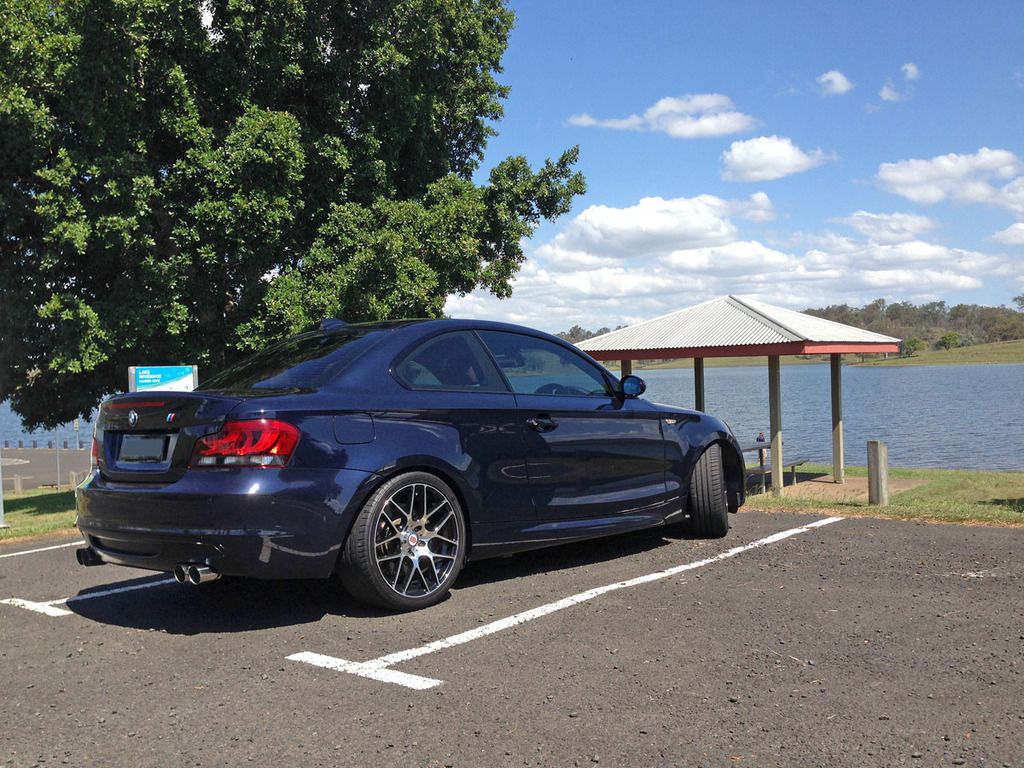 I had washed and waxed the car prior to the drive (in hindsight I probably should have waited until after given the number of bugs splattered on my front bar) and the sunshine really set off the Monaco Blue paint. Had to take a few snaps of it. 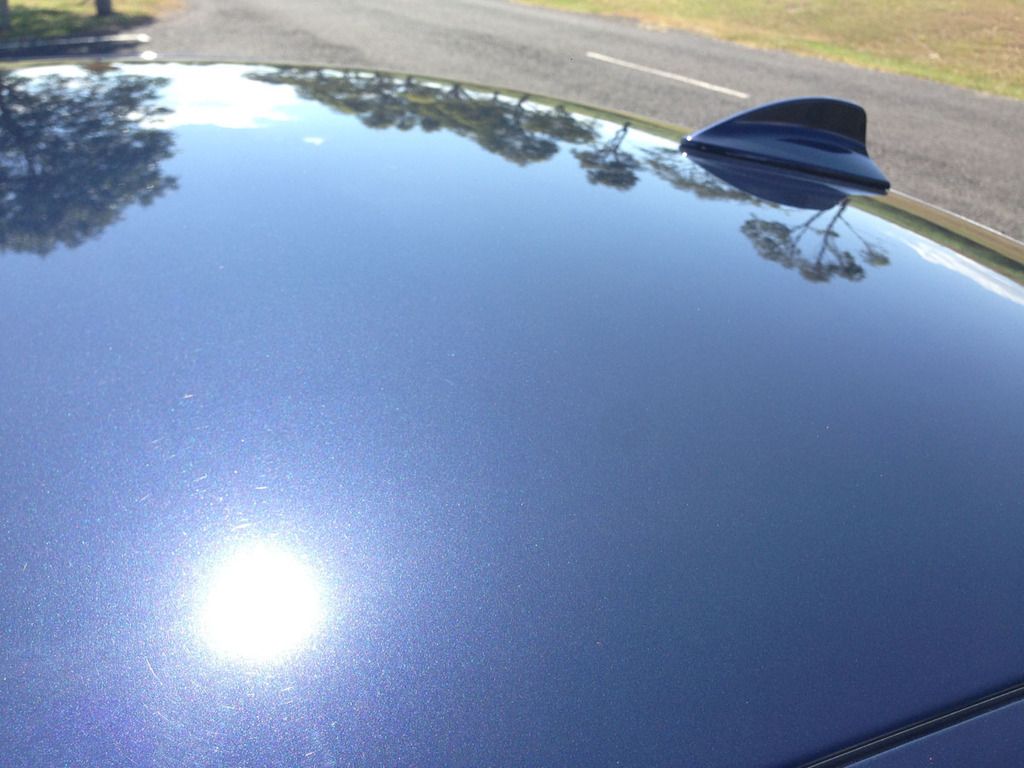 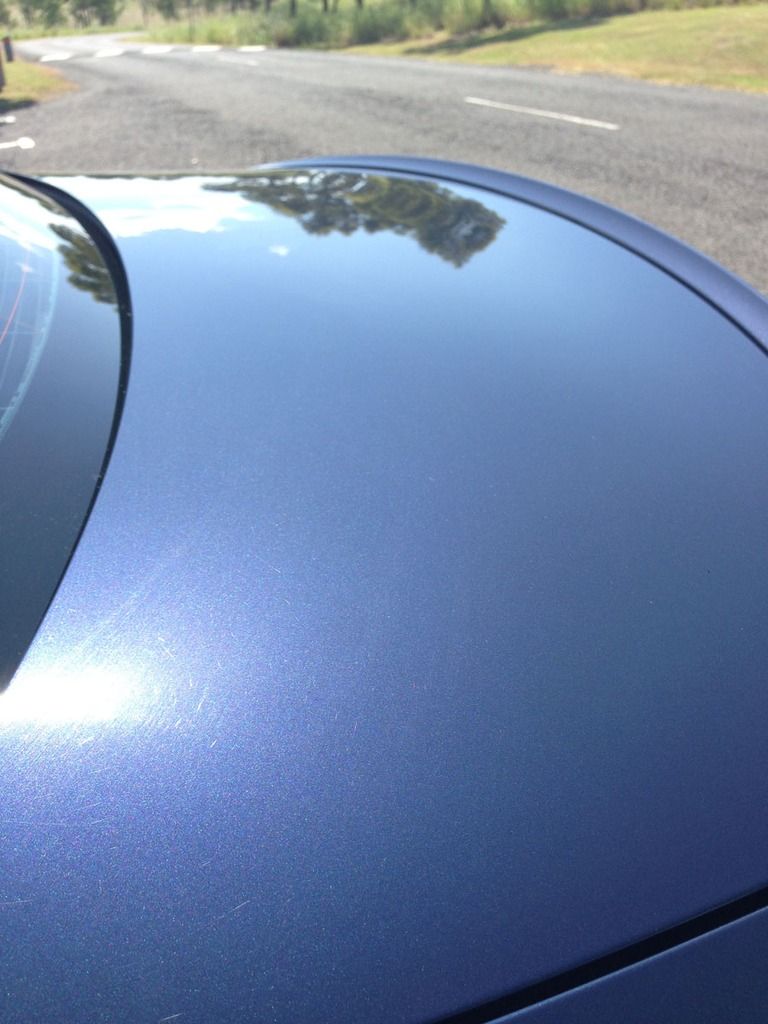
__________________
|
|
Appreciate
0
|
| 04-26-2015, 03:15 AM | #49 |
|
Lieutenant
   
77
Rep 541
Posts
Drives: 2008 135i AT Monaco Blue
Join Date: Dec 2012
Location: Brisbane, Australia
|
Time for my next round of updates. It's service time!
So I have been planning this major service for a while now so was good to knock off the following major items. Engine oil and filter, cabin filter, new spark plugs, new power steering fluid and new differential fluid. New auto transmission fluid will also be done in the next month or two as I'm still awaiting the replacement OEM BMW sump from ECS. I intend to go LiquiMoly ATF Toptec 1800 fluid which is a German made fluid that meets BMW M-1375.4 spec. Looking forward to seeing how smooth the tranny is with my Alpina flash after replacing the 70 000km old fluid. My engine oil of choice was 'German Castrol' ie Castrol Edge Syntec 0W-30 European Formula (see bottles below) which I was able to source from Harold at PerformanceLub. Fantastic service as always from Harold and highly recommended. http://www.performancelub.com/ 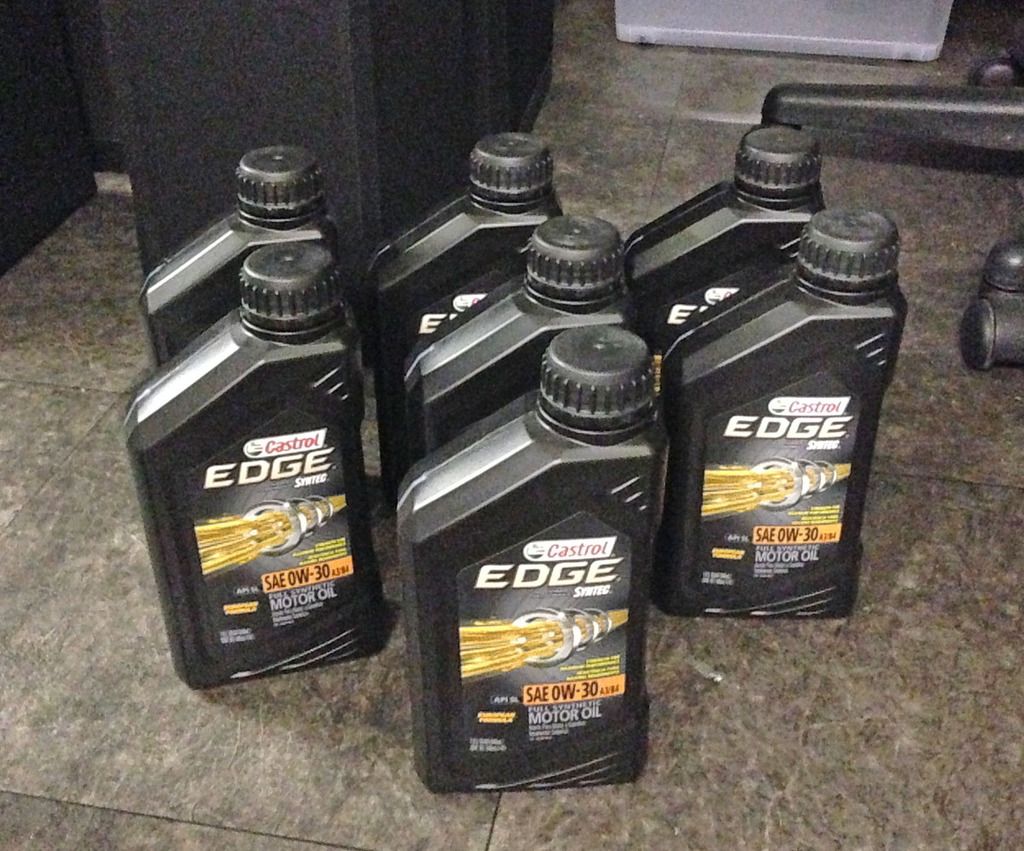 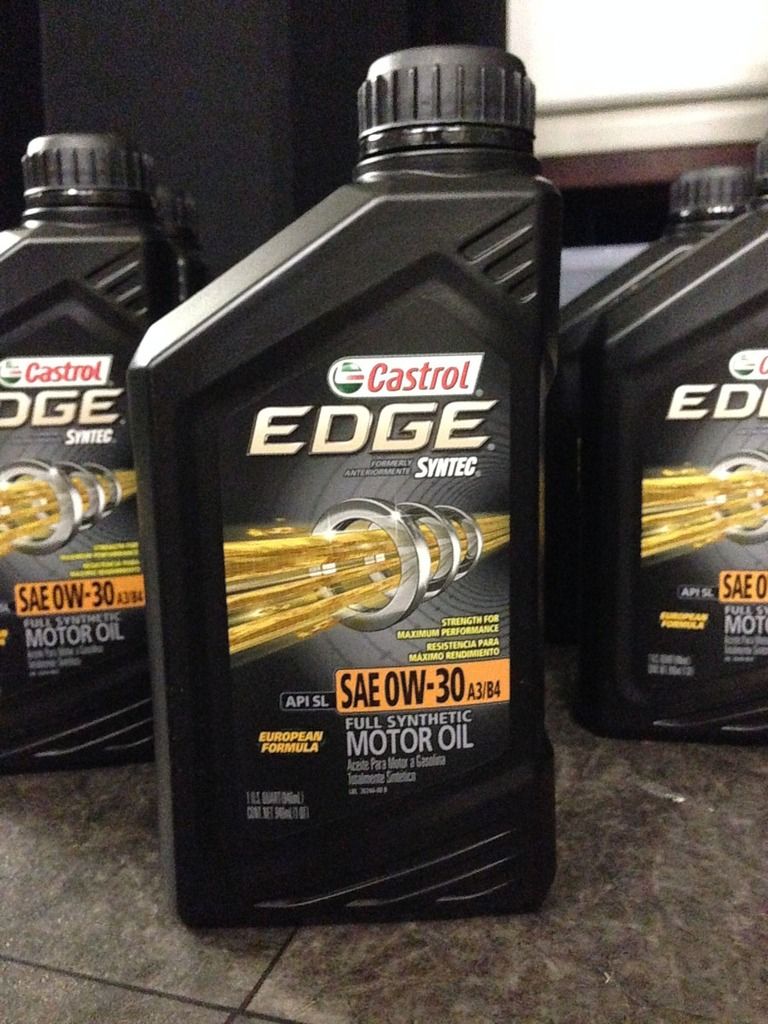 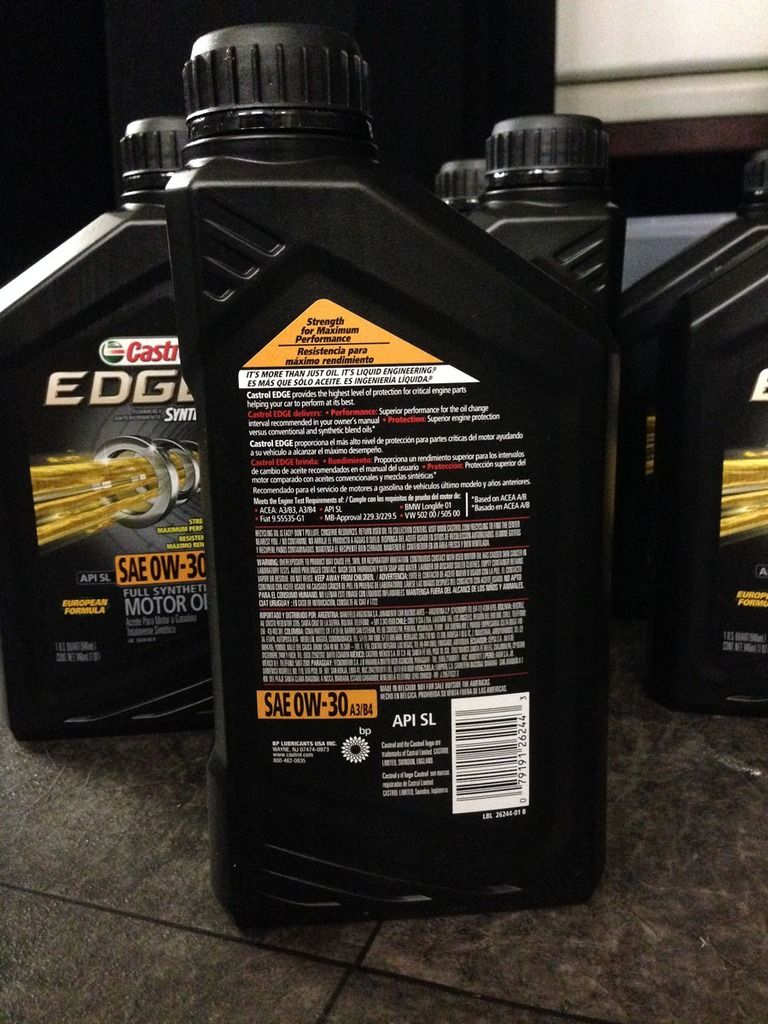 BPS performed my major service and I also had them perform an intake valve and port clean at the same time. My ports didn't look too bad but it was good peace of mind for me given I intend to keep the car for a while. See below for some photos of the port buildup pre cleaning (70 000km of gunk). James from BPS was also very patient with me given the number of questions I had for him that day haha. http://www.bpsautos.com.au/ 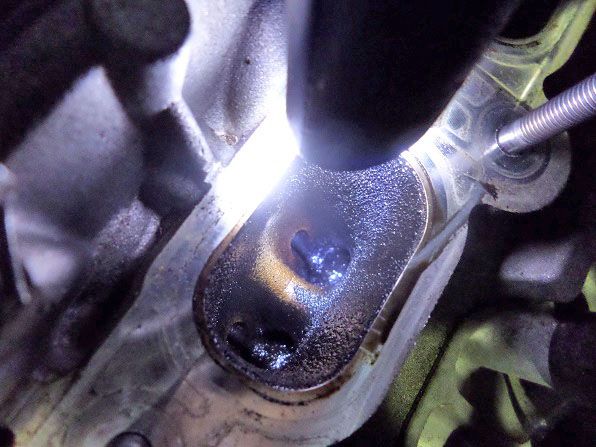 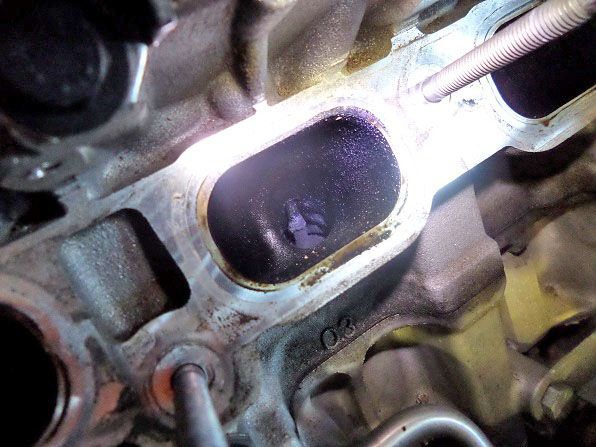 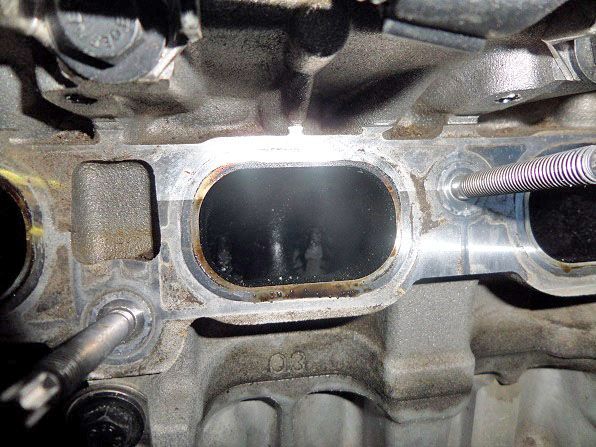 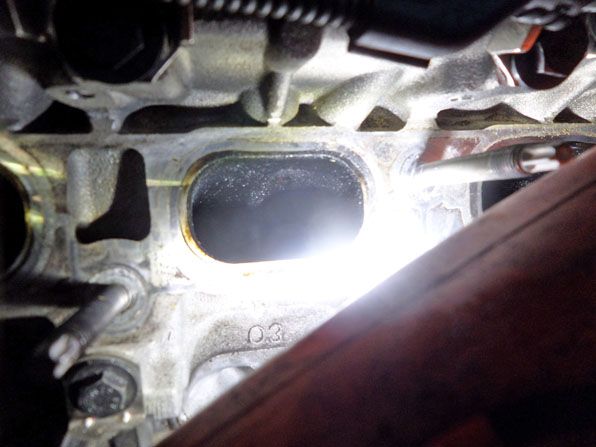 I was also curious to dyno my car following the valve clean to see if I would gain a few extra kw. Unfortunately one of BPS's dyno modules that measures ambient air temp was out of action so they couldn't perform a comparative benchmark against my last run (which had virtually identical mods). They did provide a dyno printout that showed I had gained some torque between 2200 and 3600rpm but the rest of the graph was no use as the incorrect temp readings meant it was cutting power. Hopefully I can get it back on the dyno when I have my transmission fluid flushed and get a proper dyno reading to compare. The car does seem to be smoother with the new Castrol oil and valve clean and is perhaps a little more eager to rev which is great news.  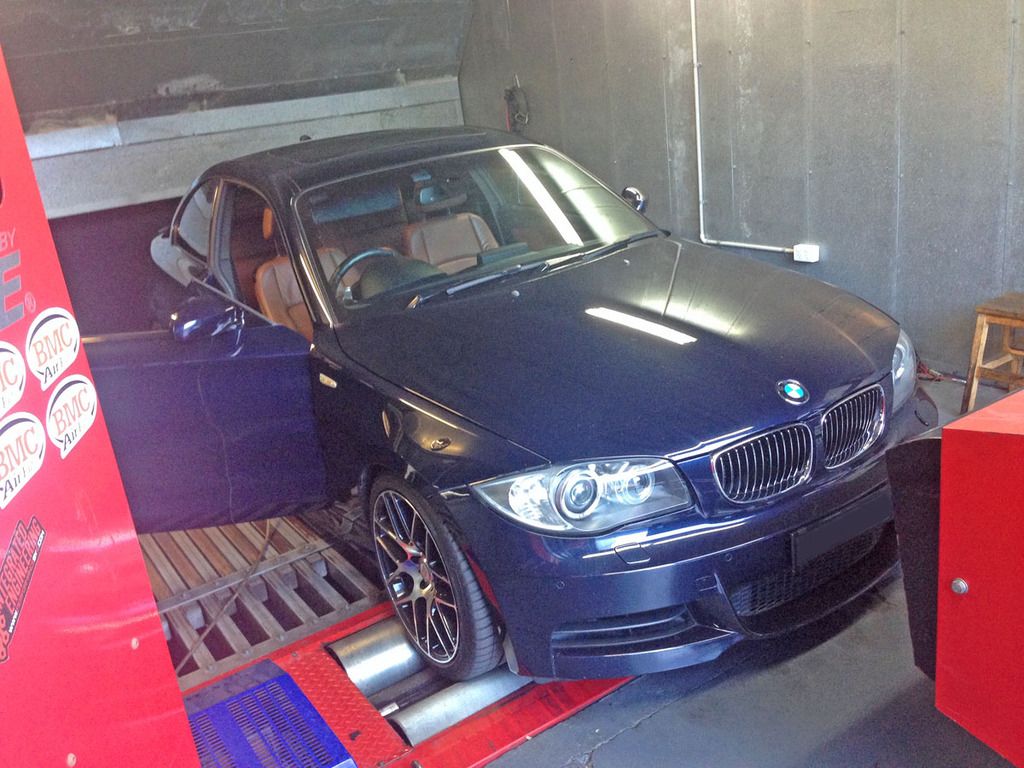 Next up was a new set of tyres as my Bridgestone rears were particularly shot. I opted for 18in Goodyear Eagle F1 A2 in 225/40 front and 245/35 rear sizes. I've had a set of these before and they were fantastic tyres (especially in the wet) so I was very confident in ordering another set. Previously I've used Tirerack, however with the horrible AUD I opted for local supply this time. I can recommend Goodyear Woolloongabba for excellent friendly service should you need some new rubber.  http://www.goodyearautocare.com.au/d.../woolloongabba Despite being the same size as my previous Michelin/Bridgestone combo, these Goodyears run a little wider so they really fill the wheels now, particularly the rear. 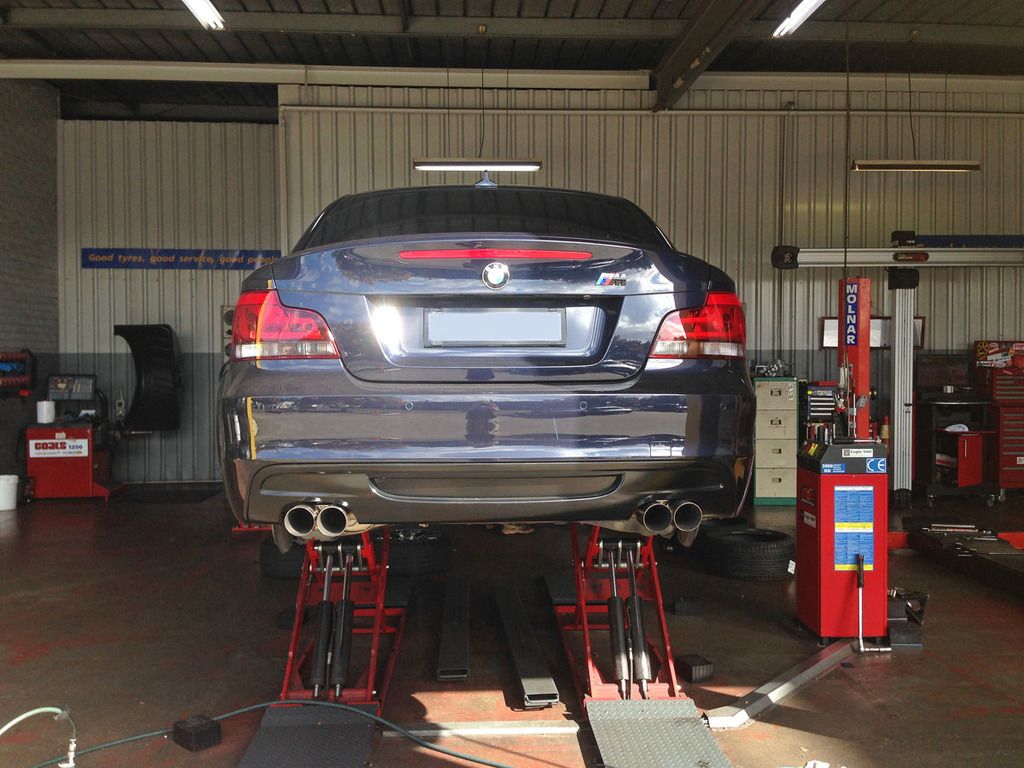 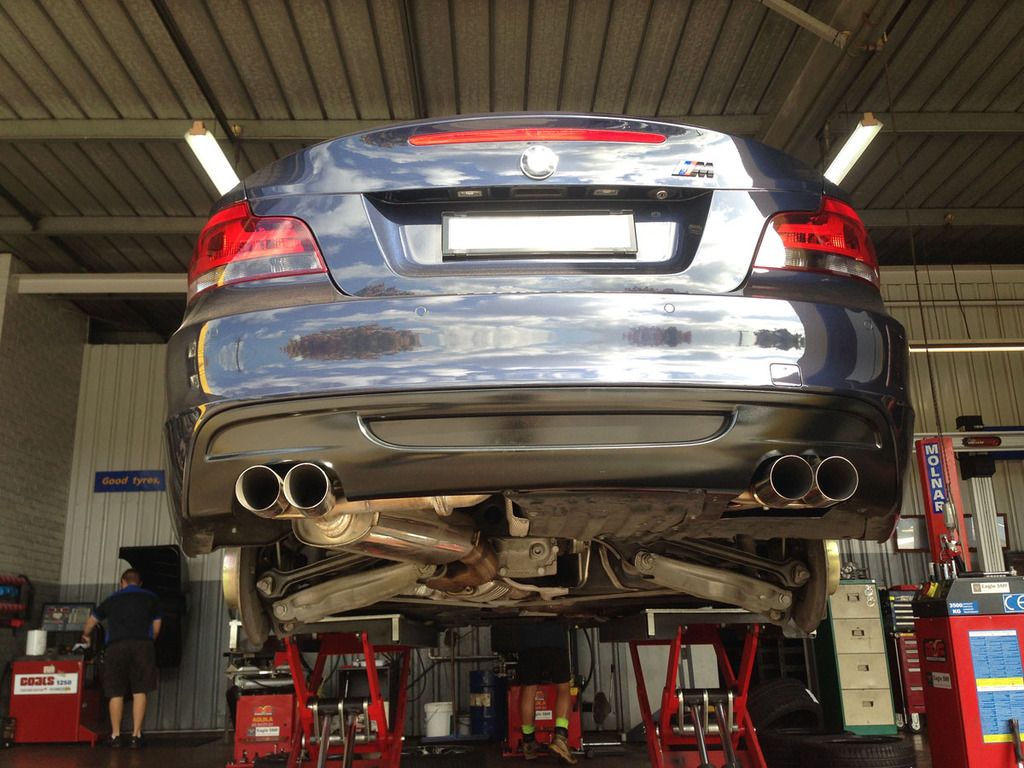 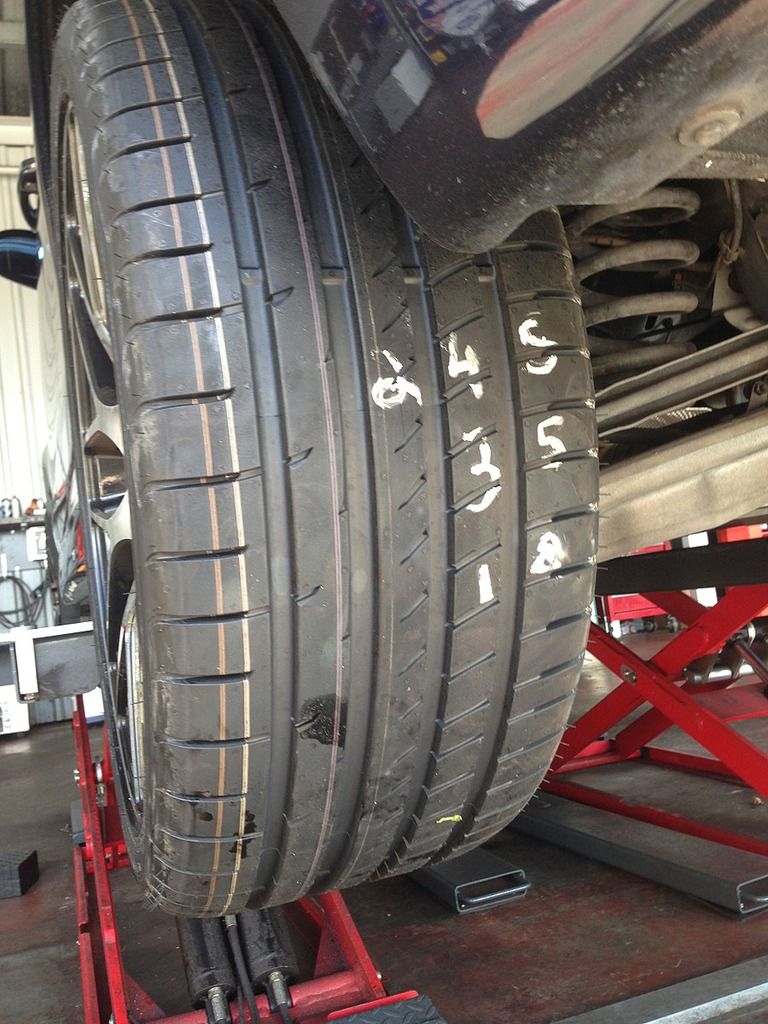 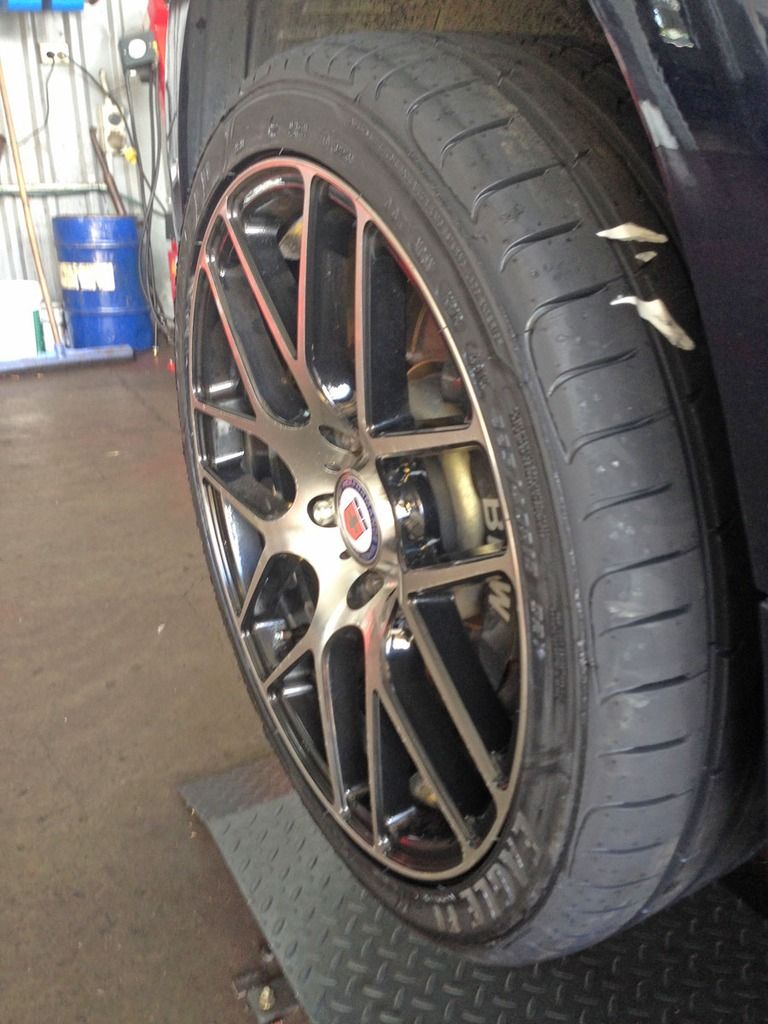 I had Ken from Accurate Suspension perform the alignment for me. He does setups for a lot of race cars so I felt in capable hands. Ken's service was fantastic and he even fit me in despite me arriving very late from work. Highly recommended. http://www.accuratesuspension.com.au/ My car was previously running a fair bit of negative camber and toe in which probably resulted in the premature wear on the old tyres. Given this is a street only car I had Ken back off these settings to a more tyre wear friendly spec but still maintain nice crisp, sharp handling. The below specs might seem very conservative but for a street car I'm very happy with how the car behaves. It is sharp and smooth despite the lack of camber. New alignment: Front: 1.3 (L) & 0.8 (R) degrees negative camber 7 degrees castor 3mm toe in Rear: 1.0 (L) & 0.8 (R) degrees negative camber 2mm toe in 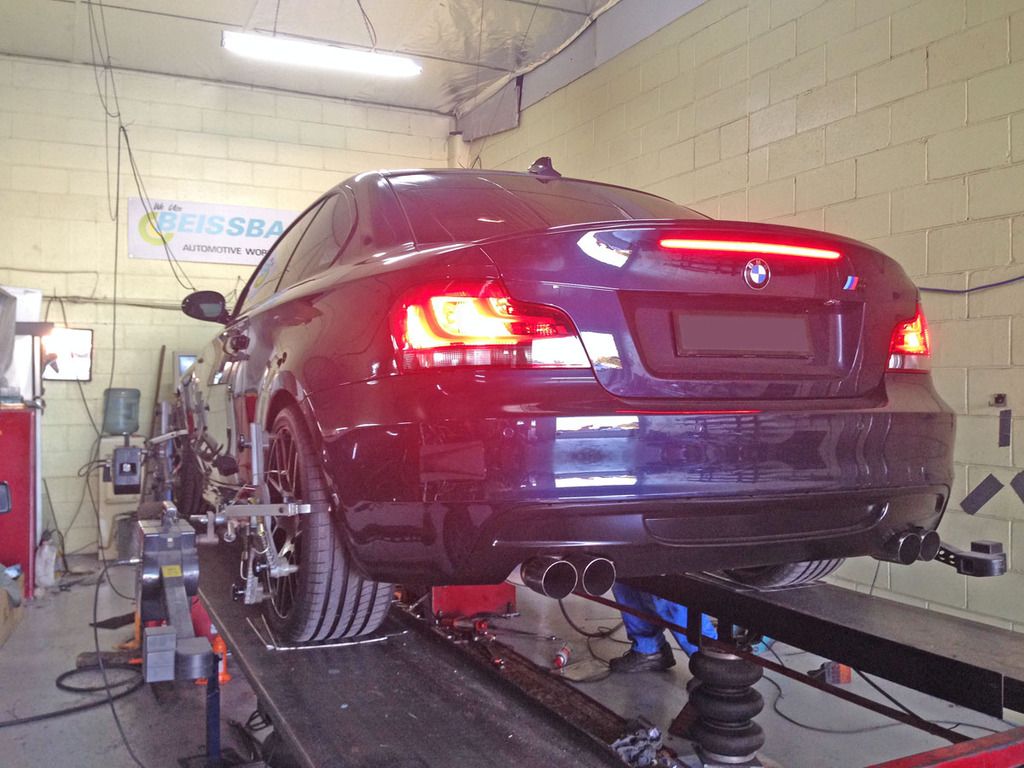 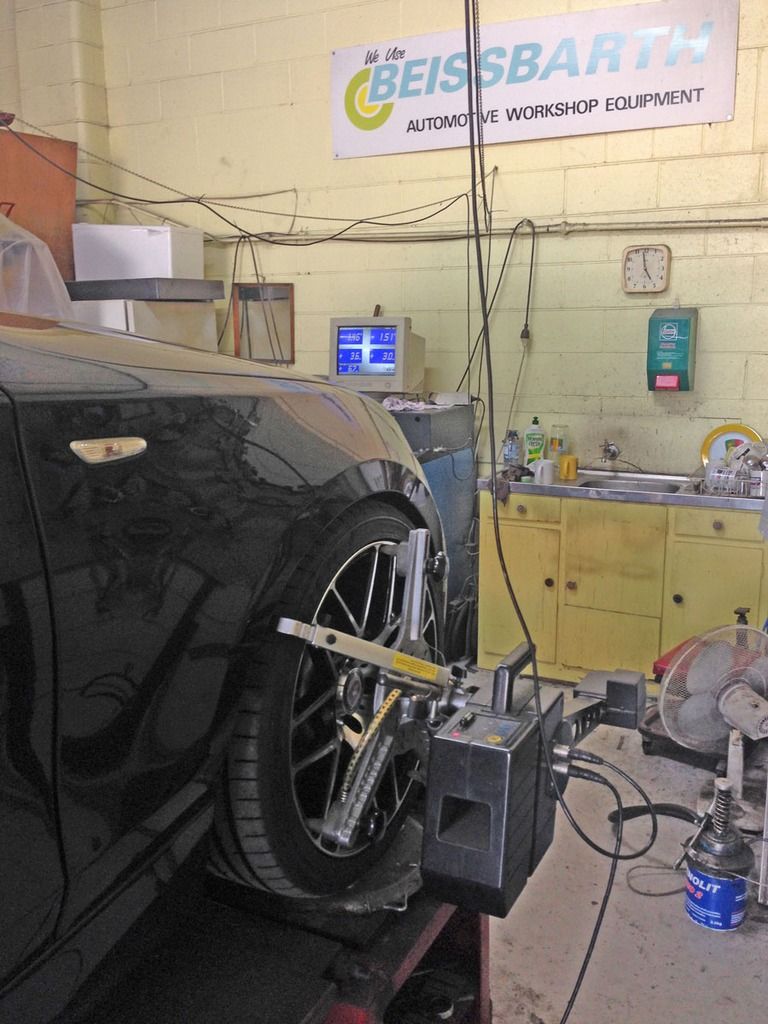 Really enjoying the car now that it's freshly serviced and rolling on new rubber! 
__________________
|
|
Appreciate
0
|
| 04-26-2015, 05:34 AM | #50 |
|
Private First Class
 25
Rep 104
Posts |
Hey Justin,
How did the workshop clean out the intake valves? Also, why did the wheel alignment bloke dial in more camber on the passenger side both front and back? thanks, Steve |
|
Appreciate
0
|
| 04-26-2015, 07:18 AM | #51 | |
|
Lieutenant
   
77
Rep 541
Posts
Drives: 2008 135i AT Monaco Blue
Join Date: Dec 2012
Location: Brisbane, Australia
|
Quote:
BPS cleaned out the intake valves by hand. They did not have a walnut blaster and preferred to do it the old fashioned way. Apparently the valves/ports come out just as clean but it is a bit more labour intensive. Re the alignment - It is common to compensate for the road crown (i.e. roads angle towards the gutter for drainage). Thus there is a little more camber applied on the left side. This wouldn't be the case for a race car setup with a flat track surface. 
__________________
|
|
|
Appreciate
0
|
| 10-15-2015, 11:11 PM | #53 |
|
Private
 2
Rep 84
Posts |
Justin, if you still love your car, consider changing out the ashtray for the storage box. Looks way better and you can vinyl wrap all the bits in the centre console.
|
|
Appreciate
0
|
| 02-03-2016, 01:42 AM | #54 |
|
Lieutenant
   
77
Rep 541
Posts
Drives: 2008 135i AT Monaco Blue
Join Date: Dec 2012
Location: Brisbane, Australia
|
It's been quite a while since I've posted in my build log so I thought I'd upload a few photos of a cruise I went on with my brother through Springbrook National Park late last year. Apologies in advance for the poor quality on some of my photos (forgot the SLR camera that day).
It was a fun afternoon drive coupled with some bush walking.  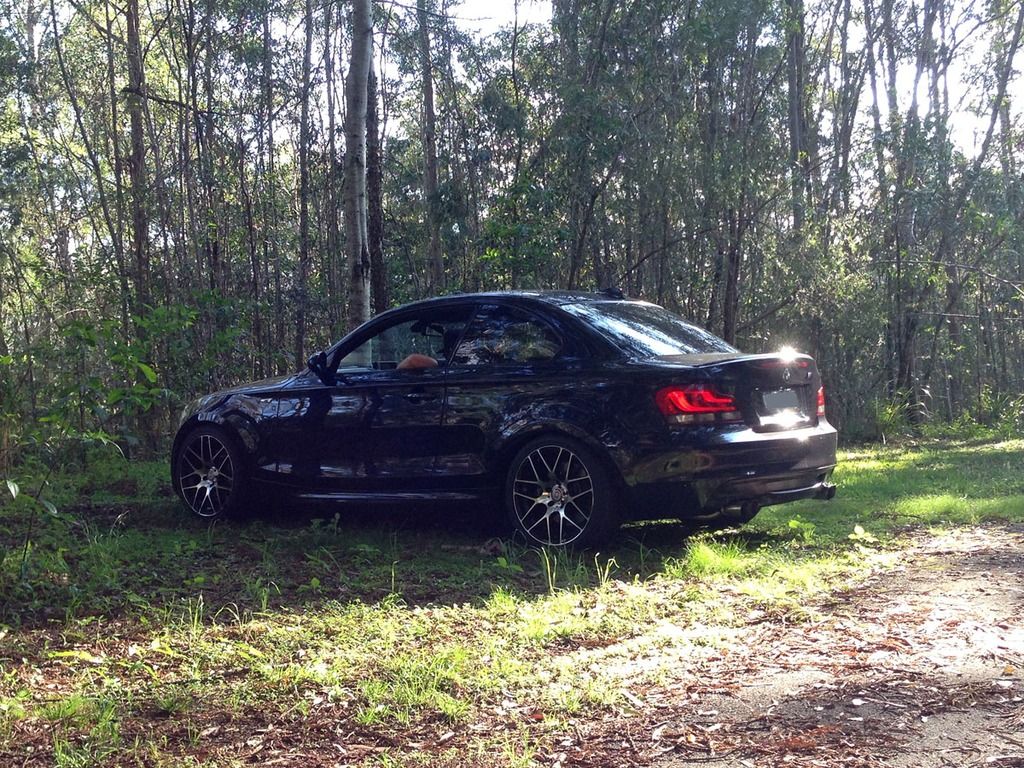 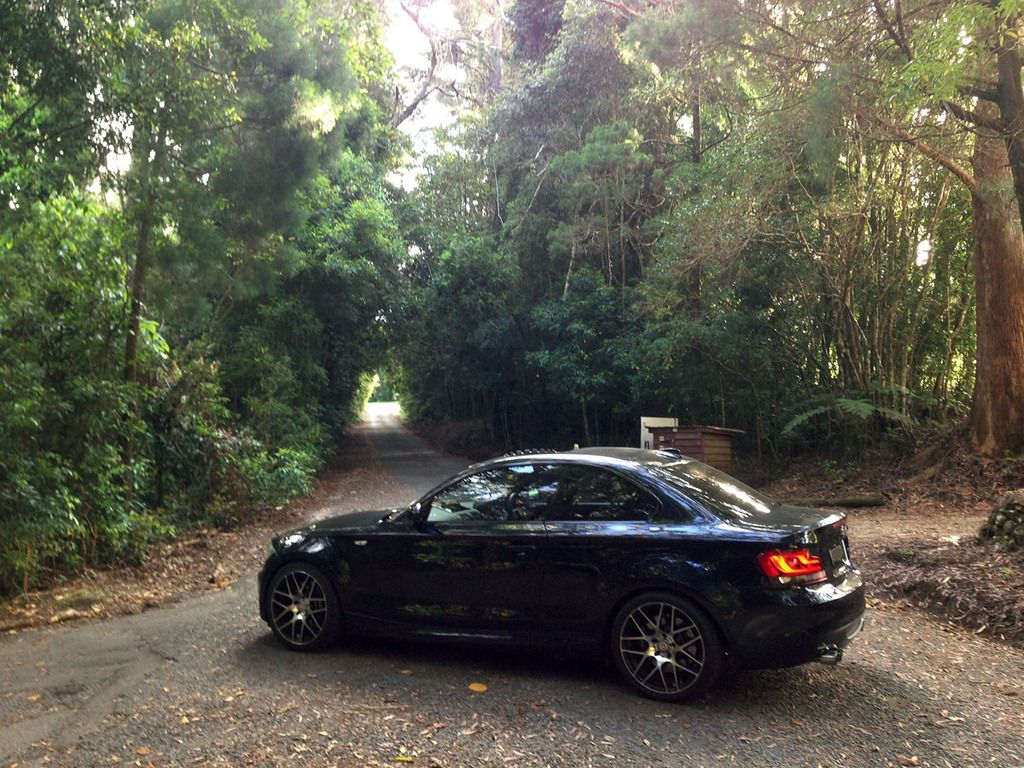 We started off at one of the lookouts at the national park overlooking the Gold Coast. Some breathtaking views of the waterfalls we later decided to bush walk to before dark.   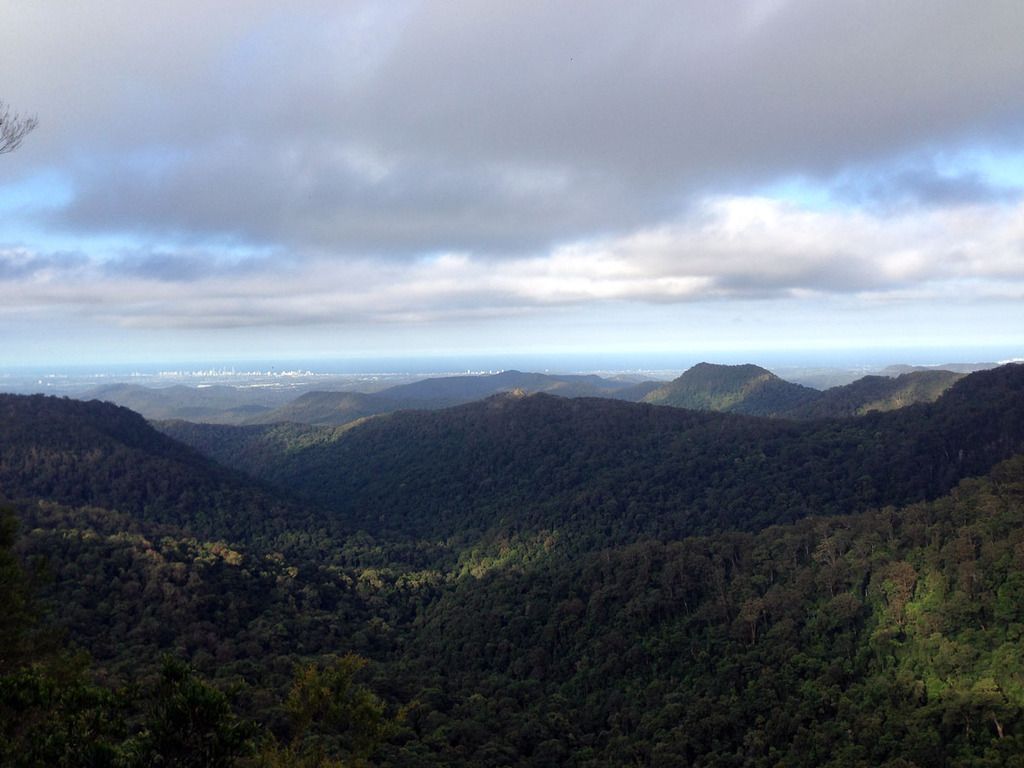 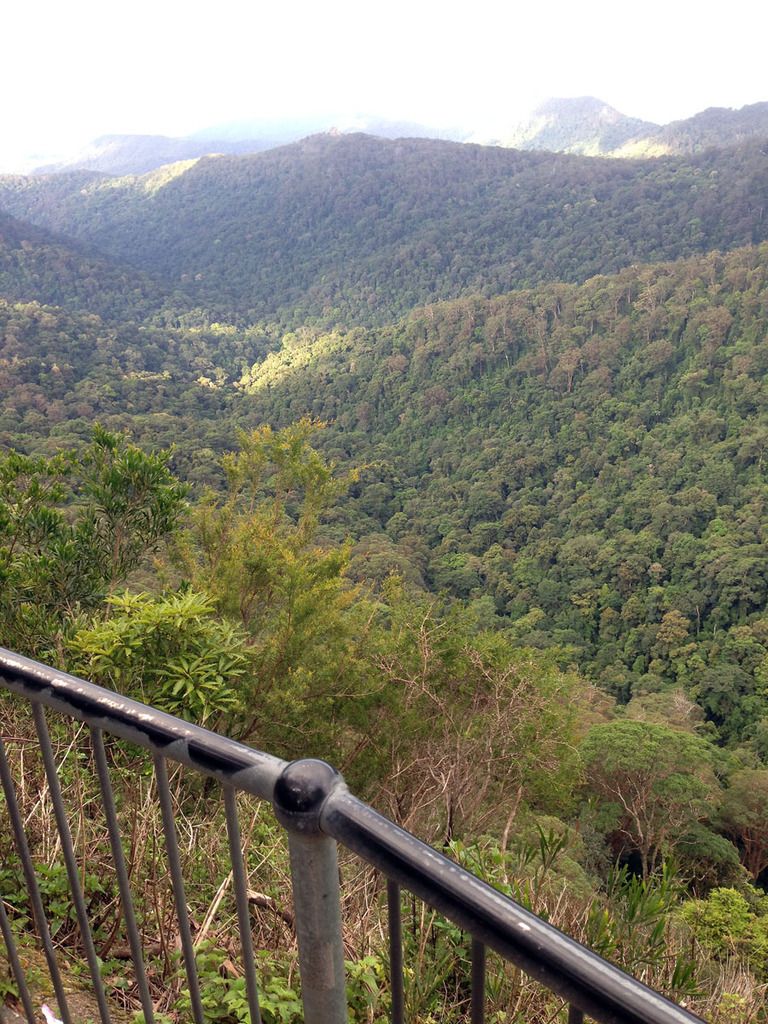 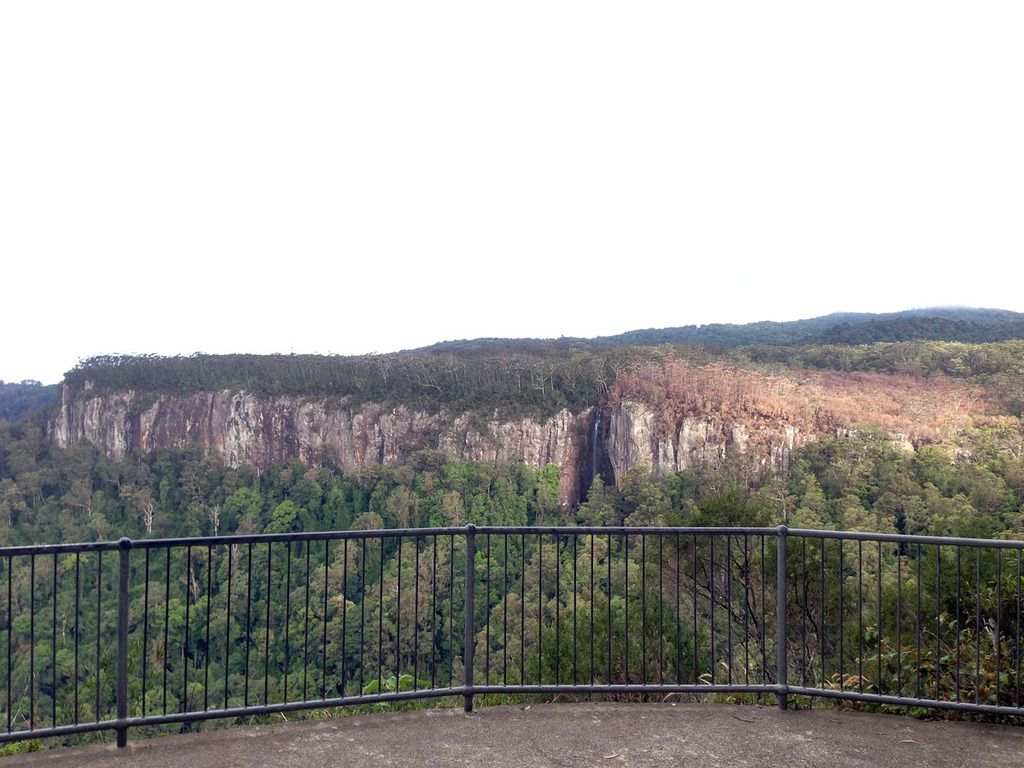 Now back to the carpark and on to the start of the trail down to the base of the waterfalls. Some parts of the track were a bit of a squeeze to get through but it was worth it for the rock pools at the bottom. 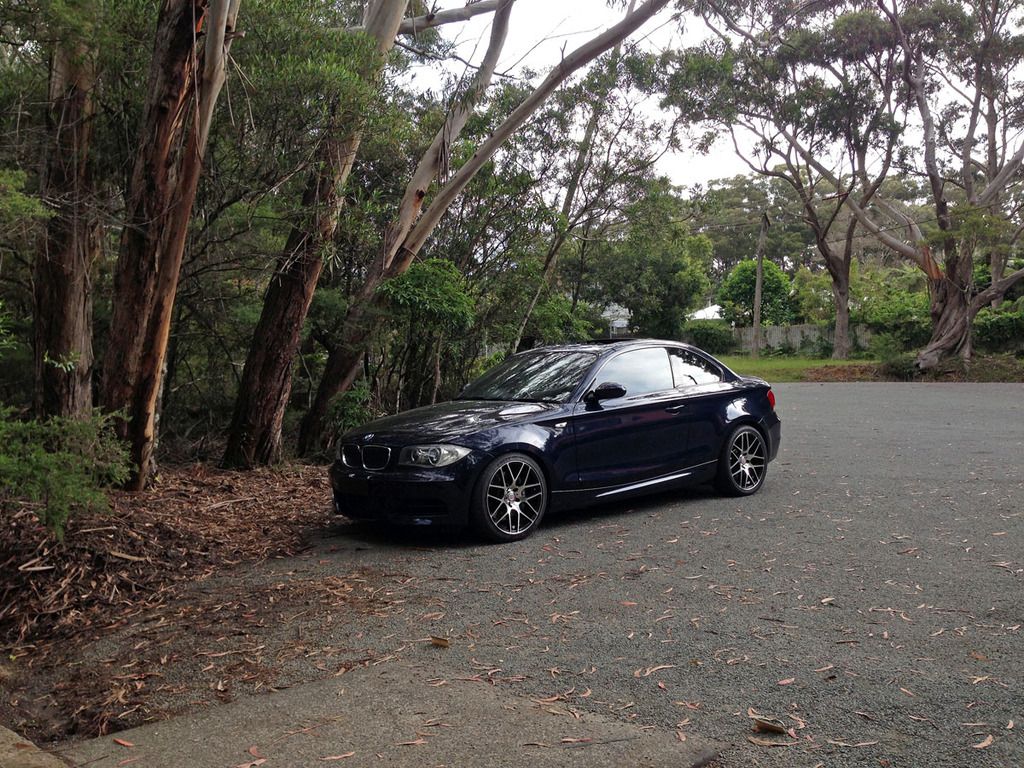 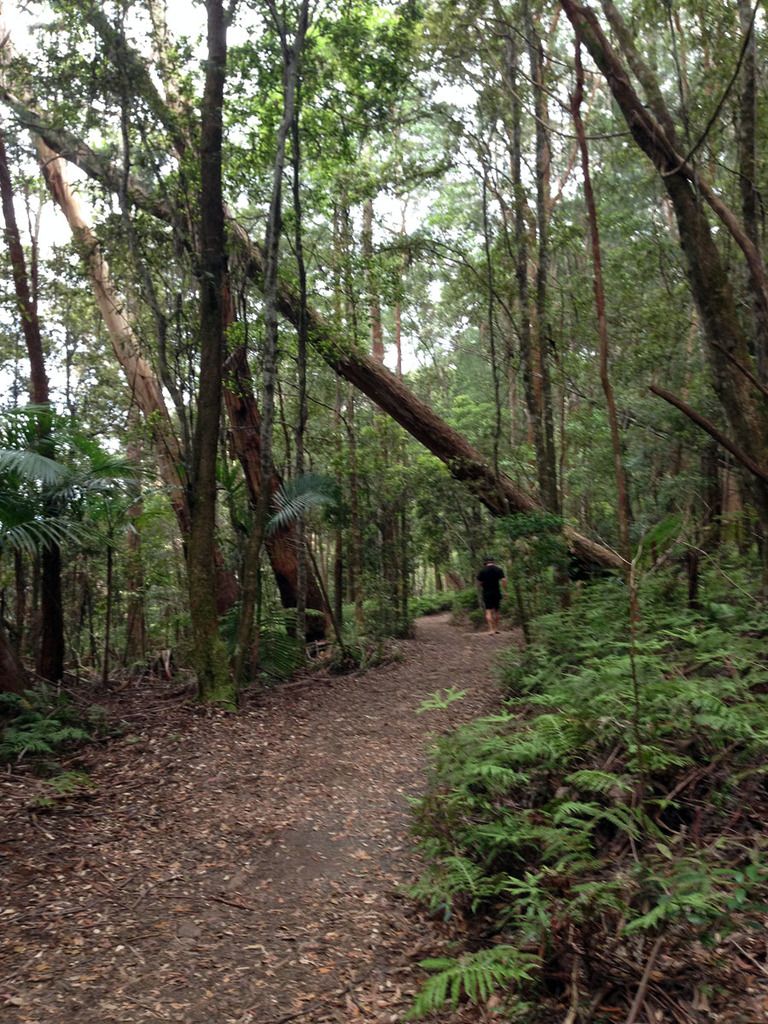 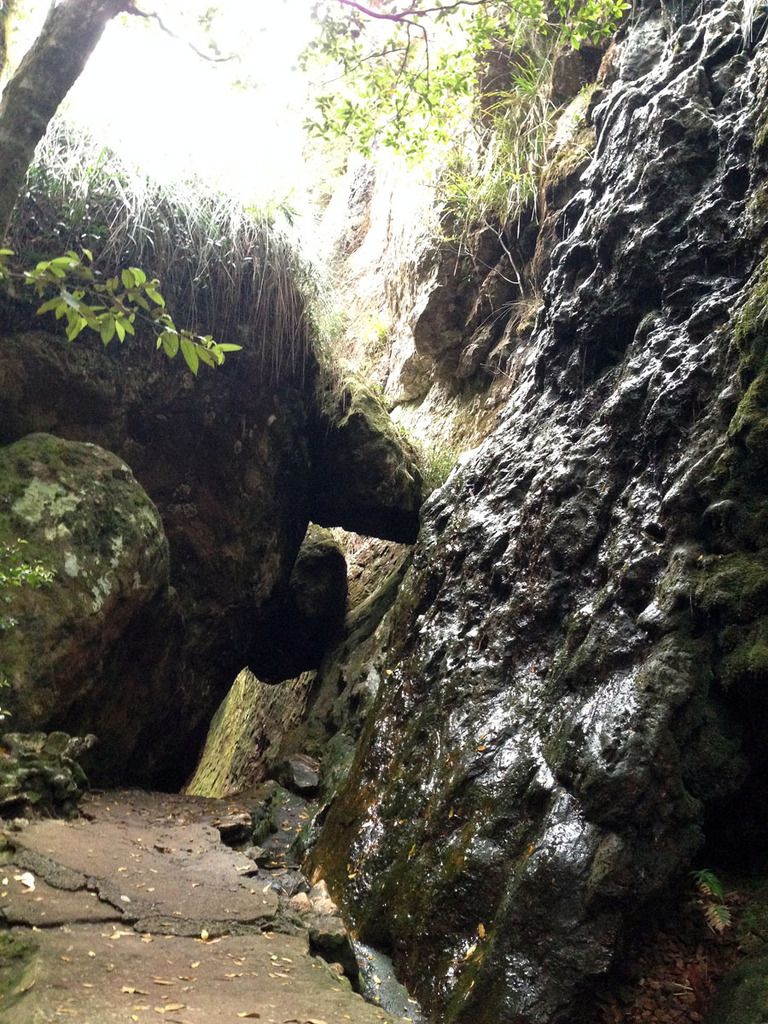 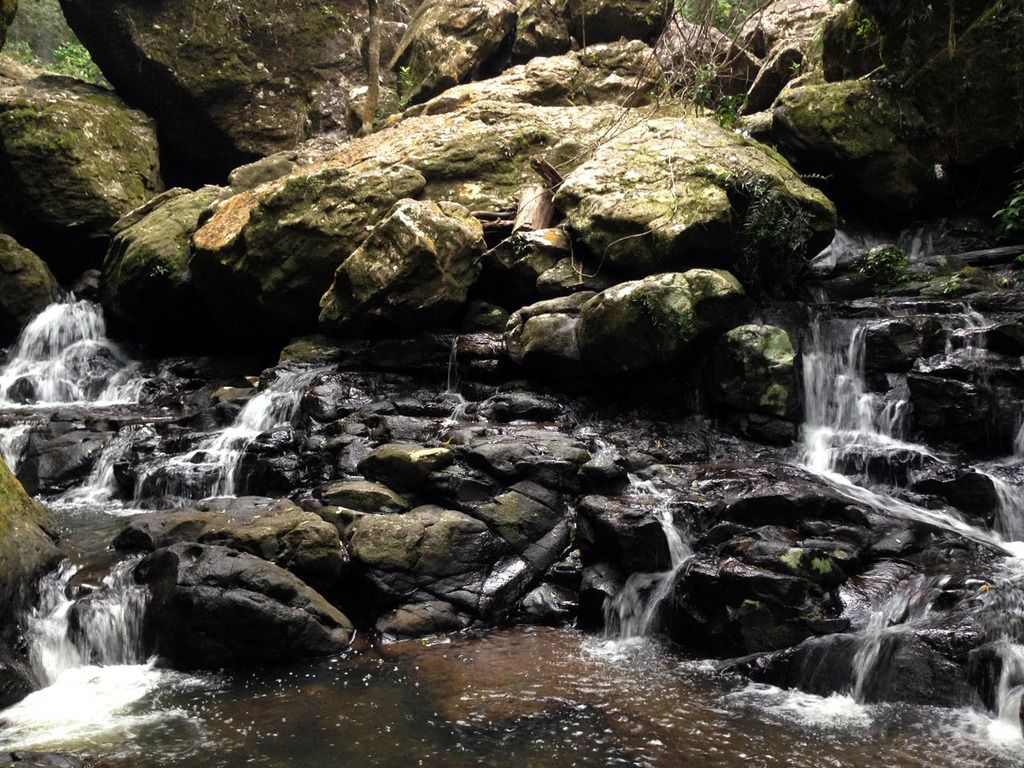 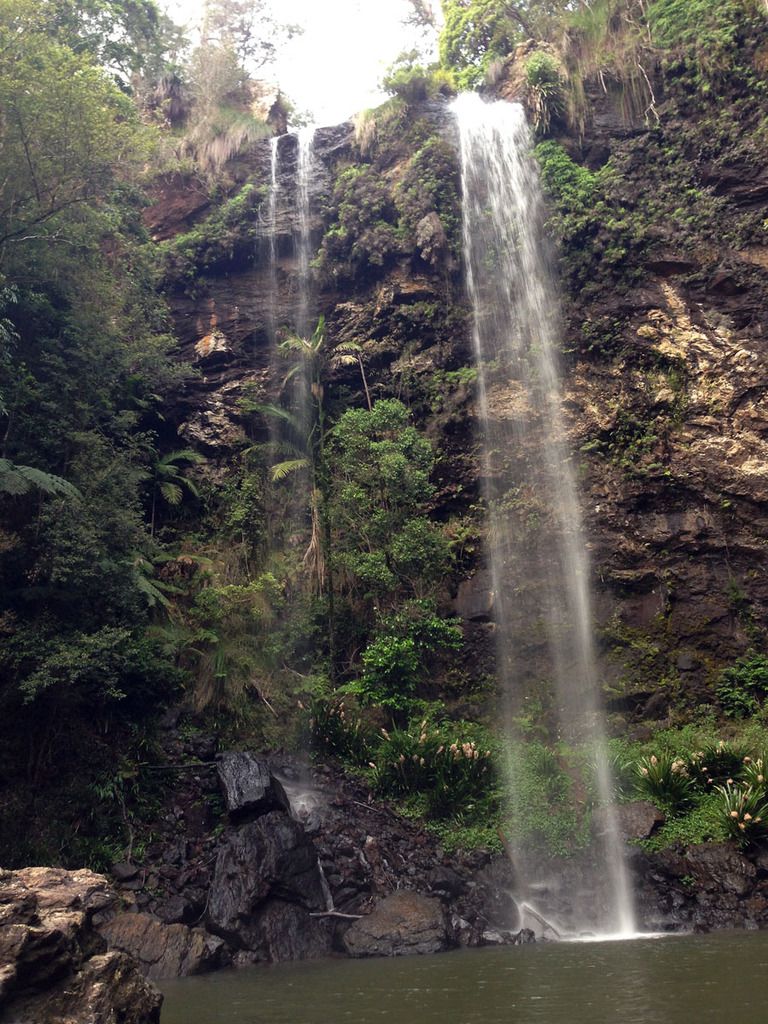 You could literally walk underneath and behind the waterfall. Amazing! 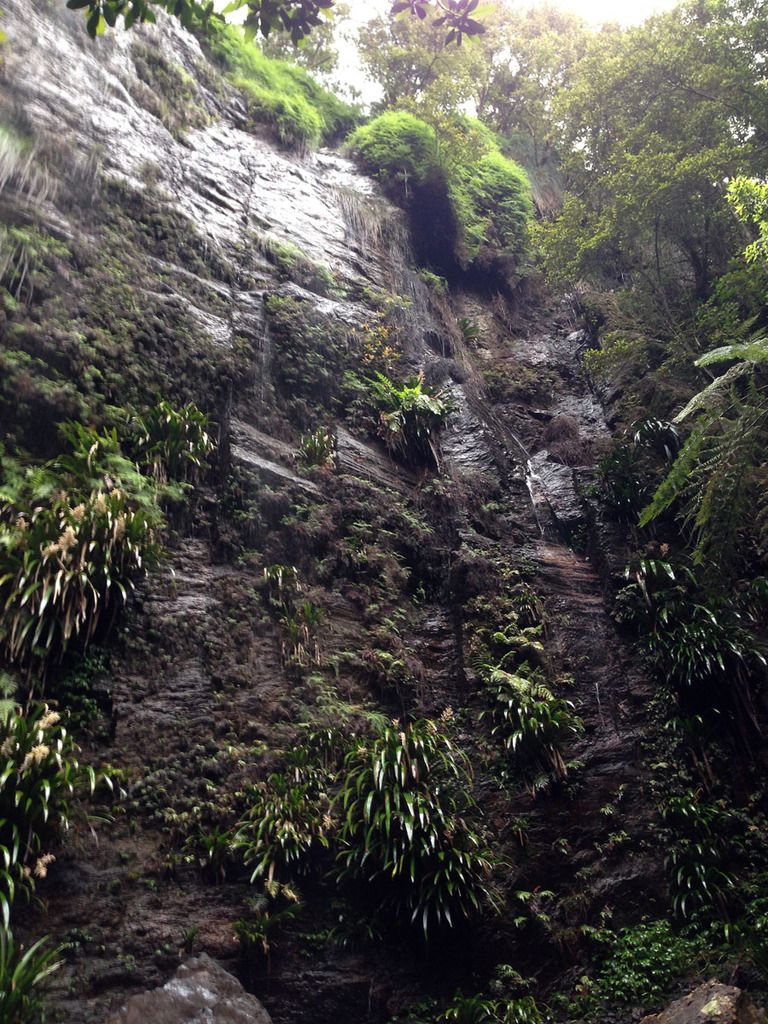 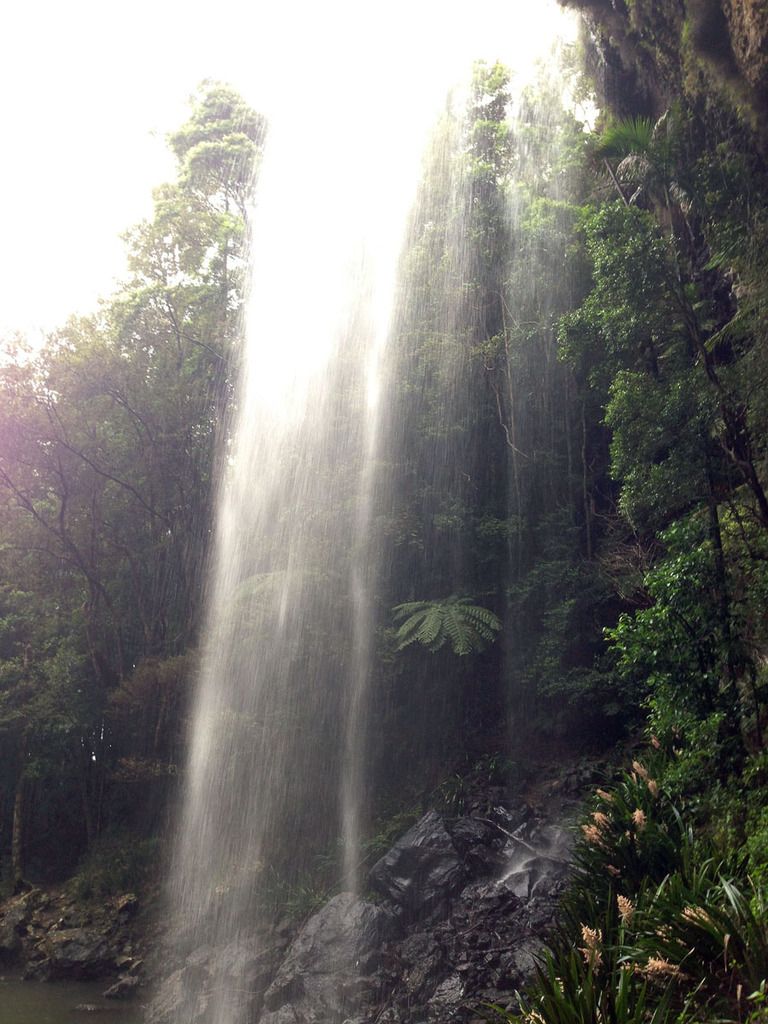 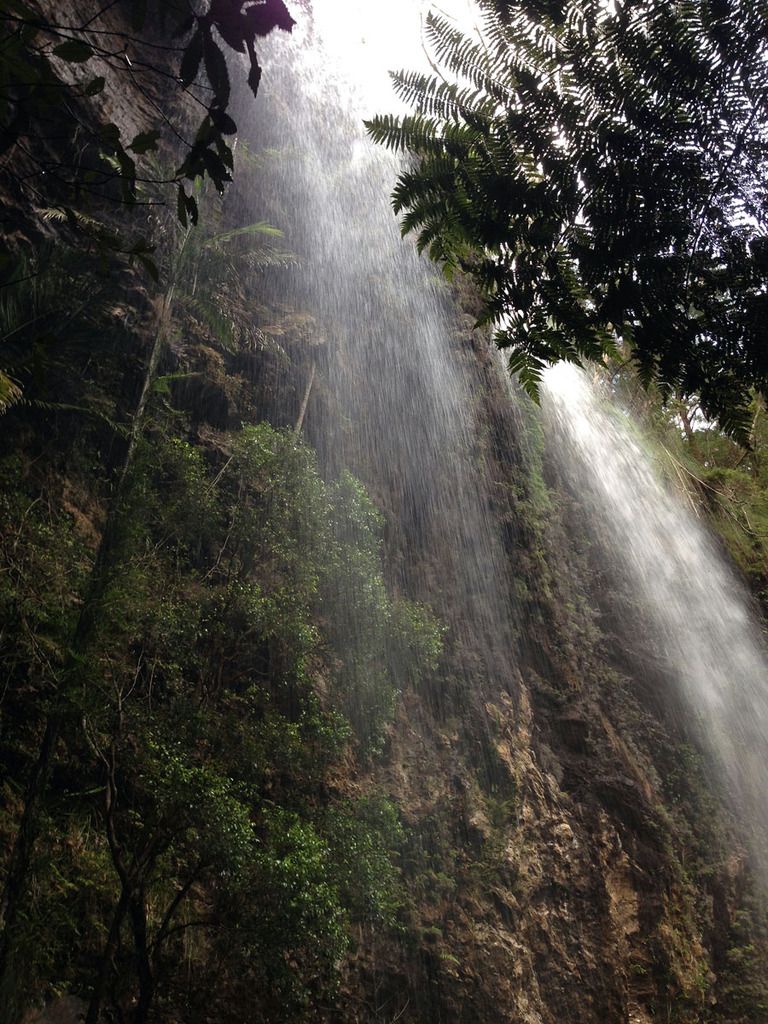 Finally back in the car for the return to civilisation and the usual traffic. It was a great afternoon though.  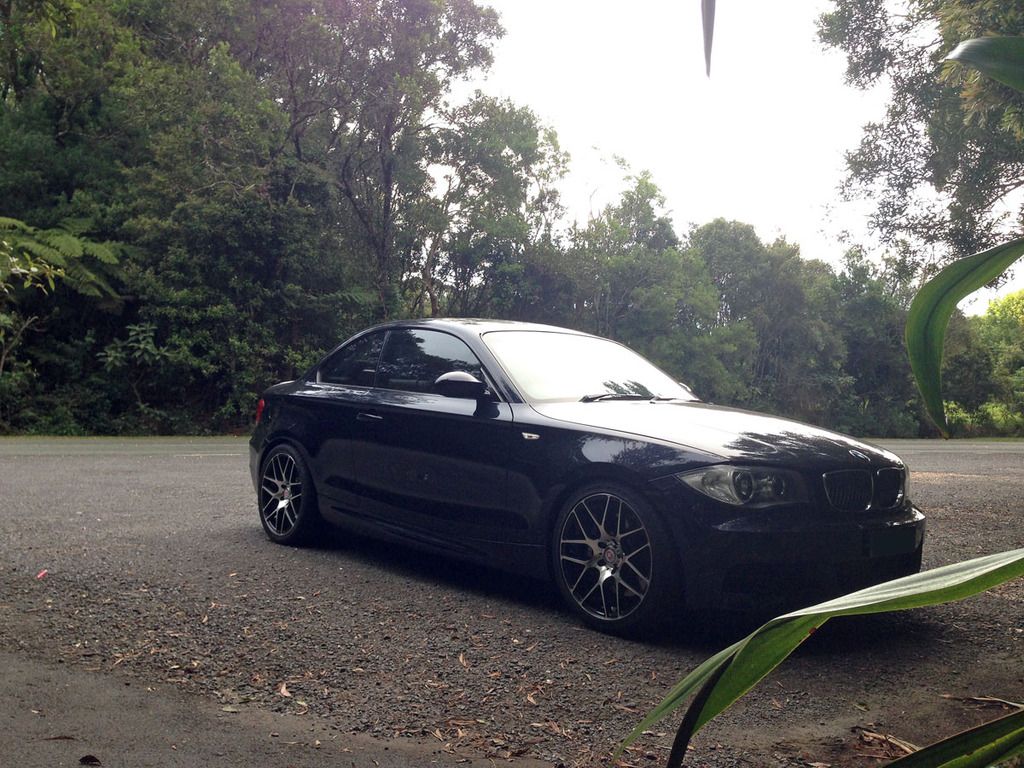
__________________
|
|
Appreciate
1
|
| 02-04-2016, 07:37 PM | #55 |
|
General
    2038
Rep 25,989
Posts |
Great pics and awesome car!
__________________
VMR|Wheels | 714.442.7916 |
sales@velocitymotoring.com | www.velocitymotoring.com | facebook | flickr | Instagram |
|
Appreciate
1
|
| 02-05-2016, 07:12 PM | #56 |
|
Lieutenant
   
77
Rep 541
Posts
Drives: 2008 135i AT Monaco Blue
Join Date: Dec 2012
Location: Brisbane, Australia
|
Went on another drive yesterday so here's a follow up post in quick succession.
This time I went for a morning drive with my Dad out west to Lake Wyaralong. This lake was only recently completed in 2011 and it was expected to take years to fill, however, the Brisbane floods of early 2011 essentially filled the catchment overnight. I've never been out this way before so it was an exciting new drive and everything was nice and green...and quiet being a weekday. Some nice sweeping roads out this way!  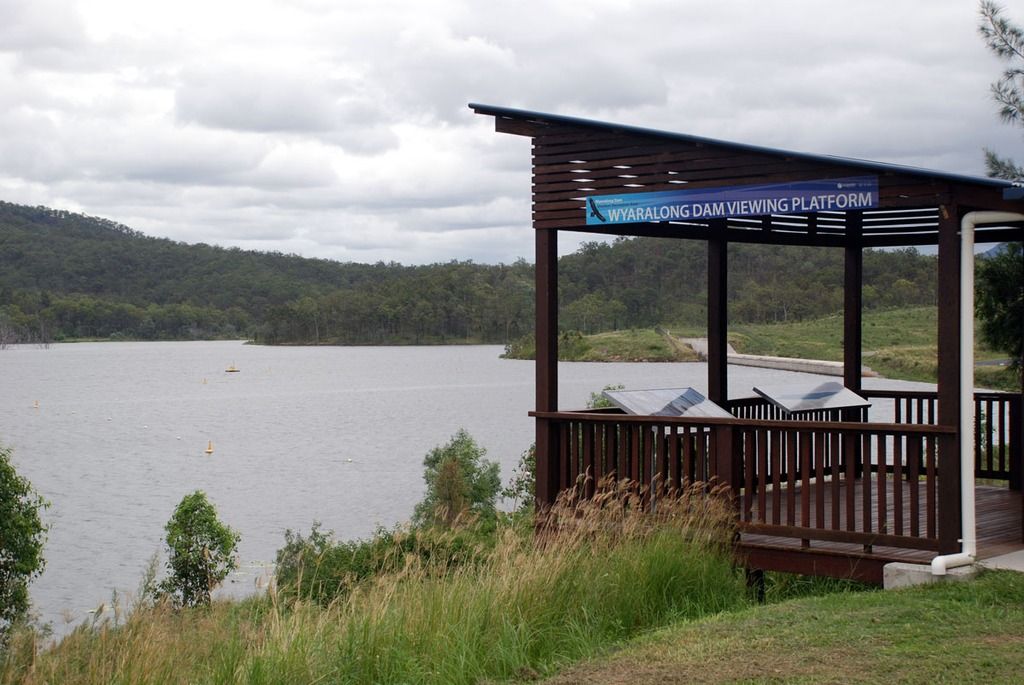 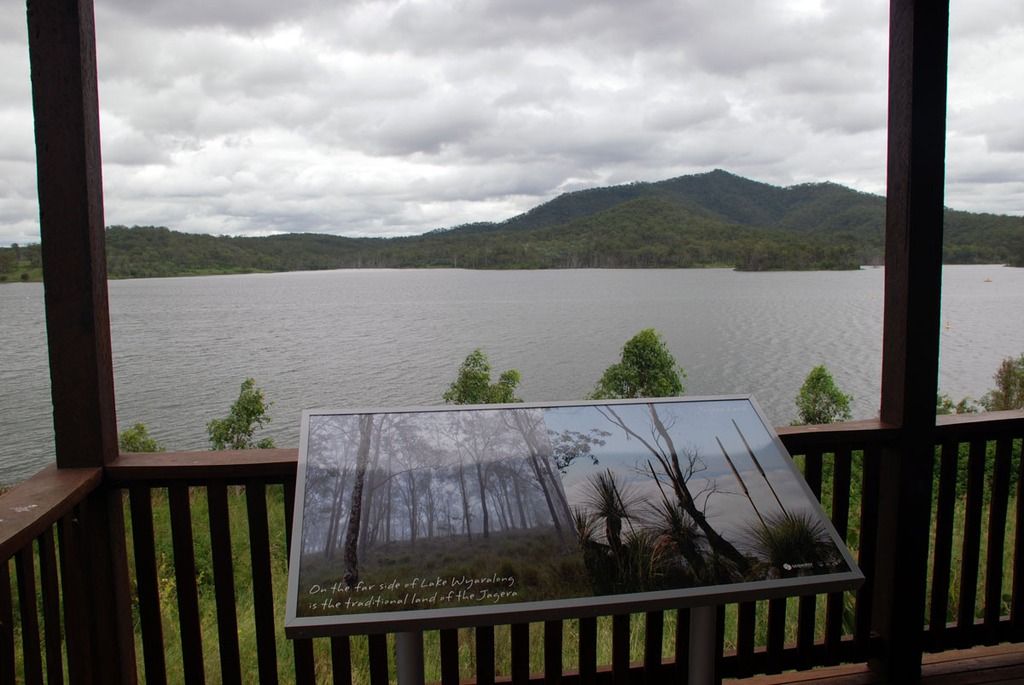 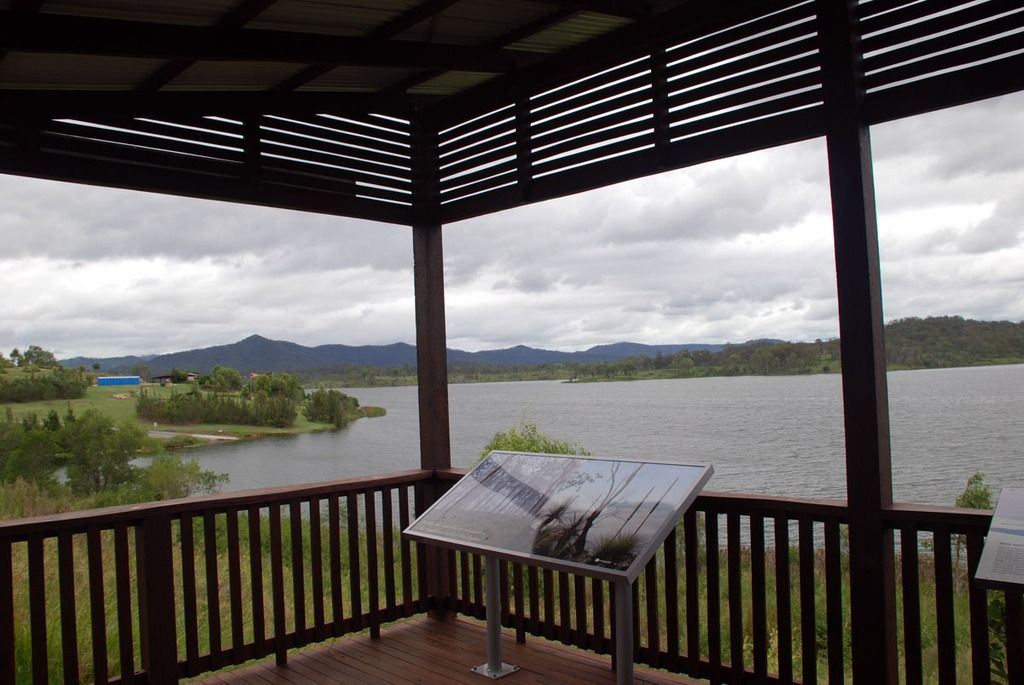 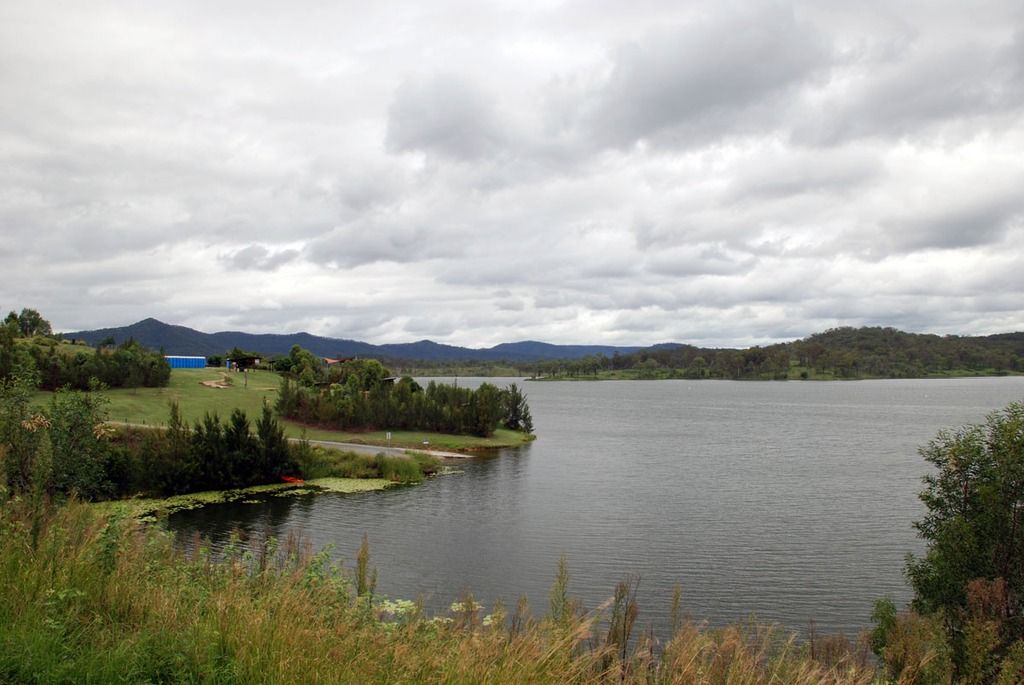 The carpark was completely empty (no the skids weren't mine haha) for most of my time there so it was the perfect opportunity for a photoshoot. I brought my proper SLR this time so much better photos than the grainy ones from my earlier post above. My paint really seems to come alive in overcast weather.  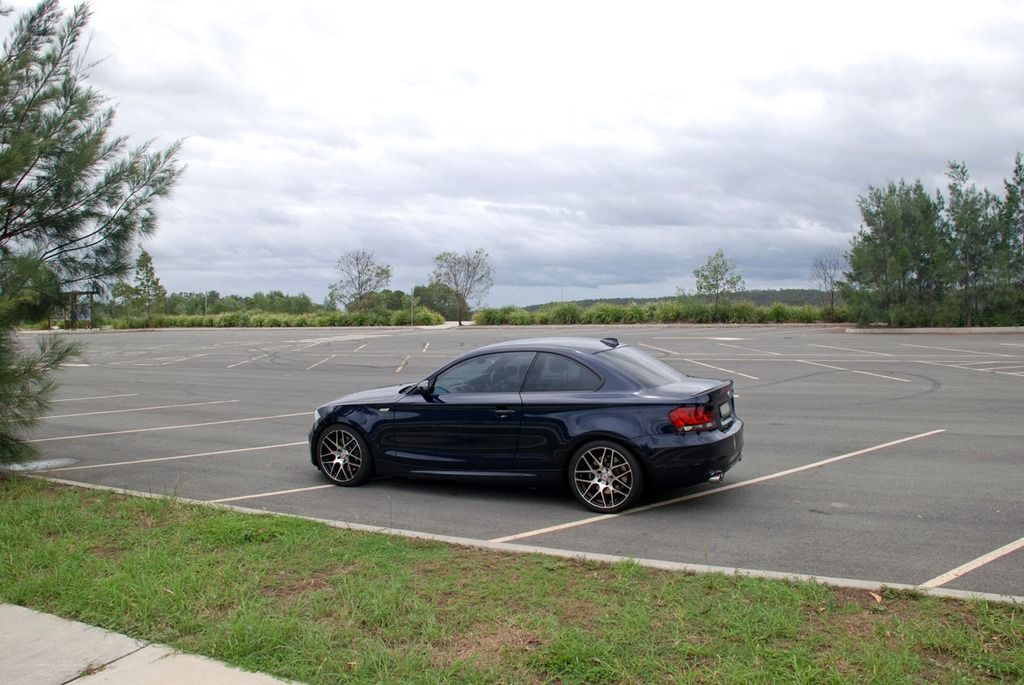 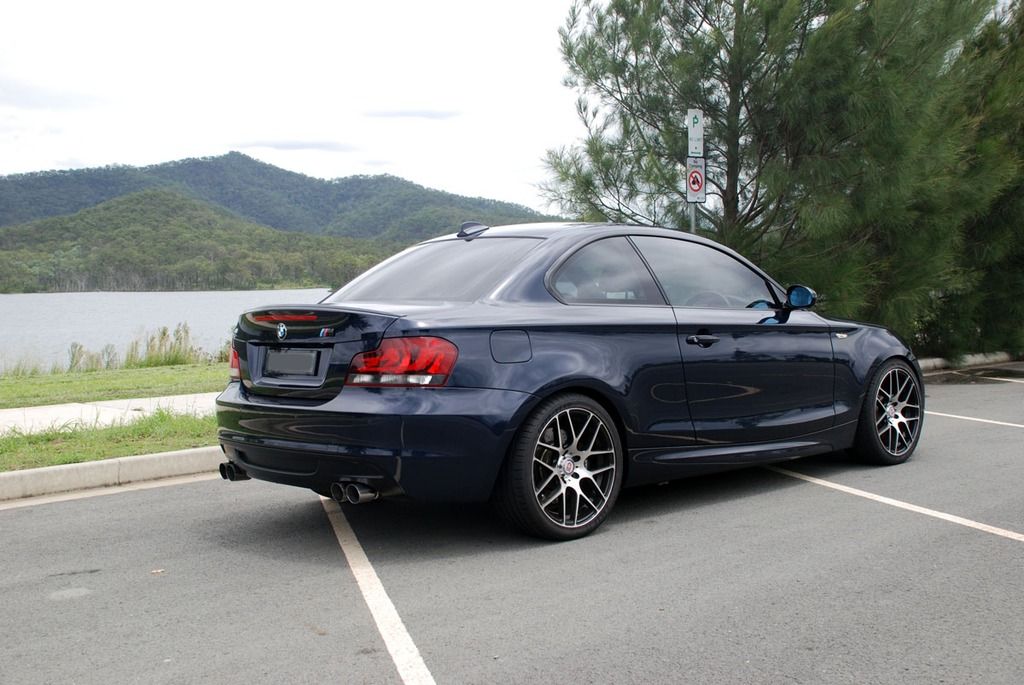 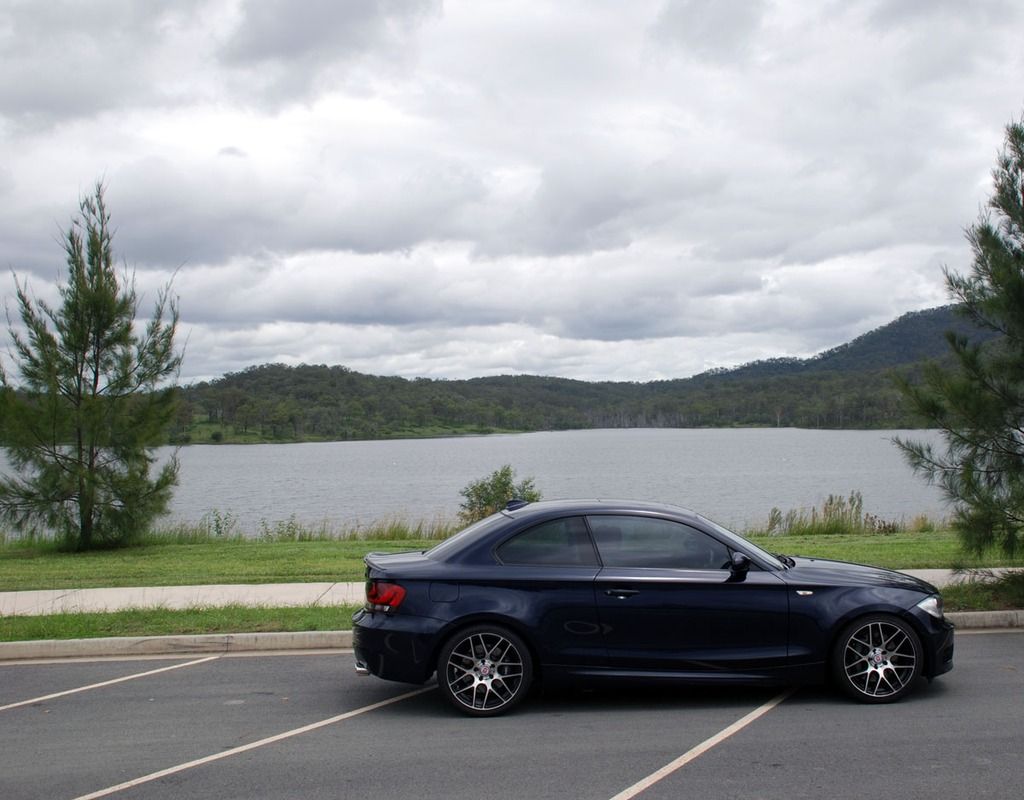 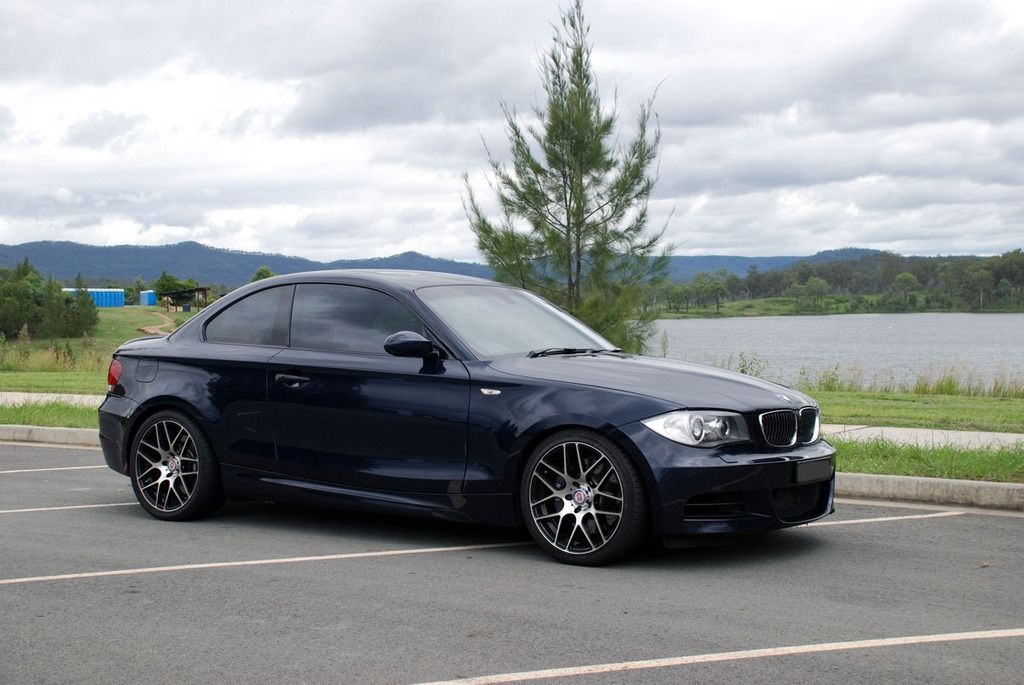 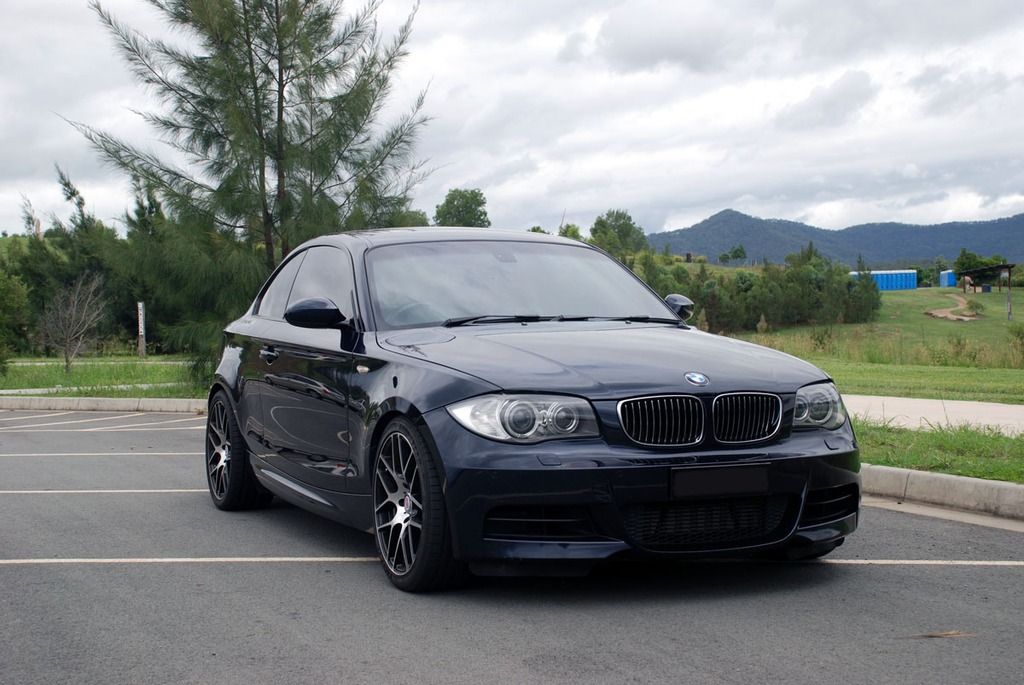 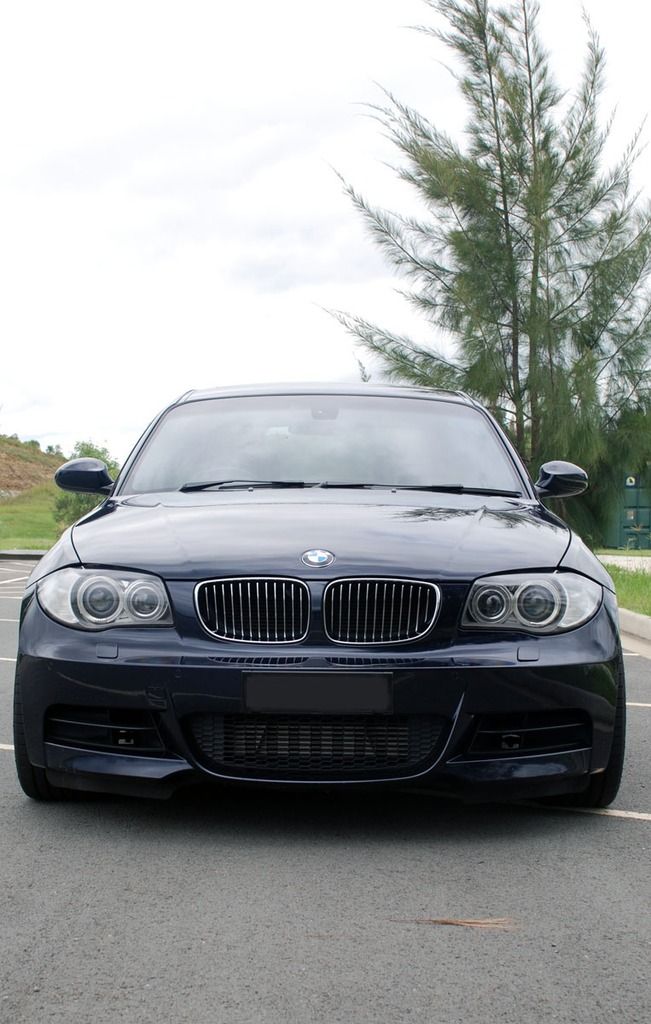 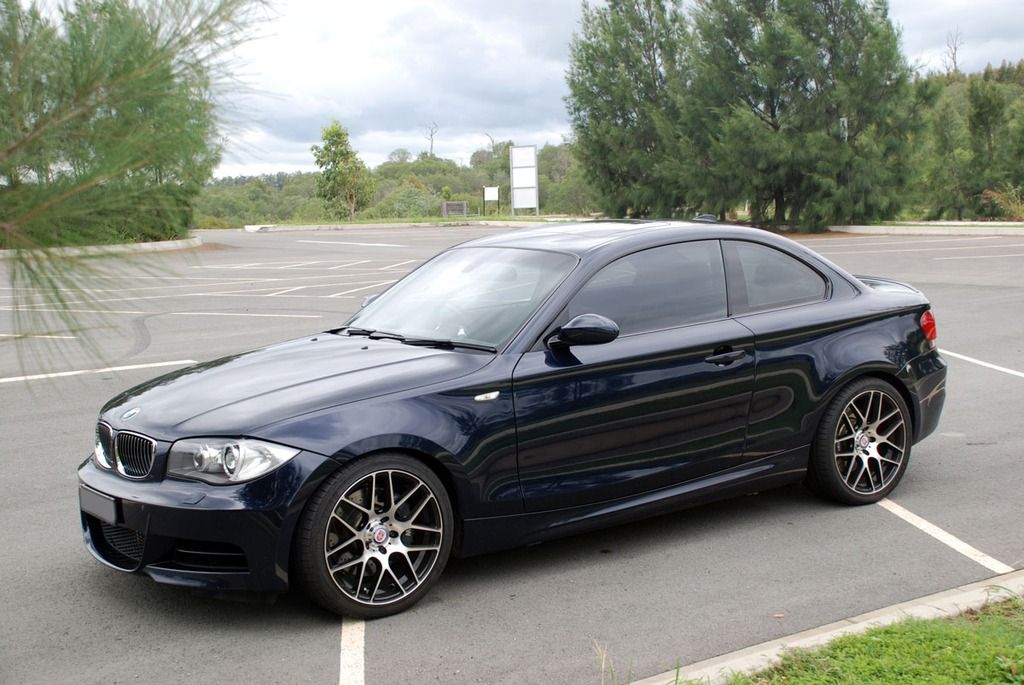 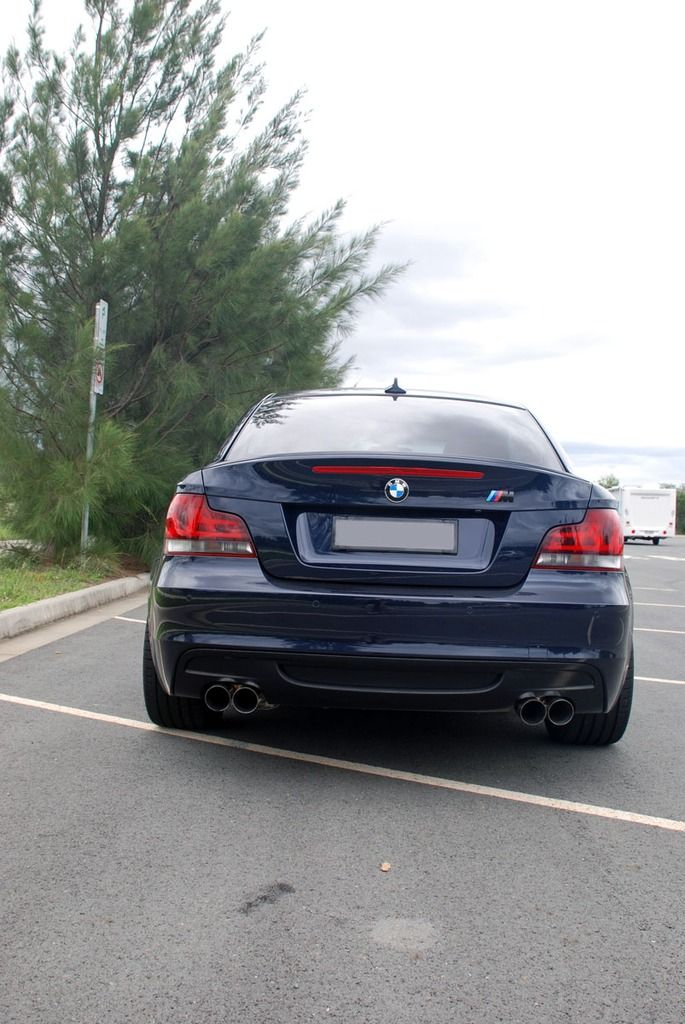 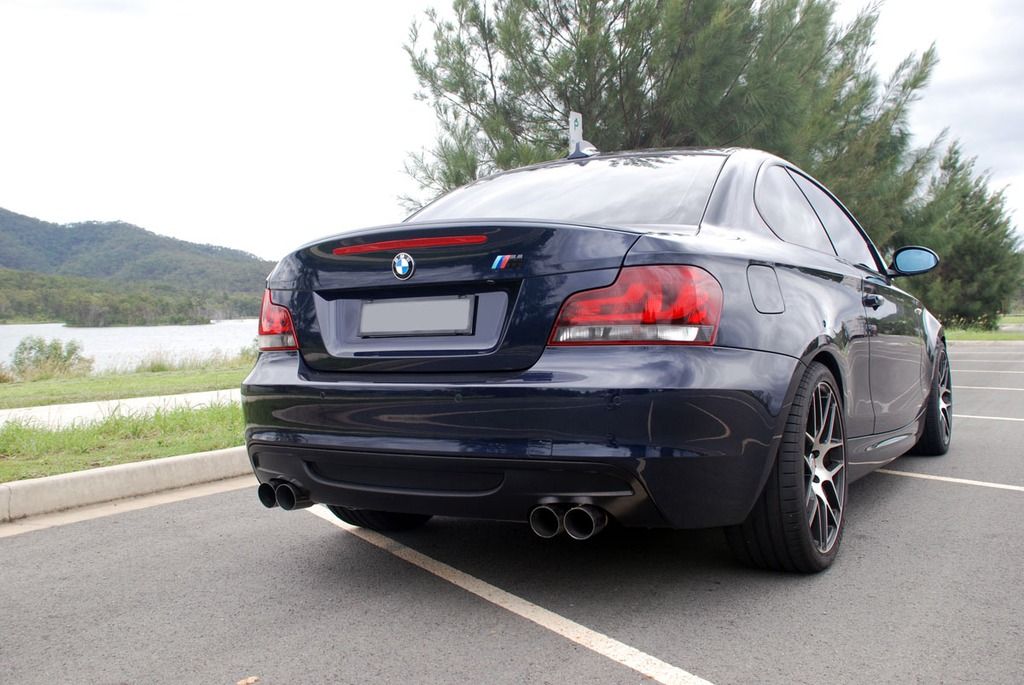 Thought I'd snap a few quick photos of the interior again. Nothing new, just keeping it clean. 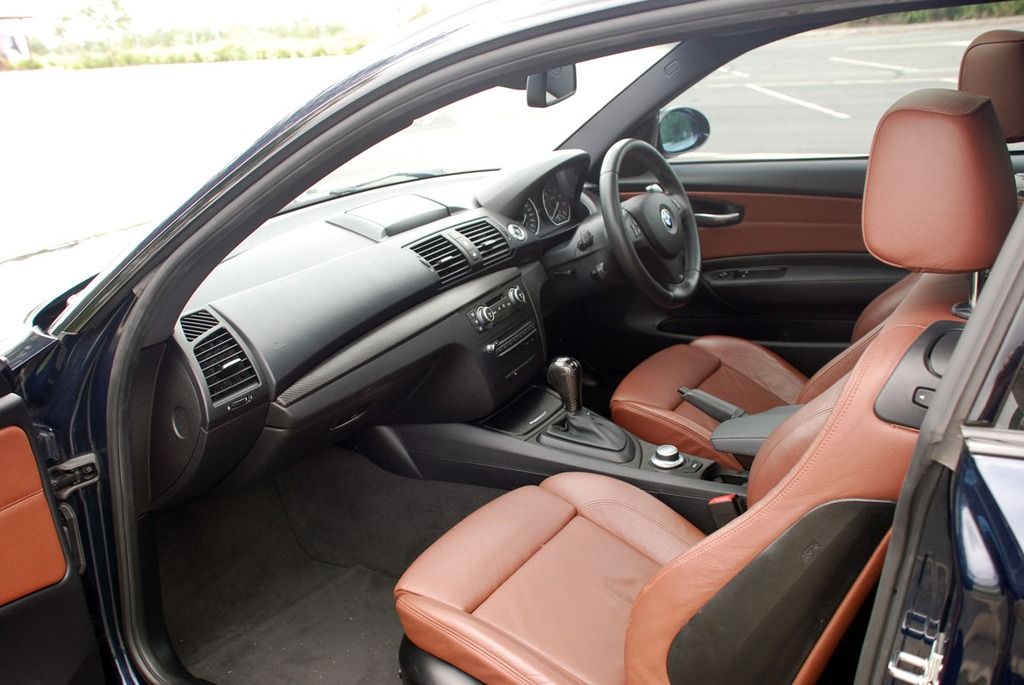 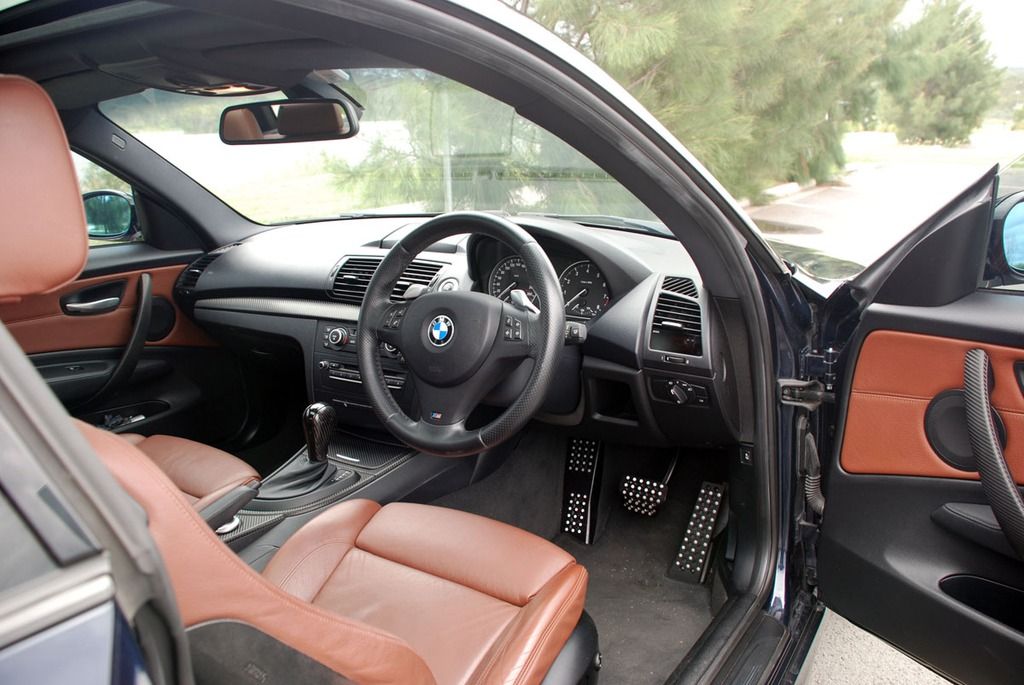 There were some interesting sculptures around the lake so I got a few pics of the better ones. An eagle and the biggest fishing rod I've every seen haha! 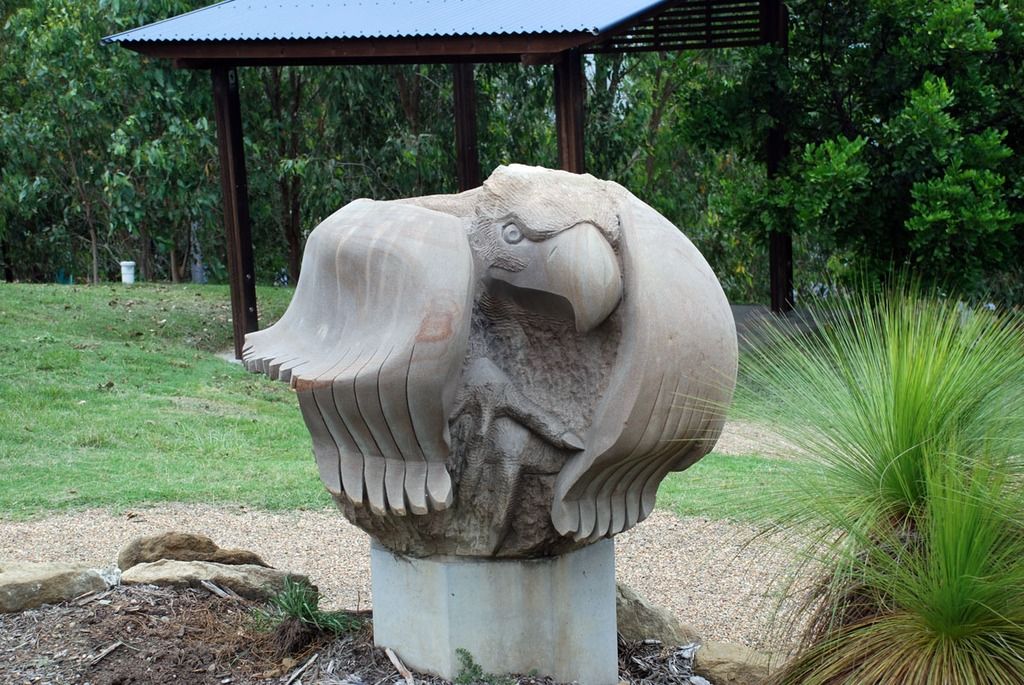 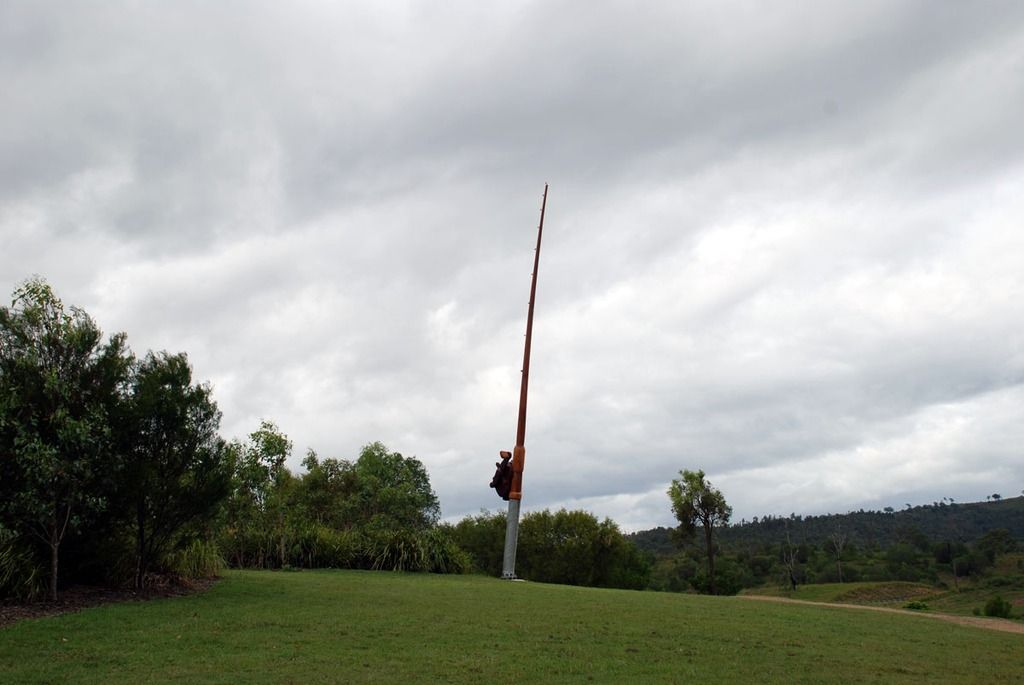 Hopefully more updates coming soon. I'm investigating damper options at the moment. 
__________________
|
|
Appreciate
0
|
| 04-17-2016, 08:17 AM | #58 |
|
Lieutenant
   
77
Rep 541
Posts
Drives: 2008 135i AT Monaco Blue
Join Date: Dec 2012
Location: Brisbane, Australia
|
Time for another update.
The rear end of my car was due for a few maintenance items so off to FCP Euro I went to make an order. Excellent service from them. Everything was in stock, well priced, well packed, and arrived safely in one week as an international delivery. Will definately be using them again.  www.fcpeuro.com Here's the list of items I ordered (including part numbers) for anyone interested: For BMW 1M front struct brace: BMW Spring Dome Strut Left - Genuine BMW 51618051973 x1 BMW Spring Dome Strut Right - Genuine BMW 51618051974 x1 BMW Strut Brace Covering Cap - Genuine BMW 51617891281 x2 BMW Strut Tower Brace Left - Genuine BMW 51618055091 x1 BMW Strut Tower Brace Right - Genuine BMW 51618055092 x1 For centre tail-light replacement: BMW Third Brake Light - Genuine BMW 63257164978 x1 BMW Compression Spring Third Brake Light - Genuine BMW 63257211238 x4 BMW Hex Nut - Genuine BMW 63259128043 x4 Other miscellaneous parts: BMW Plaque (D=70 mm) - Genuine BMW 51147166445 x1 BMW Trunk Release Switch - Genuine BMW 51247118158 x1 BMW Jack Pad - Rein 5717237195 x3 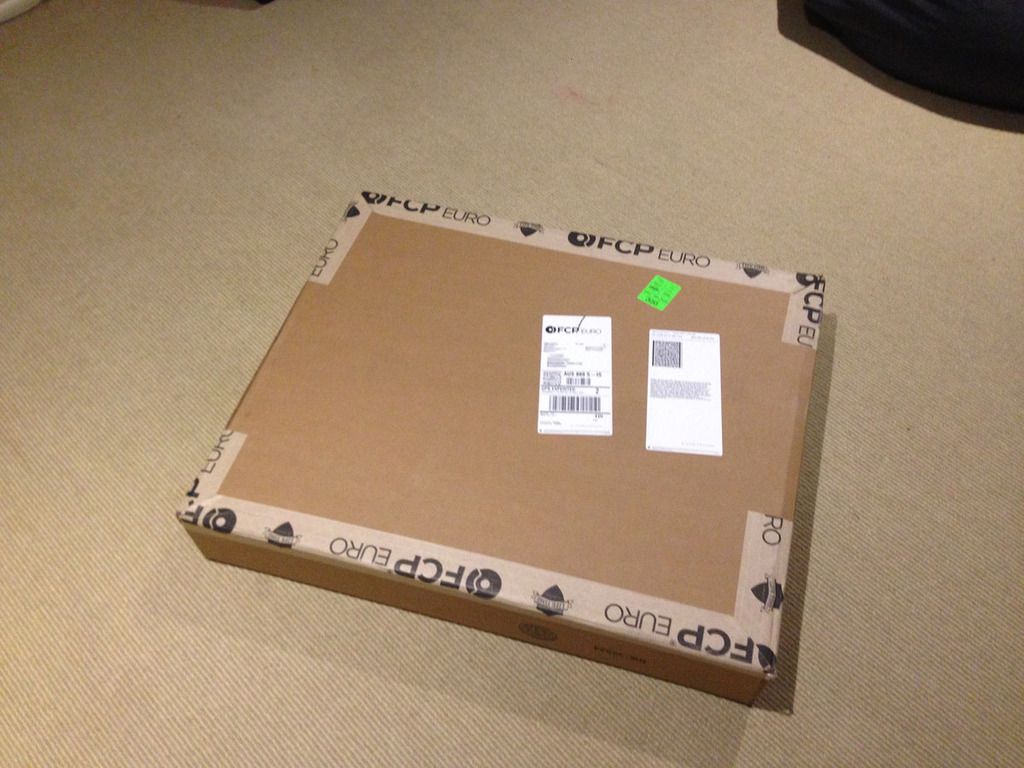 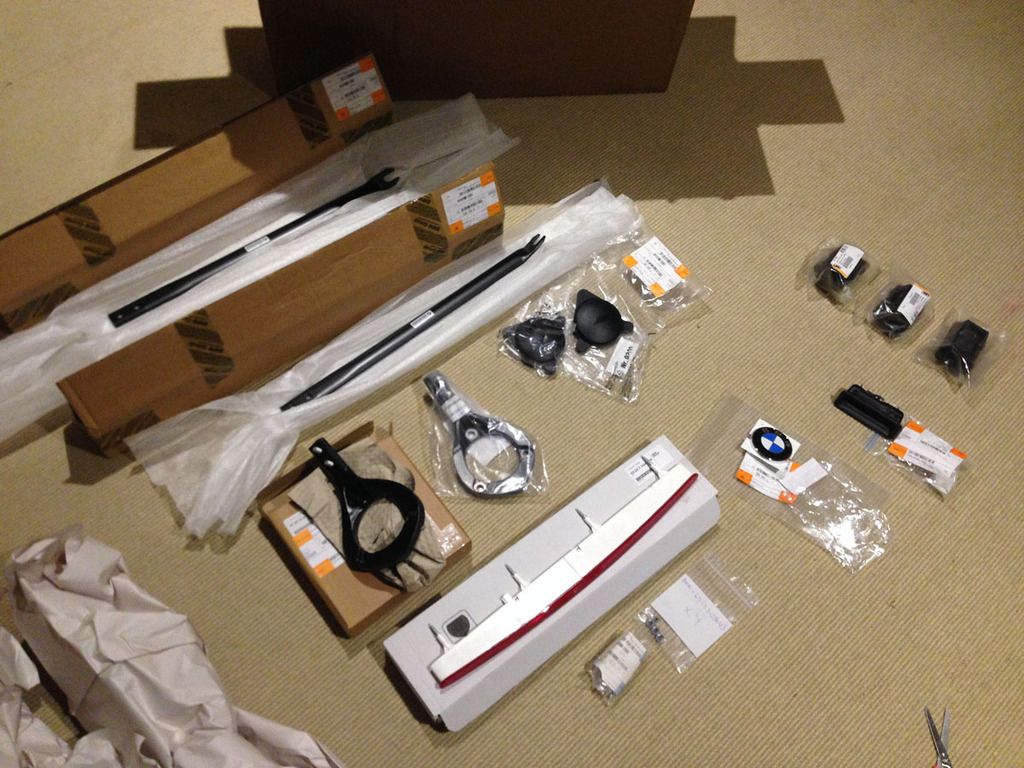 The major item I wanted to replace was my cracked third brake light. I followed Dackelone's DIY which is available below. Thanks for the helpful info Dack.  http://www.1addicts.com/forums/showthread.php?t=845005 Now I thought this would be a simple swap but it turned out to be a real headache for me. It turns out that I already had the current part numbers installed in my car. The existing third brake light was July 2013 built and my replacement was July 2015 with the springs looking to be the same thickness. I suspect the centre of my brake light was cracked due to incorrect installation of the part. It appears the metal tab on the bootlid had been ground flush like required in the DIY (I added some sealant again just to be super sure of no rust issues down the track) but the plastic tab on the bottom of the light was still there. This made removing the cracked light virtually impossible as it was wedged in place. I ended up having to get a chisel and squeeze it up through the boot lid before carefully working off the plastic lip enough to push the existing lense out. I still had to crack the lense to give enough space to push it out of the boot opening. Grr.  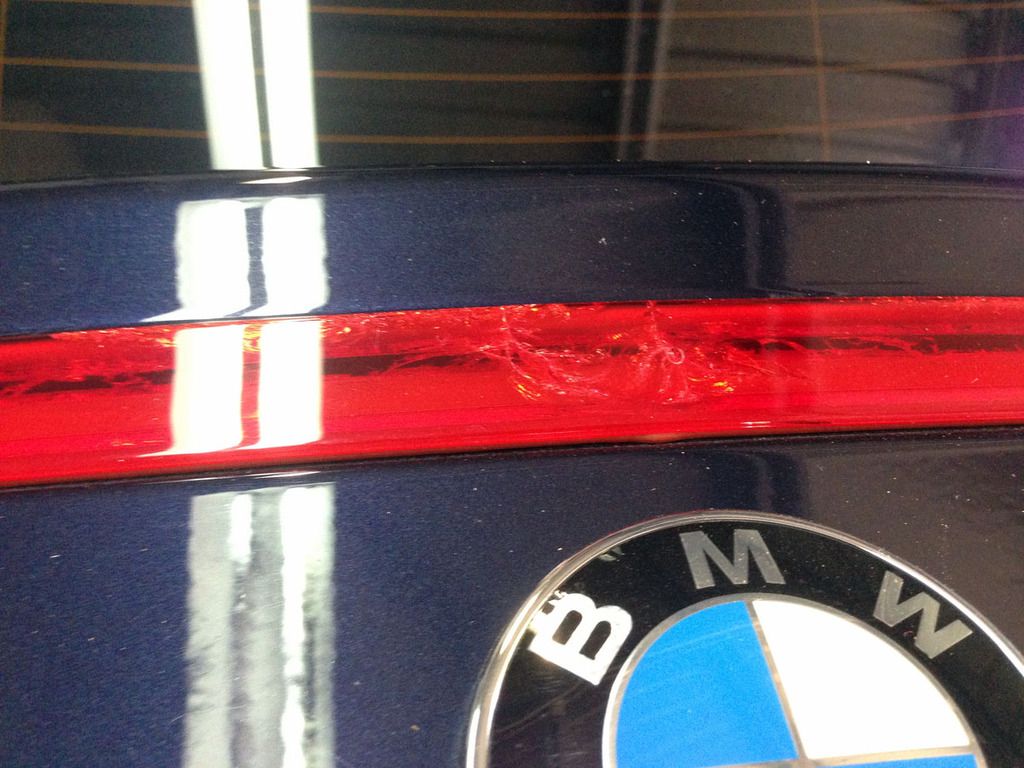 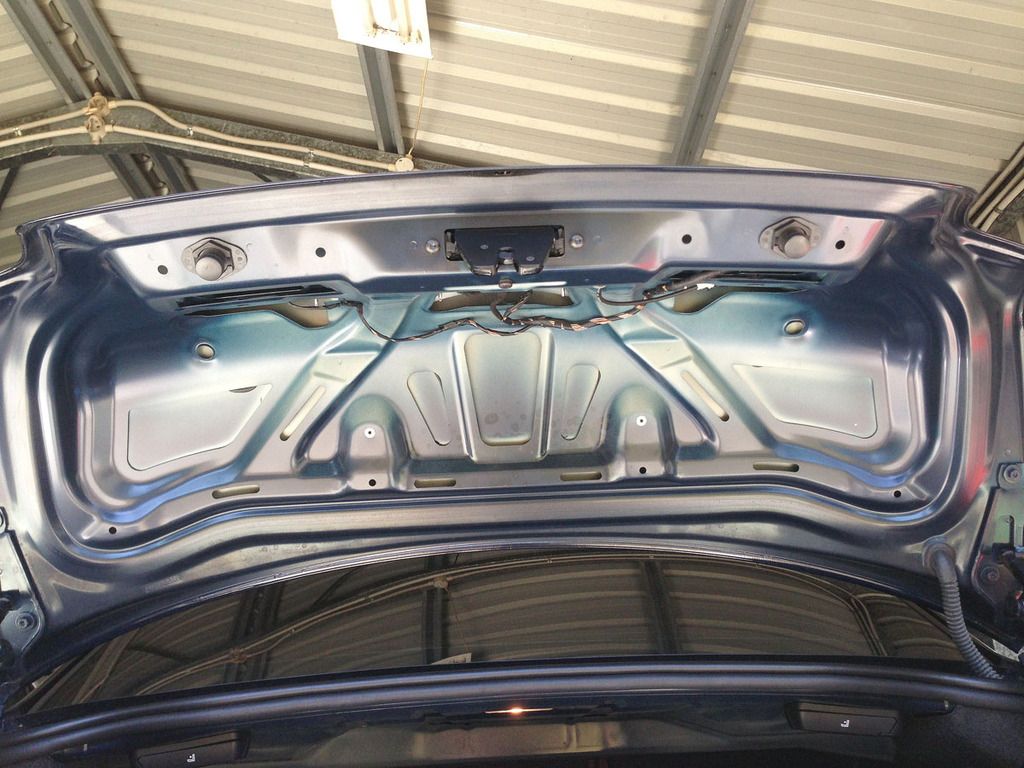 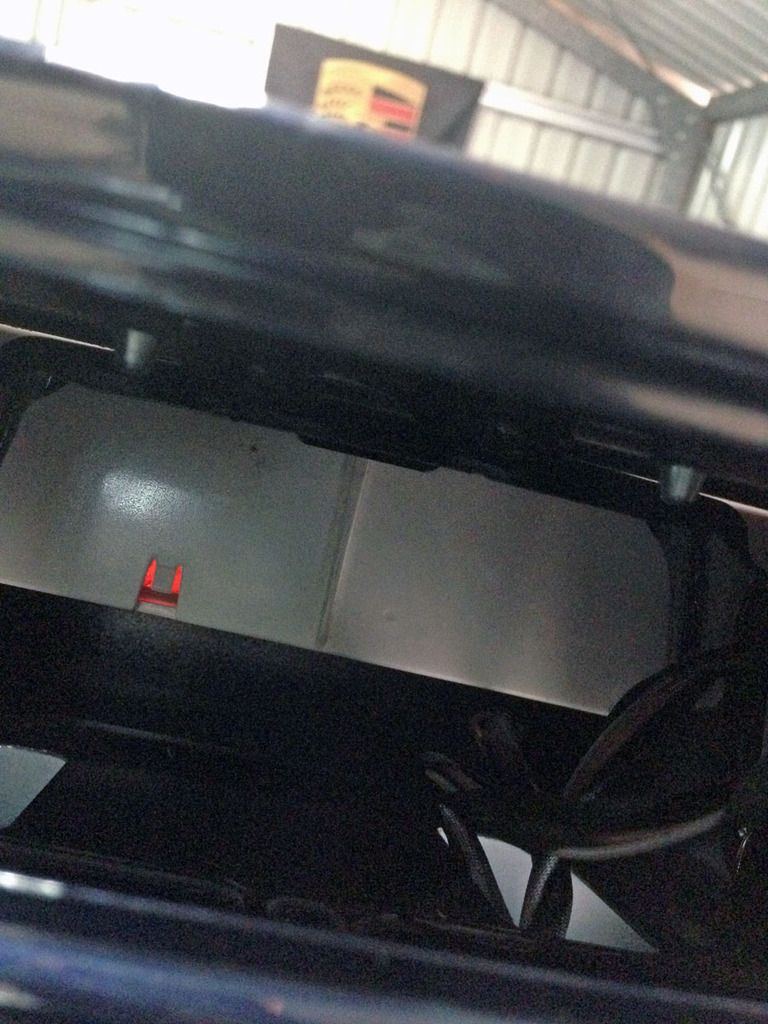 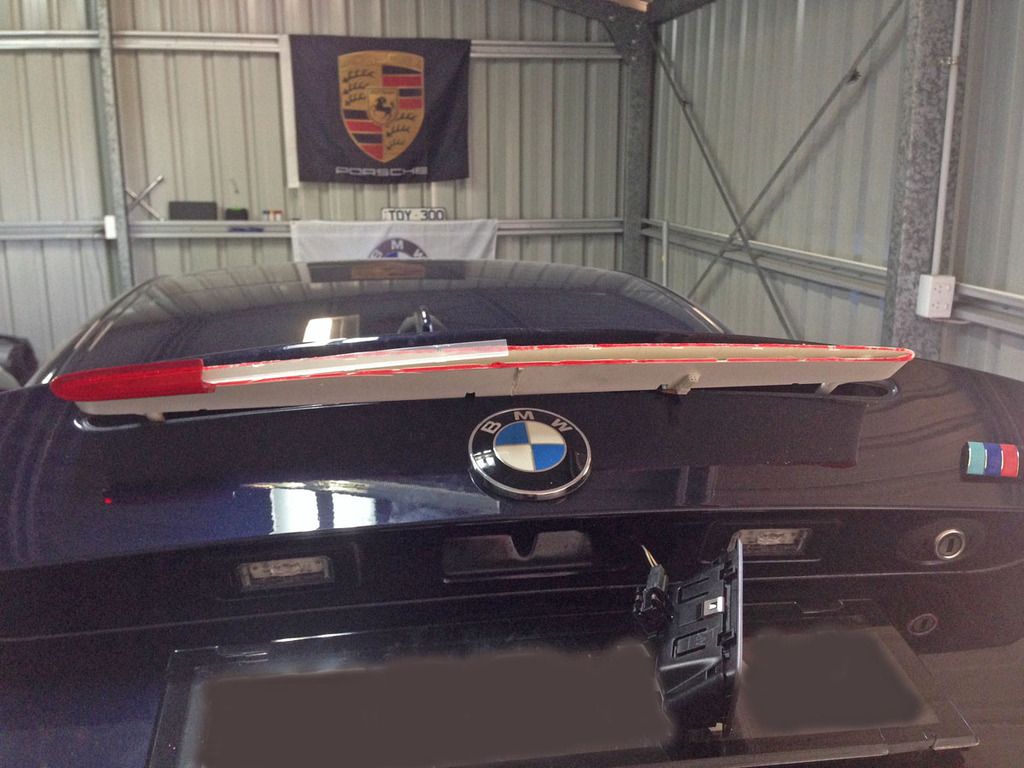 Here you can see the known problem of the plastic tab getting in the way of fitting the new part. Out came the dremel and I was neatly able to remove the tab and the new light slid smoothly into place. 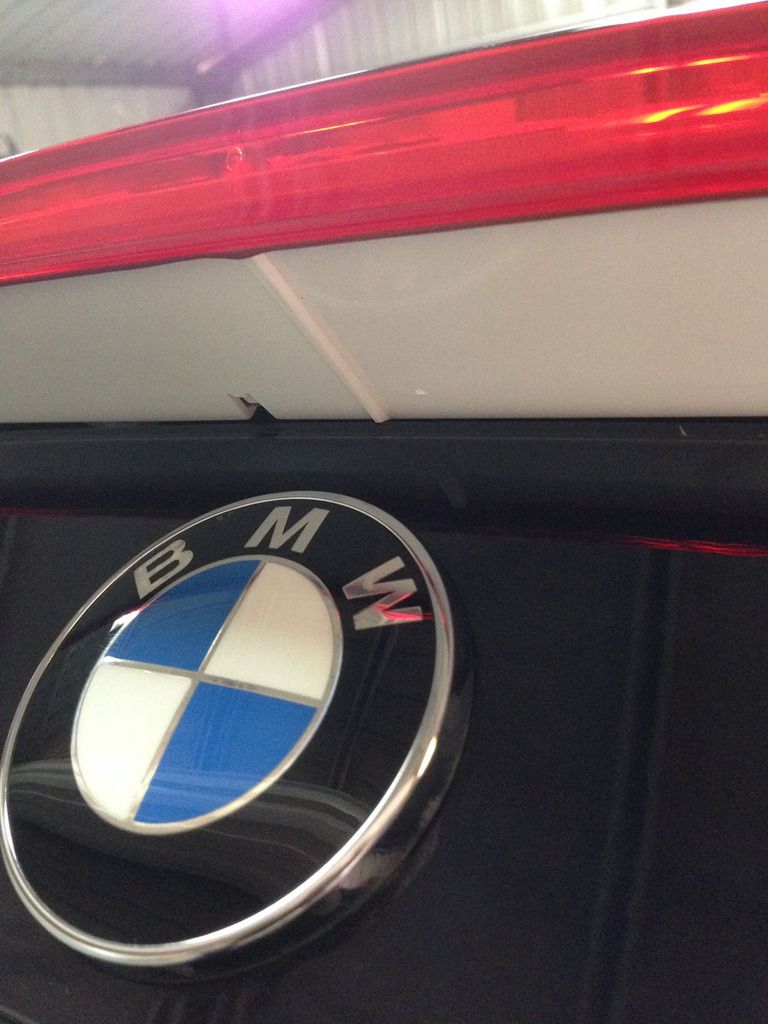 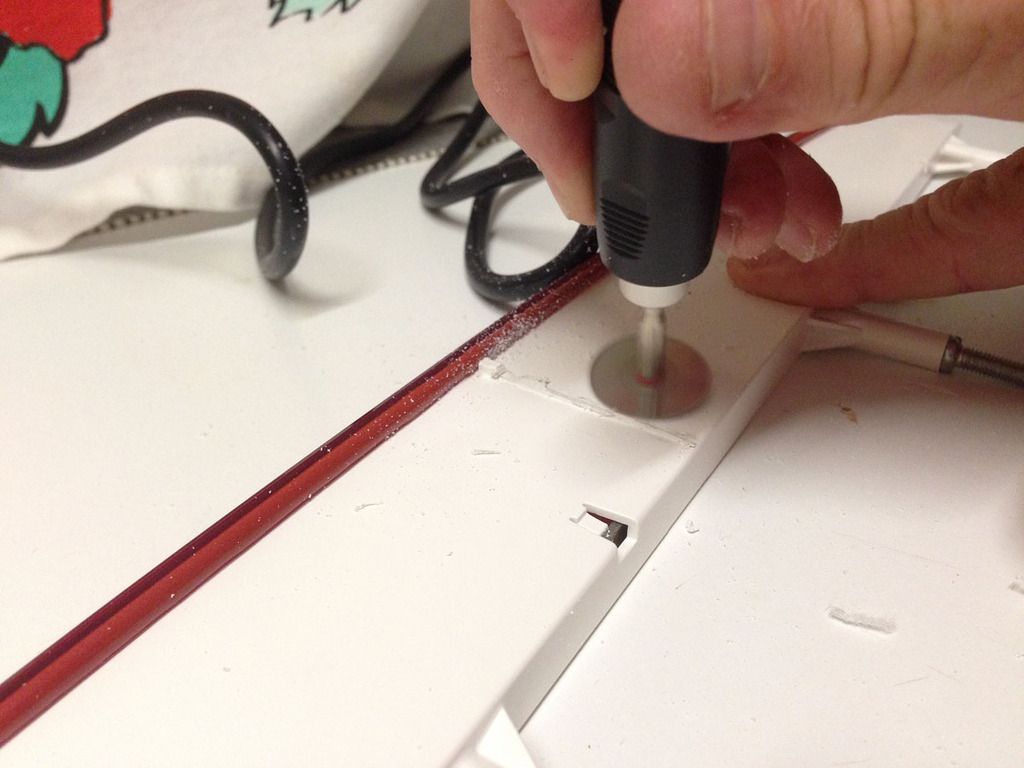 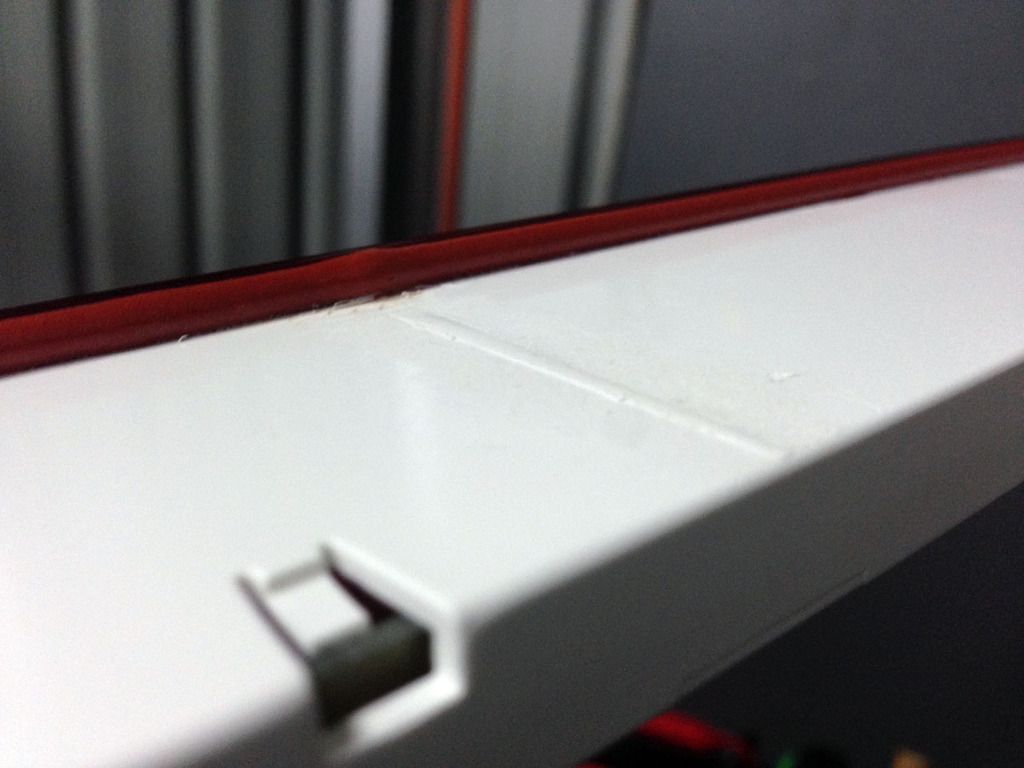 Here is the finished product. Crossing my fingers the correctly installed brake light combined with the softer springs and nuts will prevent the new lense from cracking.  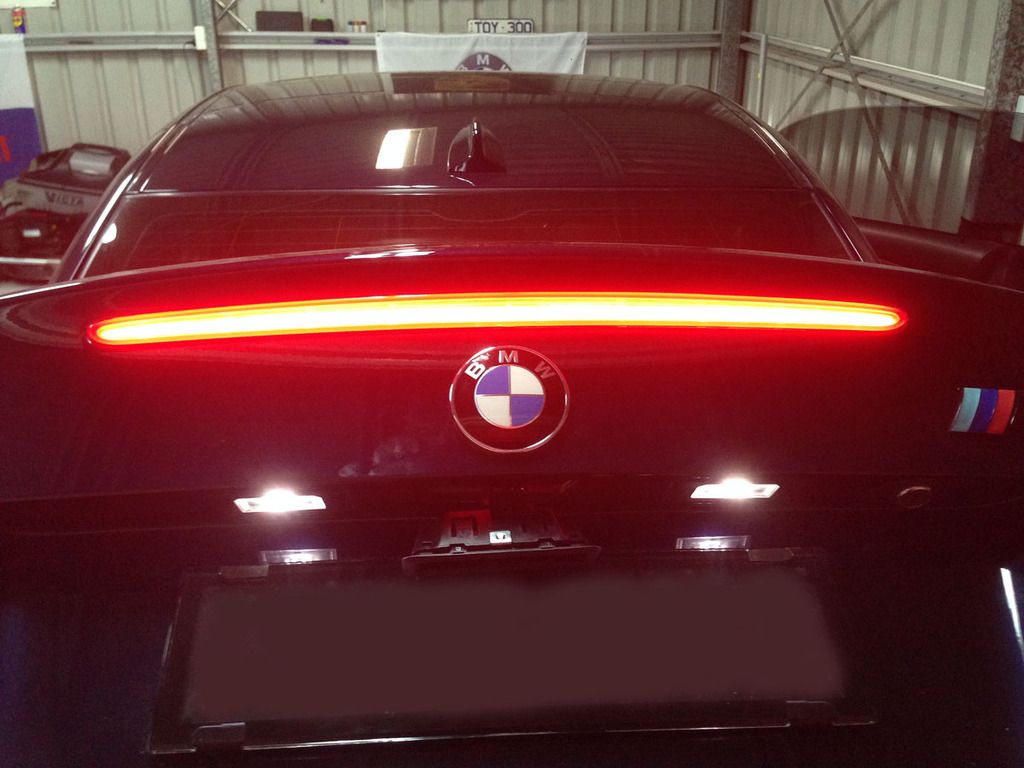 Alongside this work I decided to replace my trunk release switch. The seal on my existing switch was quite worn and getting sticky. The trick here is to use a screwdriver covered in a soft cloth and pry from the top left and right of the switch and it will release the two clips and the switch will pop out. Then you just need to unplug the cable (mine was stuck in pretty tight), plug the new switch in and push it back into place. 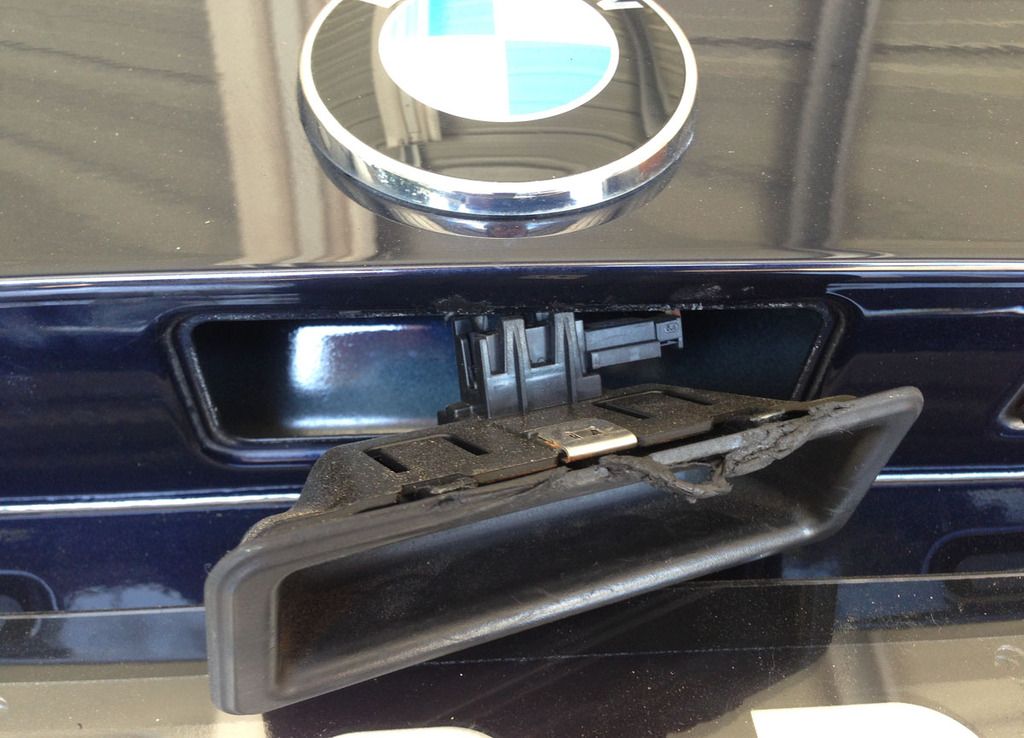 Finally I ended up replacing my BMW badge/plaque (70mm) on the boot as it was wearing through. Again this is quite a simple swap. I heated the badge with a hairdryer to loosen the existing sticky backing. Then I used some fishing line and carefully slid it behind the badge to break the seal. After a bit of wiggling around the badge pops off the two rubber grommets. Then it was just a matter of cleaning the boot lid and carefully installing the new badge in place. My rear end is all new and looking schmick again.  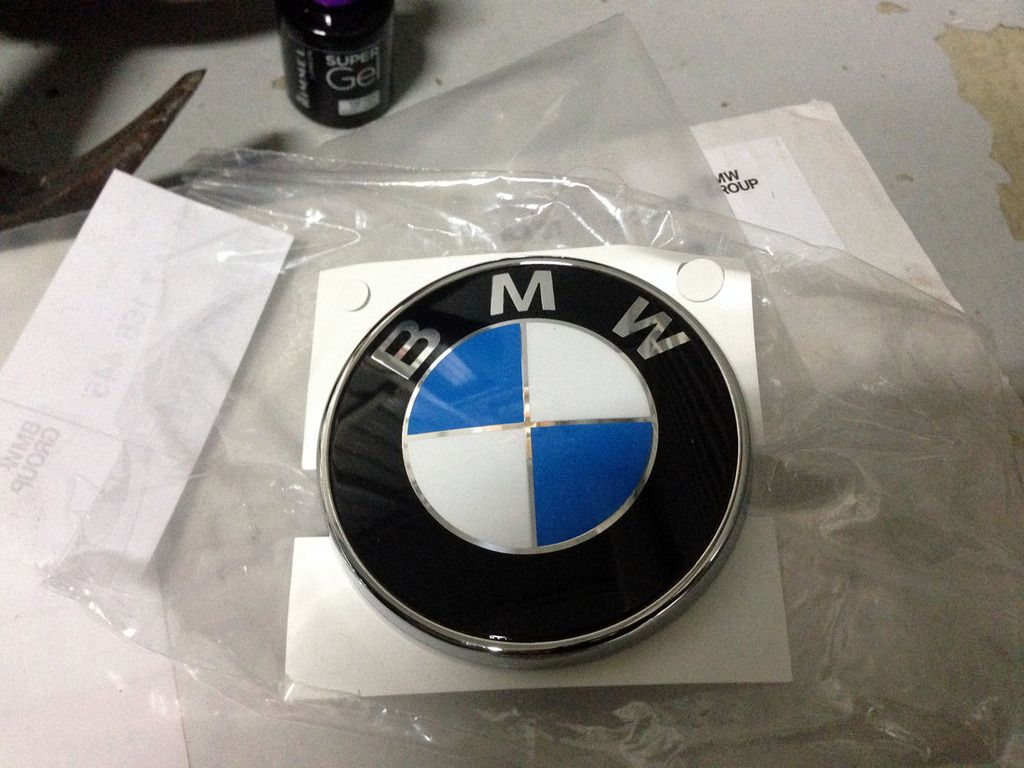 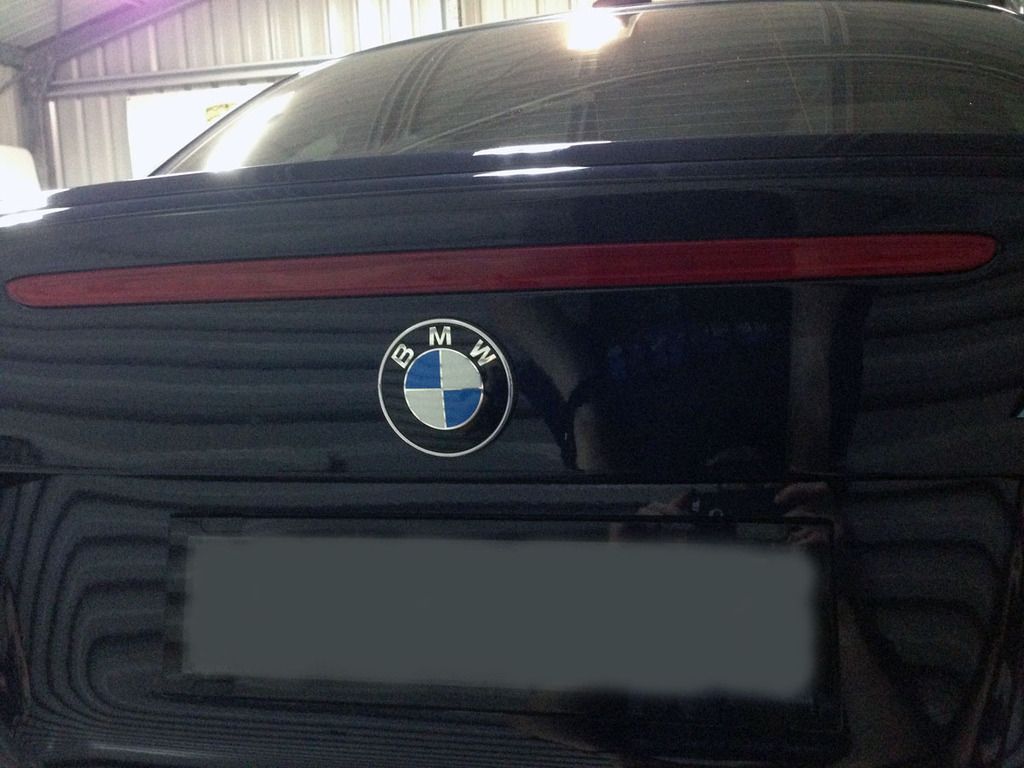 You will see that I also ordered three jack pads to replace my worn ones. I have a jack pad adapter and hockey puck to ensure that when the pads get used in future they won't get hacked up. I plan to install these shortly. I hope the old ones will just pop out with a bit of prying. Finally, I also have the BMW 1M front strut mount brace to install. I ordered this part as I have coilovers on order and will need the triangular style brace in order to be able to use the damper adjustment knob. I've been told that the damper knob will fit with the 'M' covering caps in place. These should keep the coilover tops and engine bay looking cleaner too. Can't wait for the suspension upgrade. 
__________________
|
|
Appreciate
0
|
| 06-07-2016, 01:24 AM | #59 |
|
Lieutenant
   
77
Rep 541
Posts
Drives: 2008 135i AT Monaco Blue
Join Date: Dec 2012
Location: Brisbane, Australia
|
Time for a big round of updates. First up is the install of my 1M strut tower brace in preparation for my coilovers.
I referred to this thread to assist my install: http://www.1addicts.com/forums/showthread.php?t=968557 Given I had never removed the engine covers and cowl before I also referenced the Burger Tuning JB4 install guide. Obviously just follow the first few pages showing where the clips etc are to remove all the plastic engine covers. http://burgertuning.com/instructions/JB4PnP.pdf In hindsight I may have been able to remove the OEM strut brace arms and install the 1M arms without removing the covers but it would have involved a lot of wiggling through tight places so I erred on the side of caution. Good to know how the covers come apart now too. Here is a 'before' photo showing the OEM strut brace. 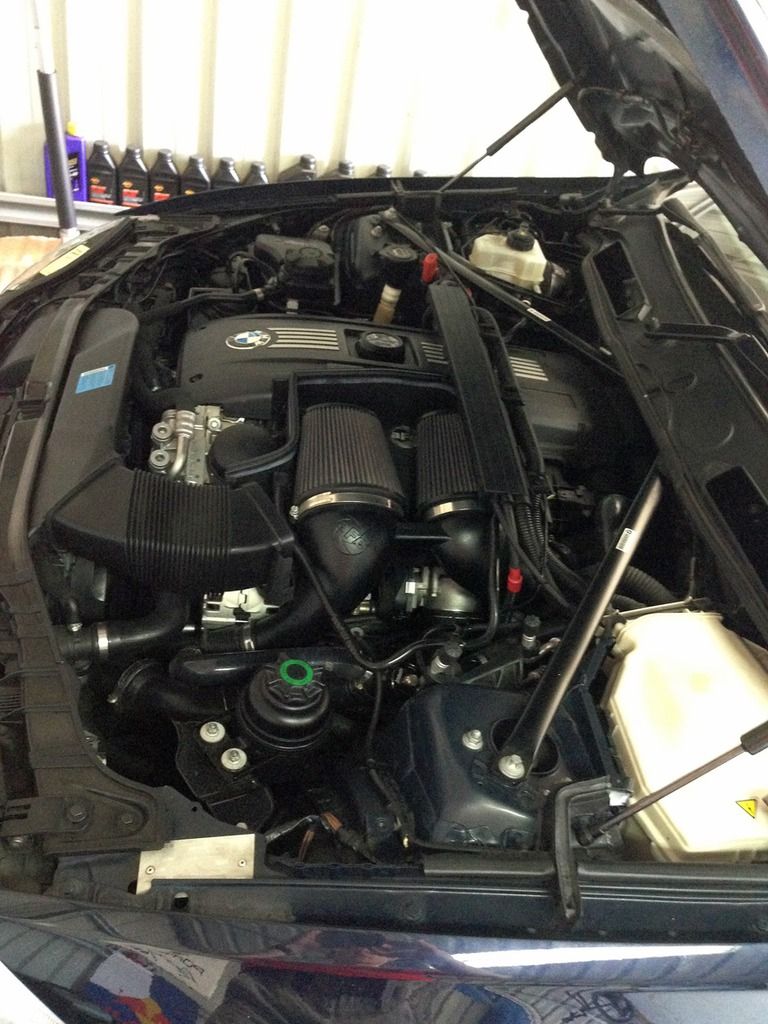 ...and now we're underway with the covers removed. 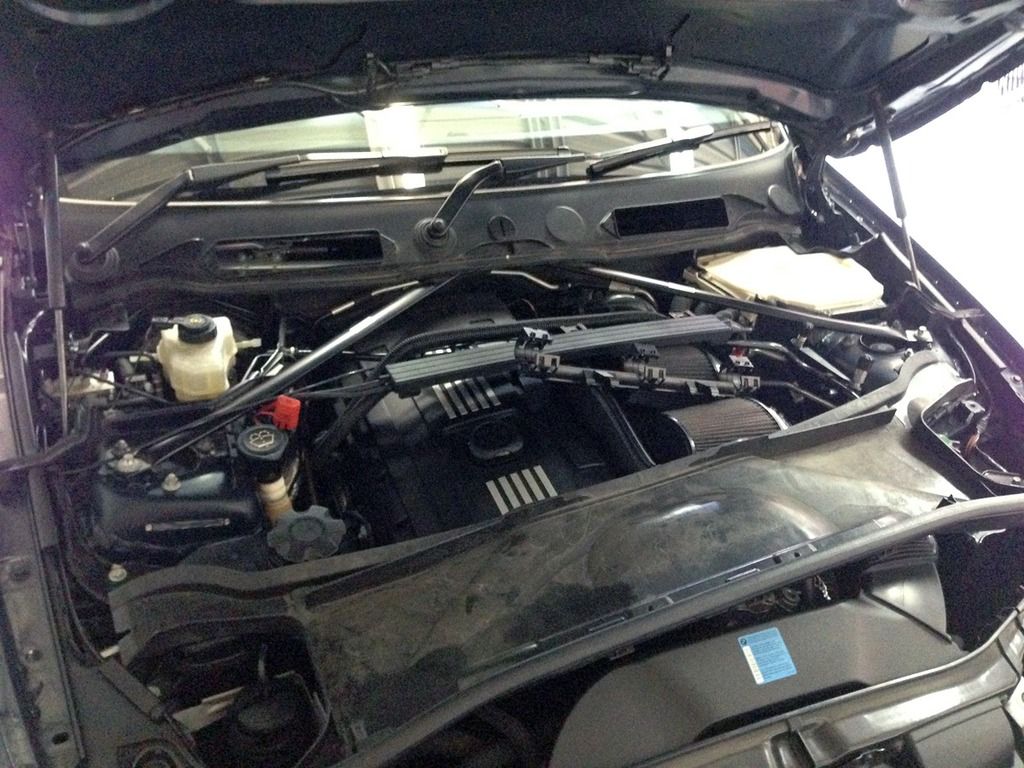 I stupidly made the mistake of completely missing the round access cover for the centre nut holding the two arms to the body of the car. Originally I was looking under the cowl at the bolt just below the cover. So for those attempting this swap for the first time, twist the round cover off the top cowl near the wiper blades and that will give you access to remove the nut. No need to touch the other nut below as it isn't related to the strut arms. Here are a few photos to hopefully clear up that minor aspect.  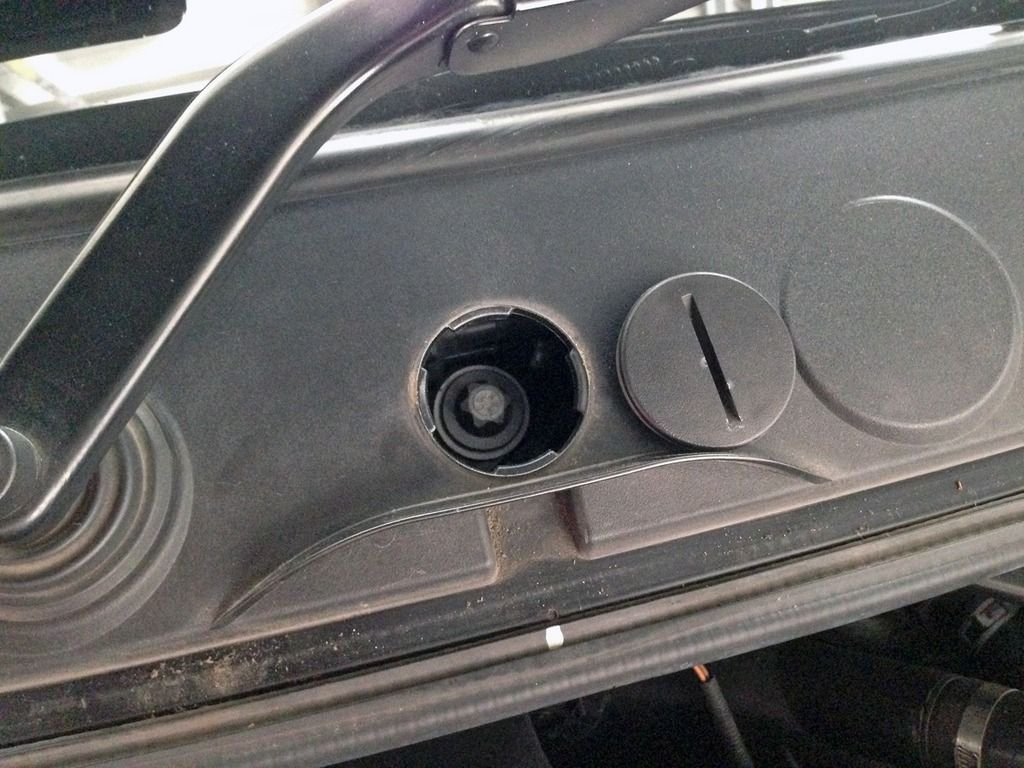 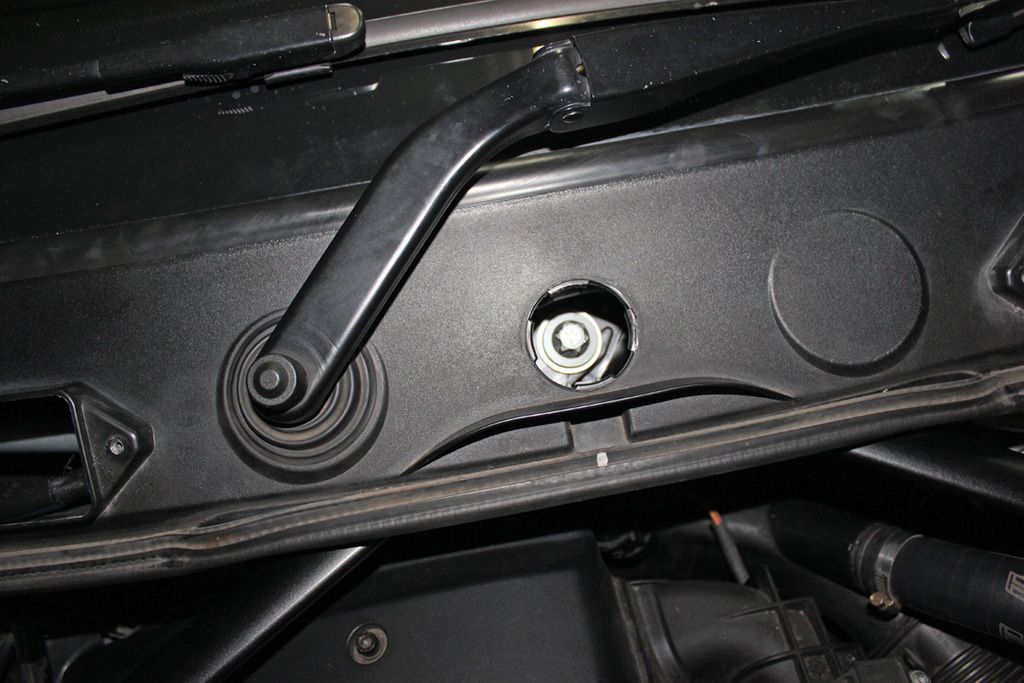 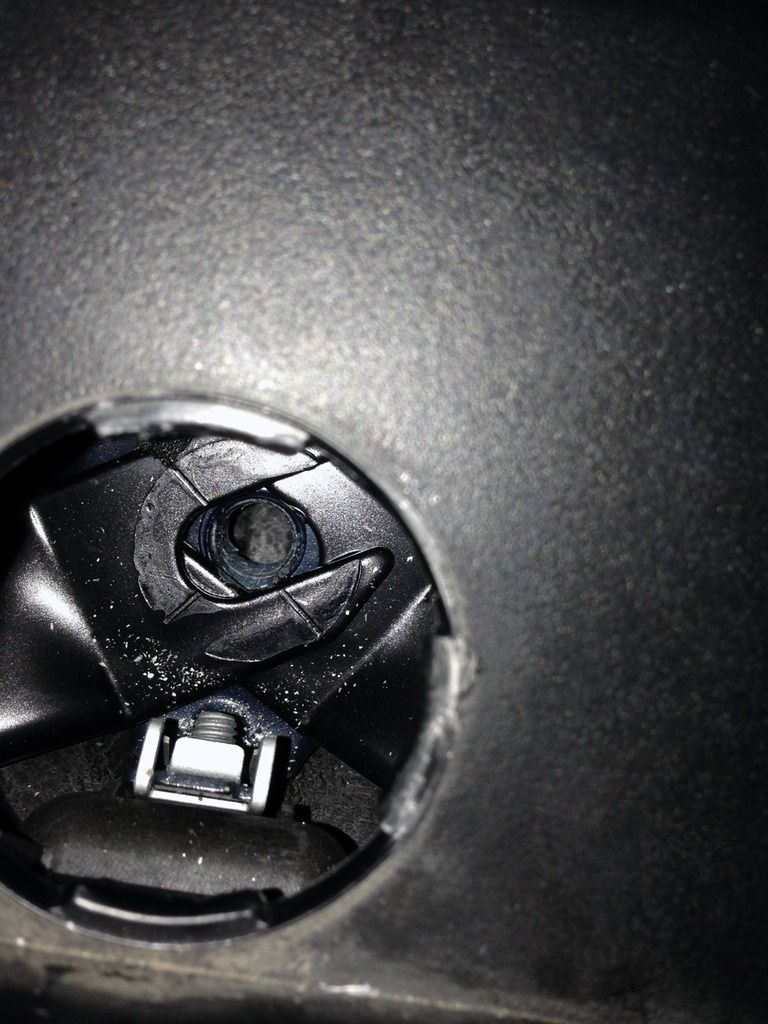 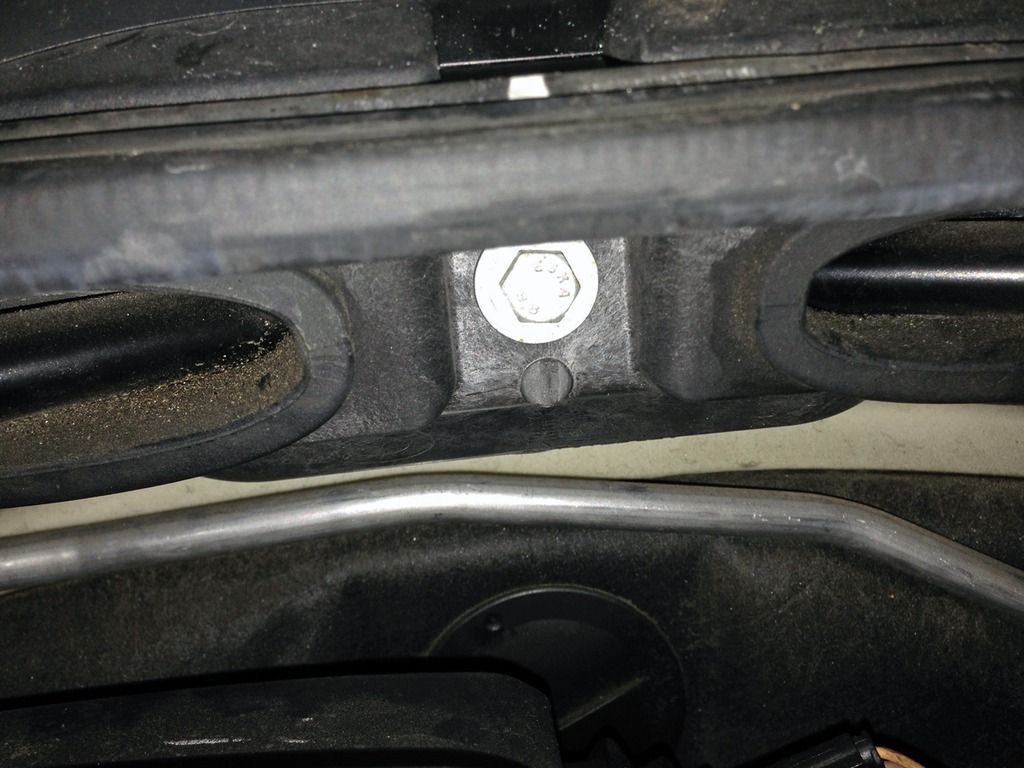 Now reversing the process and putting all the plastic pieces back together. 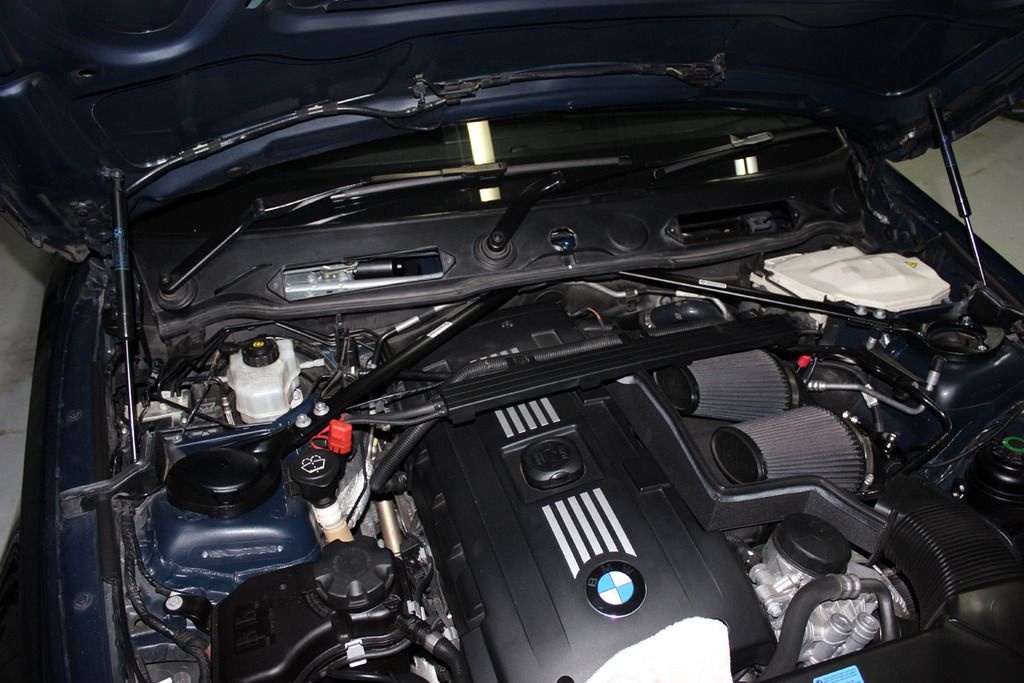 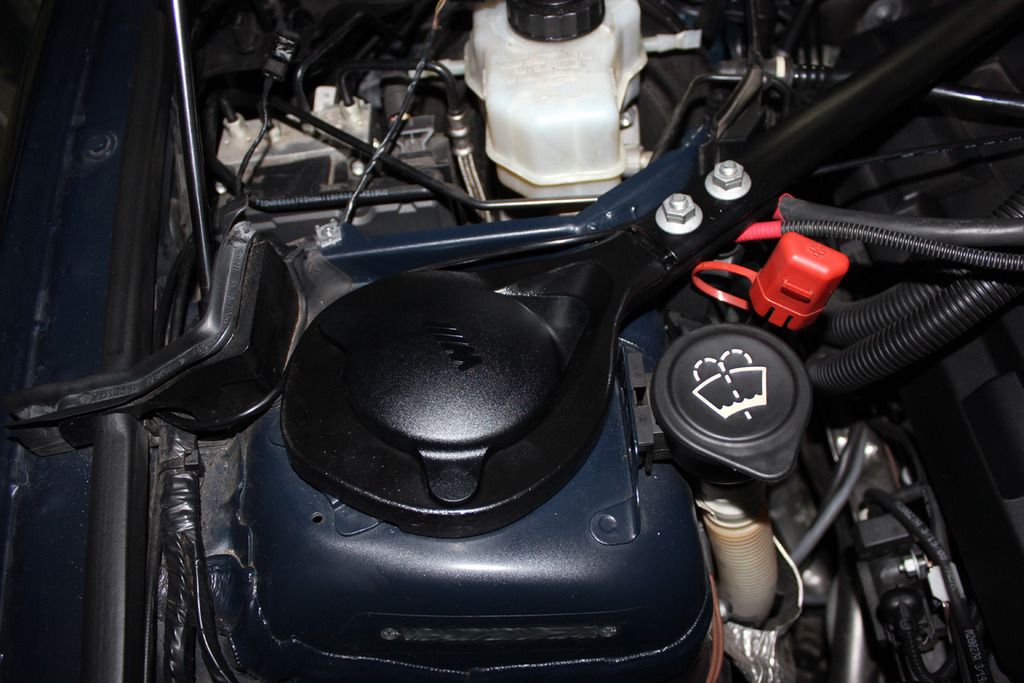 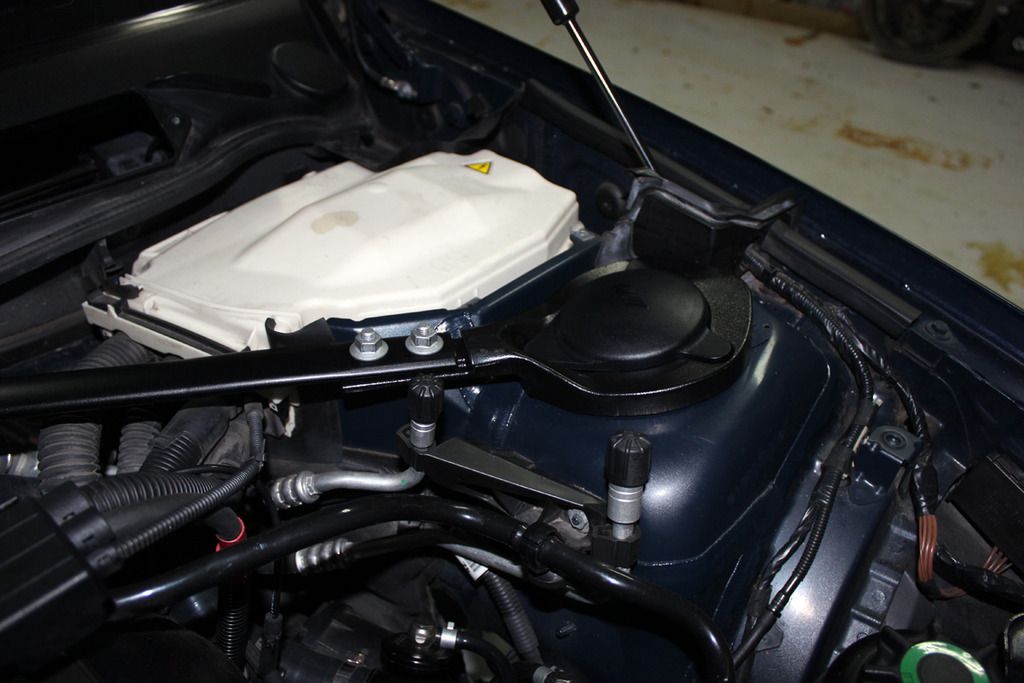 Finally we're done and all back in one piece. A very neat install.  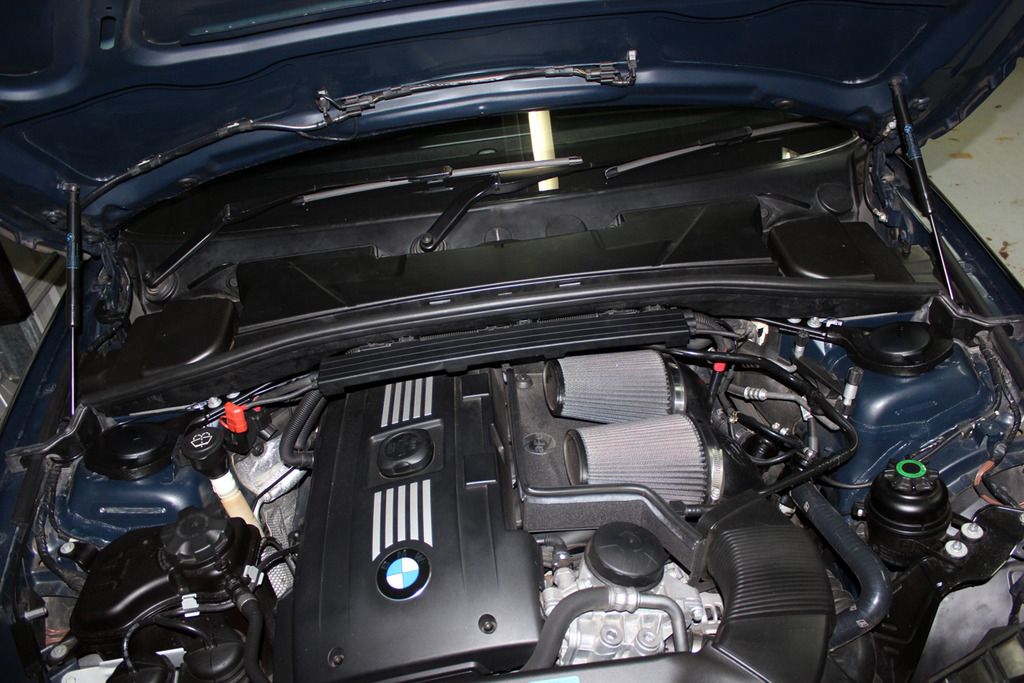
__________________
Last edited by OzJustin; 08-14-2016 at 01:42 AM.. Reason: Fixing photo links |
|
Appreciate
0
|
| 08-14-2016, 02:09 AM | #60 |
|
Lieutenant
   
77
Rep 541
Posts
Drives: 2008 135i AT Monaco Blue
Join Date: Dec 2012
Location: Brisbane, Australia
|
__________________
|
|
Appreciate
0
|
| 08-29-2016, 05:37 AM | #61 |
|
Lieutenant
   
77
Rep 541
Posts
Drives: 2008 135i AT Monaco Blue
Join Date: Dec 2012
Location: Brisbane, Australia
|
Quick update I wanted to share. Decided to have another attempt at fixing the dreaded A-pillar rattle after my initial 'foam strip' method was unsuccessful.
Here is the former 'foam strip' method that never worked for me. I decided to remove the strips and try another solution I had recently read about. 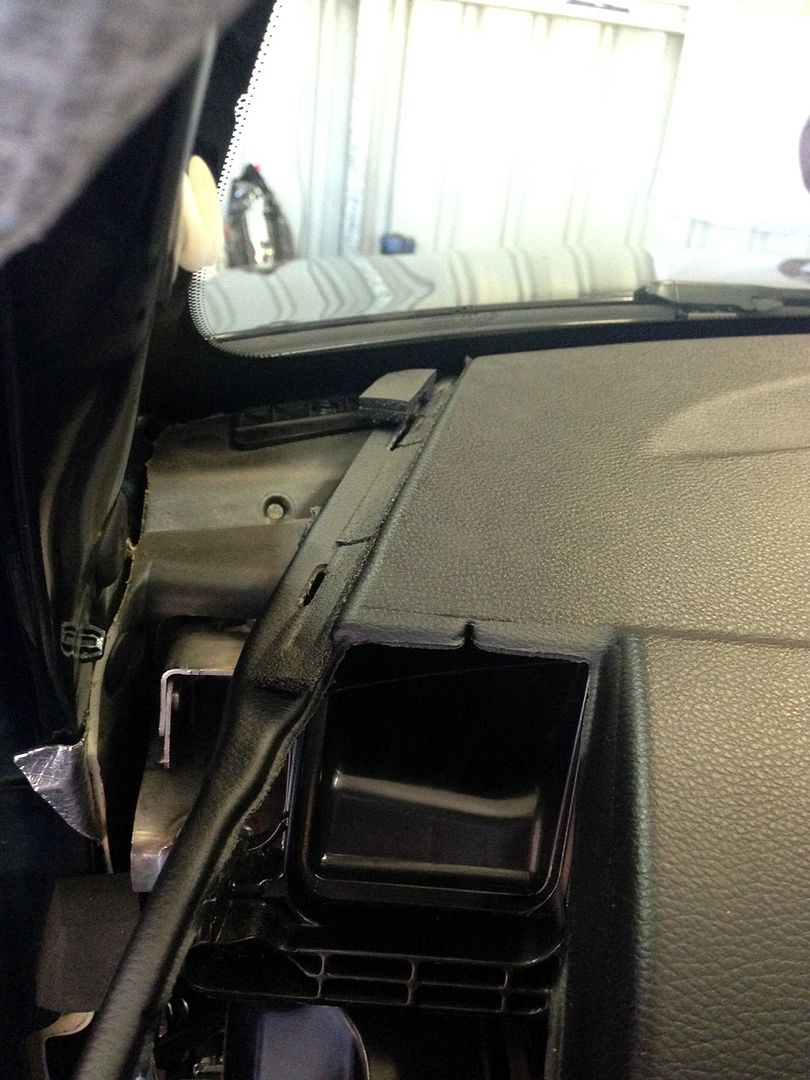 I ended up moving to 'TESA' felt tape as my revised approach. The tape is available here: http://www.ebay.com.au/itm/291398705...%3AMEBIDX%3AIT http://www.ebay.com.au/itm/171973037...%3AMEBIDX%3AIT My pictures are pretty self-explanatory but I essentially wrapped the entire base of the A-pillar with the felt tape where the tabs are and along the full lower section where it contacts the dashboard. Make sure to wrap the felt tape very tightly and follow the contours of the plastic tabs. 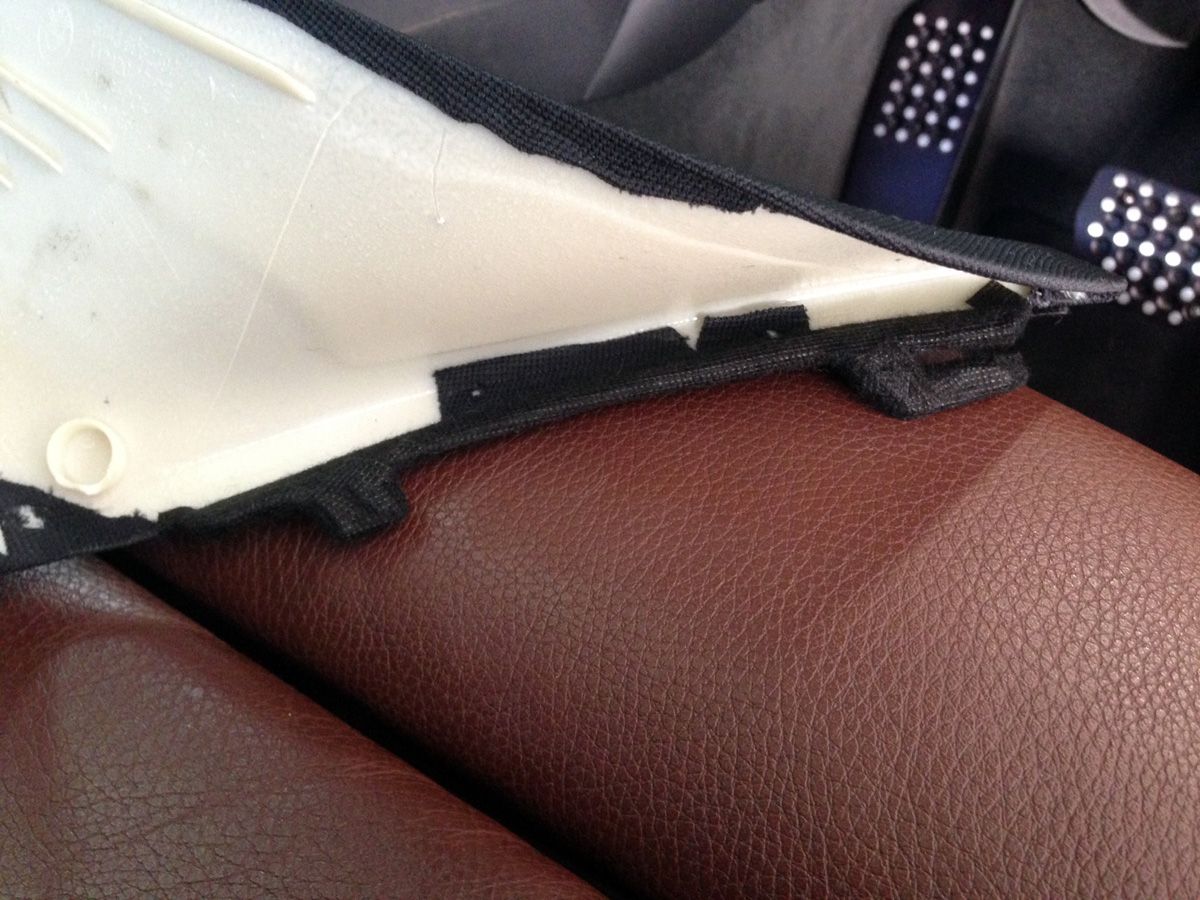 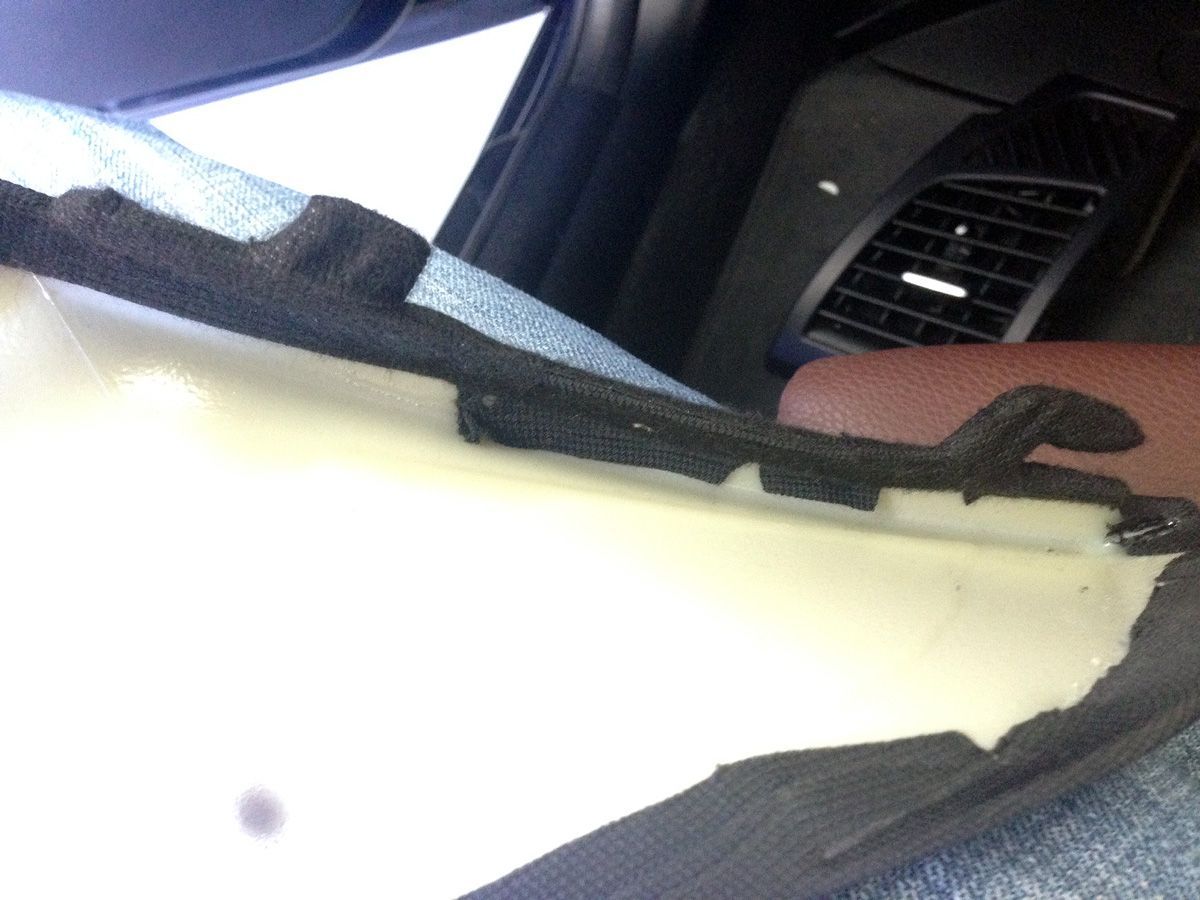 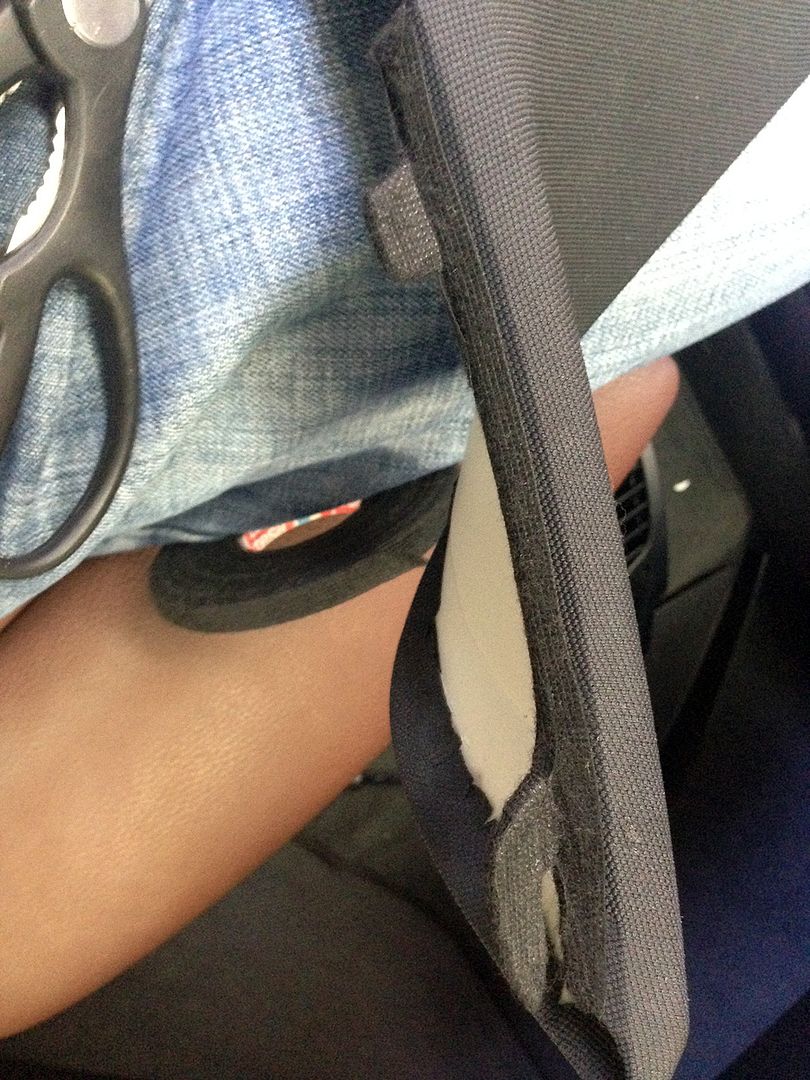 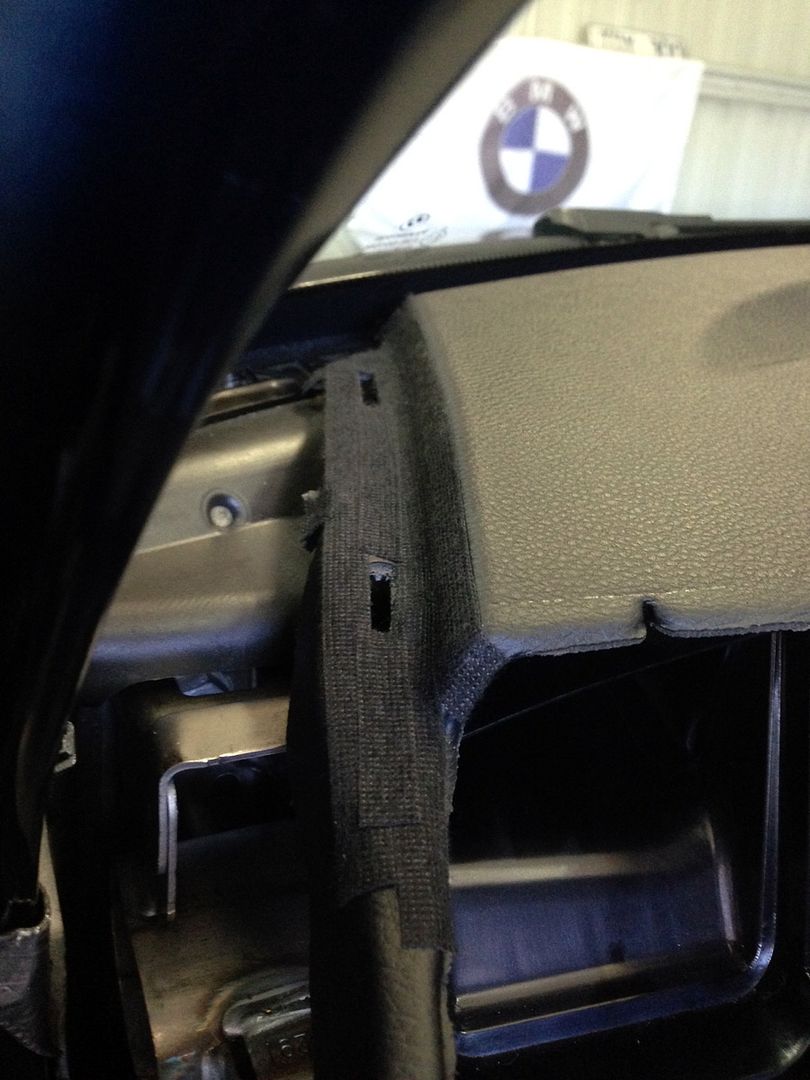 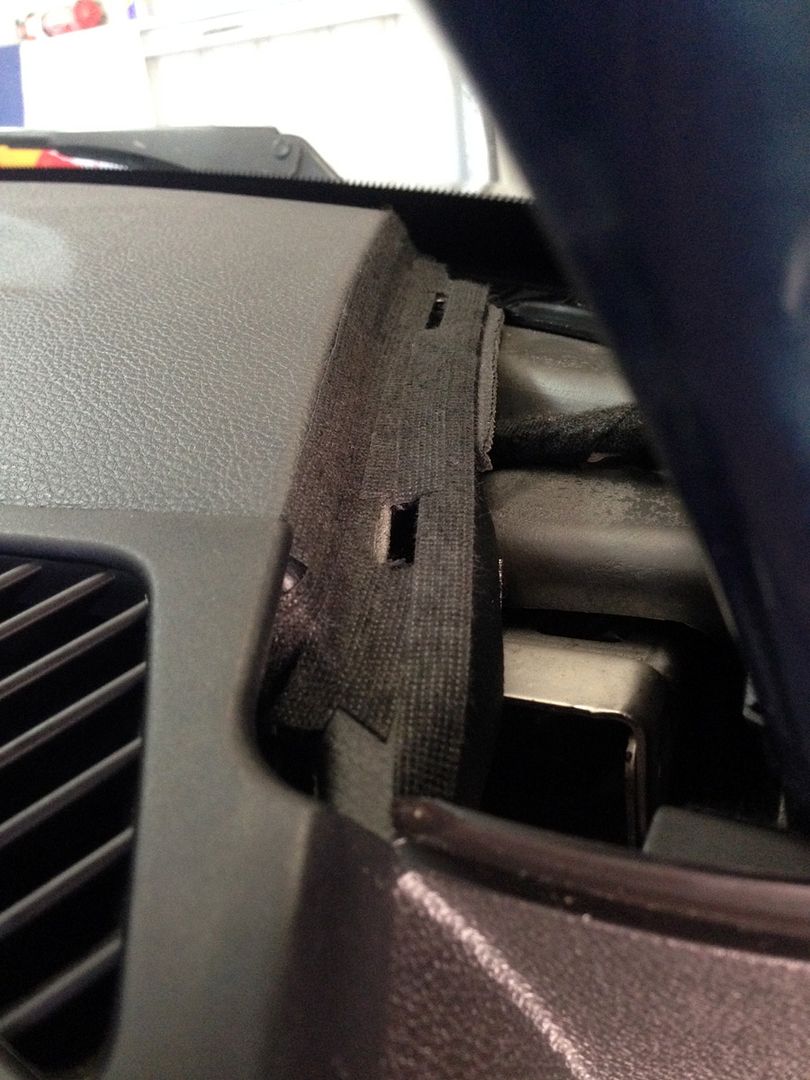 I also went a little overboard and wrapped the side dash vents as they're also known to produce rattles. 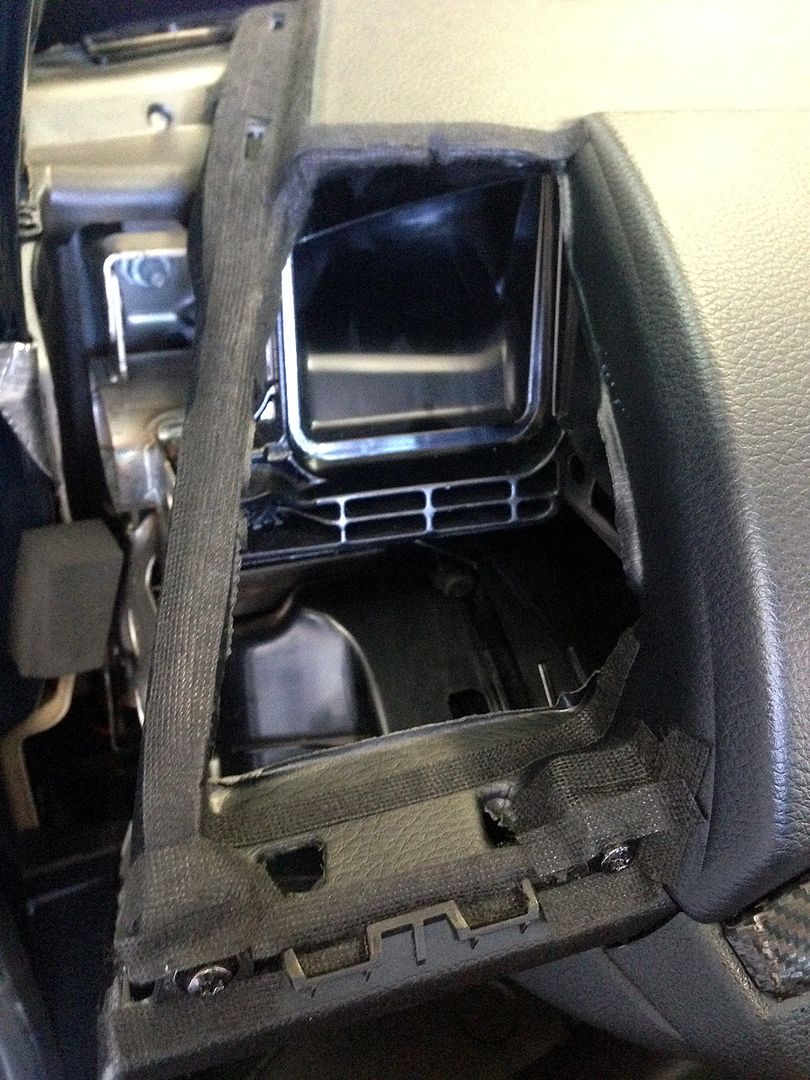 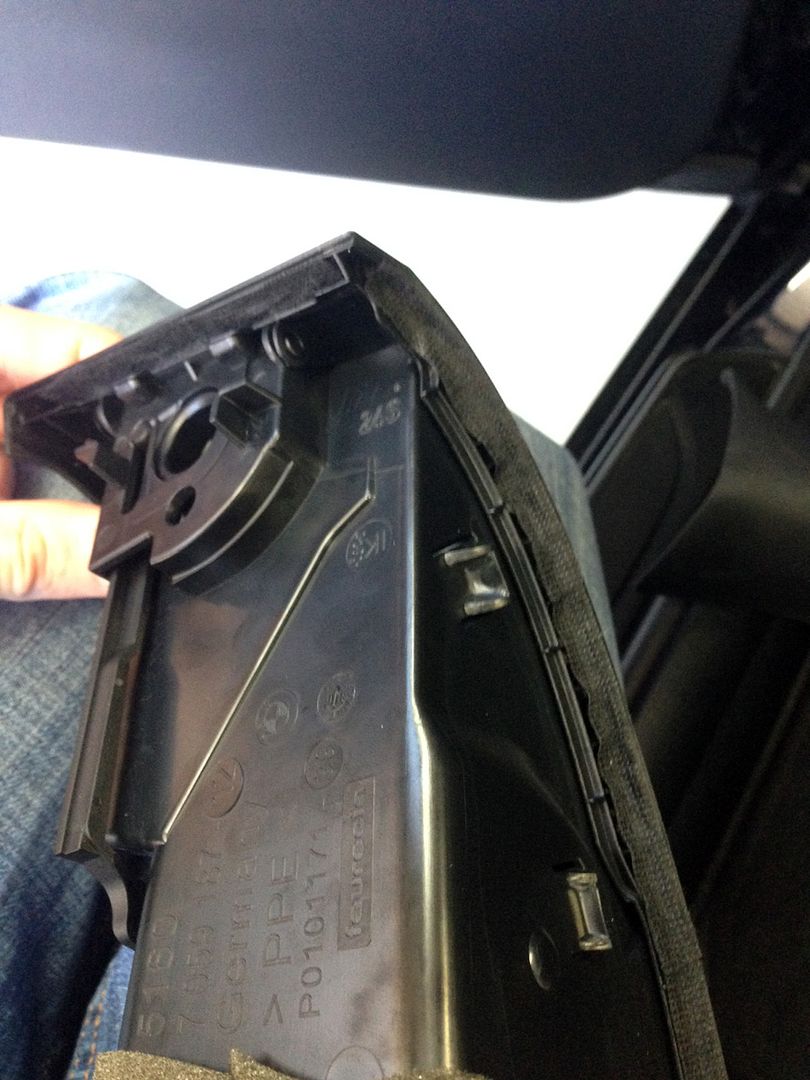 I'm beyond excited to report that my A-pillars are now dead silent (and have been for 2 months).  I can press firmly on the base of the A-pillar at any point and it is rock solid with not a single creak or rattle. Hopefully this is a permanent fix for others out there. Now to sort the strange rattle coming from my long vent running the length of the dashboard top...If anyone has any ideas on that one please let me know. I can press firmly on the base of the A-pillar at any point and it is rock solid with not a single creak or rattle. Hopefully this is a permanent fix for others out there. Now to sort the strange rattle coming from my long vent running the length of the dashboard top...If anyone has any ideas on that one please let me know. 
__________________
|
|
Appreciate
1
Yeineken1300.50 |
| 08-29-2016, 08:44 AM | #62 |
|
Lieutenant
   
77
Rep 541
Posts
Drives: 2008 135i AT Monaco Blue
Join Date: Dec 2012
Location: Brisbane, Australia
|
Time for the big update I've been excited to post about. Coilovers are installed!
 Below is a comprehensive review I've prepared of the MCA Coilover Kit for BMW 135i.  As some of you may know, I had been looking into a damper upgrade for my 135i earlier in the year. After contacting MCA Suspension here in Brisbane, Australia I’m happy to share that I’ve been a prototype tester for a new kit for the BMW 135i platform. Given there are relatively few options for our platform I thought I’d share my experience with you all and provide a review. Why I chose MCA: I had considered options such as KW, Bilstein and Ohlins initially but the AUD, overseas shipping, duty, GST etc led me to look into other options. I did consider Shockworks in Victoria but after some back and forth re a prototype kit I was getting the impression that while they were interested in developing a kit for our platform, it really wasn’t a priority for them and it could be a significant wait. After these initial investigations I decided to contact MCA as I had heard they were starting to expand their range. I’m sure many of you have heard of MCA Suspension here in Australia. They’ve been achieving great things, primarily in the Japanese car scene. They also have a very strong reputation in the rally scene, and more recently in events such as World Time Attack with their ‘Hammerhead’ Nissan S13 Silvia. Long story short, Josh Coote was prepared to undertake some R&D for our platform and I became a prototype tester. I was very much a guinea pig and taking a leap of faith given no previous reviews or established name in the BMW sector. Despite this I was confident in MCA’s reputation and wanted to support a local Australian company. The purpose for my kit: Let’s be clear from the outside that my 135i is a street car and not a compromised track only special. You can see from my build log that my car is tuned, has a good set of non-runflat tyres, 1M control arms and 1M strut brace. My suspension is otherwise stock, including the sway bars and subframe bushings (for now). I had a number of goals for my kit. • I wanted my kit to be track capable should I decide to take this path in future, though it is primarily a street car and must work on the road. • I wanted the kit to be as stealth and OEM looking as possible. • No ridiculous lowering or slammed stance. I am function over form here. My kit and quality: MCA offer four series of suspension at present going from basic to very advanced – Blue, X-series, Red and Gold. I chose a custom Red series kit for my 135i with the adjuster extenders and ‘stealth’ option. The stealth option essentially makes your whole kit black so that it looks OEM. Because I upgraded to the 1M strut brace with black plastic ‘M’ covers you can’t even see the camber plates or damper knobs i.e. very stealth. Key features of the Red series kit: • Custom springs • Custom valving for your car • Designed by MCA and assembled in Australia • Each kit is dyno tested and tuned prior to being sent out • 13 increment damper adjustable (0 = hardest; 12 = softest) • Camber tops I settled on 6kg/mm (200mm long) front springs and 11kg/mm (220mm long) rear springs. Note I initially ran a 12kg rear spring but we determined this was slightly too firm for my intended use. (Please ignore the numbers on the springs in the below pics as we swapped out the springs after the photos). My kit arrived well boxed with each individual strut/damper in individual boxes. The kit also included height adjustment spanners, sway bar end links (which weren’t needed in the end) and an instruction manual with recommended damper/spring/ride height adjustment settings. I was very impressed with the quality of the kit. All components looked very well made. The install: I elected to have MCA install the kit, set the ride height and perform a wheel alignment for me. They also installed the rear adjuster extenders in the boot of my car. The install took a few hours but went smoothly. Side point but I didn’t realise how porky the 135i is in stock form. With all fluids and a full tank of petrol mine weighed 1533kg when being corner weighted (see scales image below). Below is my initial wheel alignment. Keep in mind I wanted tyre life preserved rather than running huge camber. I was also very happy with the set ride height. The front is maybe 10mm lower than standard M-sport suspension while the rear is probably 30mm lower to eliminate that stock raked look. From a functionality perspective, it is not particularly low and speed bumps are no problem, especially with the firmer dampers. It does look mean though! I couldn’t help but sneak a few photos of MCA’s workshop and cars (see install day pics below). They had a Subaru WRX being prepped for SubiNats and their Toyota 86 which I’ve discovered since my initial install day is now being prepped for a Nissan VQ37 engine swap and trip to World Time Attack later this year. Should be an awesome track toy! Revision Number 2: After receiving the car back and driving the initial setup for a few weeks I noted a few things. The rear adjuster extenders weren’t playing nice with the factory BMW boot trim material and were squeeking like crazy rubbing on the holes in the boot trim. I ended up pulling the trim out, drilling the trim holes slightly larger and wrapping the extenders in felt tape to eliminate the squeeking. Problem solved and something worth considering for anyone else running adjuster extenders, regardless of brand. While the kit was very impressive from the initial setup, I did notice that the car was a little jittery at lower speeds, particularly on the firmer damper settings. MCA agreed to take the car back and have another look at the kit. They ended up increasing the rear rebound rate and swapping from the 12kg to a slightly softer 11kg spring which made a significant difference to ride comfort. MCA also adjusted the wheel alignment for me after this tinkering. Below is the updated wheel alignment. The car was running slightly lower in the rear than revision 1 so an additional 0.5 degrees negative rear camber was added to avoid my tyres hitting the metal guards. Customer service: I wanted to address this point specifically given customer service is lacking in so many companies these days. I will go out of my way to promote a business that delivers on customer service as I feel it is crucial and should not be forgotten. I have been dealing with Josh Coote from day one and he has been excellent. He was extremely patient with all my questions and borderline OCD requests when it came to the valving and balance between comfort and performance. Excellent communication with me throughout, though I will say Josh needs to clone himself judging by how busy he is and the time of some of his email responses (3AM at times!) Josh and MCA went above and beyond with the fine tuning of my kit. For revision 2 Josh had my car for 2 weeks and drove 400km+ testing the revised setup. He was even kind enough to wash my car before he returned it to me. Now that is dedication and putting the customer first. Kit performance: Now you are probably wondering how does the kit drive after all this? Well I’m pleased to report that I’m very happy with the finished product. You know you have a good kit when you’re itching to get the keys and take it out for a Sunday morning drive. Here are my key thoughts after several weeks of driving: • The damper adjustment delivers tangible changes per increment. Some coilovers are either full hard or full soft and nothing in between. You can tell the difference with this kit. • There is a really good range of damping from full hard to full soft. The car is very firm on full hard (0 setting) but I would still not say harsh on large bumps. It is very composed. The car is very soft and supple on full soft (12 setting). Some may think it is a little floaty on this setting but I like to think of it like a limousine or ‘wife friendly’ setting. • I have found I’m running setting 6 front and 8 rear for general road driving. Firming up the front to say 4 results in a noticeably crisper front end with sharper turn-in though. • I would say the dampers absorb large bumps better than stock M-sport suspension. The car is very composed over large bumps. You still feel them but there is less crashing. • The dampers ride small bumps and road imperfections well. As stated earlier, I felt the car was a little jittery at lower speeds, particularly in the rear, until we softened the rear spring rate slightly. The jittery character is obviously most noticeable on the firmer settings (say 5 and firmer) but is very reasonable once softened a little for the road. • At higher freeway type speeds the car is excellent. It is very civilised and rides bumps well while also feeling very planted. • One of my favourite features of the kit is the crisp front end with very sharp turn-in response. The steering is perhaps slightly lighter than stock but you get a lot of feedback through the steering wheel. You can feel every road imperfection. • There is noticeably less squat and dive under acceleration and braking. Body roll is reduced, particularly on the firmer settings, however, if you like a really flat car through the corners then perhaps thicker sway bars may be in order if you want to run on the softer damper settings. I understand MCA have designed the kit around standard sway bars so this is something to think about. I think they achieve their traction and comfort by not running super stiff so perhaps we need to recalibrate our thinking that a super stiff flat car with no compression is a ‘good’ car. I will defer to the experts on this one. • Ride height is a very good compromise between performance, looks and practicality. As I mentioned I was not looking for a slammed setup. I wanted a functional street setup that would let me get up driveways, clear speed bumps etc which has been achieved. • I have noticed that with 1+ passengers there is a little bit of rub on the inner felt guards in the rear at my current ride height. MCA have suggested I add an additional 0.5 degrees negative camber to eliminate (that will only be 2 – 2.5 degrees camber total which is reasonable). If that doesn’t eliminate the rub then I may raise the rear ride height slightly. • Apart from the slight rub noise in the rear I have no noise complaints. The springs are quiet and there is no noise from the camber plates. • Overall I am very happy with the kit and can highly recommend it as a very versatile kit that can be made an extremely comfortable street/family friendly setup with a twist of the damper knobs, or a controlled and precise track day toy with a twist in the other direction. I’ll leave a few winter pics with my coilovers installed to finish up this review! Contact: Should you have any more questions on the kit I am more than happy to answer them. I hope my review has been beneficial. If you are in the market for a quality set of coilovers for your 135i then I would highly recommend contacting Josh at MCA. They are well worth a look if you are currently considering overseas/European options. http://www.mcasuspension.com/ As an aside, I understand MCA are also considering kits for the 335i as the 135i kit is very similar. Justin Now I know a thread is worthless without pics...  Unboxing pics: 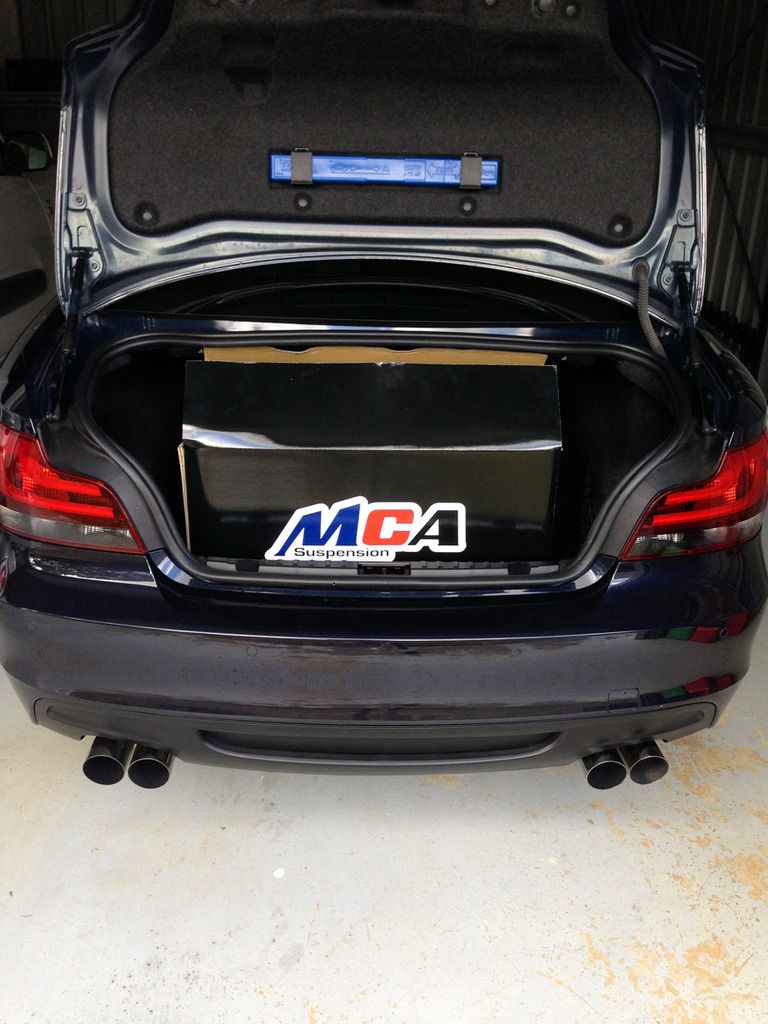 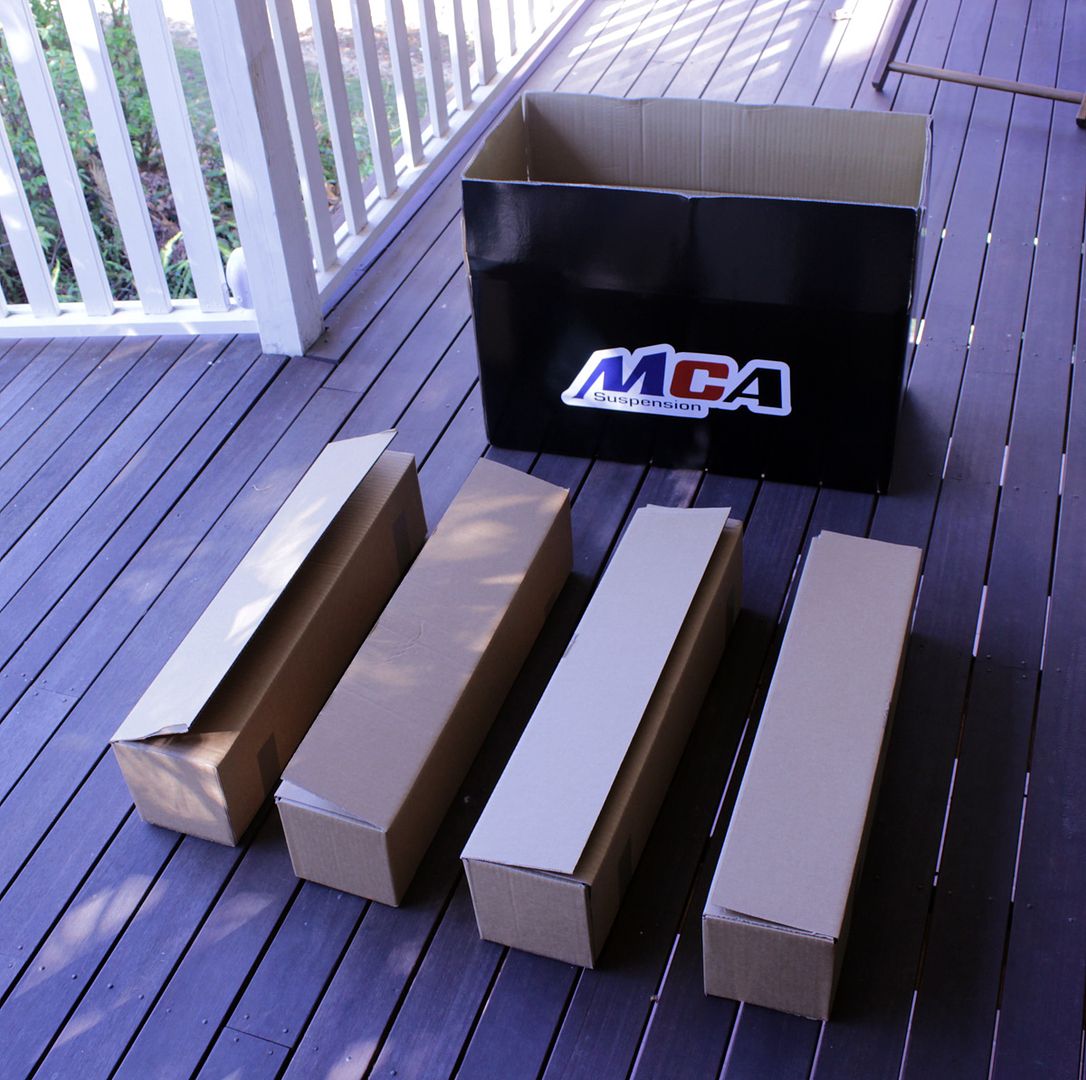 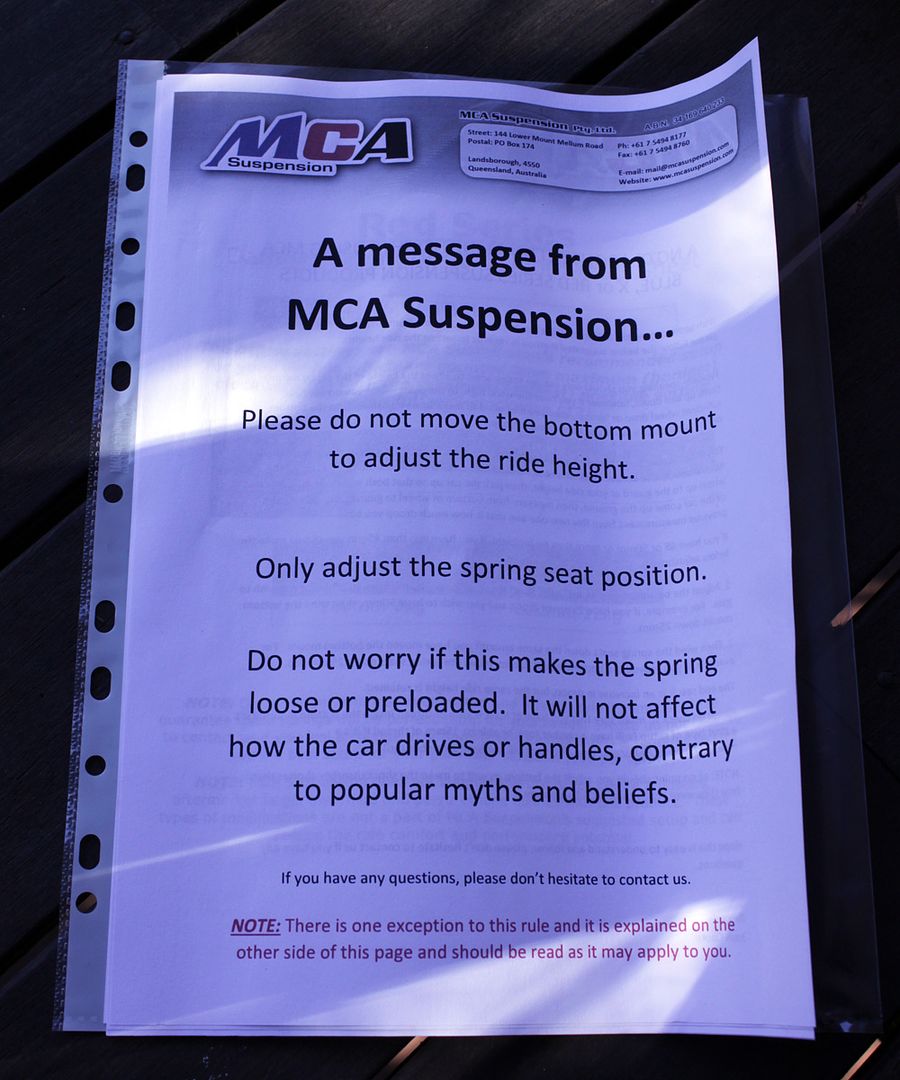 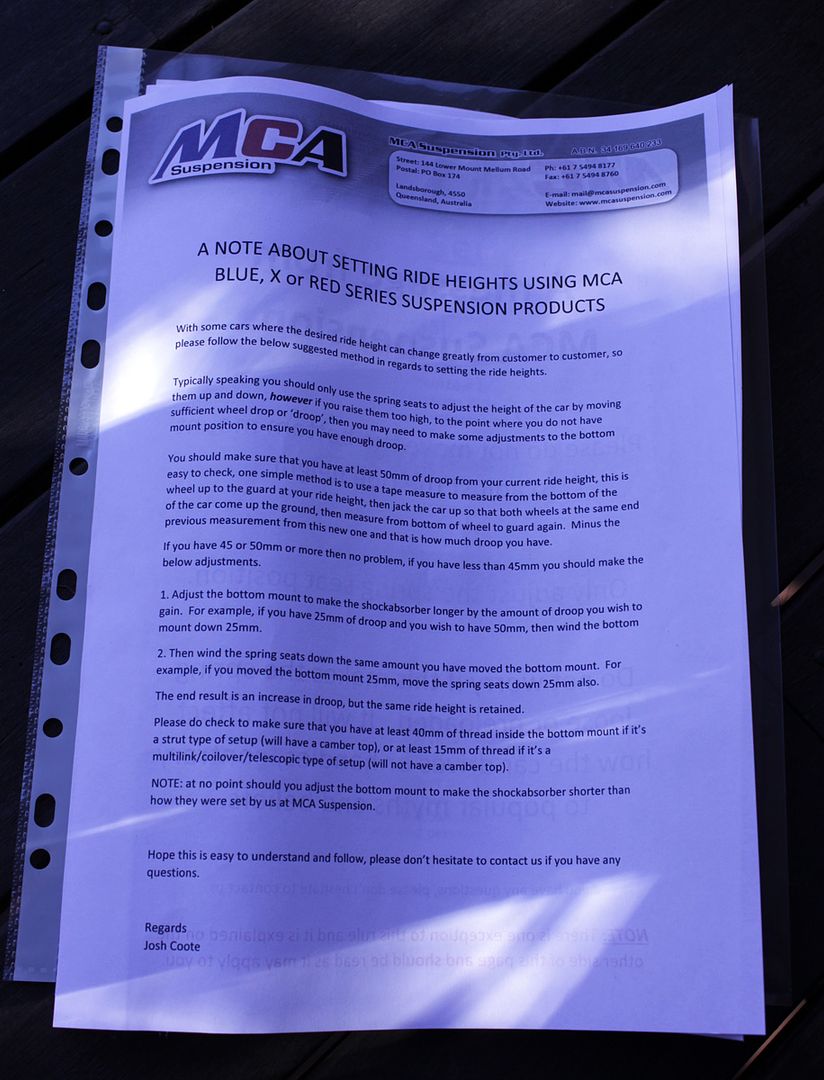 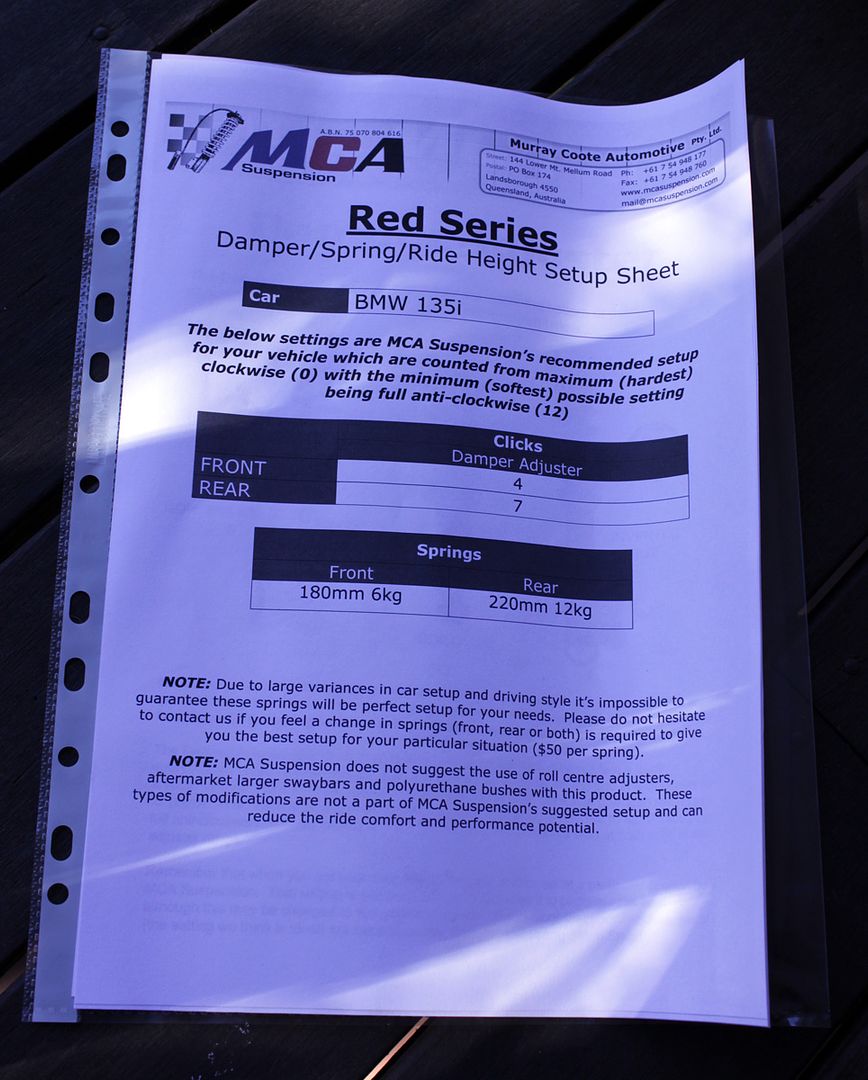 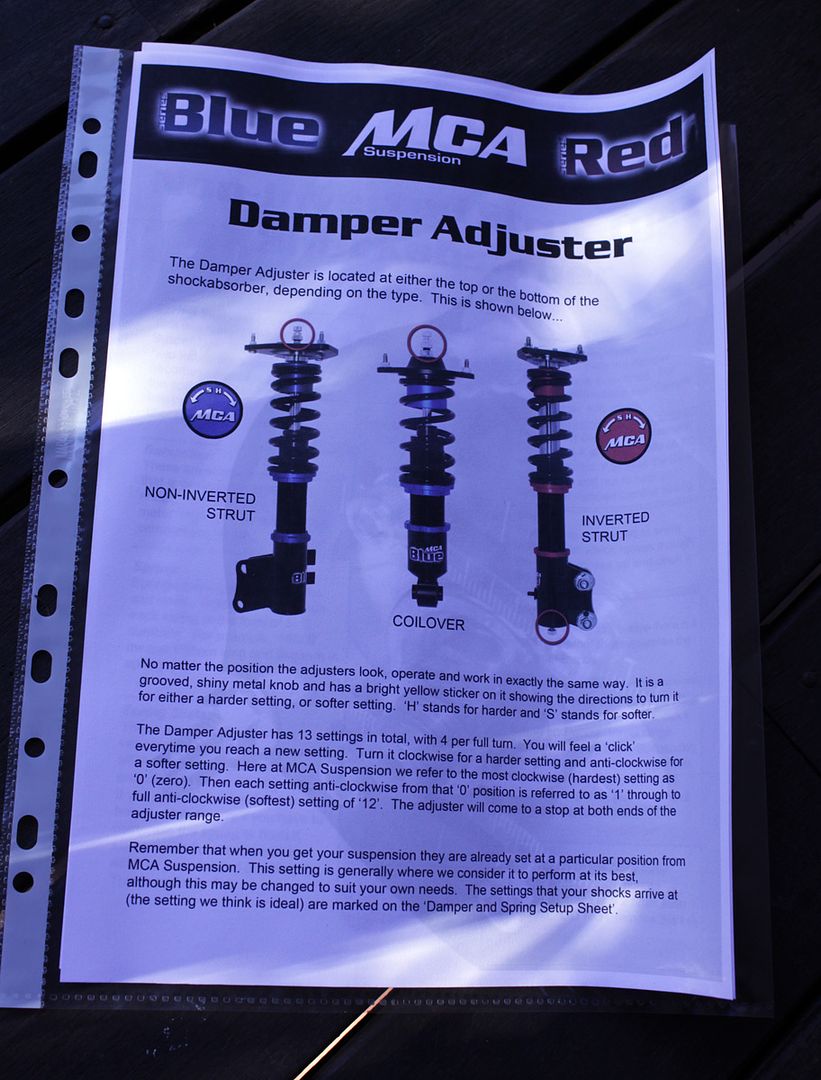 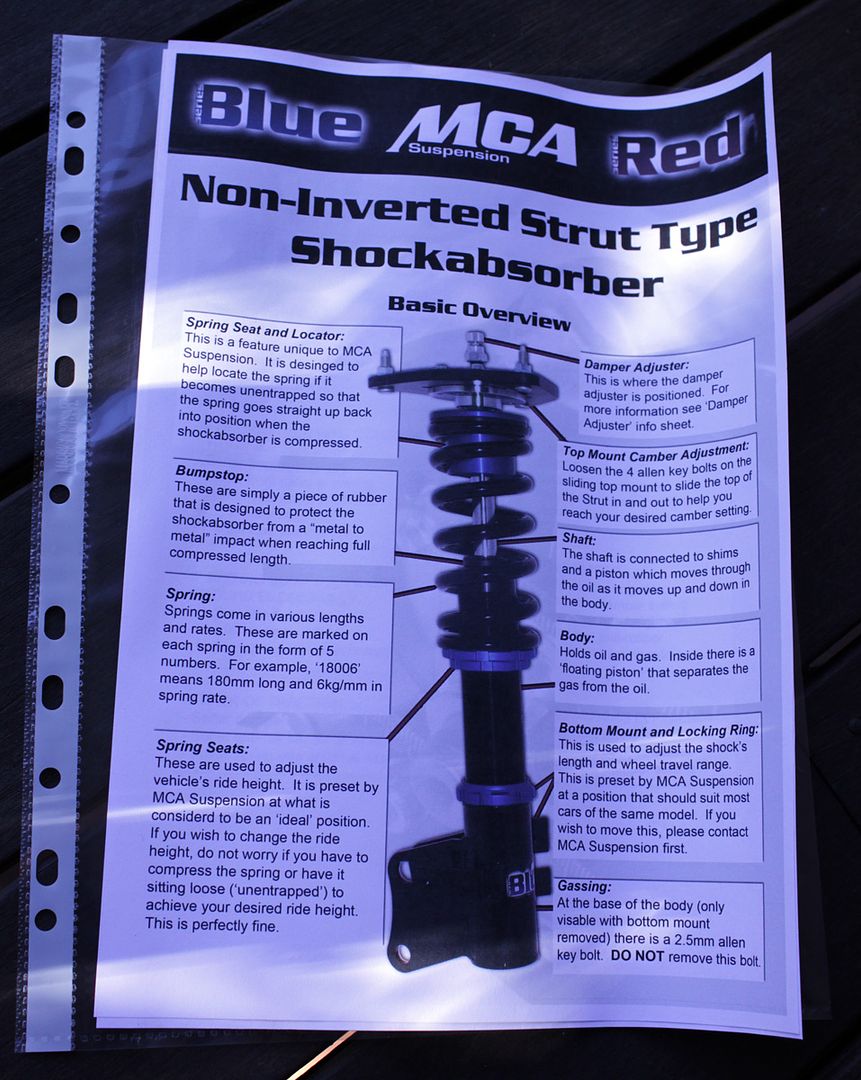 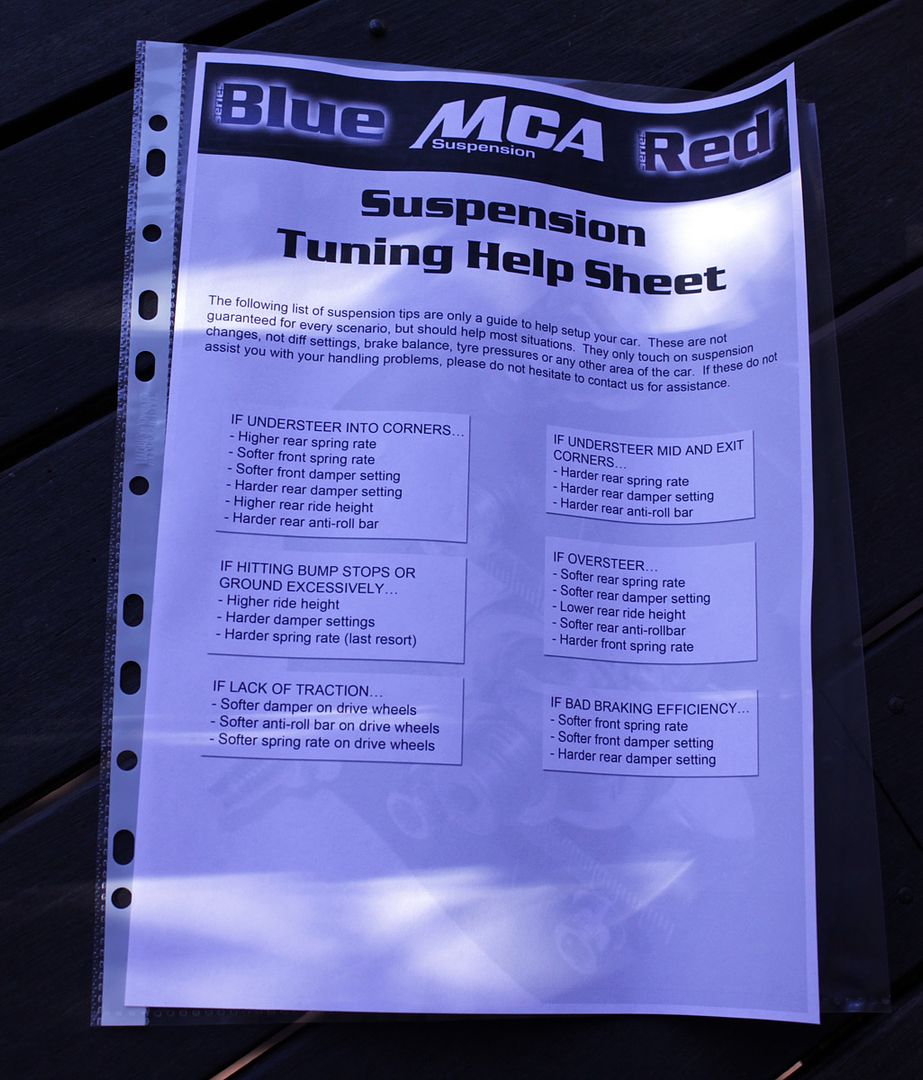 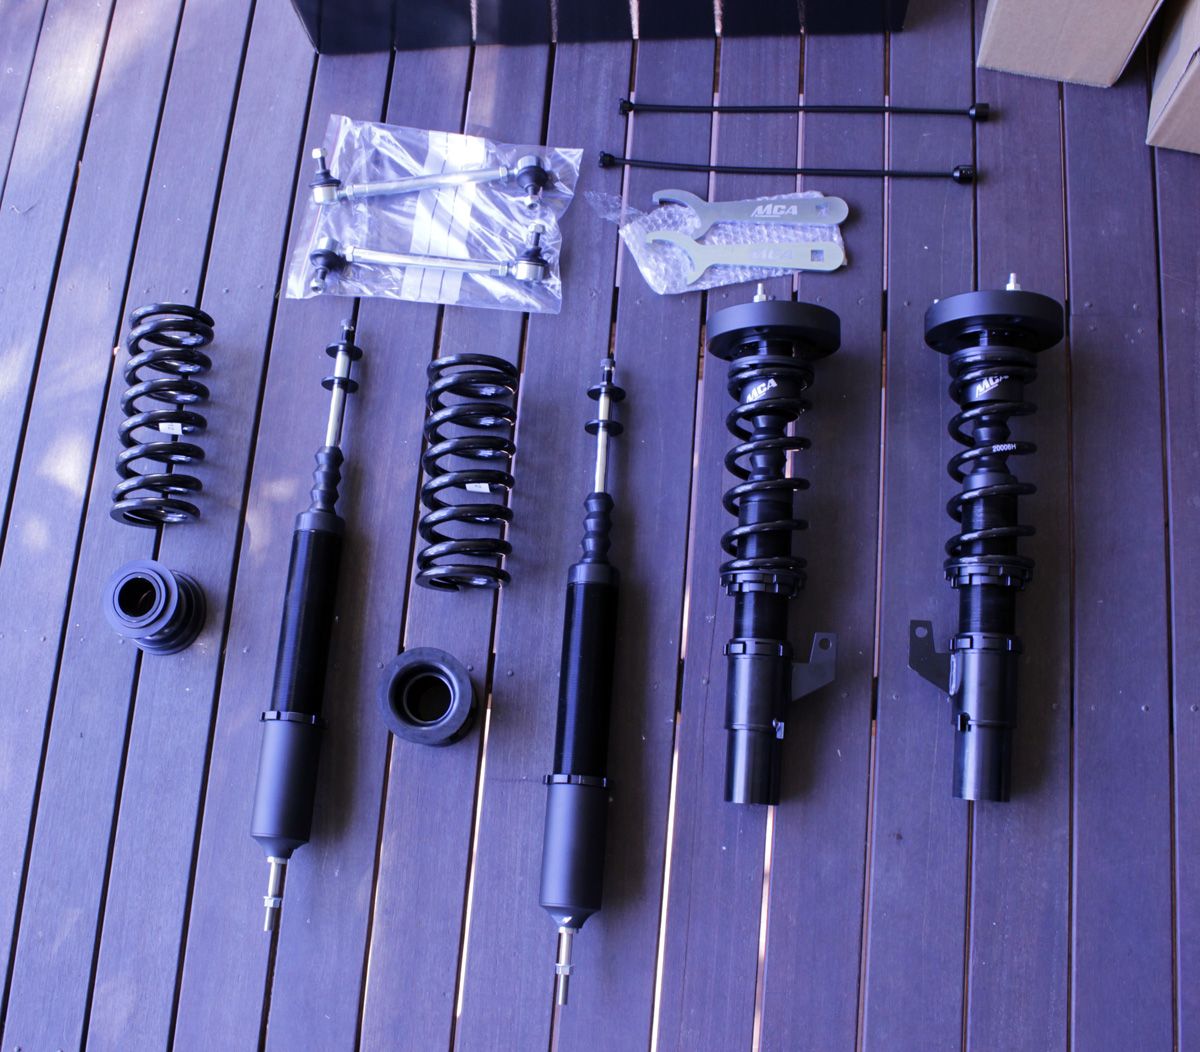 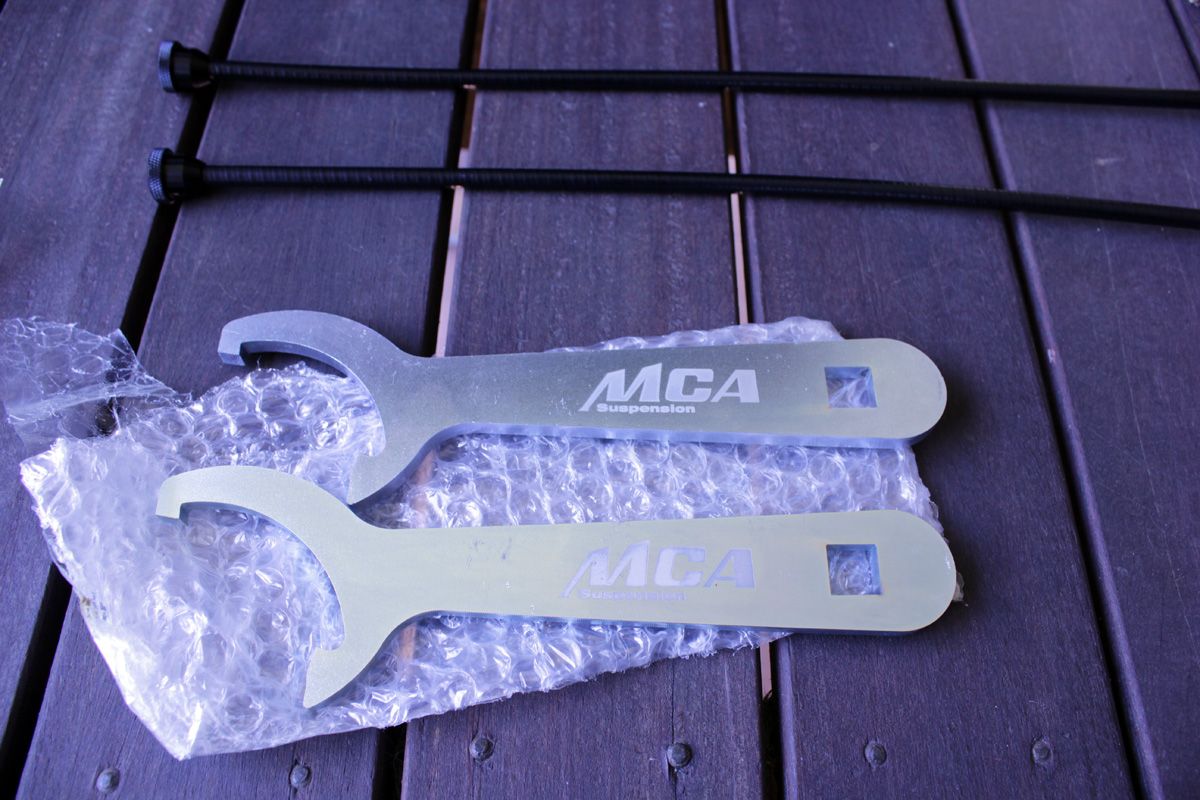 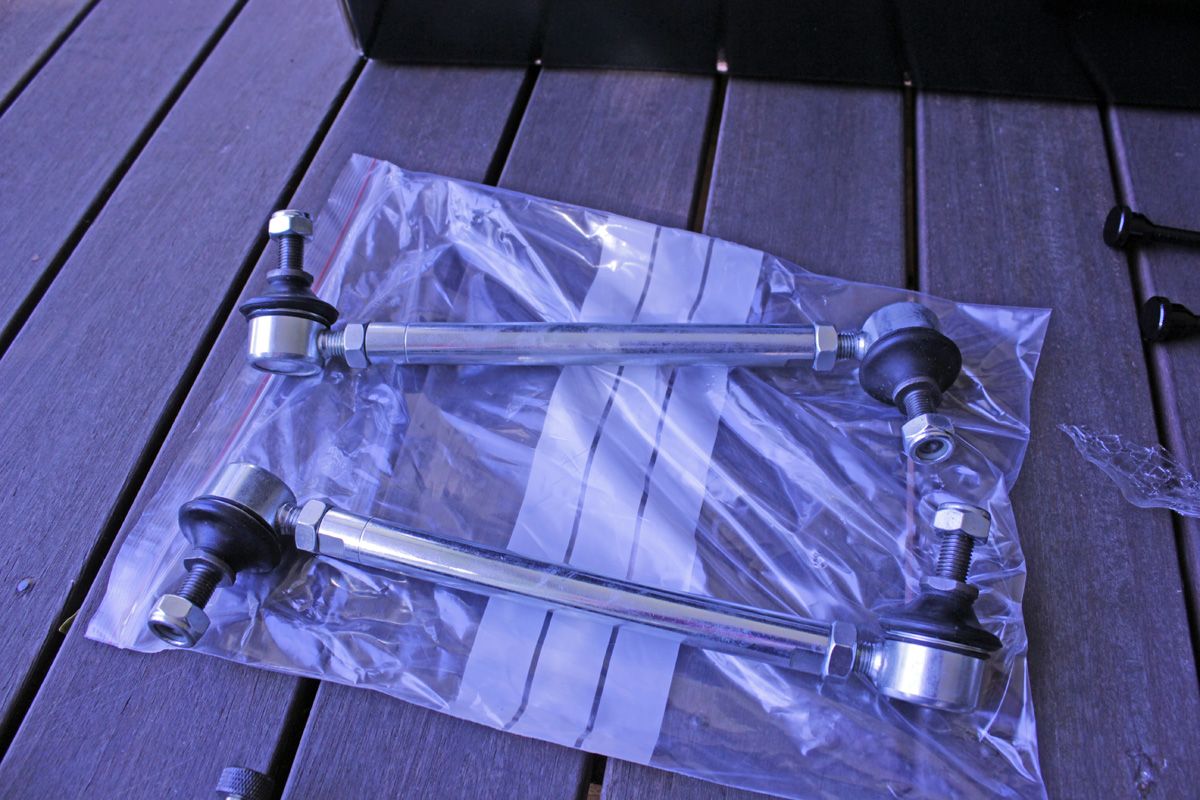 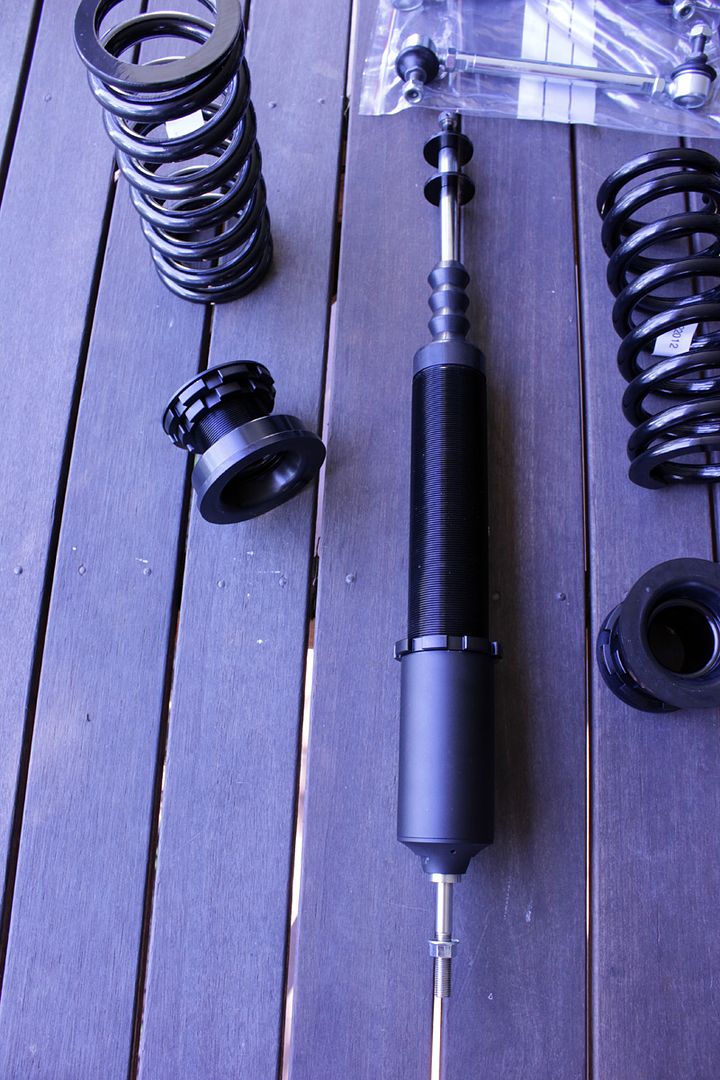 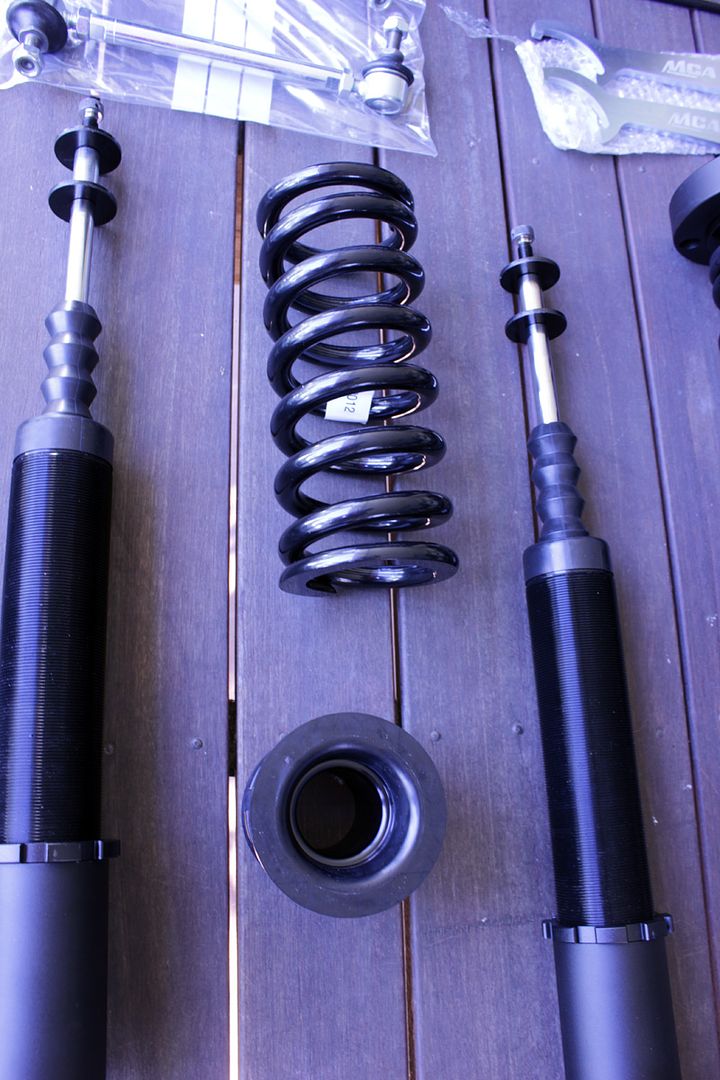 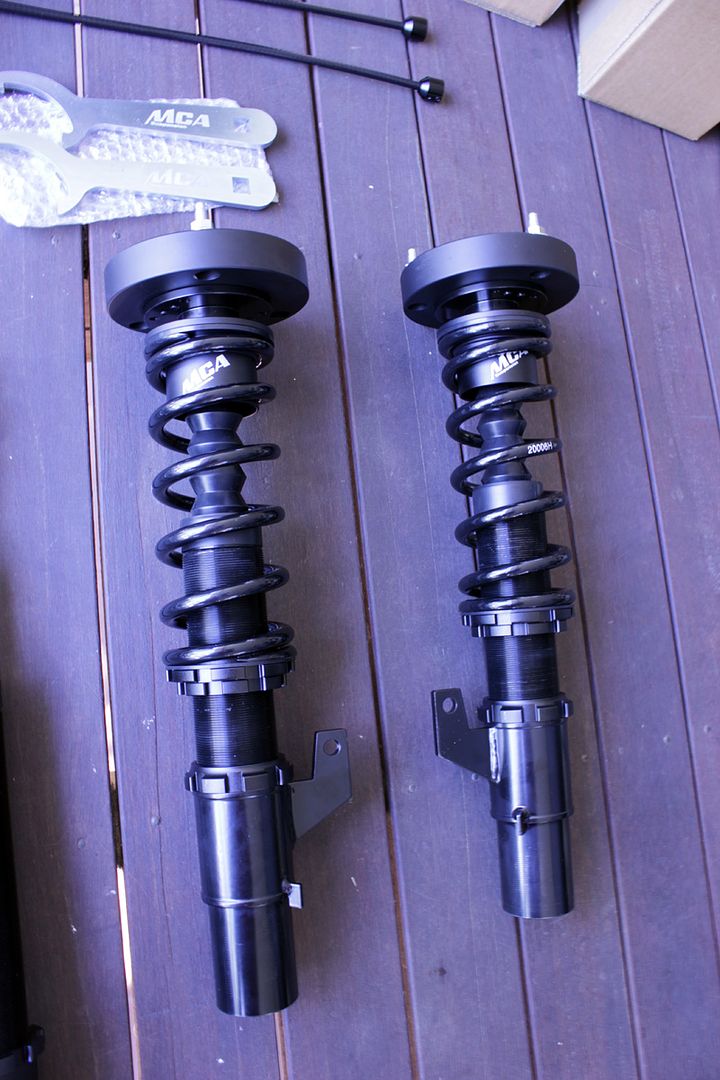 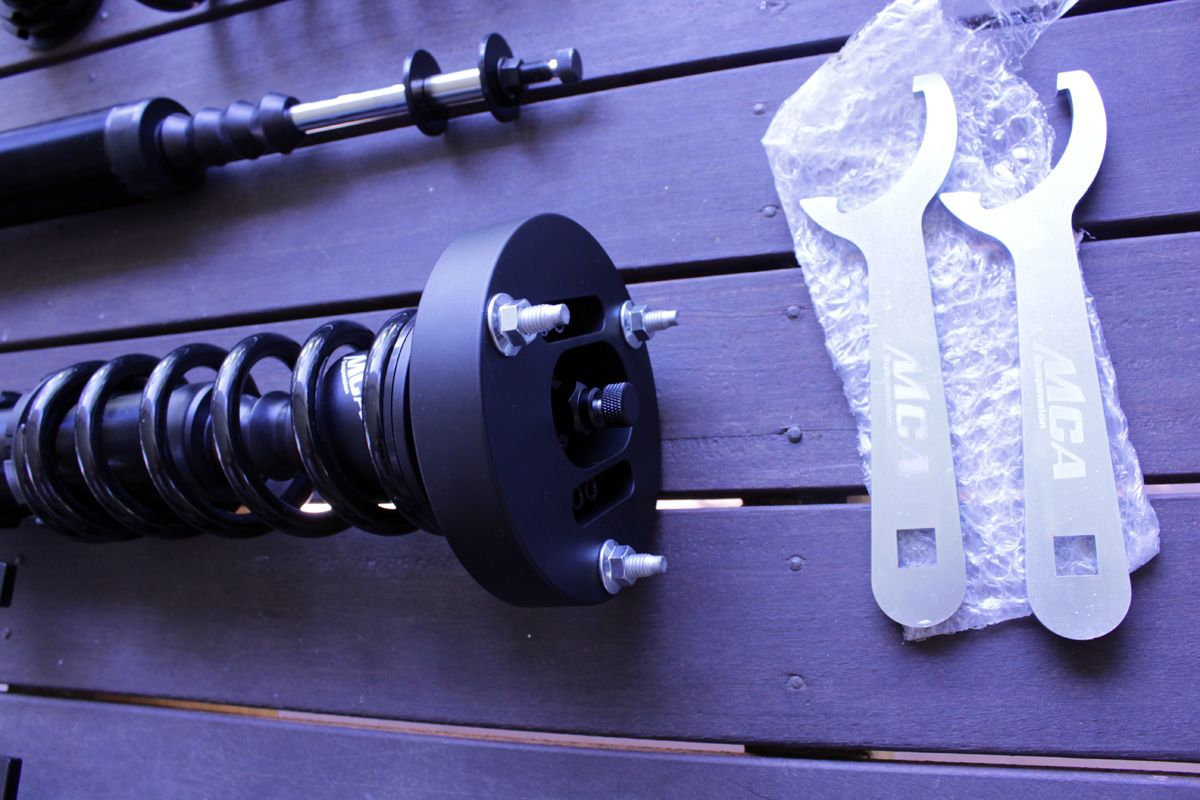 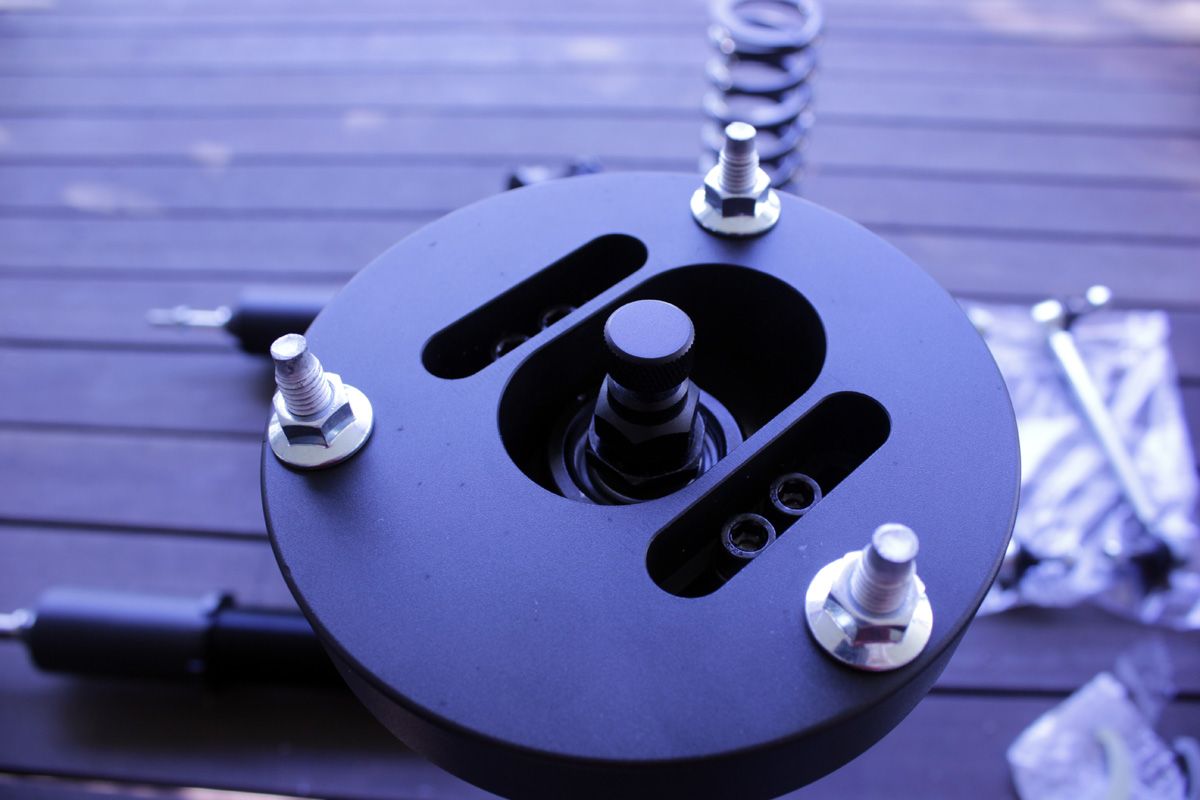 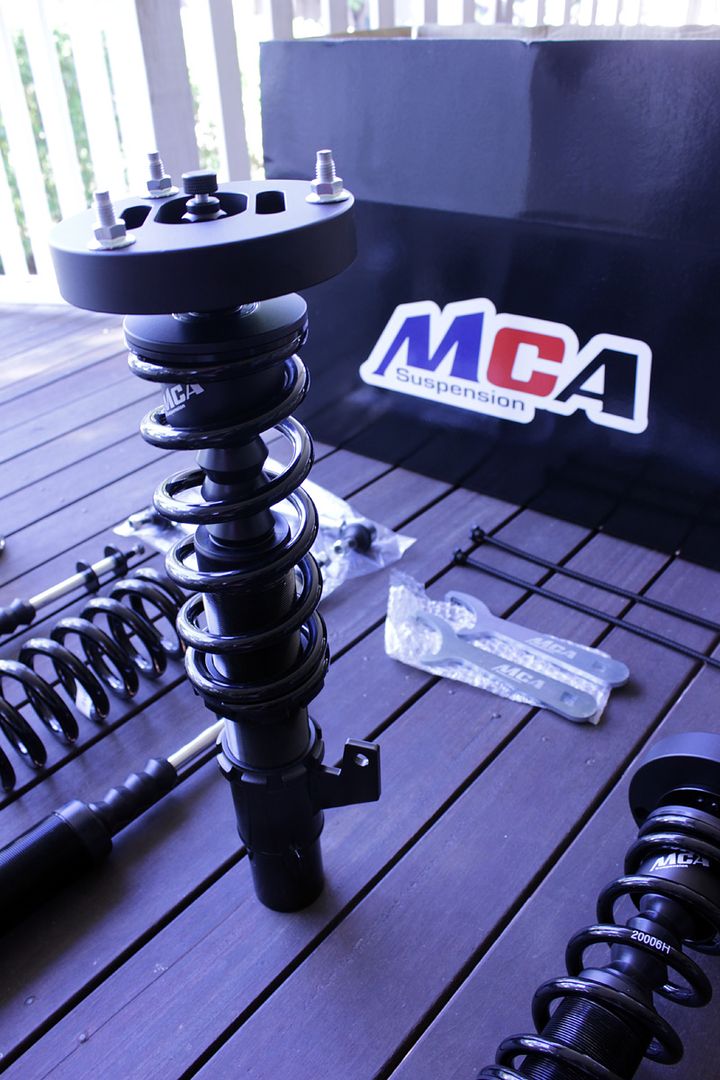 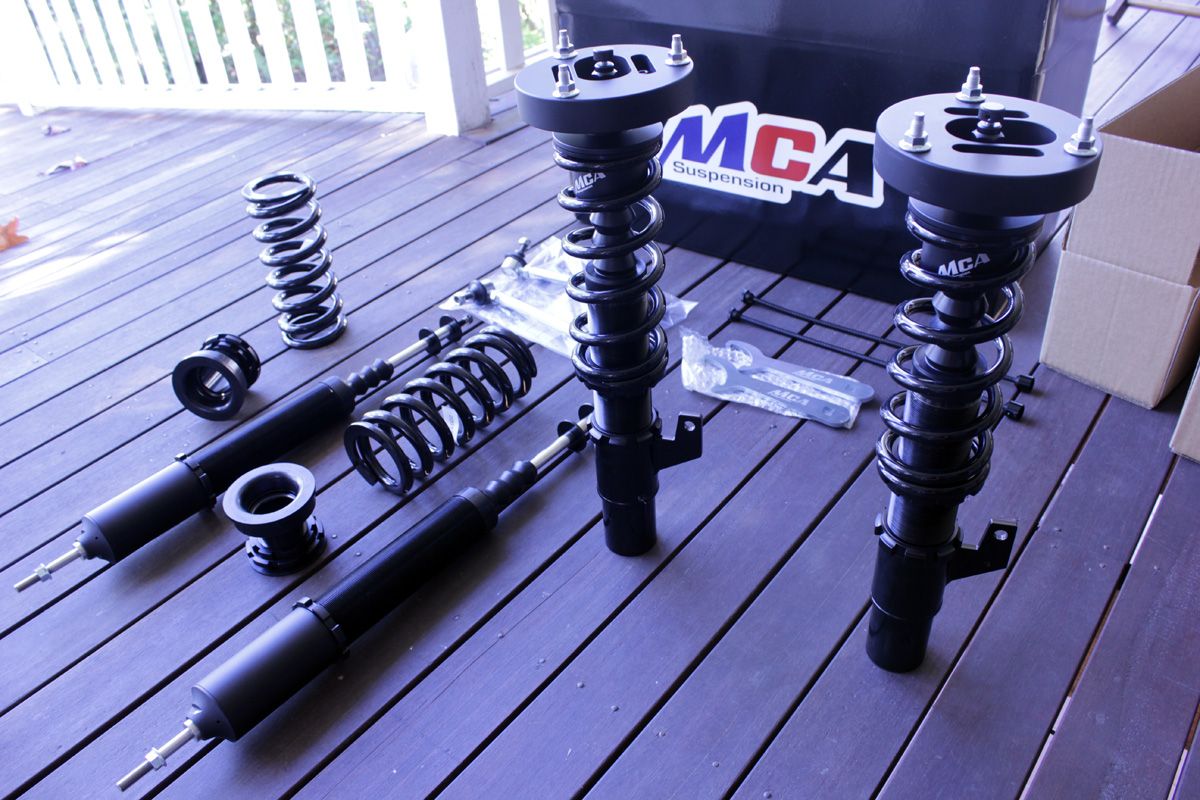 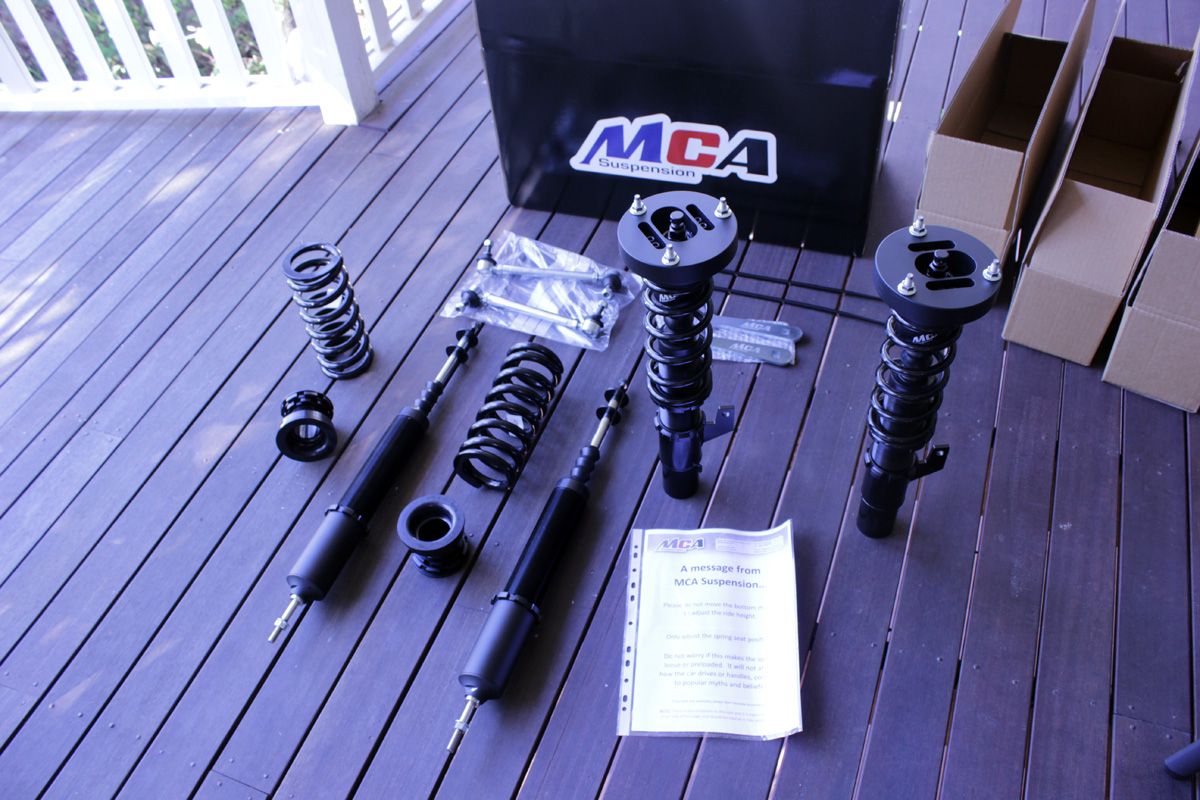 Install Day: 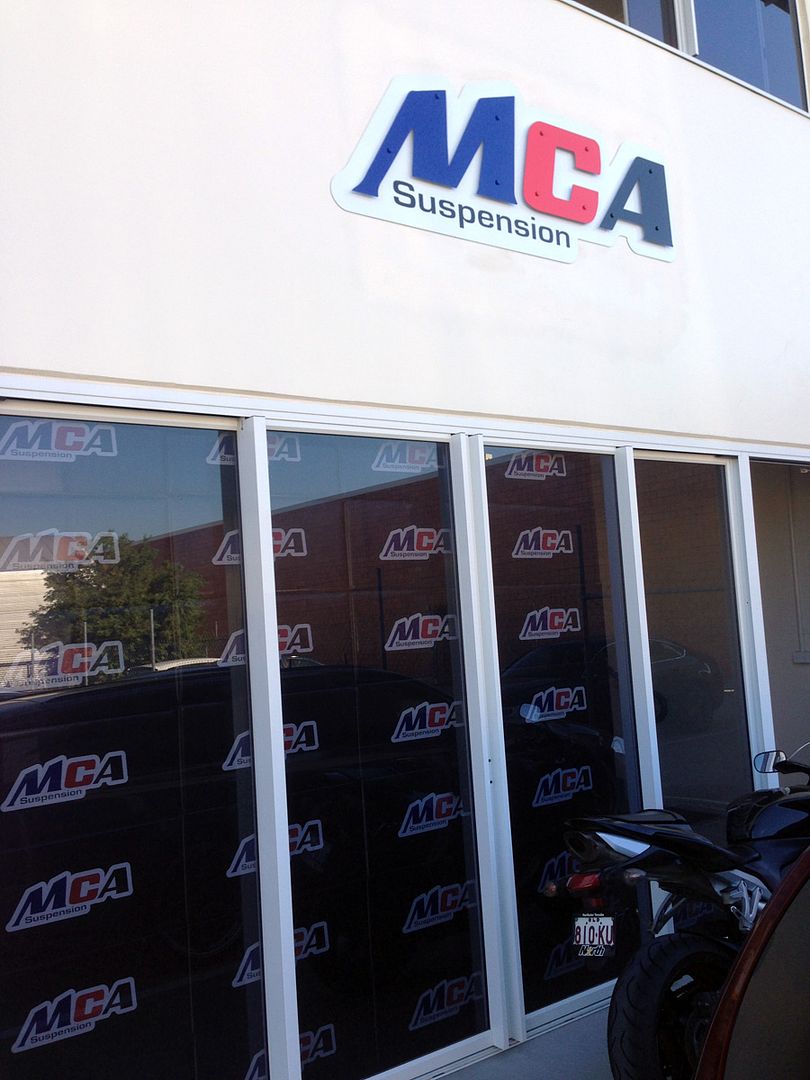 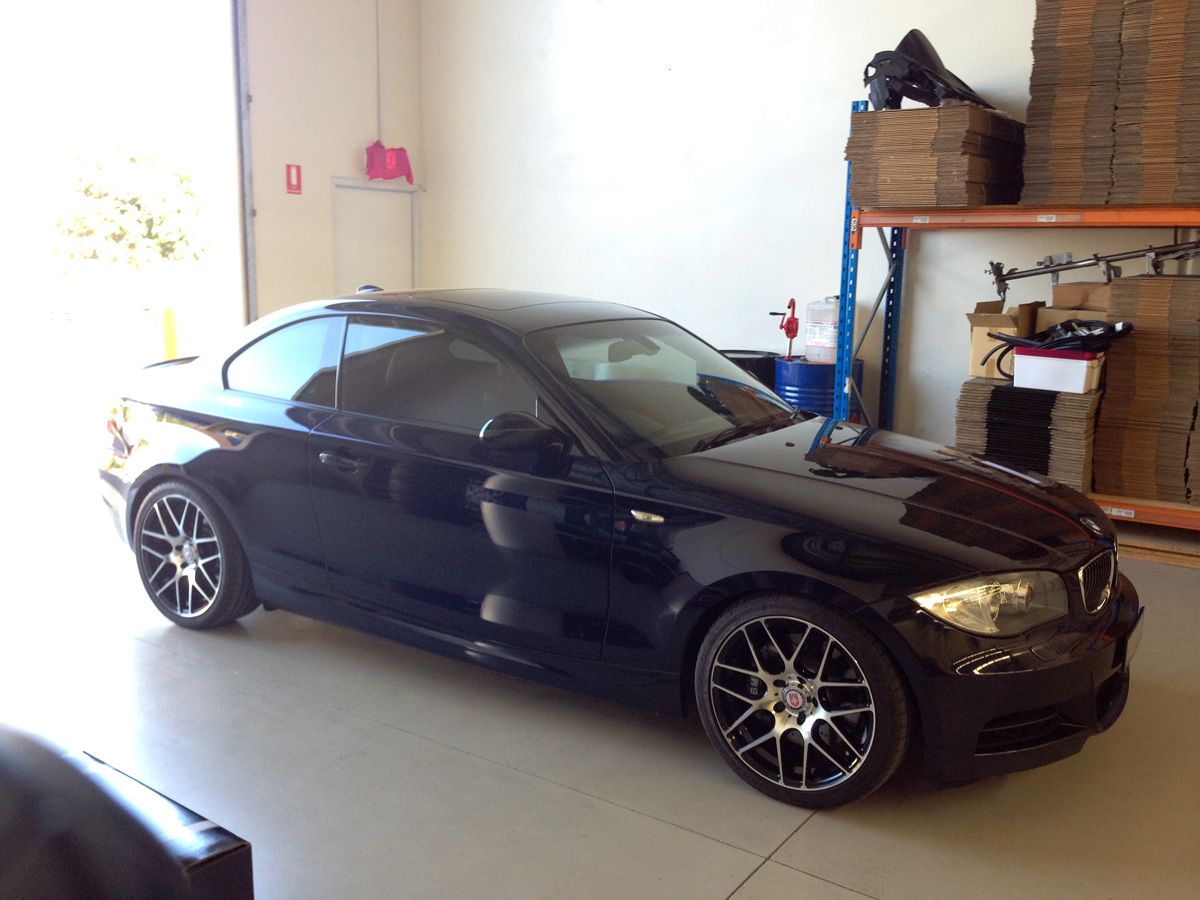 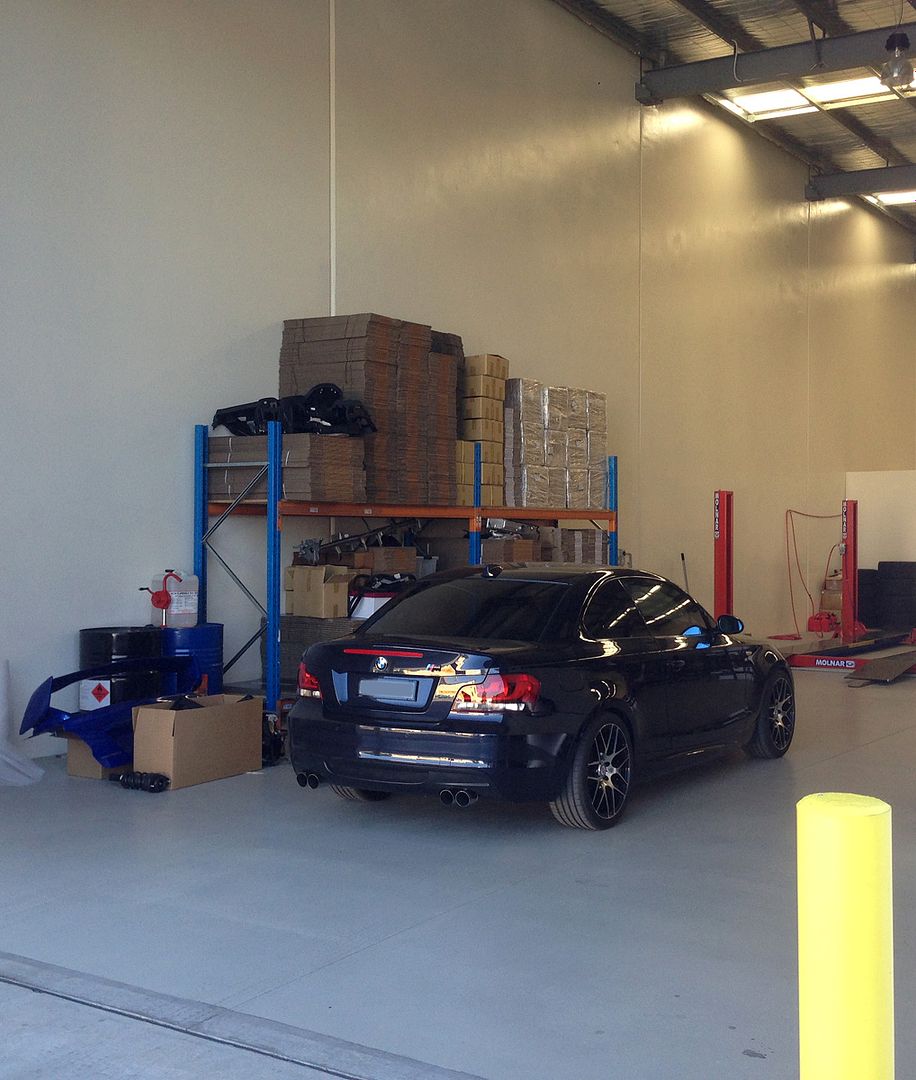 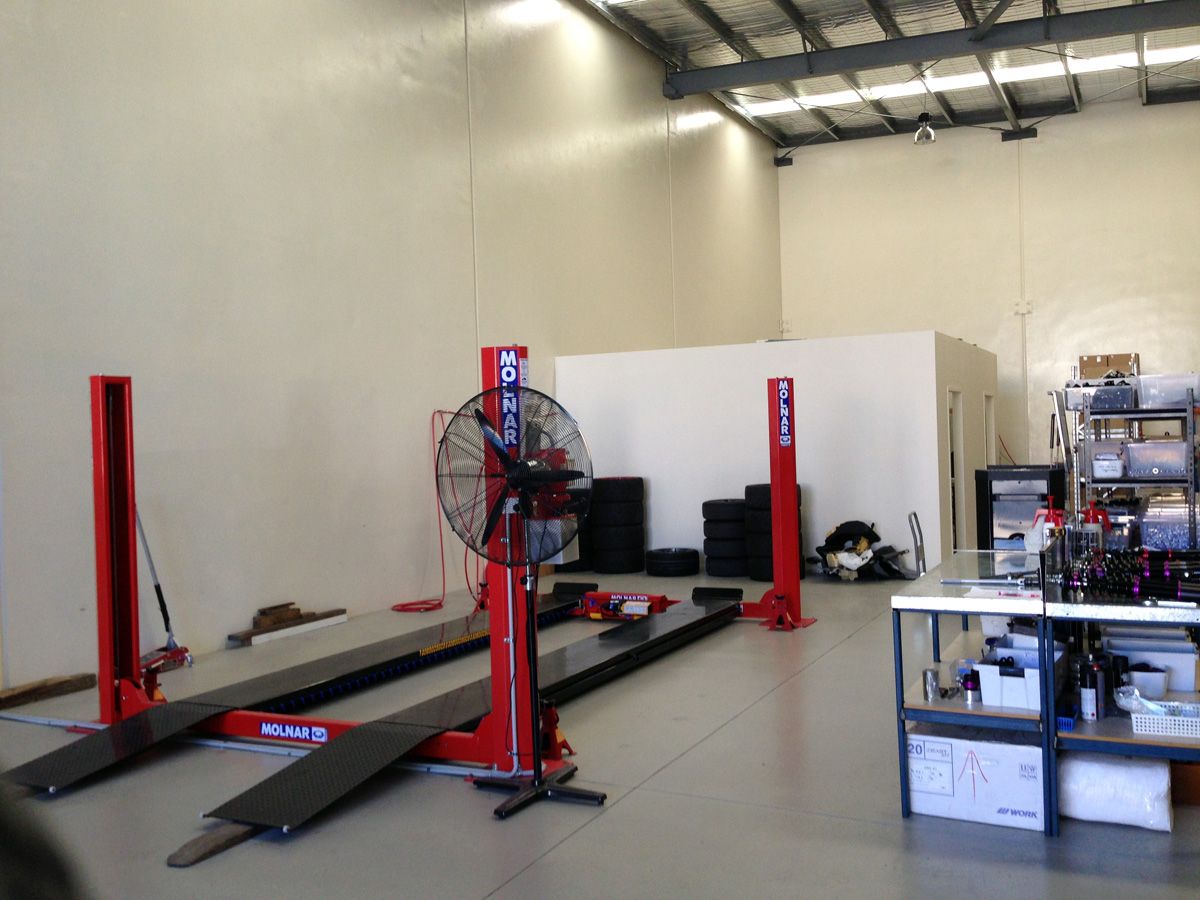 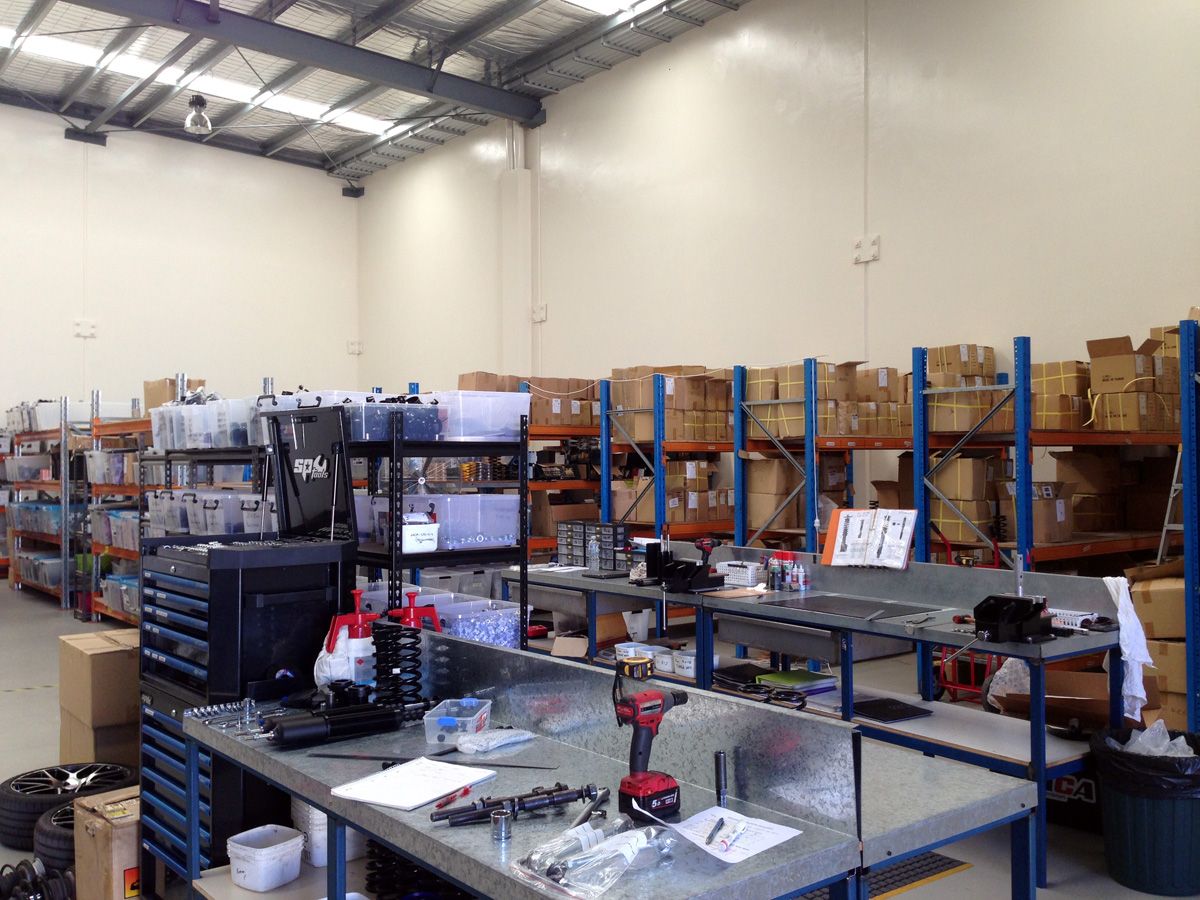 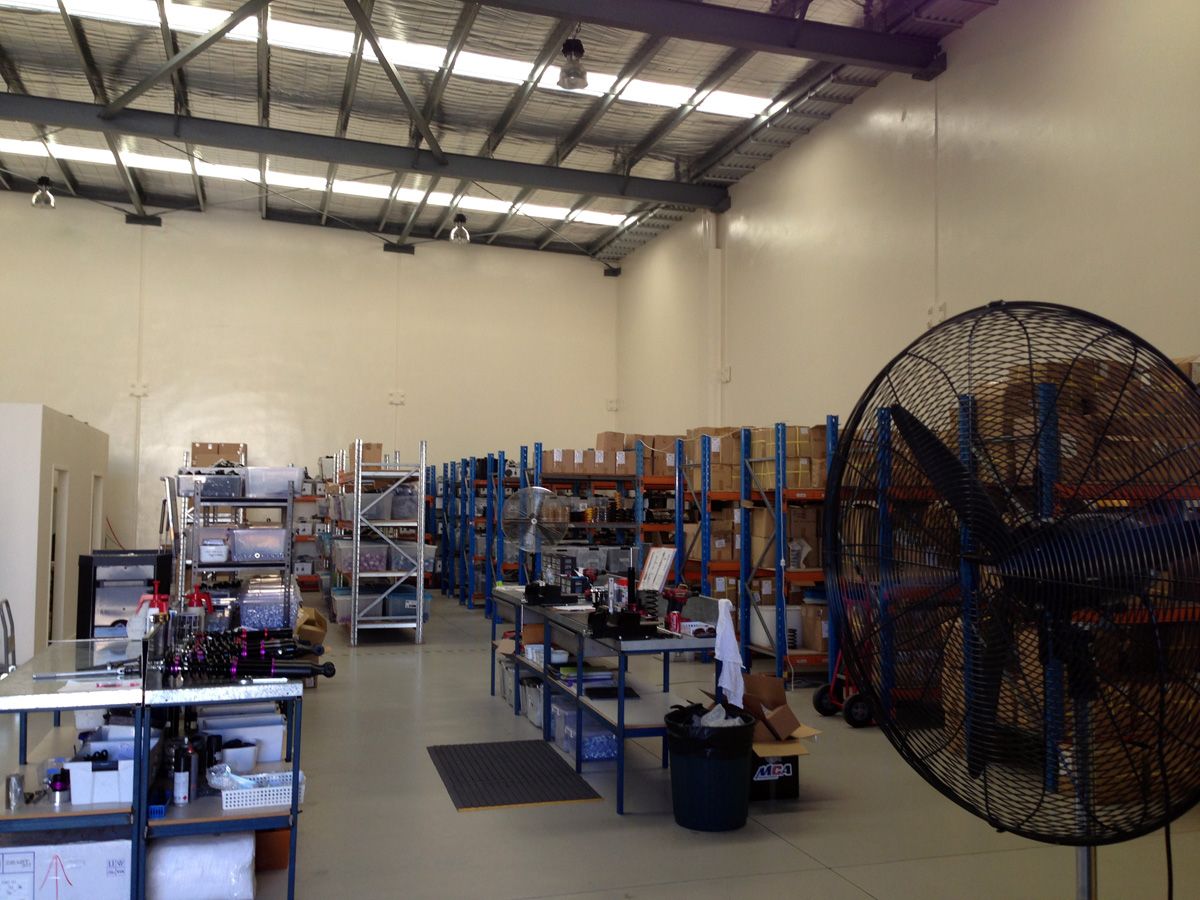 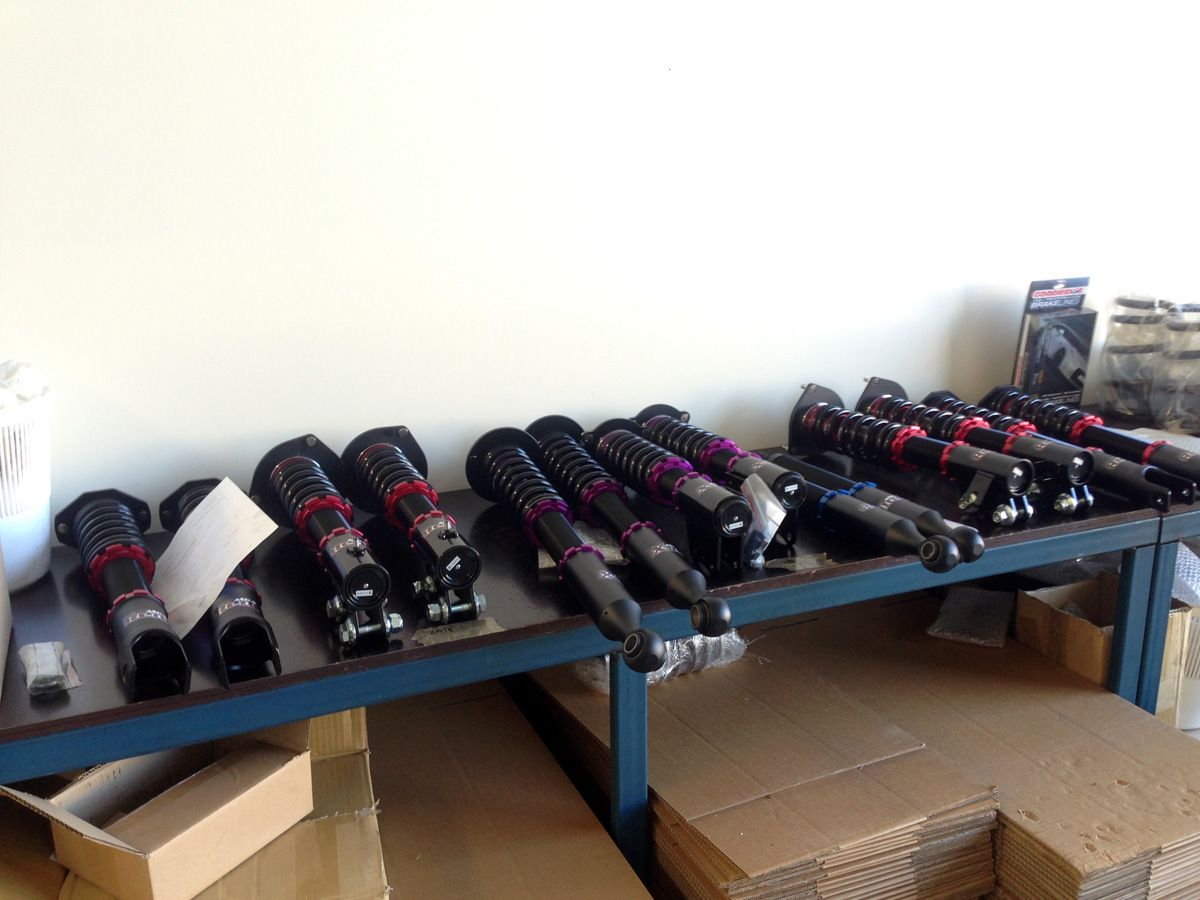 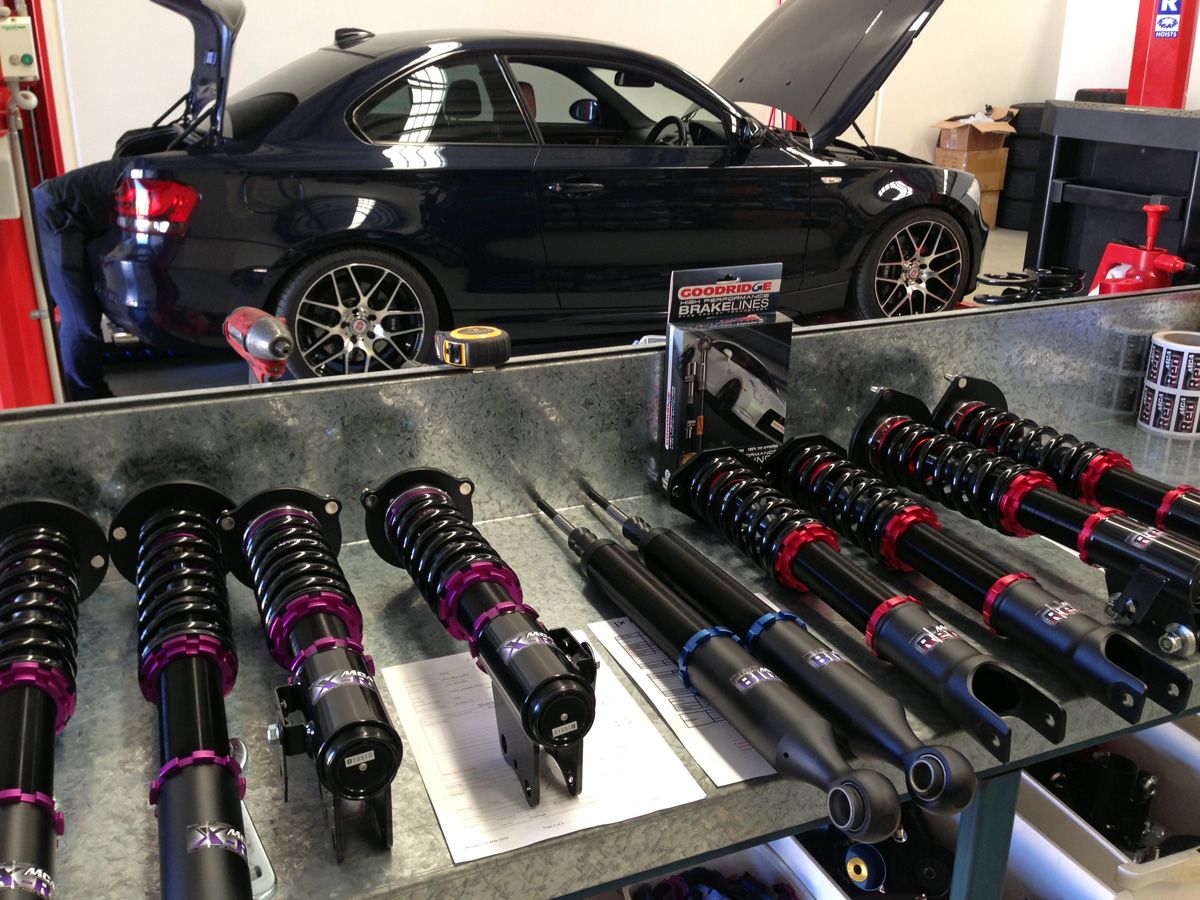 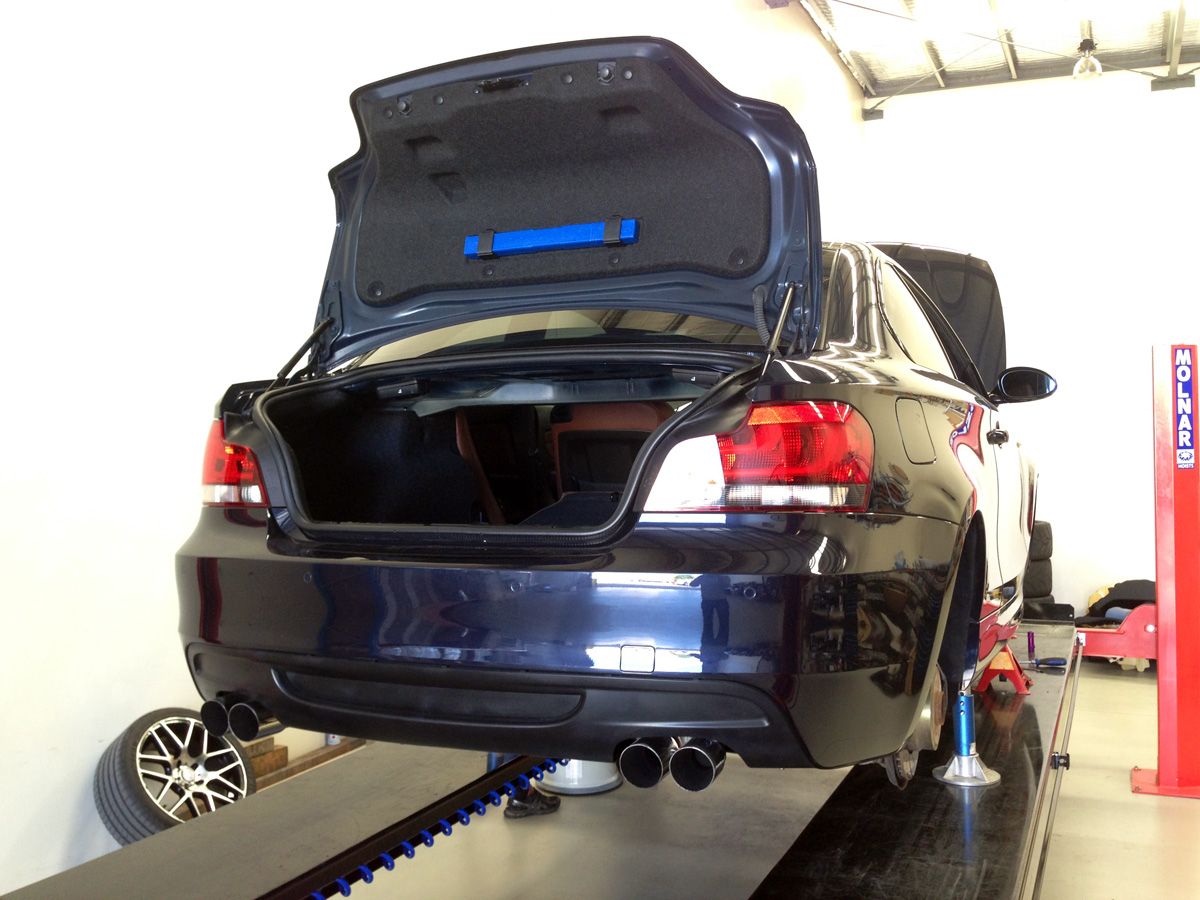 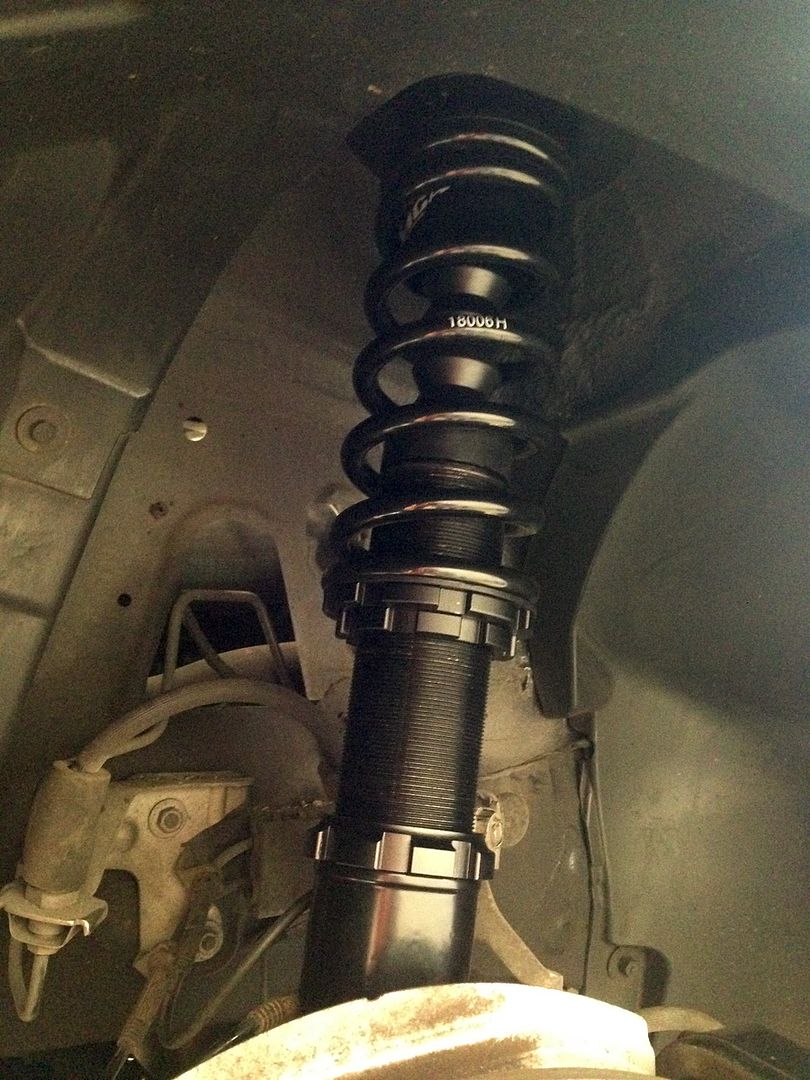 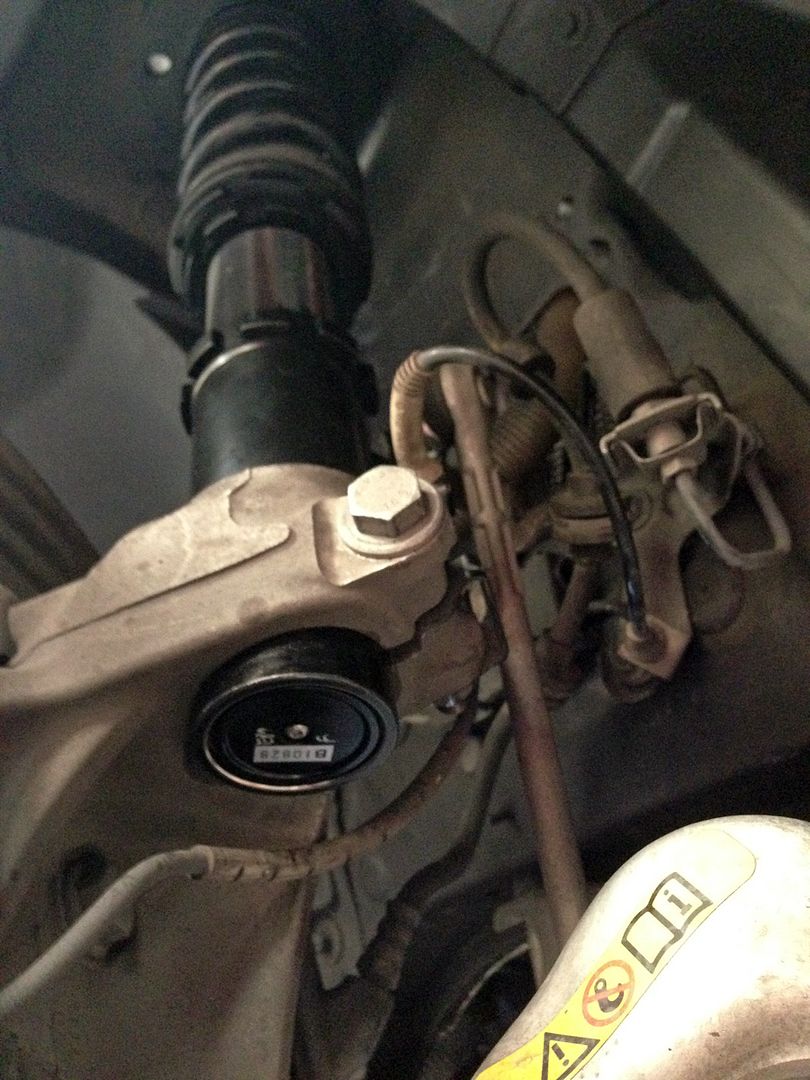 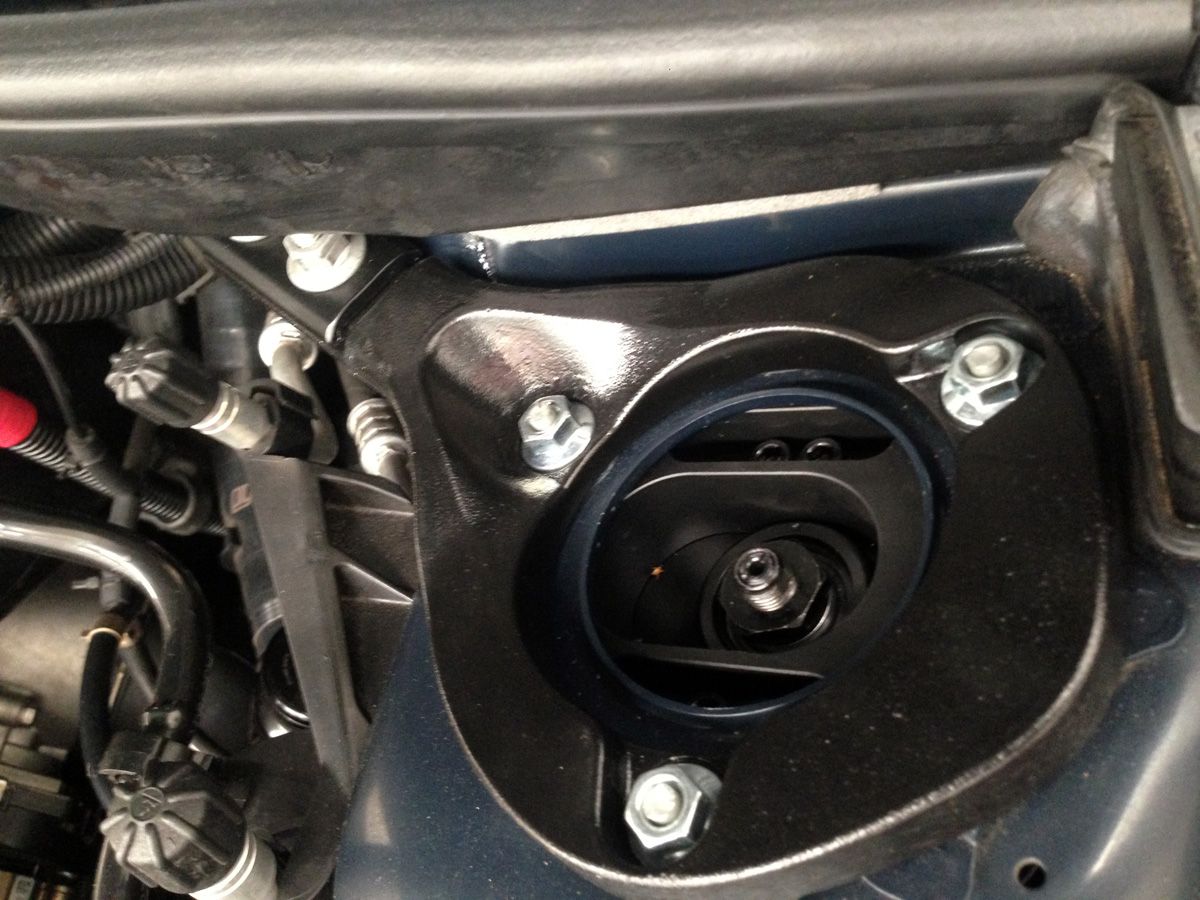 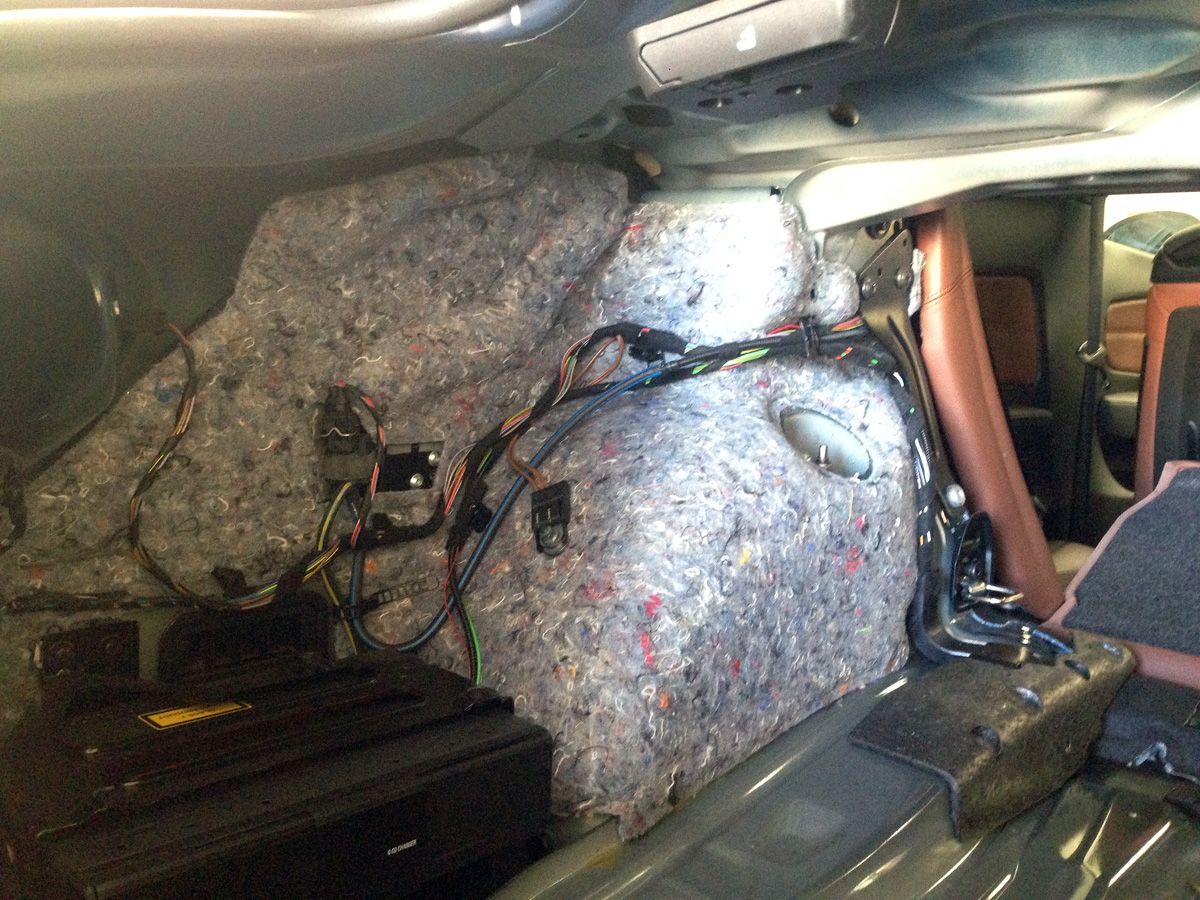 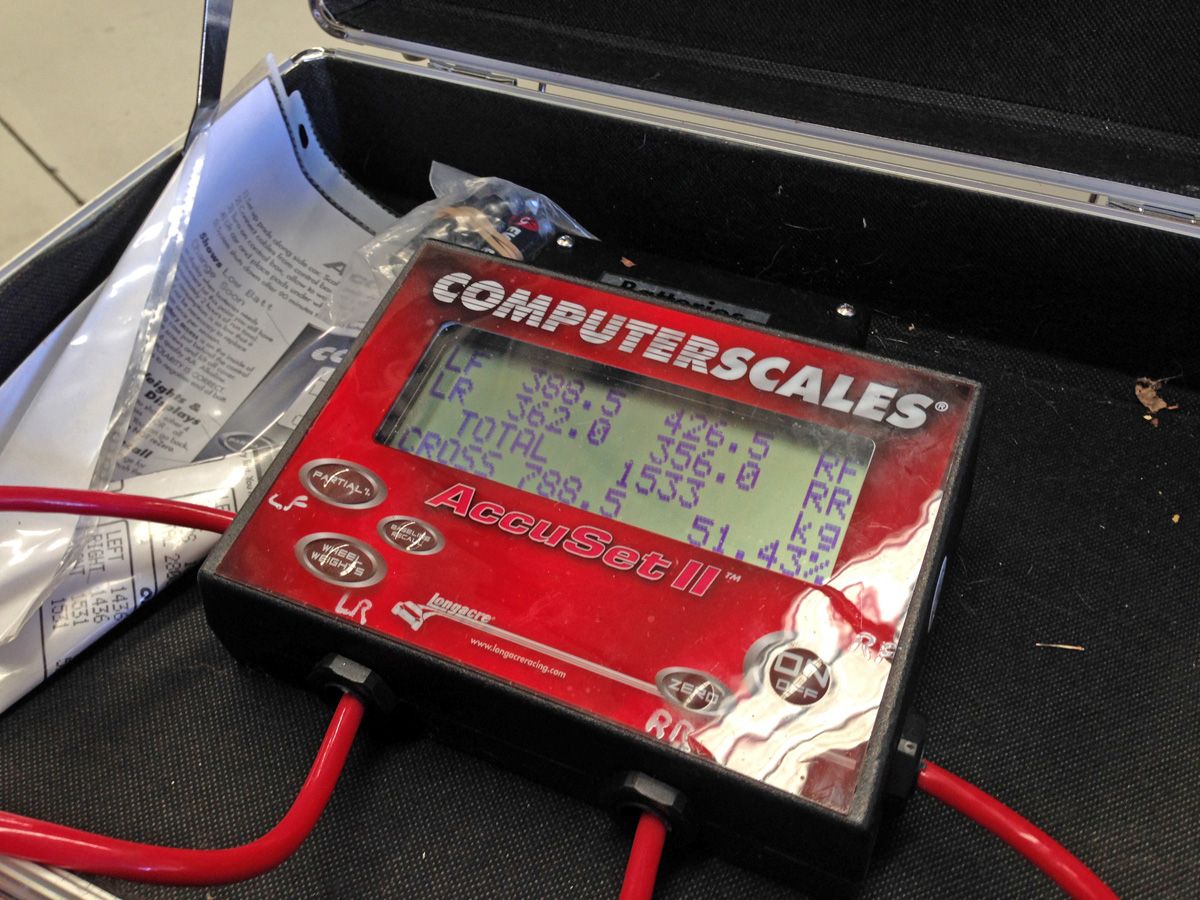 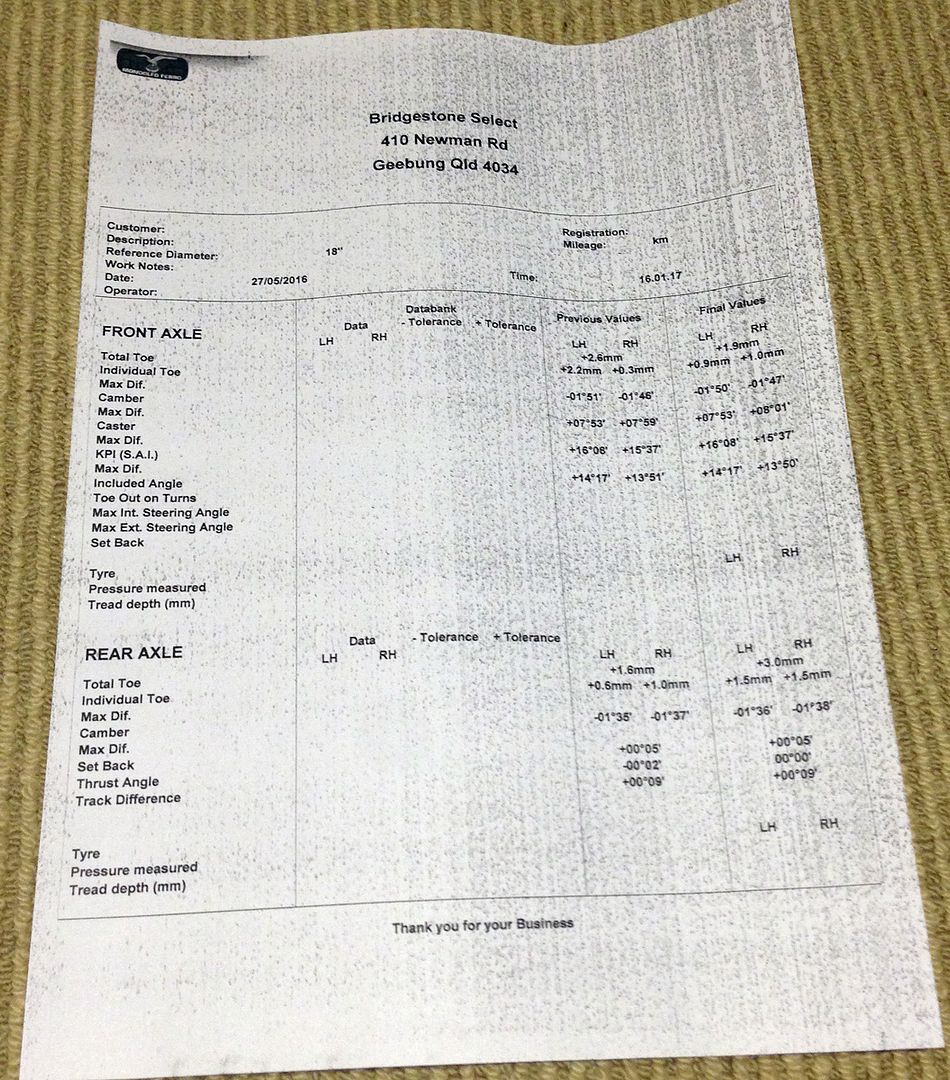 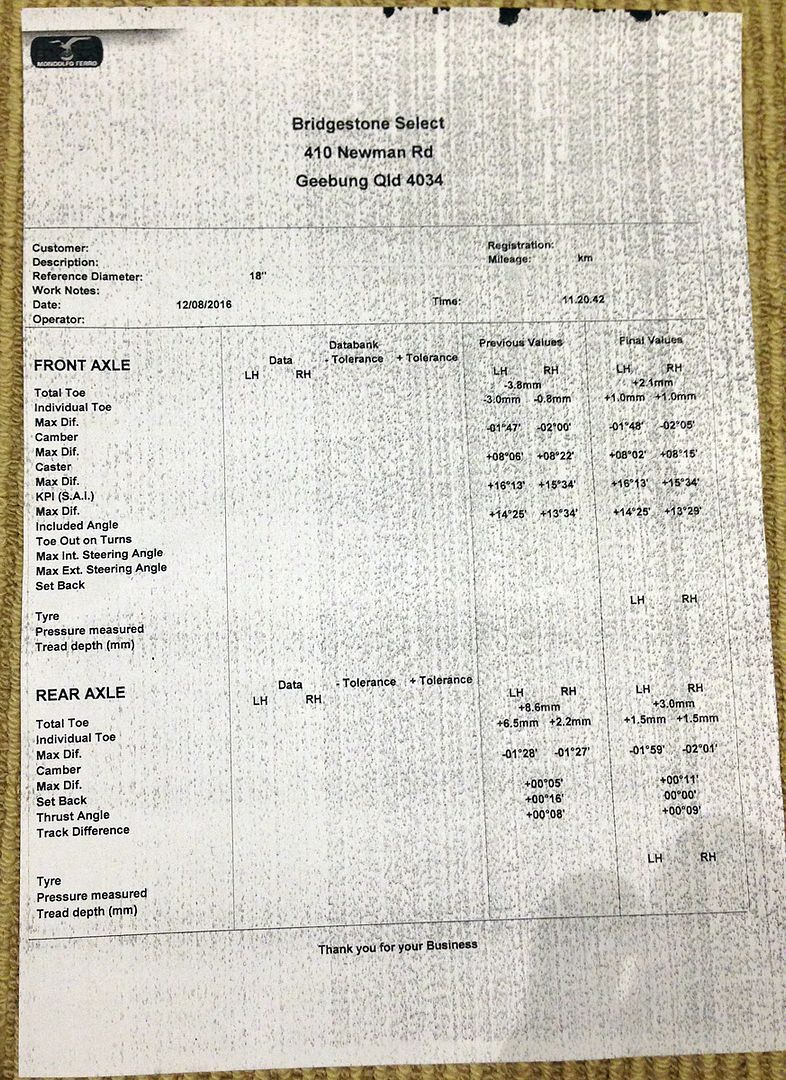 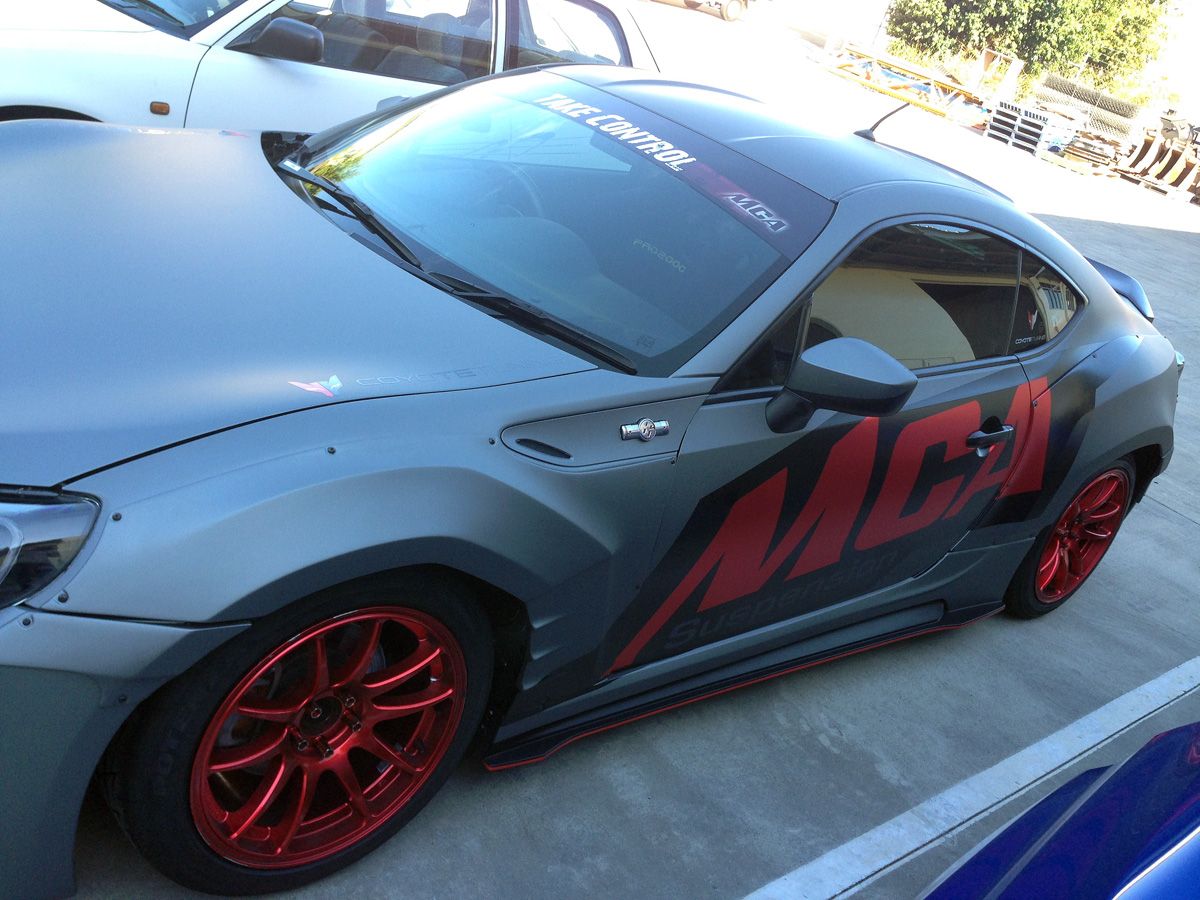 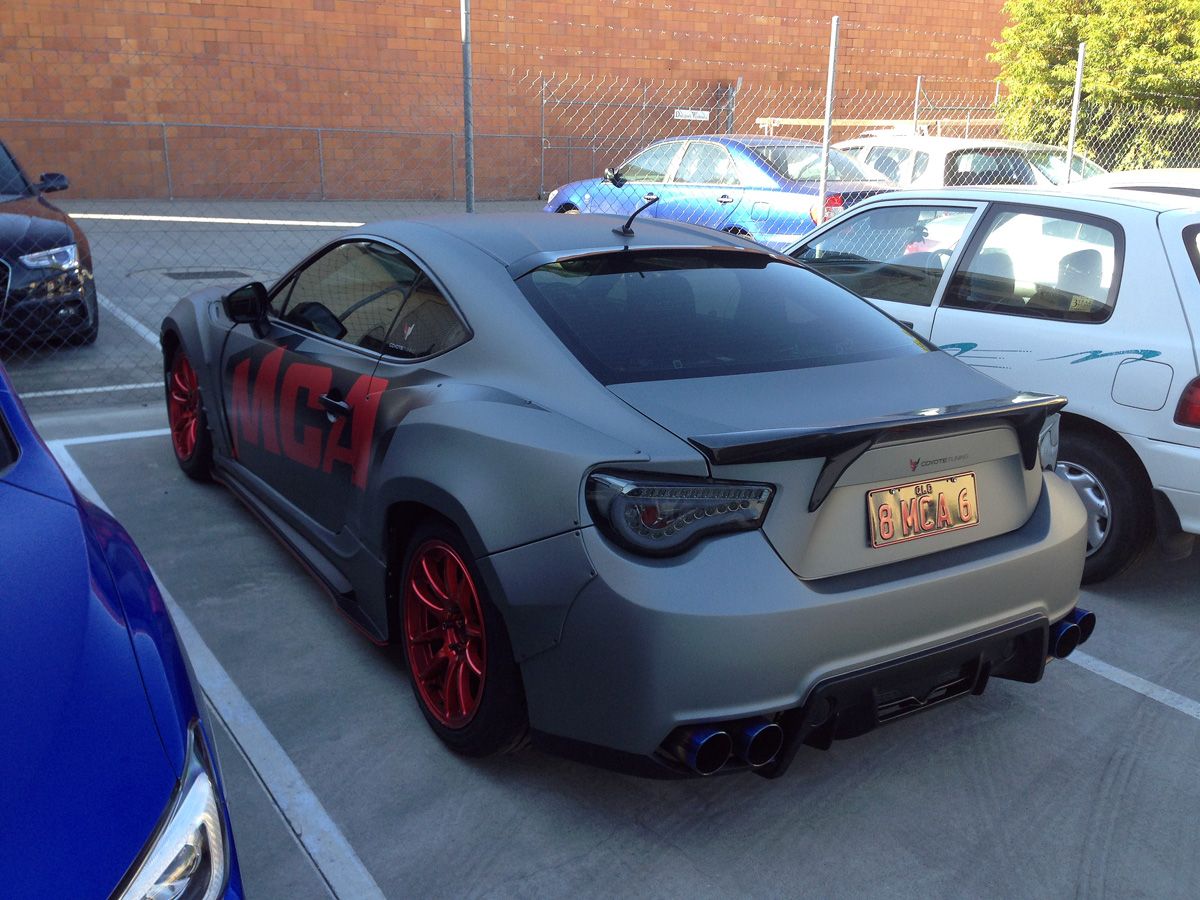 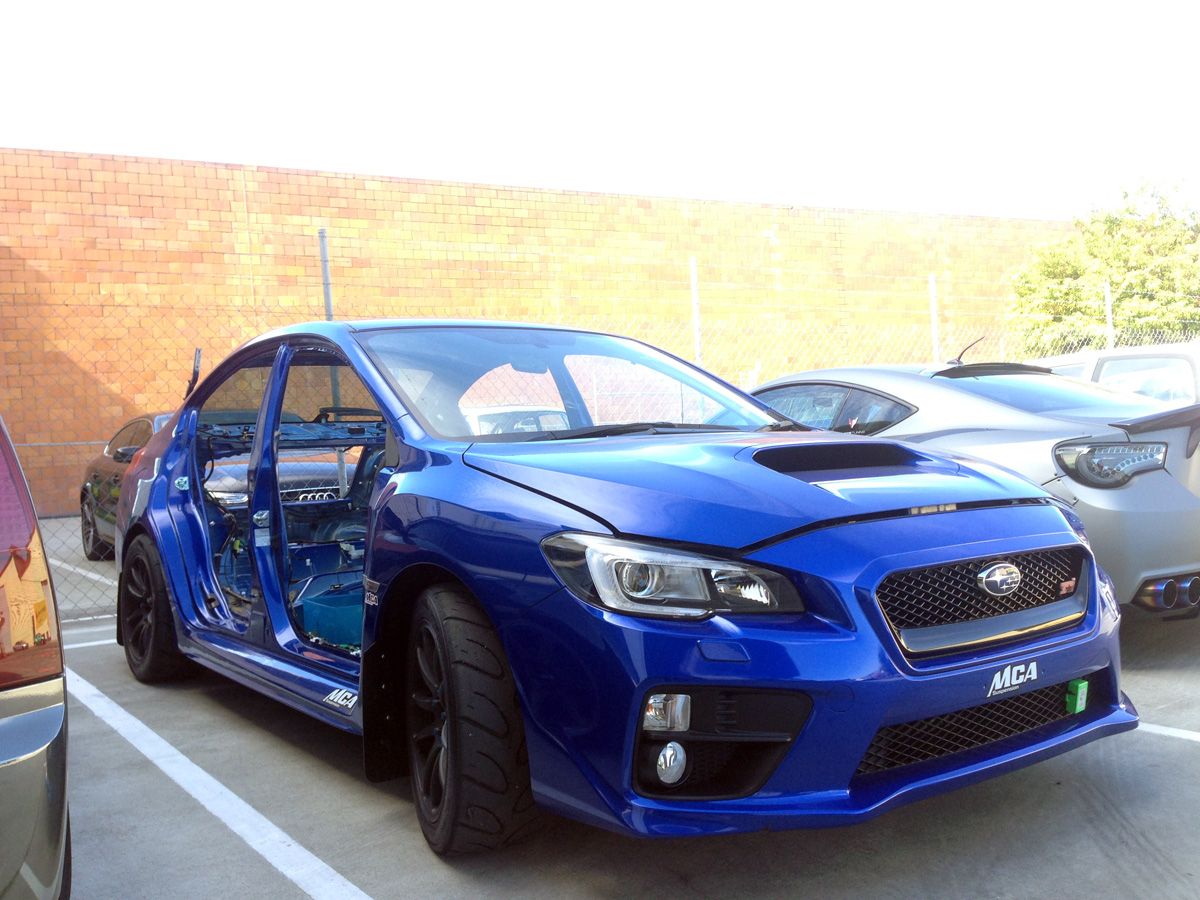 Winter pics - post install: 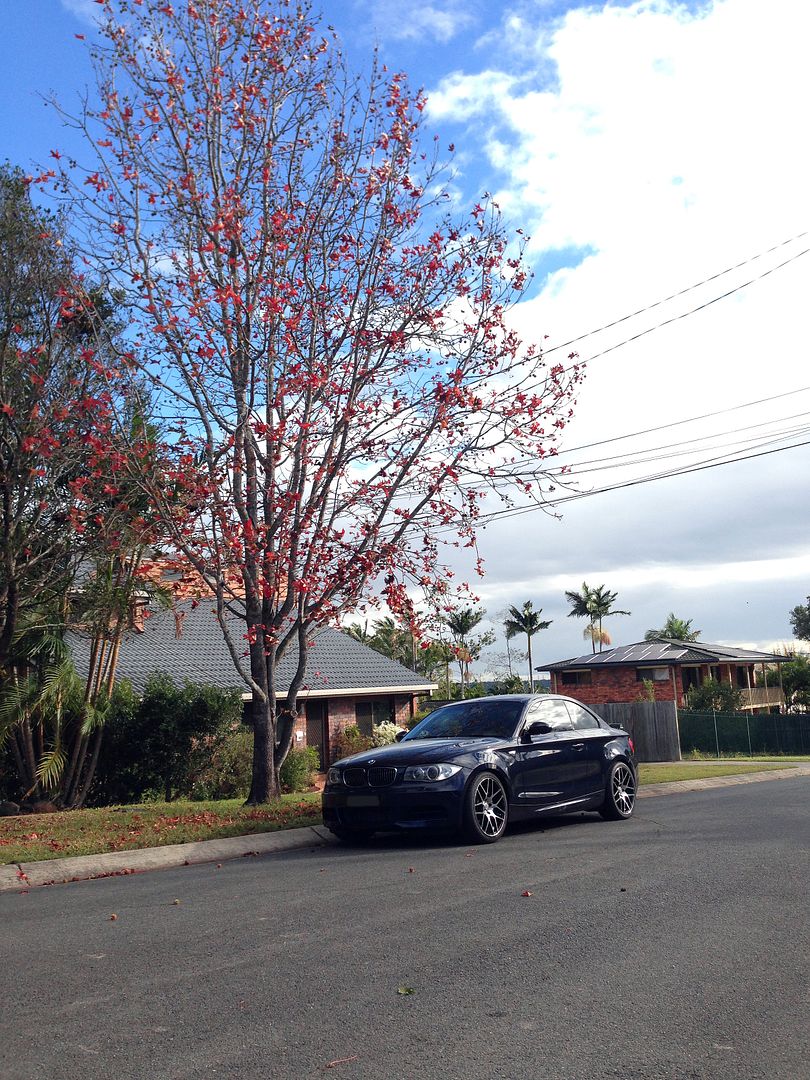 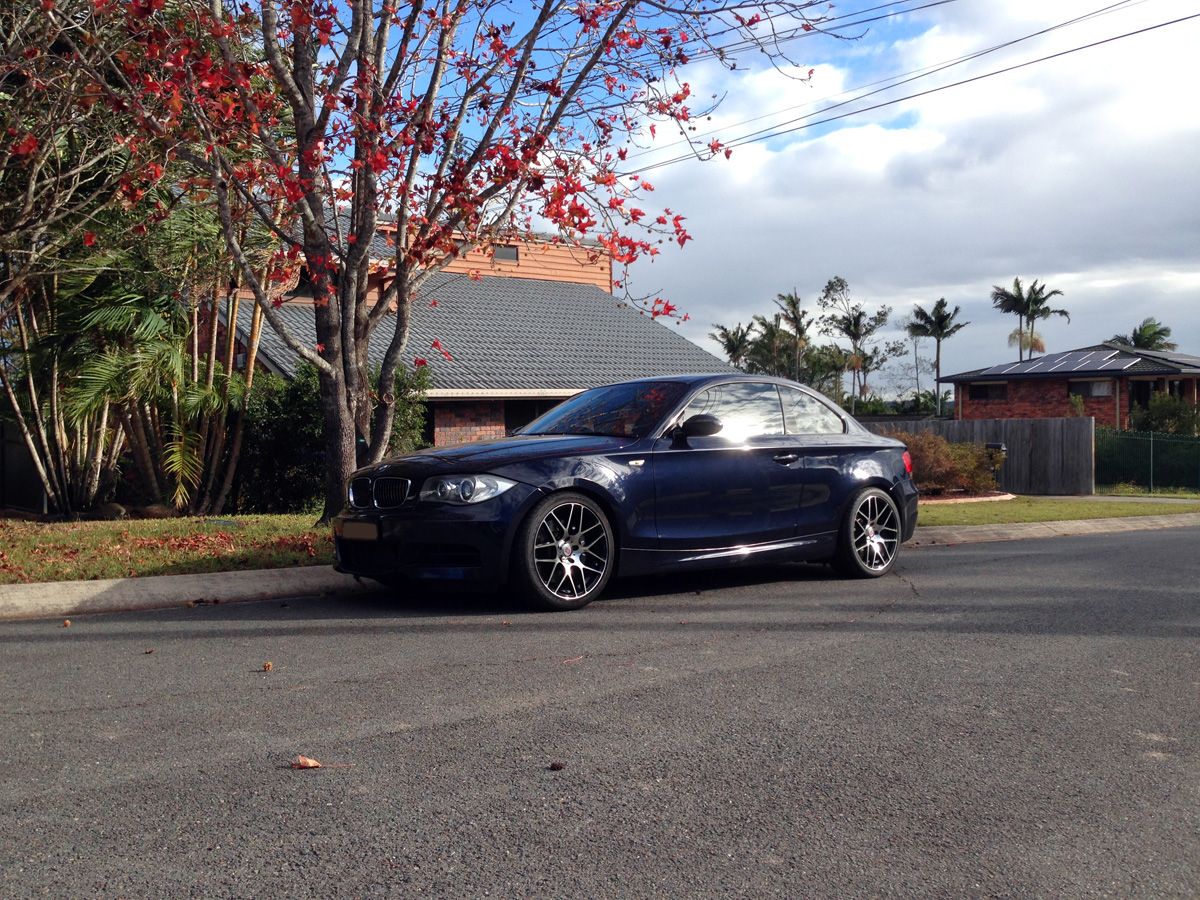 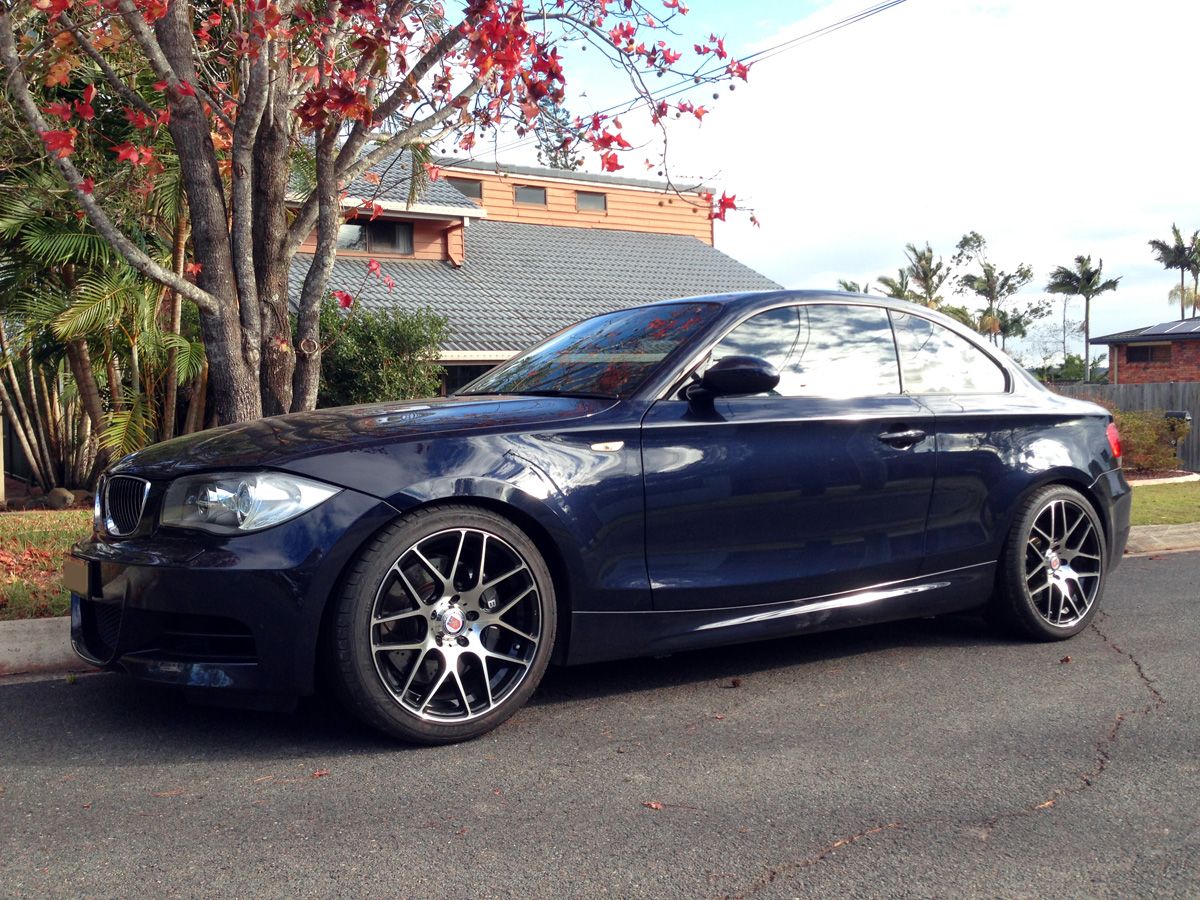 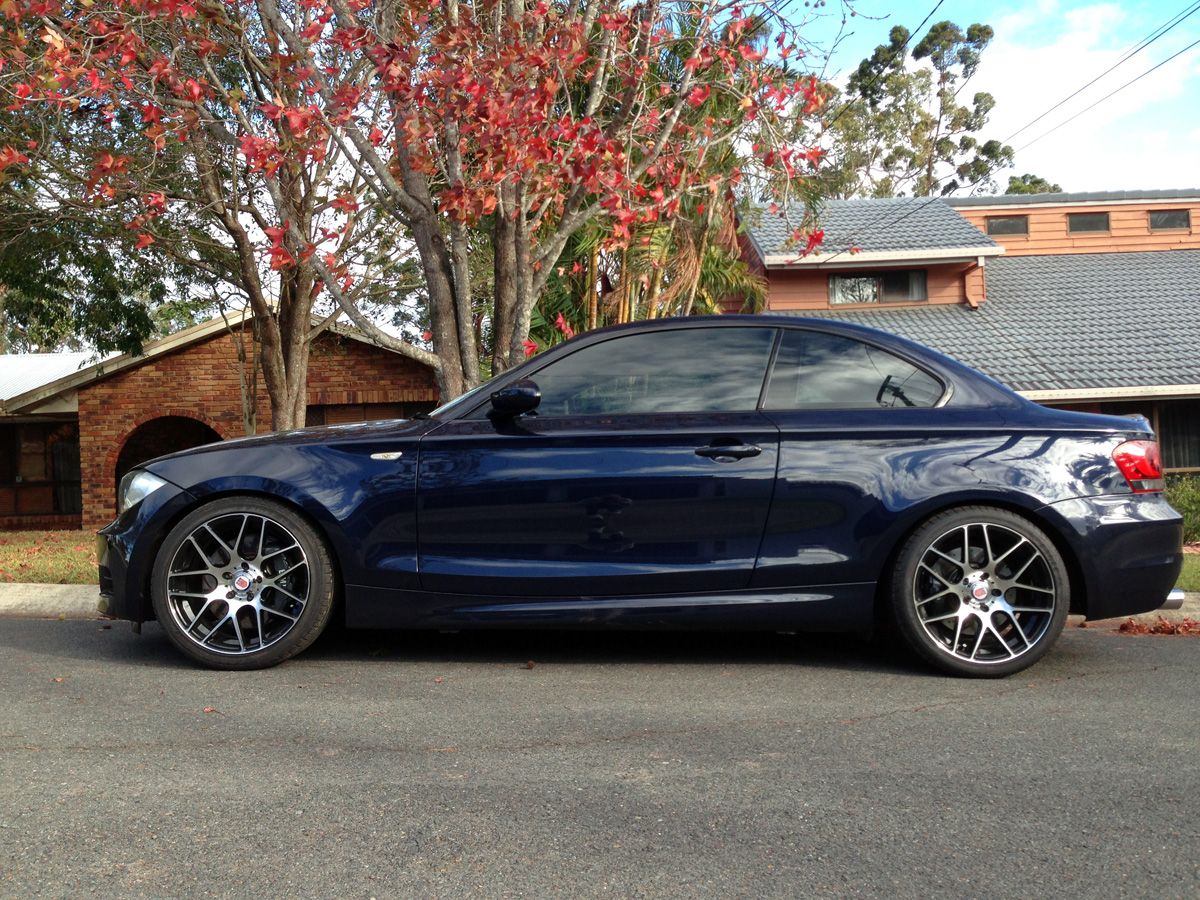
__________________
|
|
Appreciate
0
|
Post Reply |
| Bookmarks |
|
|