|
|
|
|
|
| 10-10-2012, 02:34 PM | #1 |
|
Colonel
 
350
Rep 2,937
Posts
Drives: 2013 Estoril 328i M Sport
Join Date: Oct 2007
Location: Beverly Hills, CA
|
Restoring Jerez Black E92 M3 | Part II
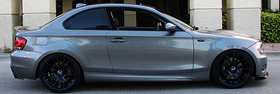
My favorite client to work with is someone that is genuinely excited about seeing their car after I've completed a paint correction. This client in particular had very high hopes for a car he recently purchased that was severely neglected by its previous owner. The entire car had intense swirling and holograms created by another detailer.
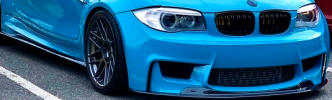
This detail let me try out a tool I hobbled together to help facilitate multiple fixed measurement points for my paint depth gauge. Prior to this, I had always measured paint by locations marked with a single laser point. The inherit problem in this practice is that I wouldn't know whether the amount of paint I was removing was uniform across the entire panel measured by the single point. The solution was to somehow split the laser's beam into multiple paths to create a grid. A grid would allow me track the amount of paint removed across an entire panel. The grid was created by gluing a piece of diffraction grating to a laser pointer with a toggle switch. This is after 56 hours of work spread out over 6 days. Camera: Canon 5D Mark III Lenses: Tamron 24-70 VC, Canon 70-200 f2.8L IS II Trigger system: Odin Phottix Dull, faded paint at delivery  Thick brake dust on wheel's barrel 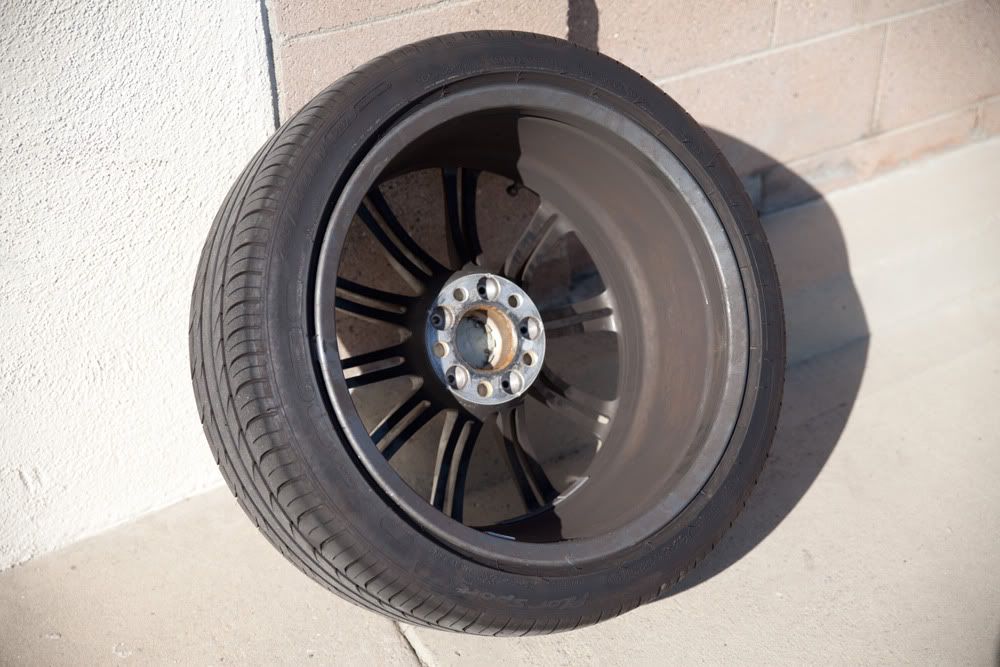 Clay bar after wheel was decontaminated 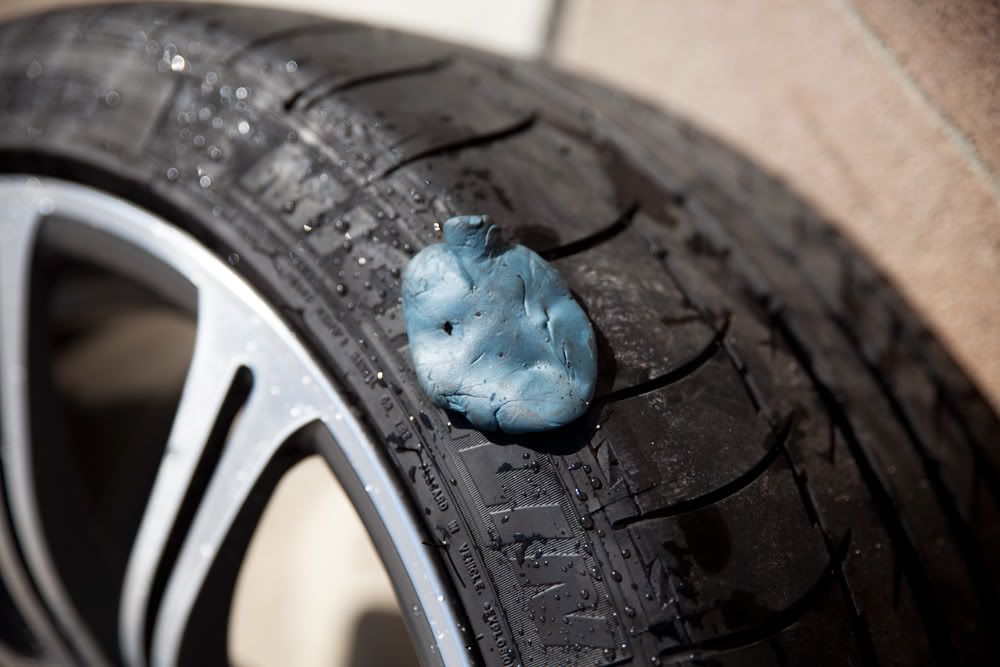 After decontamination  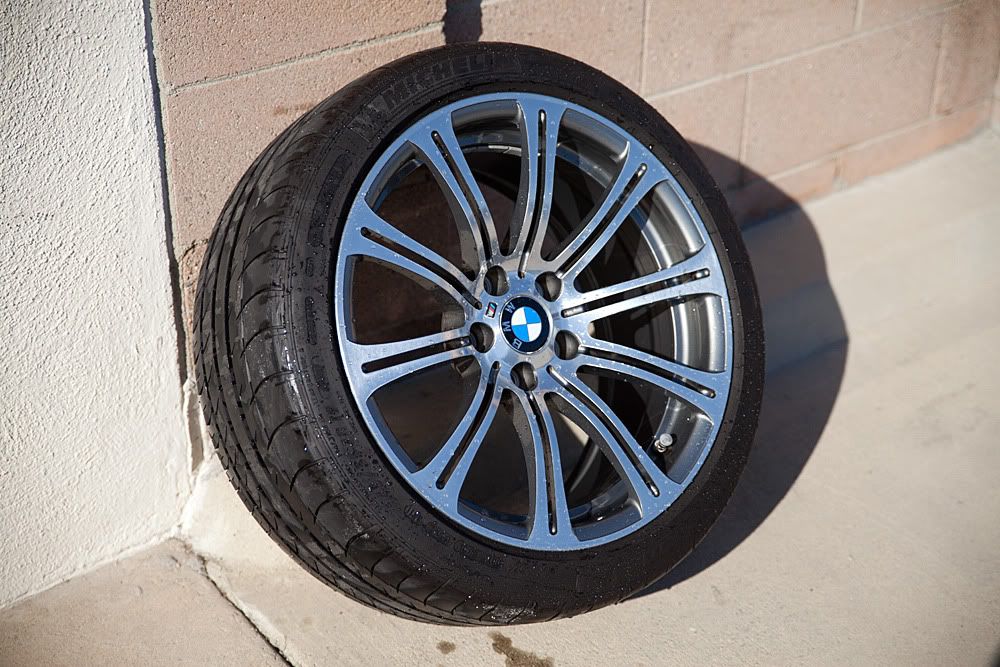 Heavy swirling on reverse light  Reverse light after polishing 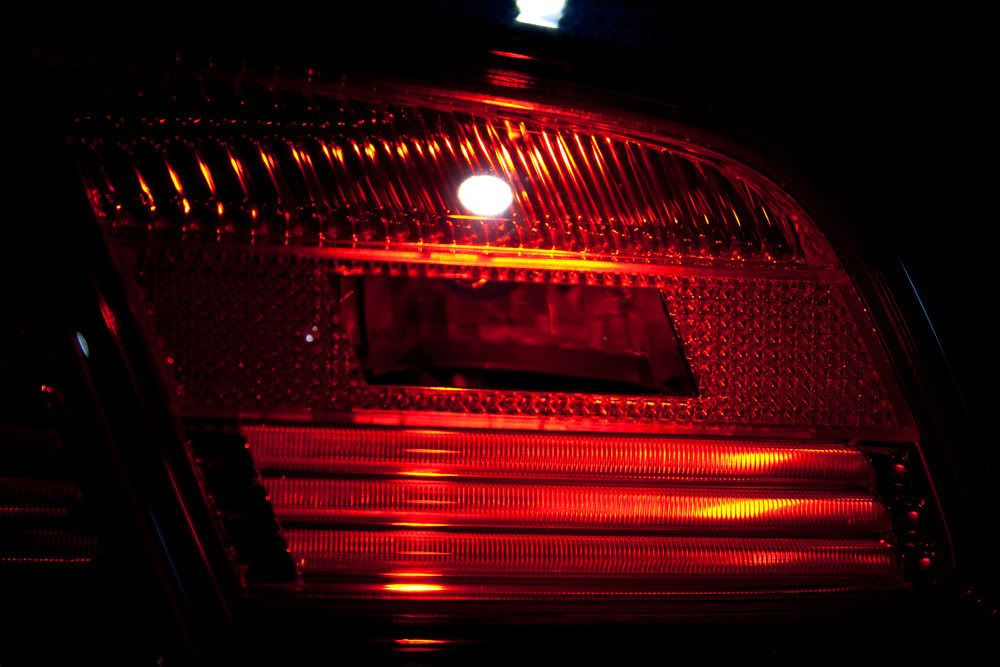 Side vent removed for polishing 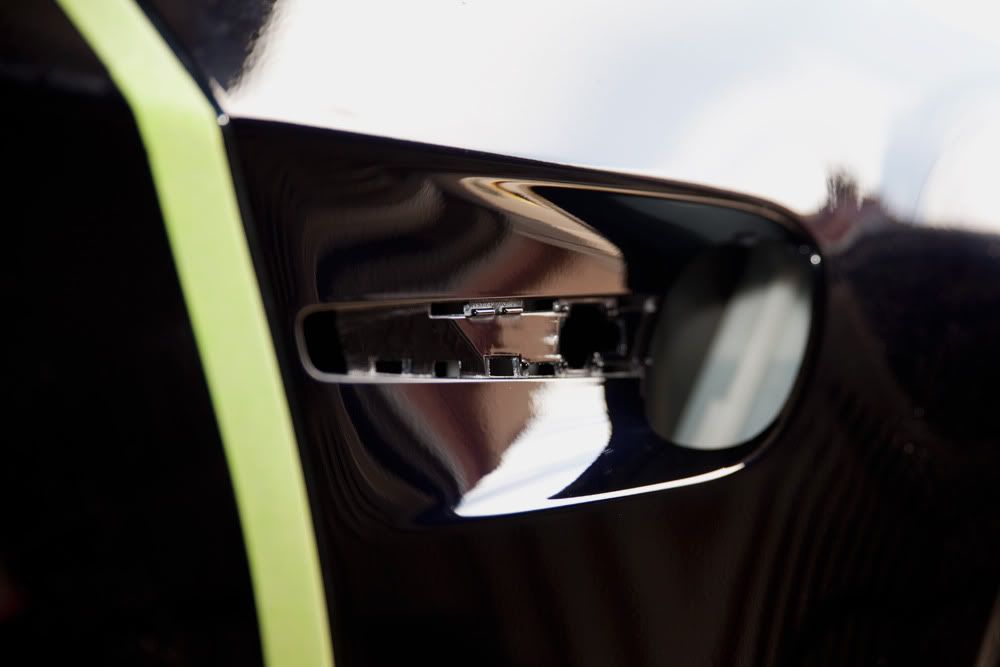 Side vent after polishing 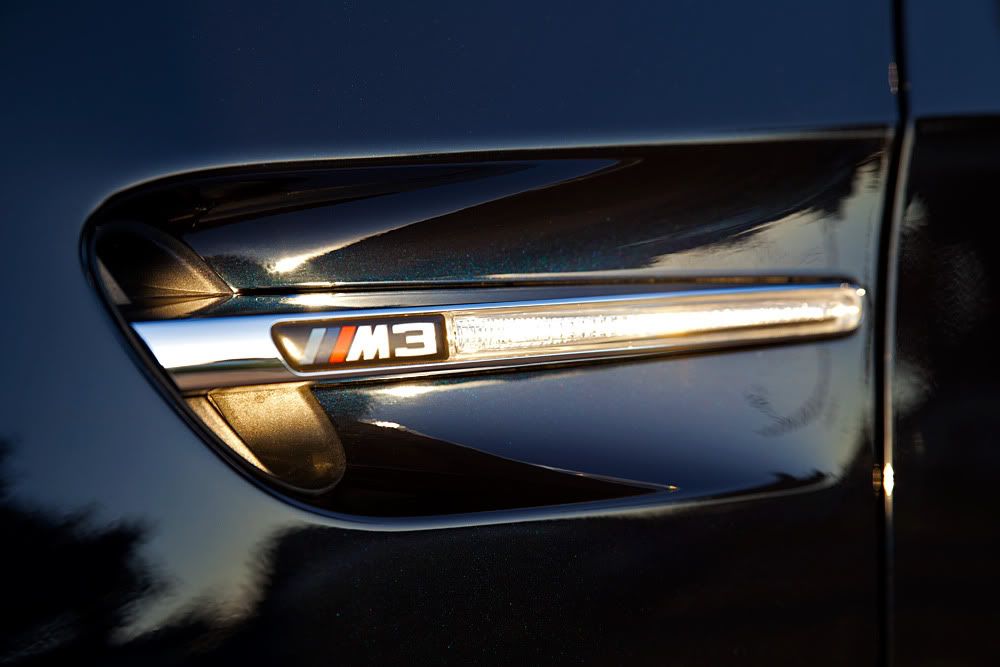 Passenger side pillar before polishing  Passenger side pillar after polishing 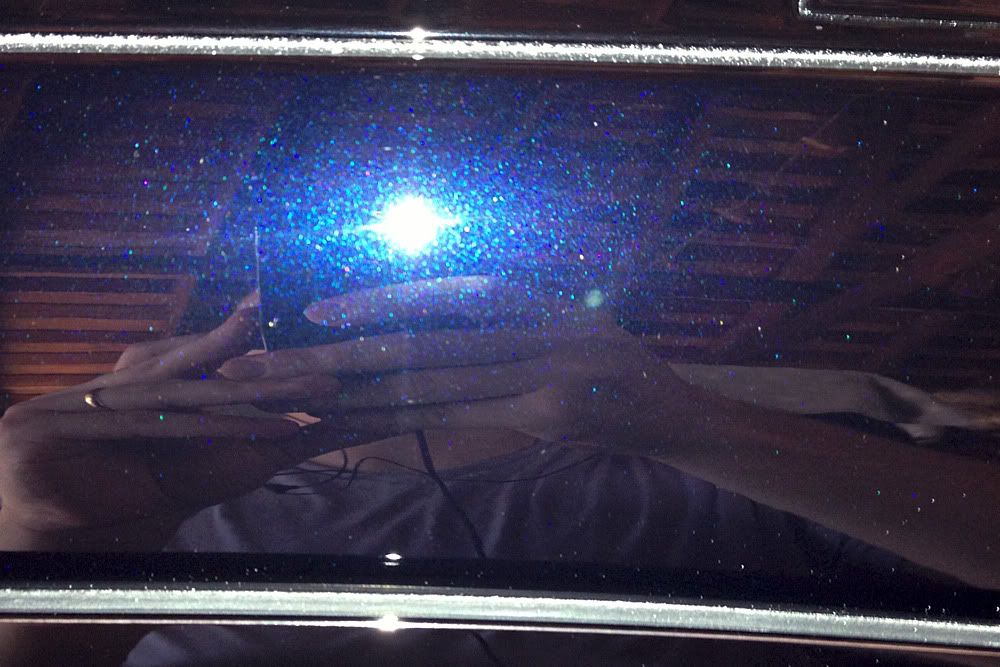 Available in 720p & 1080p Holograms and swirls on hood 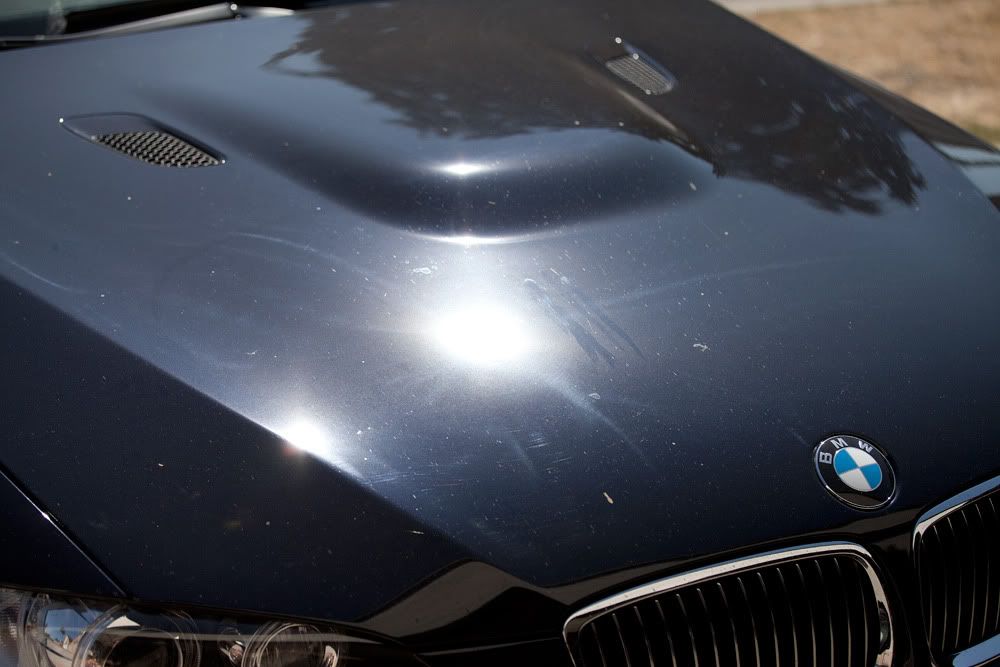 Hood after polishing 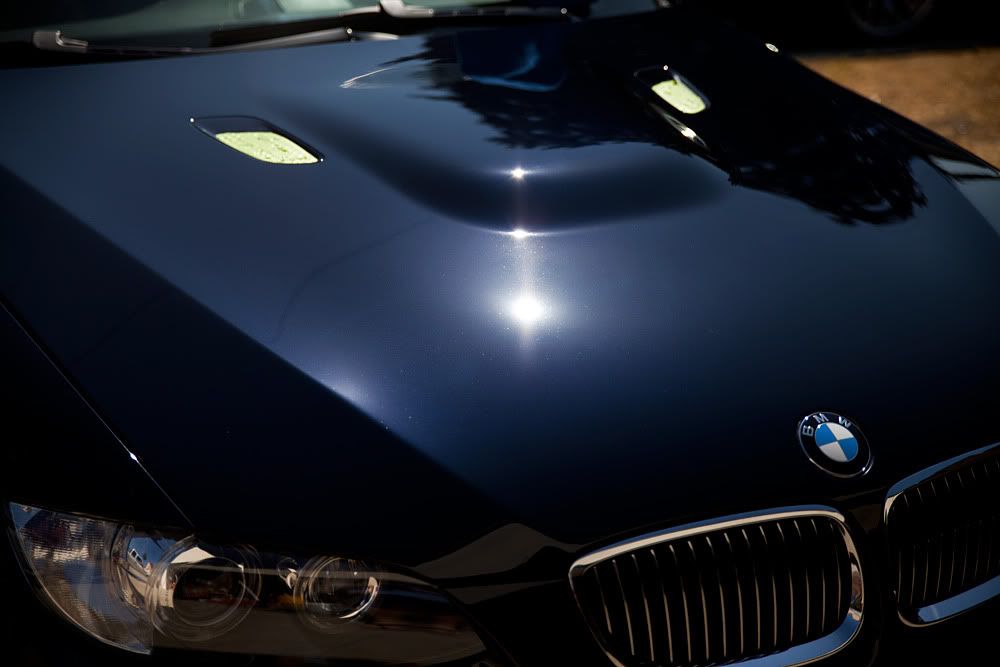 Swirled and faded front-end  Front-end after paint correction and application of Chemical Guys J97 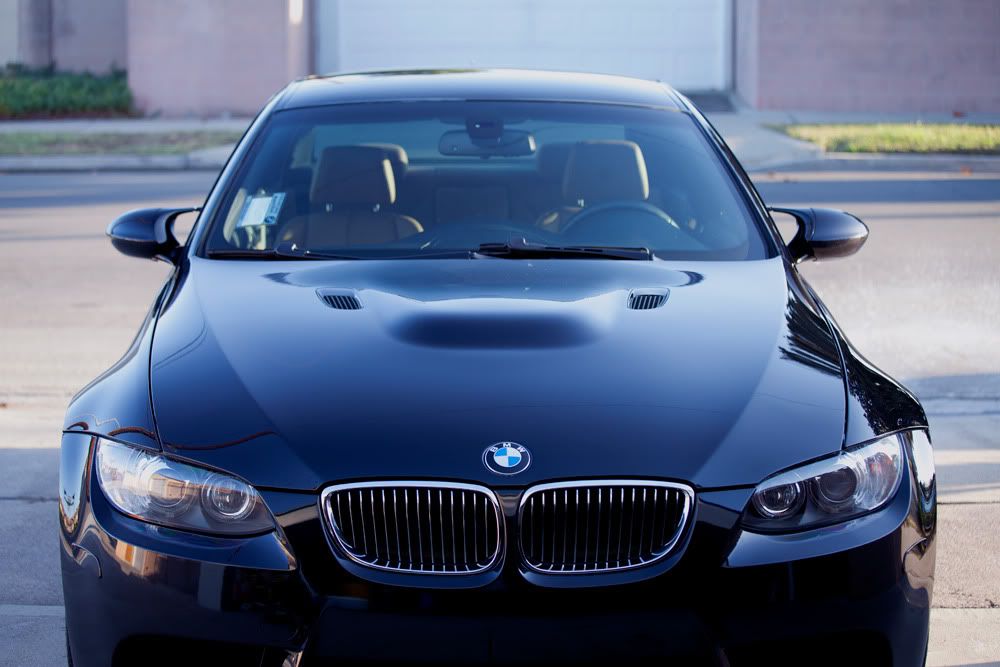 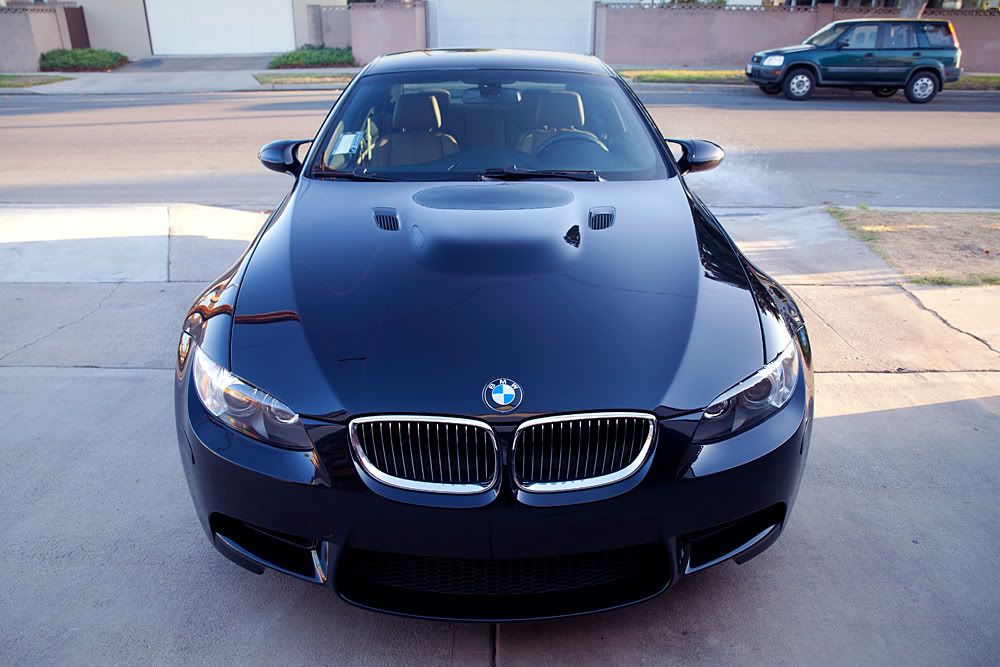 Tripod-mounted diffraction laser  Multiple measuring points are created on driver side door by diffraction grating 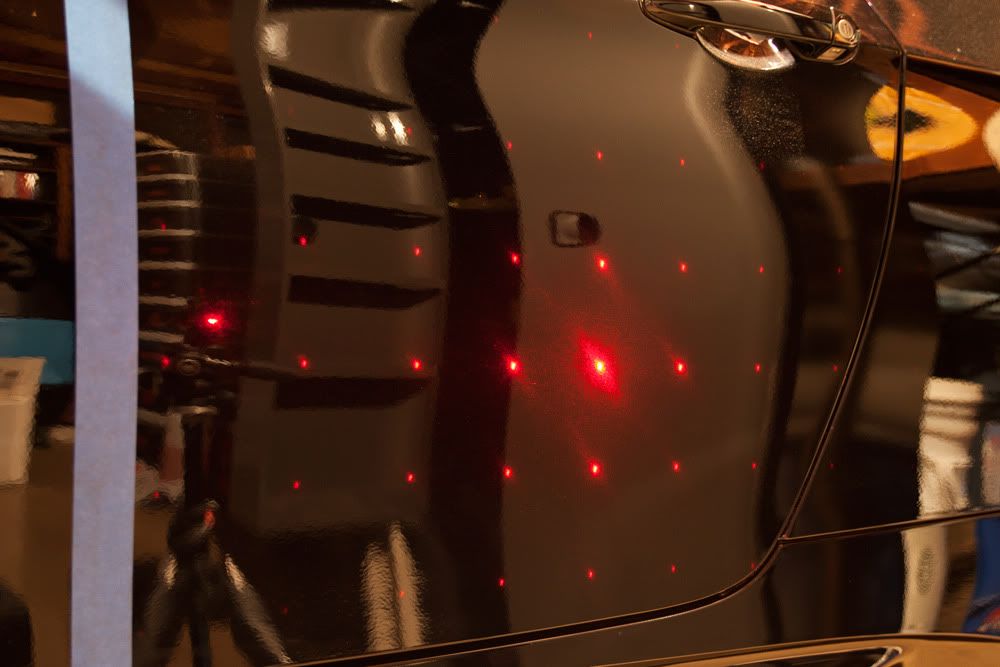 Measuring grid points w/ paint depth gauge (available in 720p & 1080p) Buffer trails and swirls on driver side door 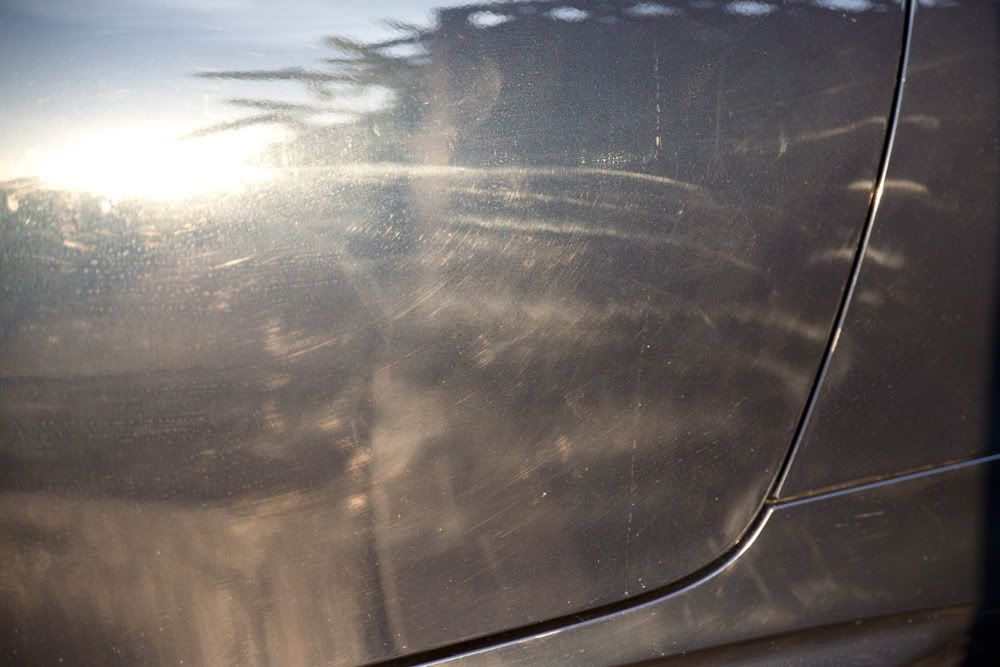 Driver side door after polishing   Left side of driver side door before polishing, right side after polishing 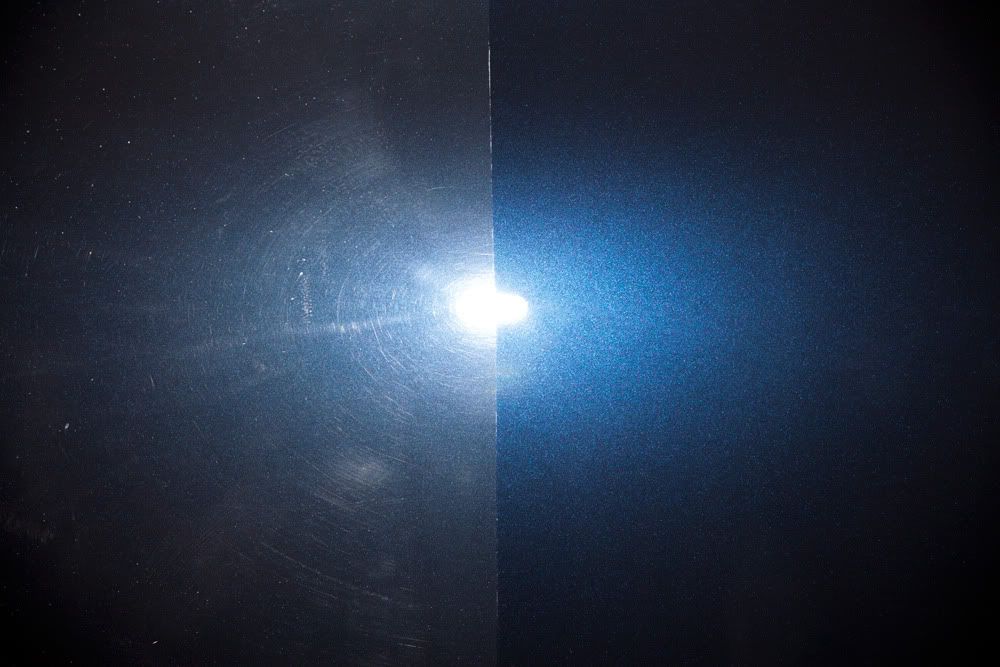  |
| 10-11-2012, 03:16 PM | #2 |
|
First Lieutenant

19
Rep 370
Posts |
Awesome job, what a nice color too!
__________________
128i manual, AW, Boston Terra Leather, Sport package, Premium Package, Cold Weather Package, HK sound
|
|
Appreciate
0
|
| 12-19-2012, 07:40 AM | #5 |
|
Lieutenant

25
Rep 469
Posts
Drives: 2008 Bmw 130i E81
Join Date: Aug 2012
Location: SouthAfrica
|
Wow amazing job!
__________________
Wishlist...
Bmw 135i Convertable White... |
|
Appreciate
0
|
| 12-19-2012, 08:02 AM | #6 |
|
Semper FI!
32
Rep 346
Posts |
Thats an incredible job! Wow.
__________________
 2009 SGM 135i M-Sport Ark l Blackline l iCarbon l AFE l Hawk l VMR l ST Coilover l Parrot Asteroid l JL Audio l Janus-Design l Reiger l BMW Performance l COBB l Evolution Raceworks l TIAL l VRSF |
|
Appreciate
0
|
| 02-15-2013, 03:38 PM | #7 | |
|
Colonel
350
Rep 2,937
Posts
Drives: 2013 Estoril 328i M Sport
Join Date: Oct 2007
Location: Beverly Hills, CA
|
Thanks for the compliments everyone.
Quote:
|
|
|
Appreciate
0
|
| 02-23-2013, 08:42 AM | #9 |
|
Wild Card
91
Rep 683
Posts |
I am very impressed with your hard work and the result, however, I can only imagine what a job like this would cost!
__________________
 Show me a sane man and I will cure him for you. |
|
Appreciate
0
|
Post Reply |
| Bookmarks |
| Thread Tools | Search this Thread |
|
|