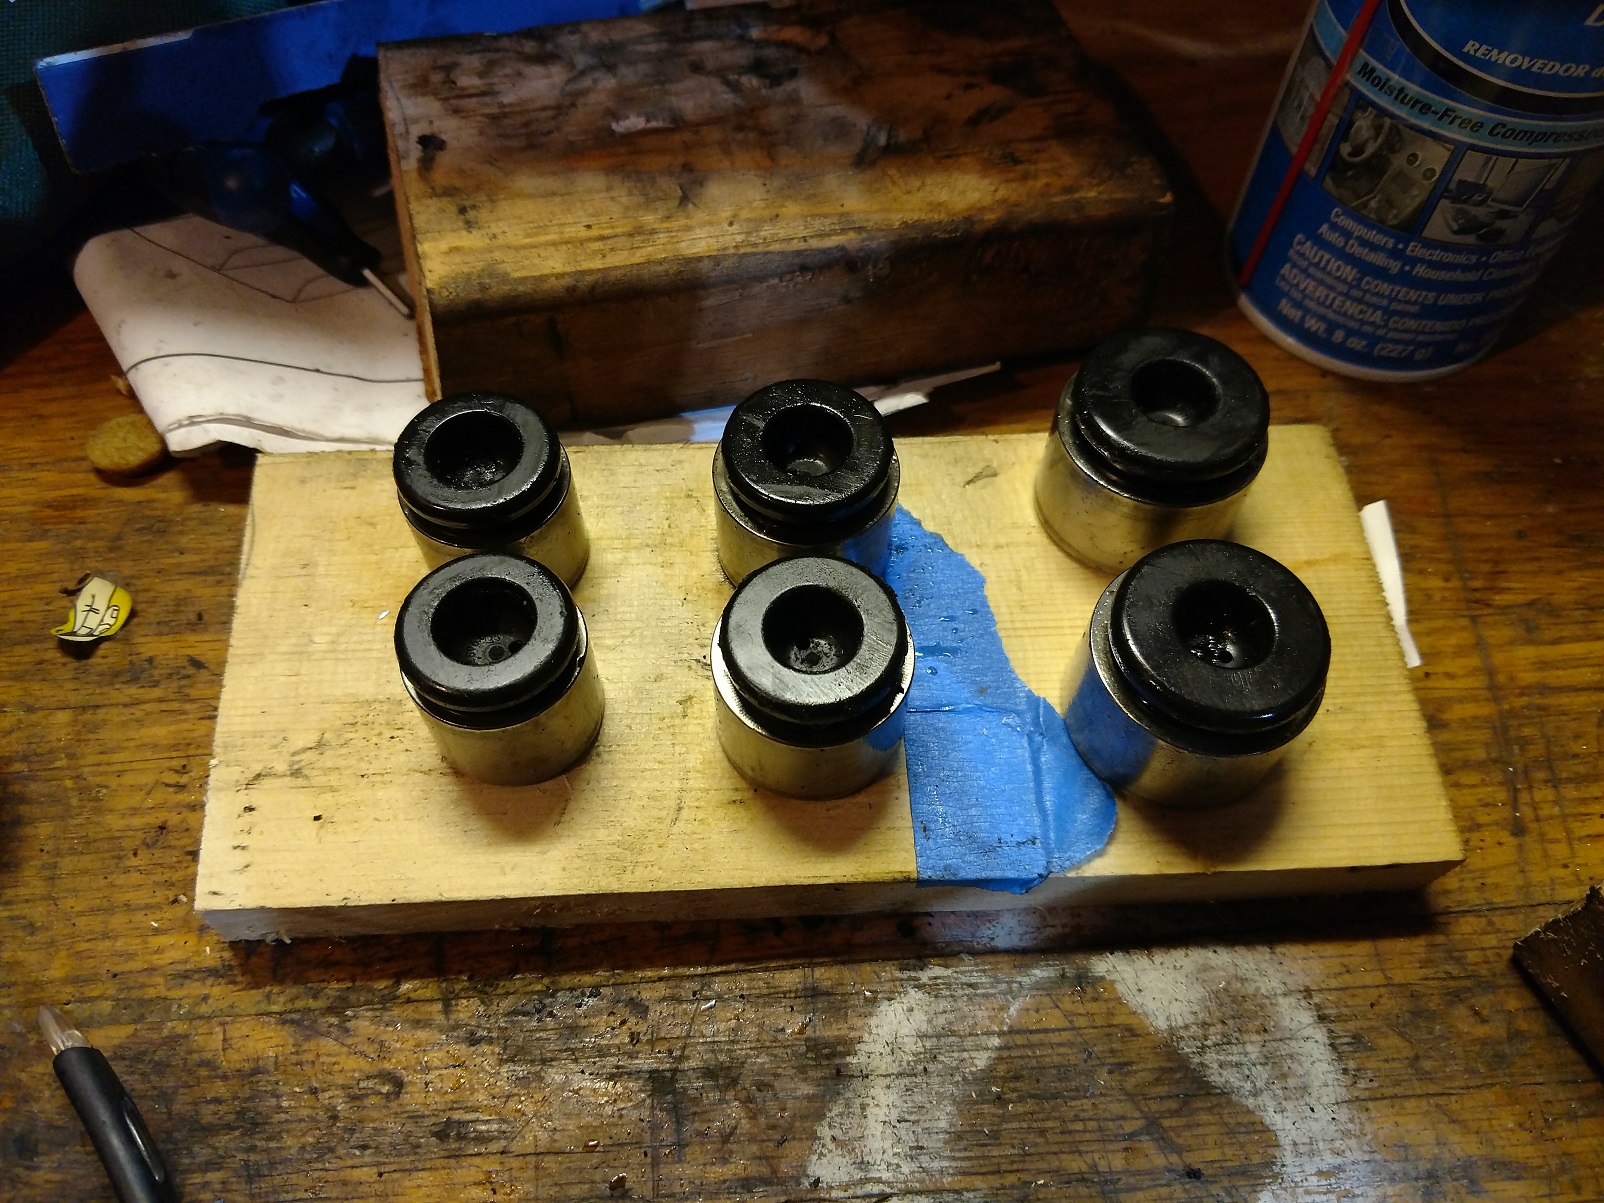
So, I replaced the front pistons. Pretty straightforward. Only difficult part was getting the original pistons out. I found a video showing a "piece of wood" trick where you take a short piece of 2x4 and use it block the pistons while you use air in the brake line connection to force them out. This worked but since a number of them were really sticky, I couldn't really get all of them out because once you remove the block of wood (after all pistons are about 3/4 of the way out), once the most slippery piston pops, you have to manually try to pull or pry the pistons out. I ended up using an adjustable tie-wrap method to put a strong tie wrap around each piston and use air to get them all extended as far as possible.

(this picture shown with new pistons...this technique was also good for testing the new seals and pistons)
This made removing them by hand easy. The stock pistons actually still looked OK.
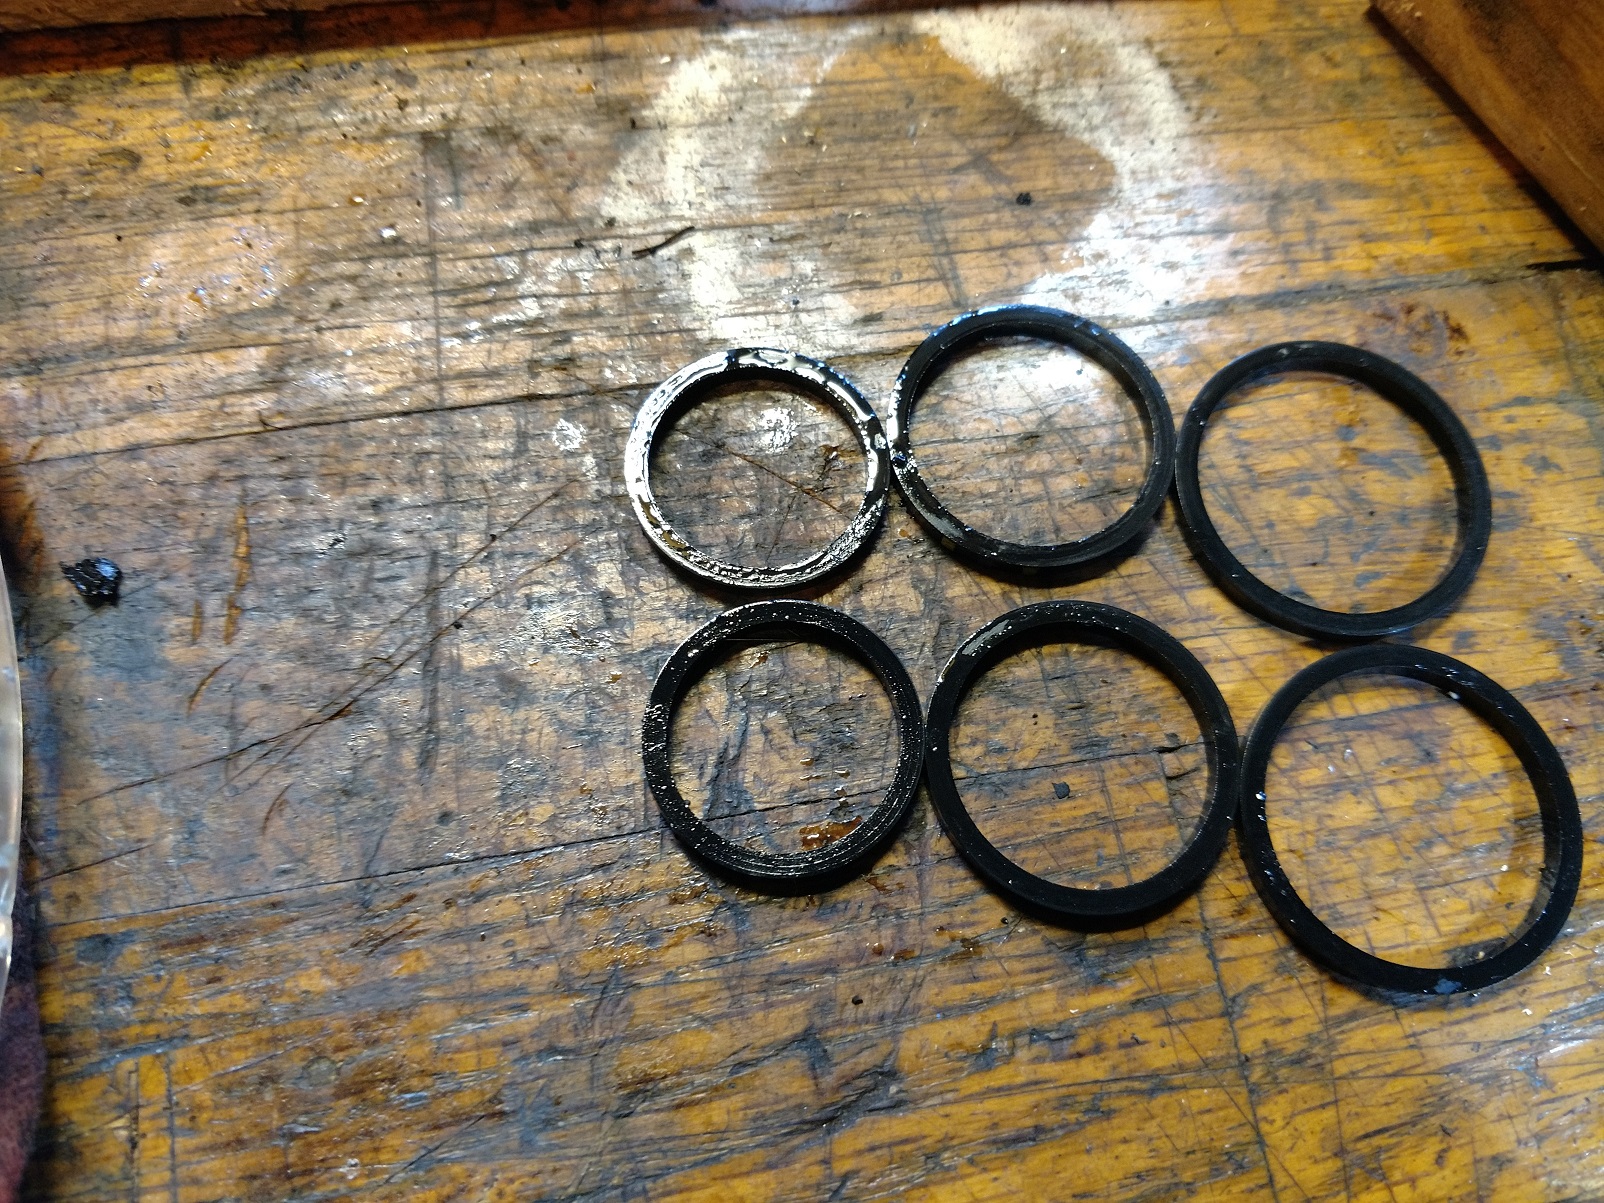
Once the pistons were out I used a hook tool to scoop the old seals out. They were still OK.
Then came the brake cleaner and scrubbing/cleaning. And more cleaning. And a lot of shop towels and paper towels. Since I got the silicone dust boots I wanted to be absolutely sure no residual brake fluid existed.
Here are a couple pics of the RacingBrakes pistons and dust boots. Seem to be really high quality and well packed. Shipped quickly too.
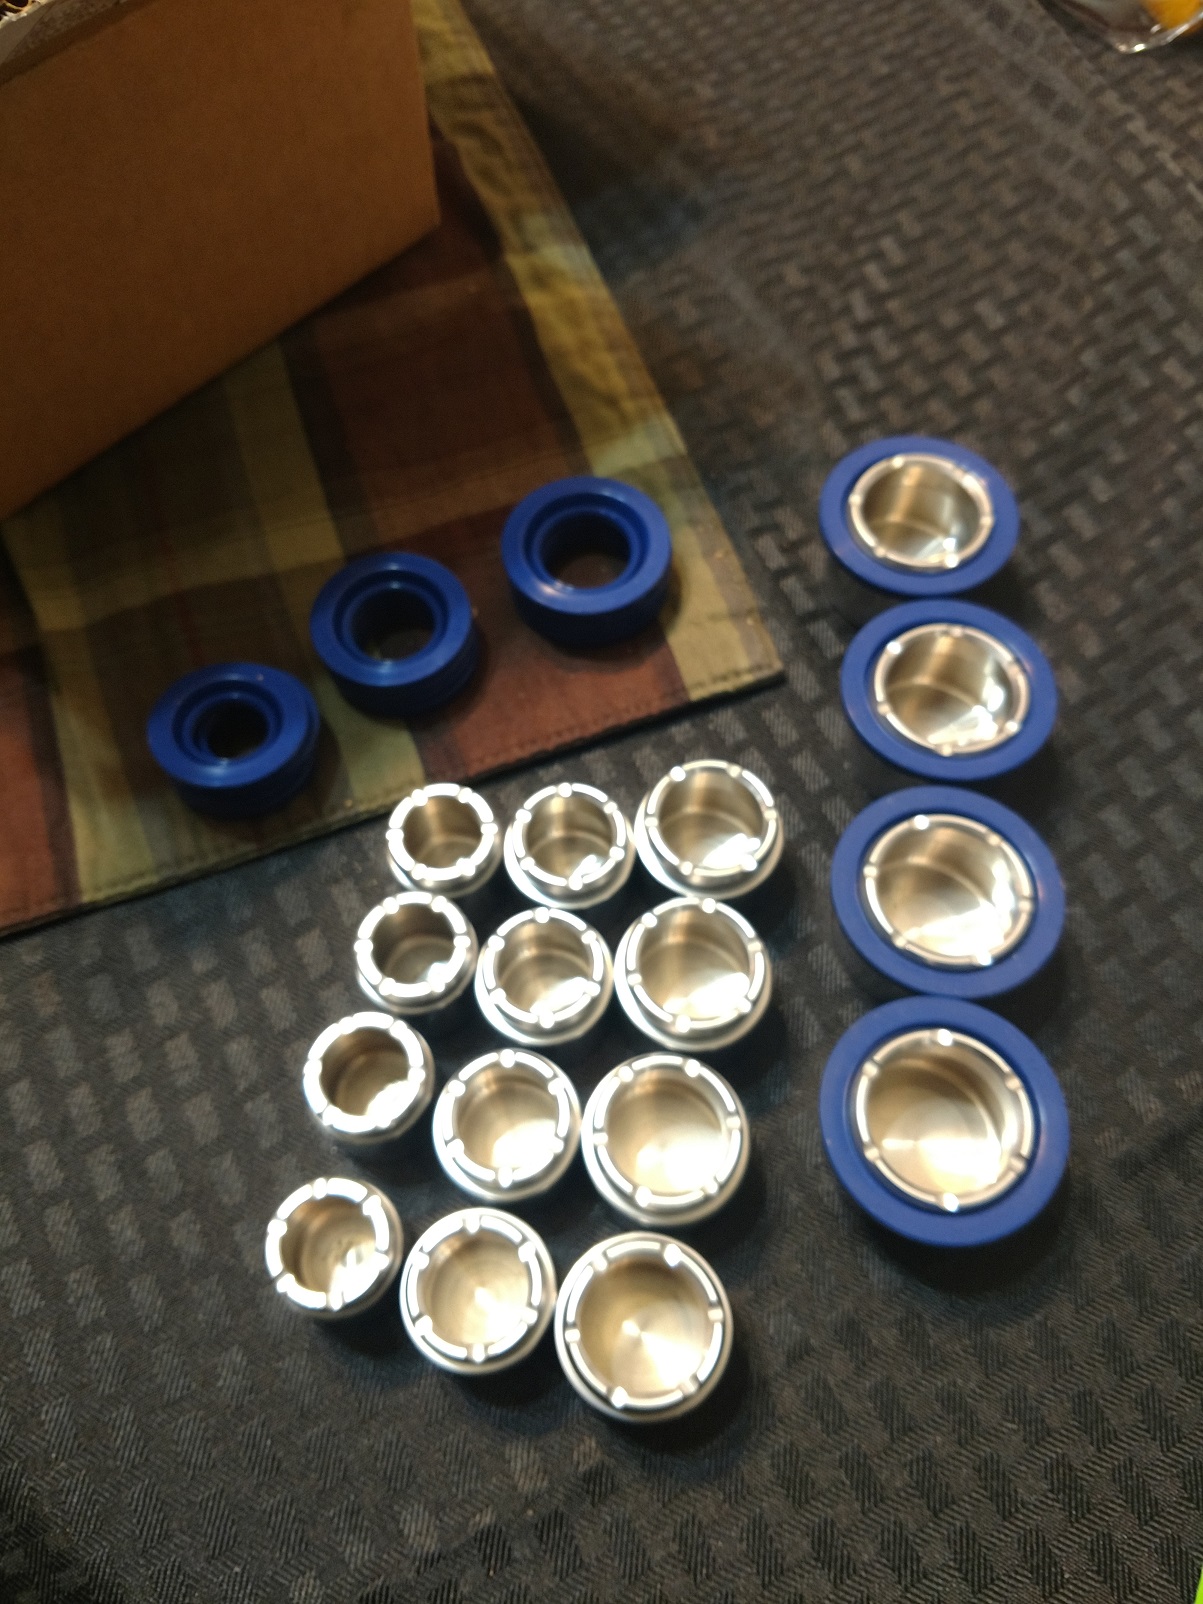
Instructions were on one page and were well written and easy to follow.
Basically you use the brake grease they give you to grease up the seals, install the seals, then put the dust boots on the pistons and install the pistons. I also put a little grease around the pistons so they slid in smoothly.
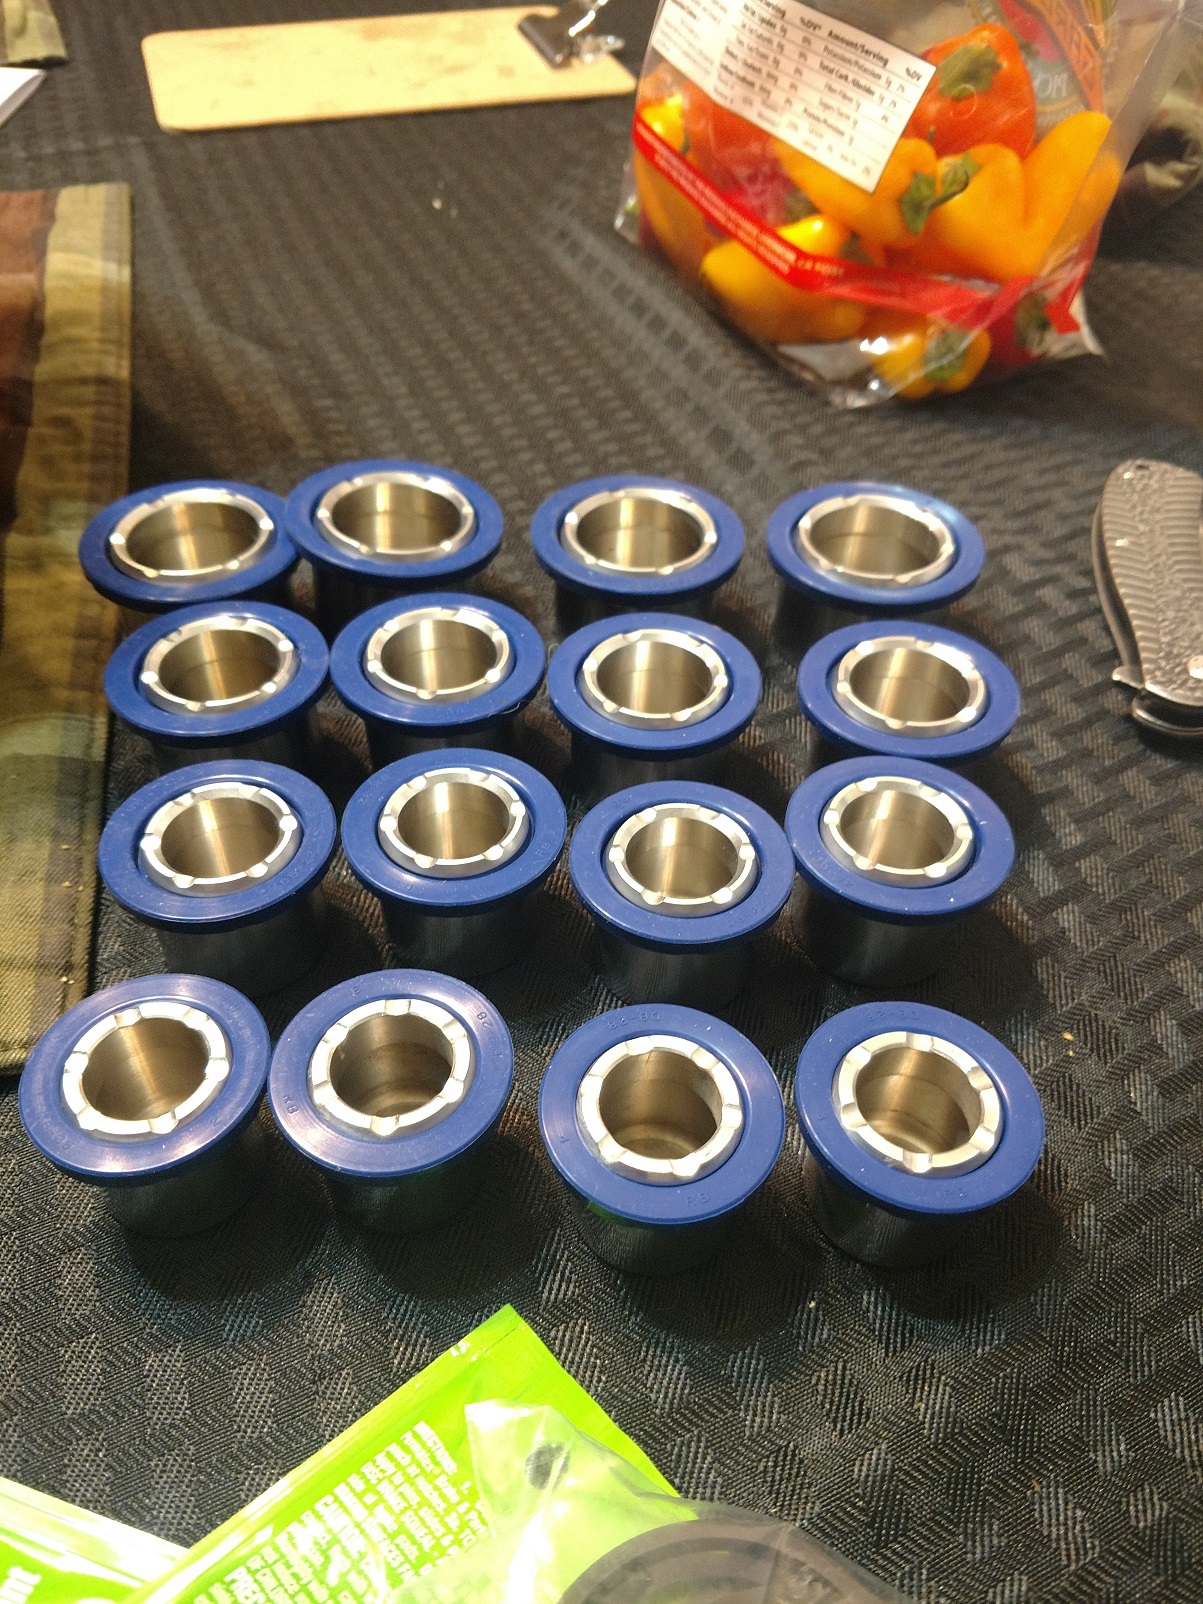
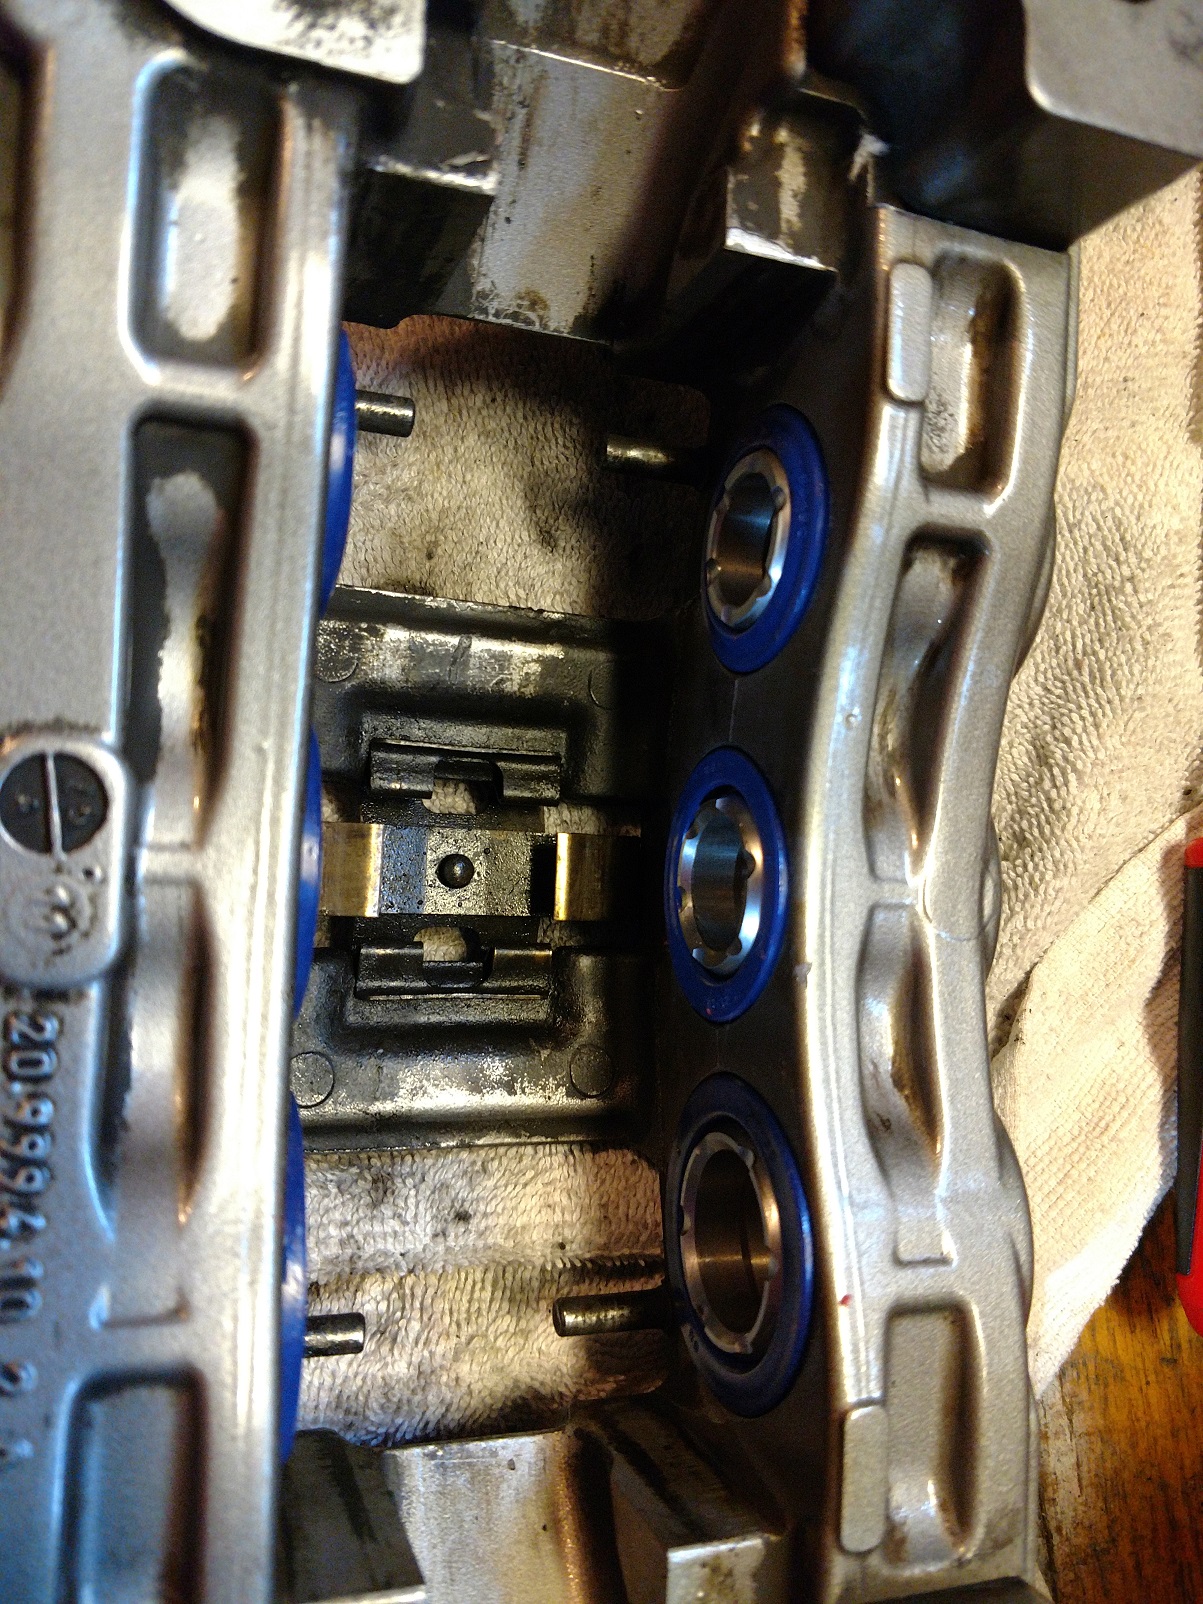
Here they are installed. Similar to
R1wheelieforfun pics...although I think he got his calipers cleaner!
Here is a video of using air and the adjustable tie wraps to test the pistons and seals:
The hissing is from the air tool end, not the pistons. They were all sealed well.
Once that is done it is a straightforward path: install pads, reconnect brake line and caliper, attach caliper, torque everything up, bleed brakes.
So the front is done. Will test drive tomorrow and report back. If I can find some Motul 660 locally I'll do the rears, otherwise will defer until I have more replacement fluid.