Not sure if this has been posted before, but here it is. It's a seriously easy install.
Pics were taken with my phone so please don't expect SLR quality.
Needed: T20 torx bit, small flat head, small phillips head. 10 min
Step 1: Remove the screws holding the stock trim in place. The three screws can be found on the back side of the three steering pillars. (T20 torx bit)
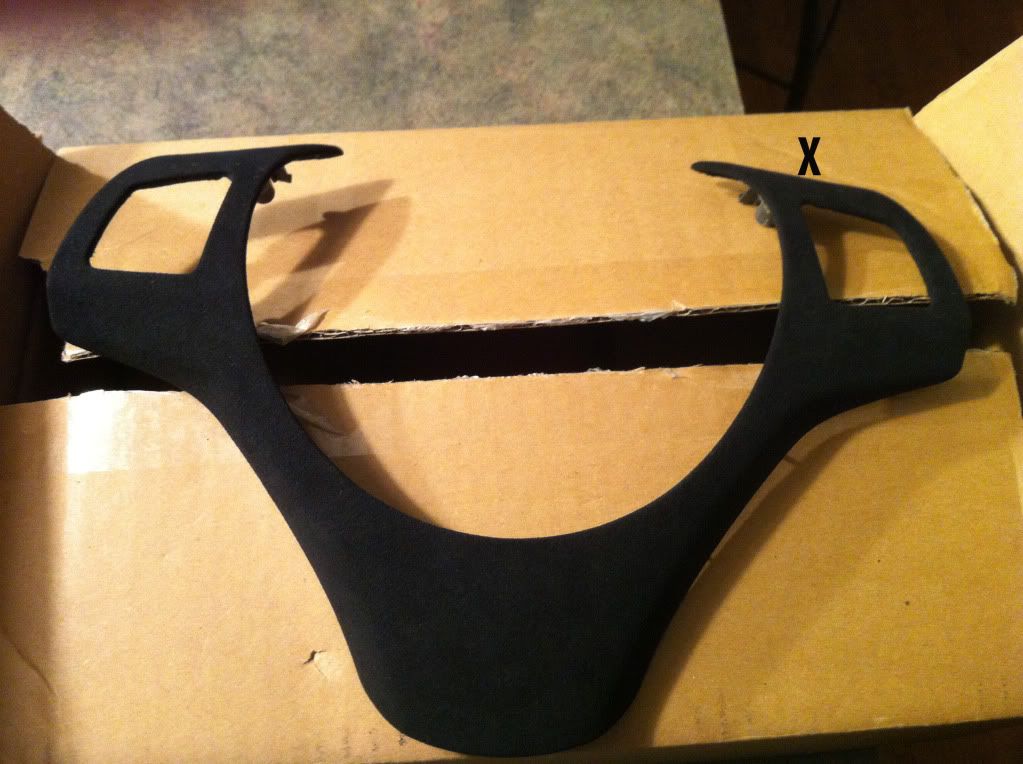
Step 2: Using your replacement trim, locate the clips found at the top (indicated by the X) Use a right angle tool, or a small flat head screw driver to release the clips
Step 3: Gently remove the trim by pulling down and away slightly from the wheel. DO NOT YANK as the control wires are directly attached to the trim.

Step 4: From the reverse side of the trim, unscrew the remotes from the trim housing (2). The connection wires will be thread downwards from right to left.

Step 5: Reverse previous steps. Attach remotes to new trim, make sure to feed connection wires in the designated housing on reverse side. Once new trim is back in place, screw torx bits a small amount 1 at a time. Do not over torque. enjoy your new found Alcantara.