Got the clutch installed this weekend! 2nd day of the install took us all day
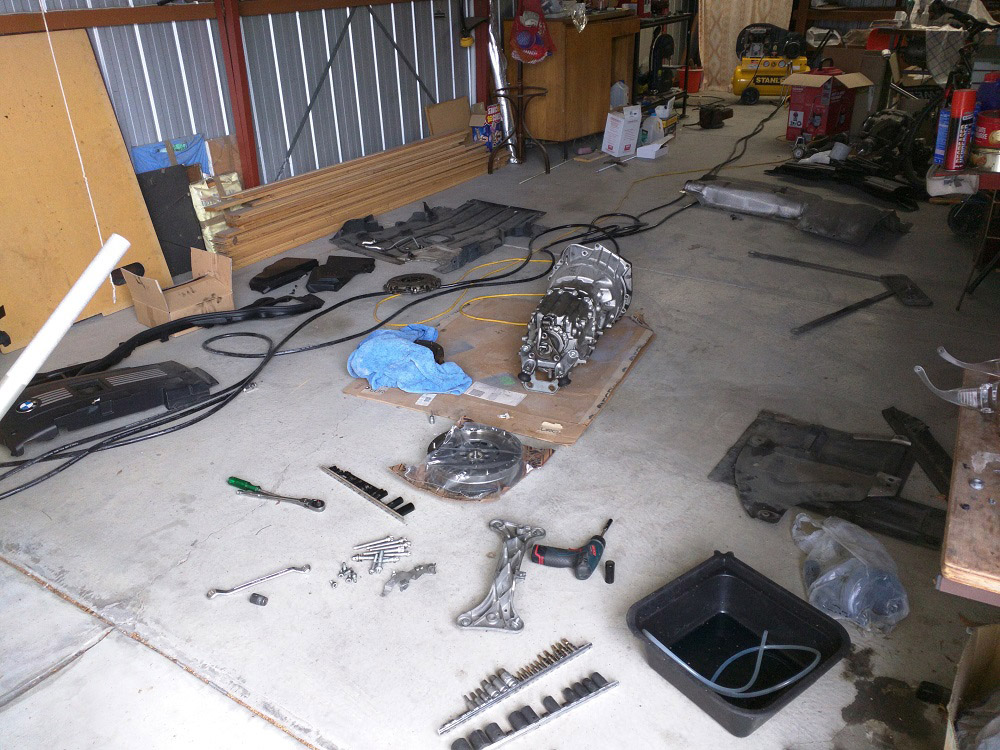
Heres the car as we worked on it:

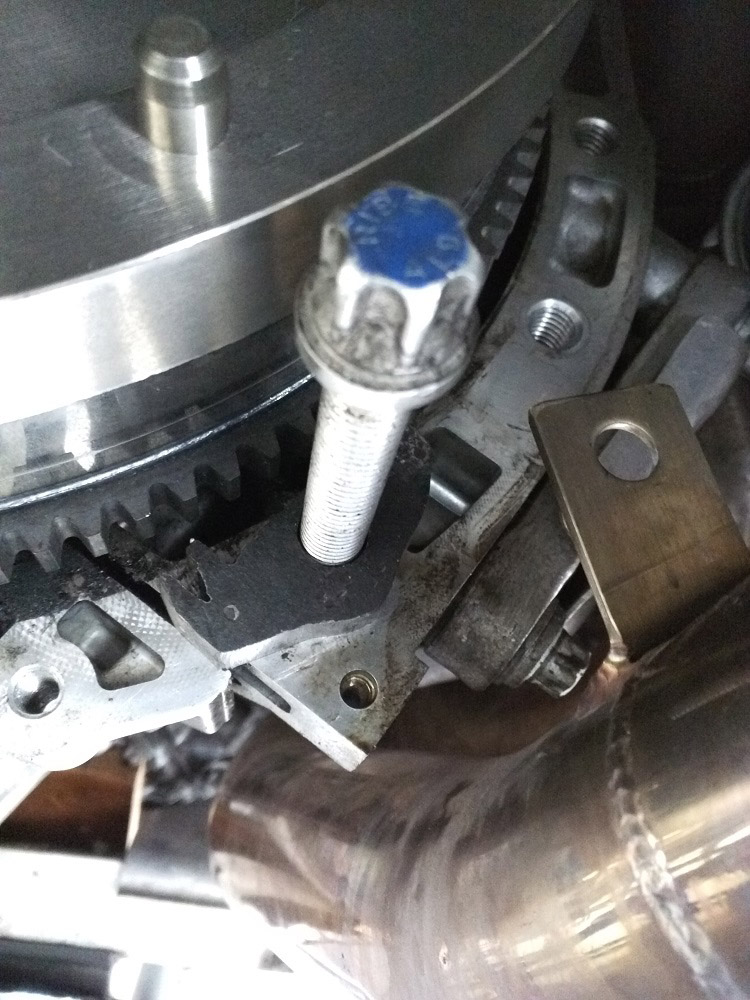
First snag we hit was that the starter bolt that you have to access from the top of the car was very difficult to remove. The bolt just didn't want to break free and the weird angle makes it hard to keep the head on straight. Kept on slipping off and almost ruined the head of the bolt. i thought that this would be the start of a real nightware but I kept at it, and found a way to hold the ratchet on straight and eventually put enough force with my fingers to crack the bolt free.
Then as we proceeded to undo the transmission bolts, we discovered the aluminium bolts were E18 but the head is actually oversized for an M12 bolt. This is to prevent damage to the head of the aluminium bolts, but it also meant there is hardly any space for a socket against the bell housing. My E18 socket was way too big and so I had to machine it down on my lathe. I bascially machined it to the diameter of an E16 socket. I have never machined a socket before, they are hardened and burned up a new carbide bit fairly quickly.

Not much space underneath and my transmission jack adapter was not very good for this job. The adapter sat on top of the jack and made it way too high. We lowered the gearbox with the trans jack and pushed it onto the floor. Then we rolled the transmission on the floor to get it clear of the car.
Took quite a lot of jiggling to get the gearbox free, turns out the best technique is to put a screwdriver inbetween the engine and gearbox and pry and jiggle at the same time. Can be removed reasonably easy once you figure it out.
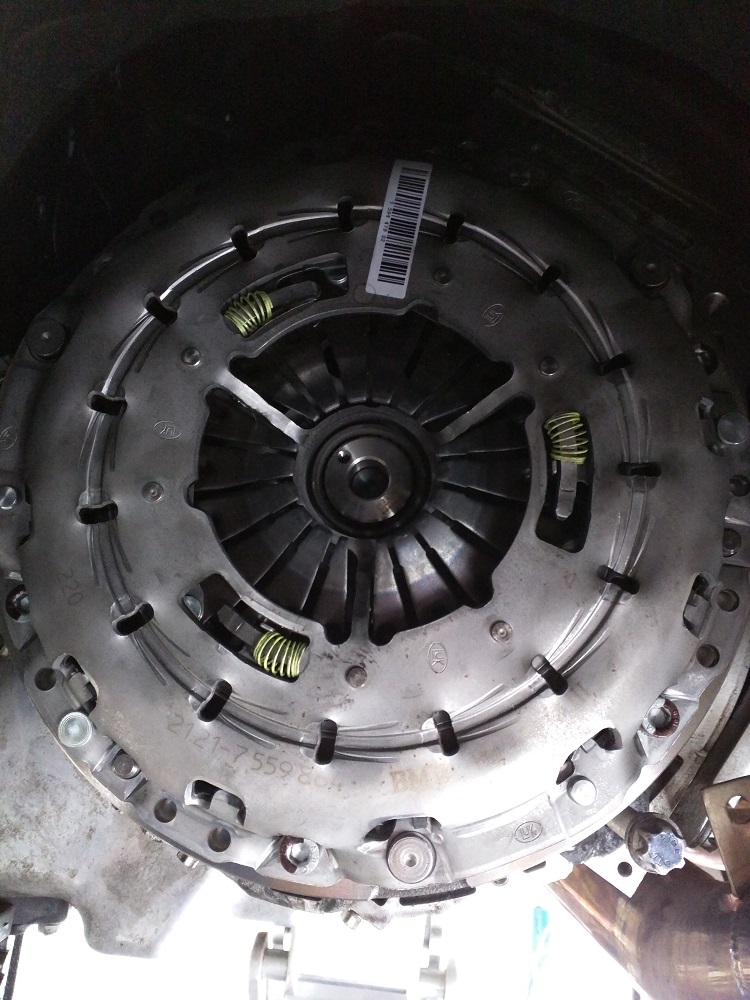
Here are some pics of the gearbox:

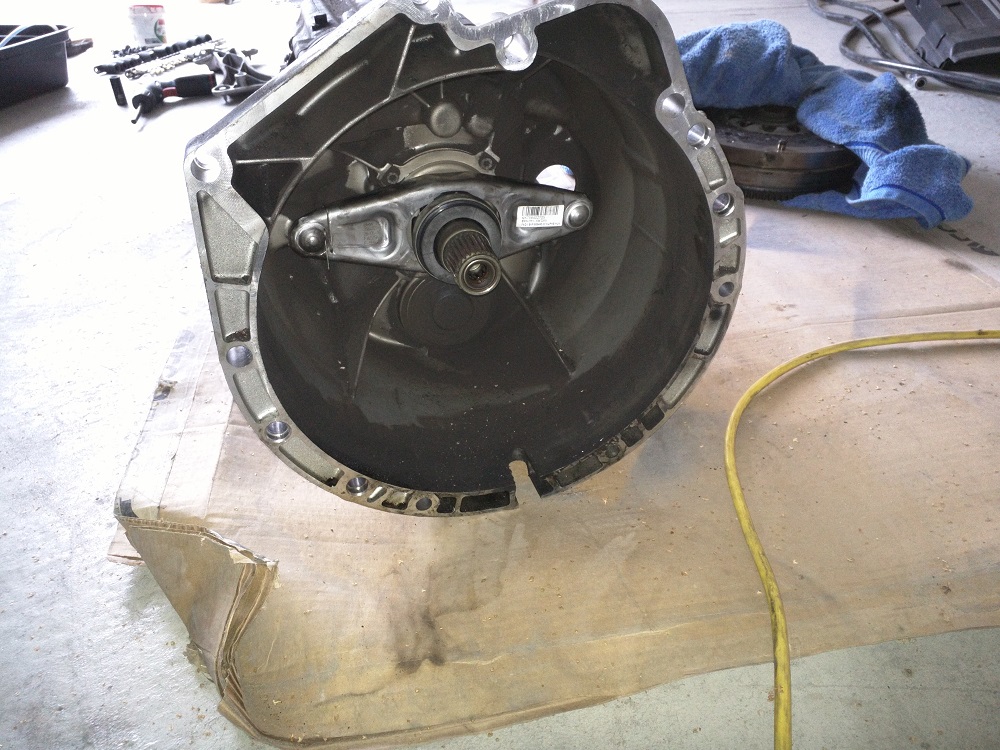
The stock clutch was totally rooted, almost completely out of friction material
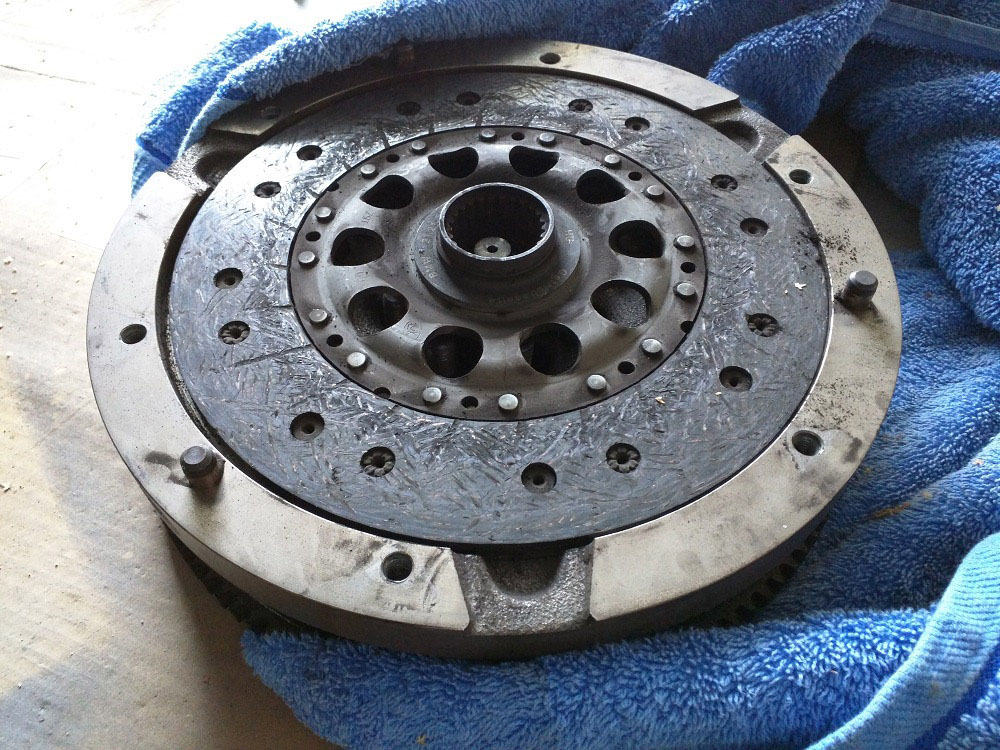
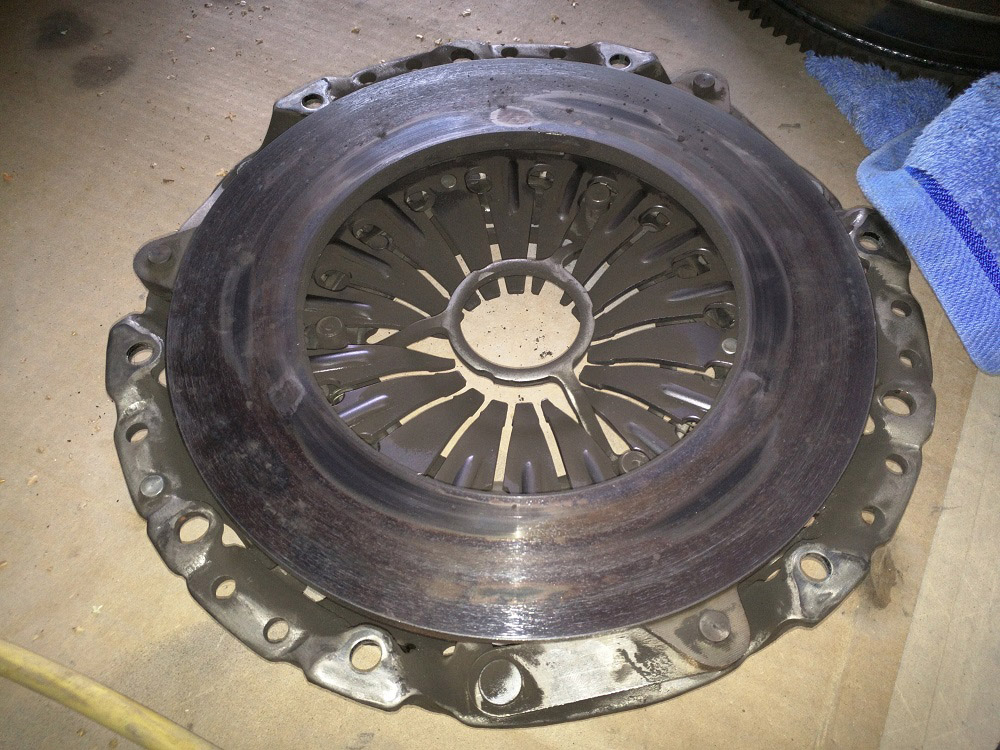
Hot spots/burn marks present on the pressure plate:
I used a grinder and made up a replica of the BMW flywheel locking tool. This is needed to prevent the engine from turning when removing/torquing bolts. Not perfect but fit well enough in the teeth of the flywheel to stop it from moving:
Heres the back of the engine, rear main seal looked fine with no leaking. Did not replace the seal. Note the dowel ring that locates the flywheel:

Heres a picture of the shiny flywheel torqued down. I put two permanent marker dots on each bolt. 1 dot for initial torque, (to ensure the plate is on straight) then another dot to indicate final torque. This is to ensure I don't forget to torque something.

The clutch was installed with the alignment tool in place, then the pressure plate was attached. New pressure plates come with a locking ring that holds the pressure plate fingers. Once you install the pressure plate, you remove the locking ring and it releases tension on the fingers. This means if you do everything correctly you do not need to use a special tool to ensure the self adjusting clutch mechanism does not engage when tightening down the pressure plate.
Then spent the rest of the day reassembling the car. The exhaust took forever, that thing was a major pain to get fitted. All the bolts were rooted from all the heat cycles and I didn't have new ones. The exhaust flanges were about half a mm misaligned so the threads kept getting stuffed on them. Bought some temp bolts from Bunnings. Have an exhaust leak now though. Will have to sort that out.