Disclaimer: I am not responsible for any damage done to your vehicle or, any bodily harm or injuries as a result of following this guide. This is simply an informative procedure. Work on your vehicle at your own risk and always consider safety first.
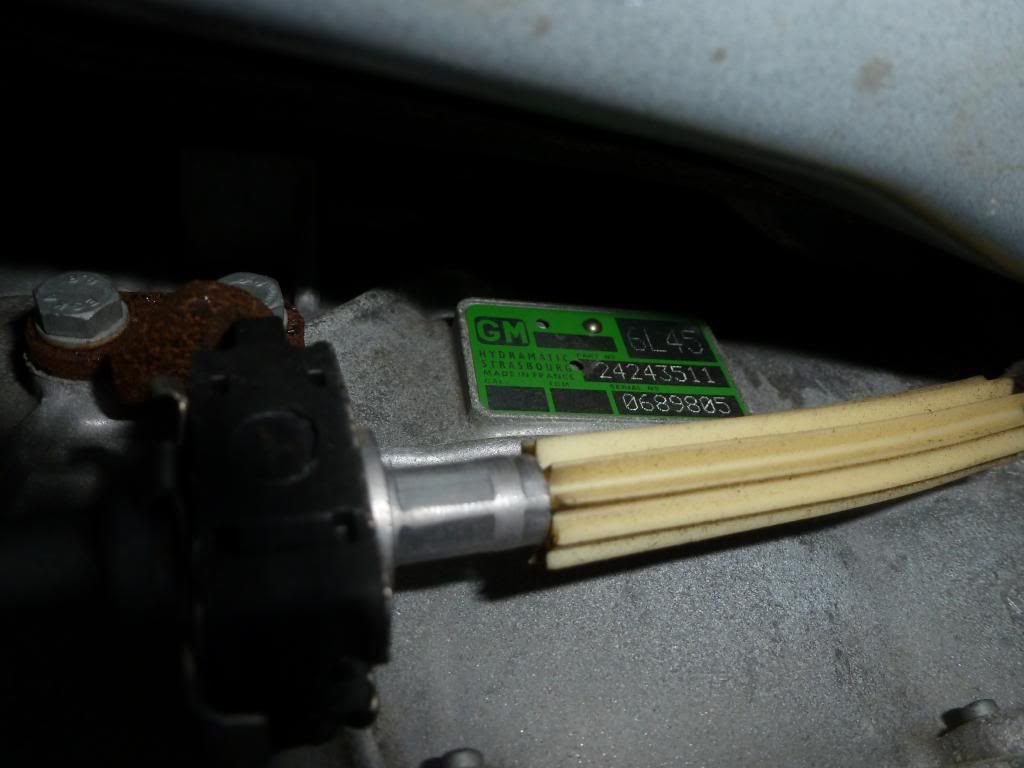
This DIY is specific to the 128i automatic GA6L45R transmission. In case it makes a difference, mine has a production date of 9/2009. This guide may be applicable to other chassis' but follow it at your own risk.
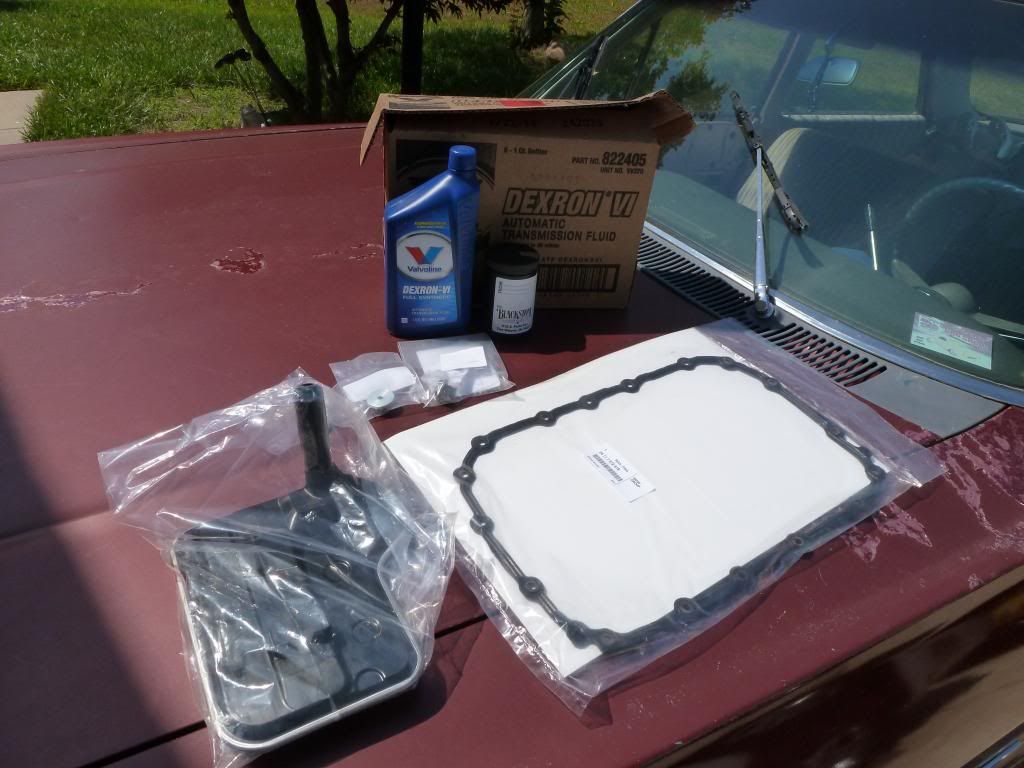
My goal was to do a filter and fluid change at 50k miles in hopes of prolonging the life of the auto-tragic. The car had 50,119 miles at the time of service. I used all Genuine BMW parts purchased from
www.getBMWparts.com. As for the fluid, I chose to use Valvoline Dexron VI as it's advertised as a
full synthetic that meets
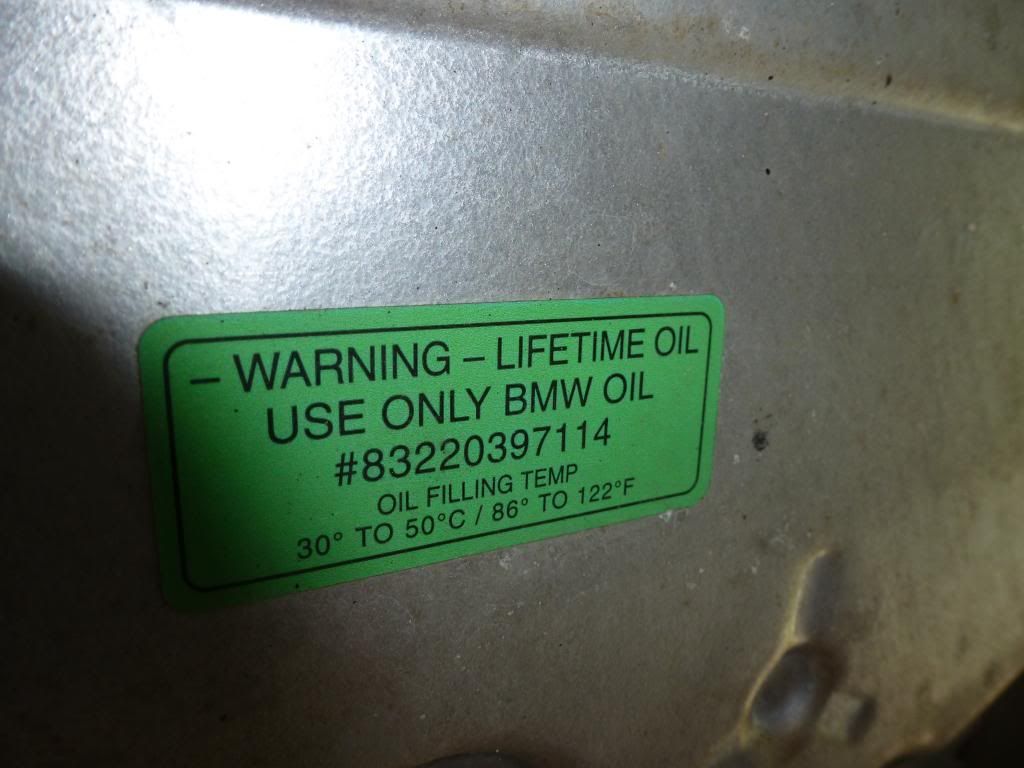
GMs Dexron VI specifications (I am weary of multi-vehicle ATF). I later found out that all Dexron VI fluids are synthetic. Synthetic blend for Dexron VI simply means a mixture of different synthetic base stocks. I bought 2 cases (12qts) from Amazon as Valvoline Dexron VI is not available locally. I was expecting to need 7 to 8qts but ended up only using 5.5qts. Your results may vary. With that said, choose your fluid at your own discretion. There is a label on the transmission that says to only use BMW Dexron VI fluid.
You can verify the parts needed through
www.realoem.com with your VIN number. Be careful when viewing the transmission diagrams as it may bring up both the ZF and GM transmissions.
Parts list:
24-11-7-572-618 Transmission pan gasket
24-11-7-593-565 Transmission filter (O-ring was included)
24-11-7-572-622 Transmission drain plug
24-14-7-572-603 Transmission fill plug
Tools needed:
8mm socket
10mm socket
5mm hex socket (You could probably get away with using an Allen wrench)
17mm wrench
A tool to remove and install the transmission filter O-ring
A pump to fill the transmission (I used a gallon fluid transfer pump from the local parts store)
Time-wise, this job could have been done in about 2 hours but I also changed the oil in another car and followed a slightly different sequence of steps. I have re-arranged the procedure appropriately. I wanted to do this job after the car sat overnight so all the fluid would have settled in the pan but I had to start it to get it on the ramps. It sat for a little less than a hour before I drained the fluid. Plan appropriately.
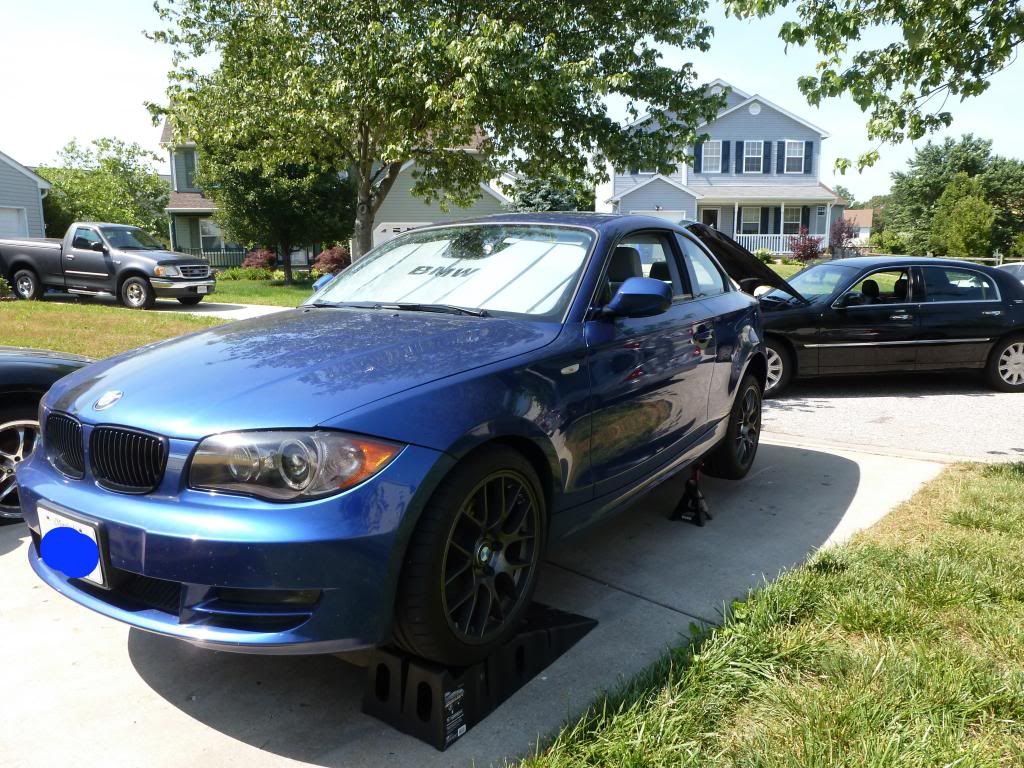
1. Put the car in the air. If youre working on a driveway like me, remember, safety in numbers (Jacks, jack stands, etc.). You want the car to be level for the fill procedure. I did this later on by placing a level along the transmission pan to set the jack stands at the appropriate height.
2. Remove the middle and rear under panels. I believe there are 6 bolts on the middle panel and 3 on the rear panel in which these panels share 1 bolt. (8mm socket)
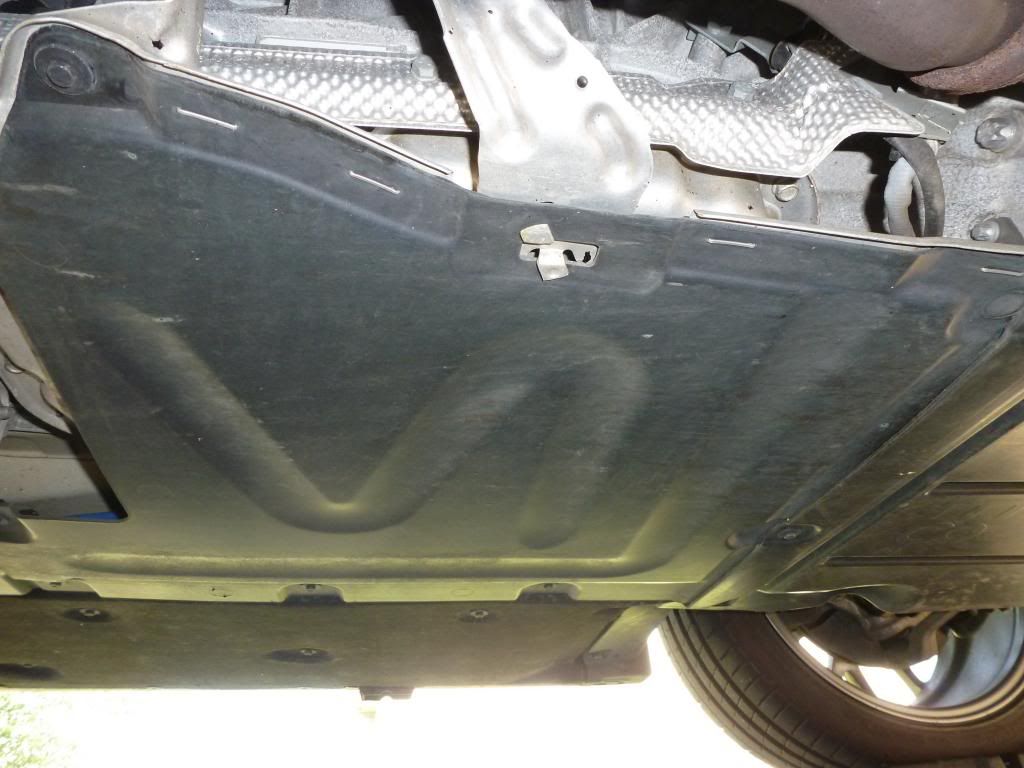
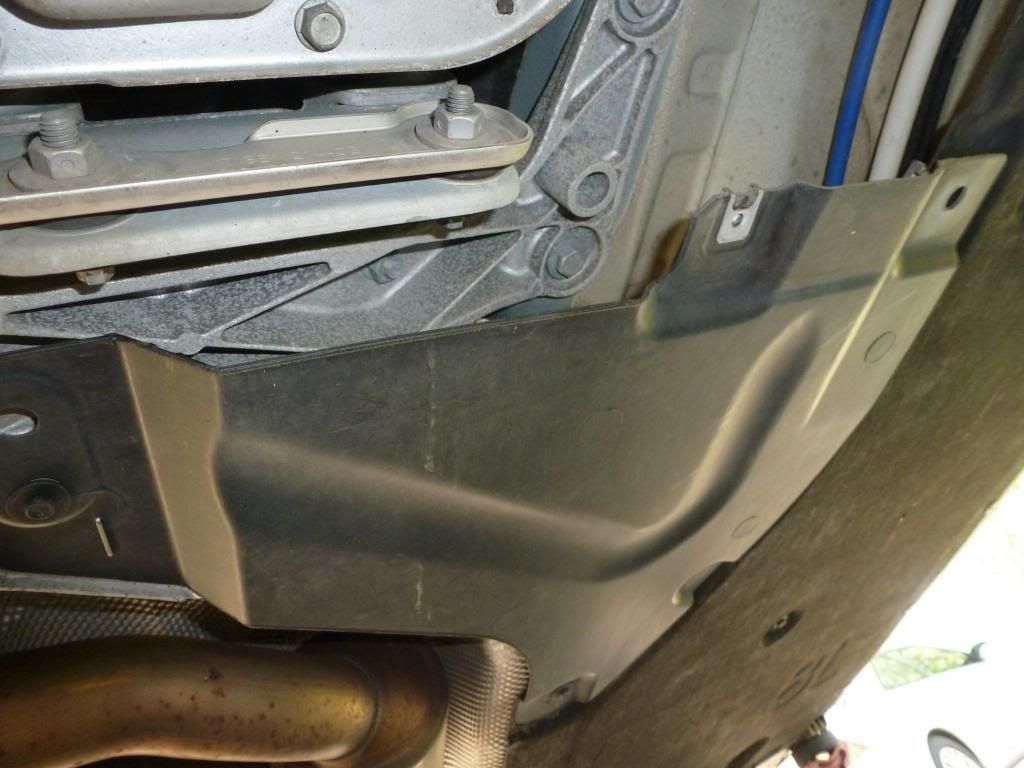
To remove the middle panel, you will twist it to align the rectangular hole to go over the hanger.
3. Remove the hanger. (10mm socket)
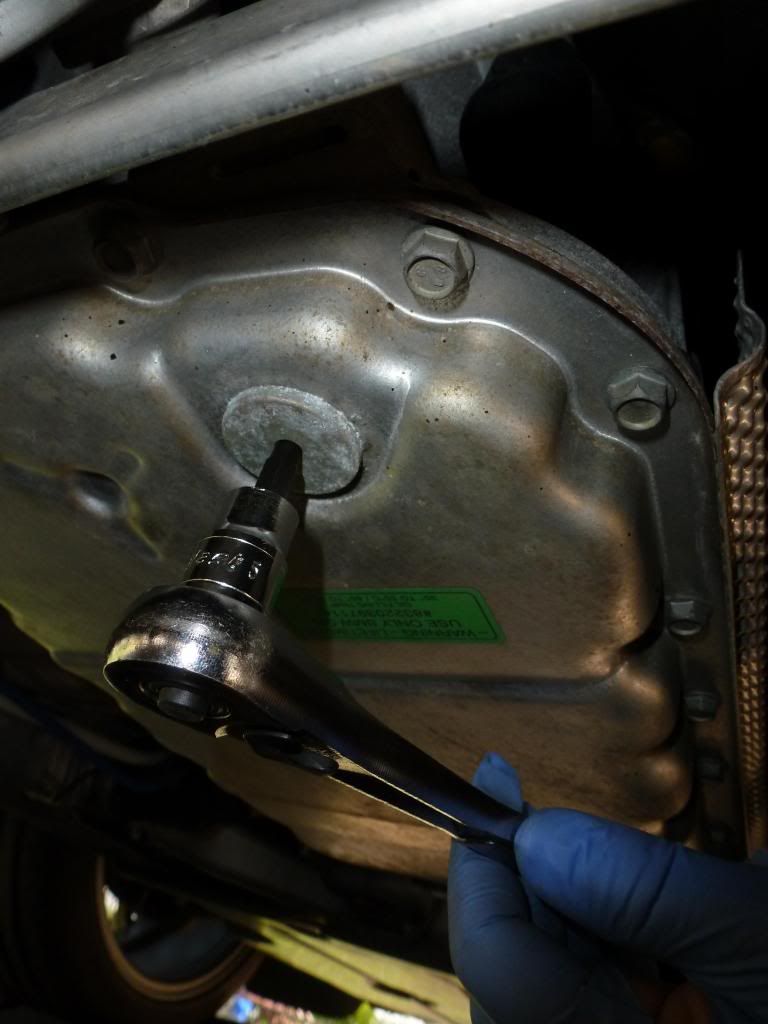
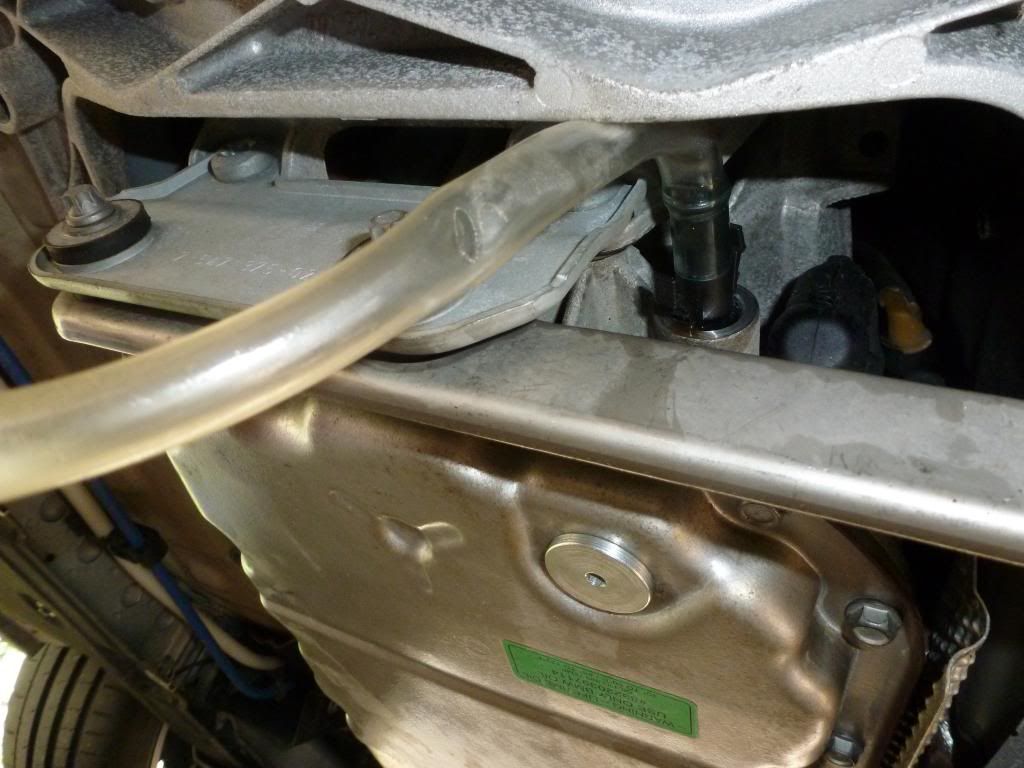
4. The drain plug is at the rear of the pan. Drain the transmission fluid. (5mm hex socket)
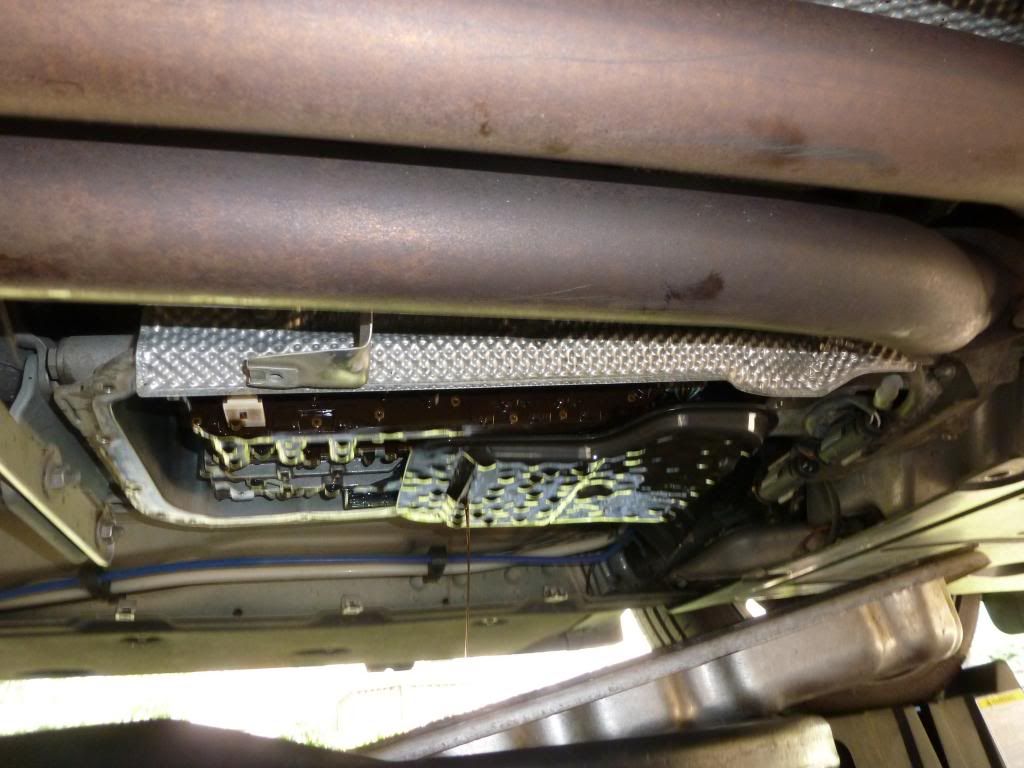
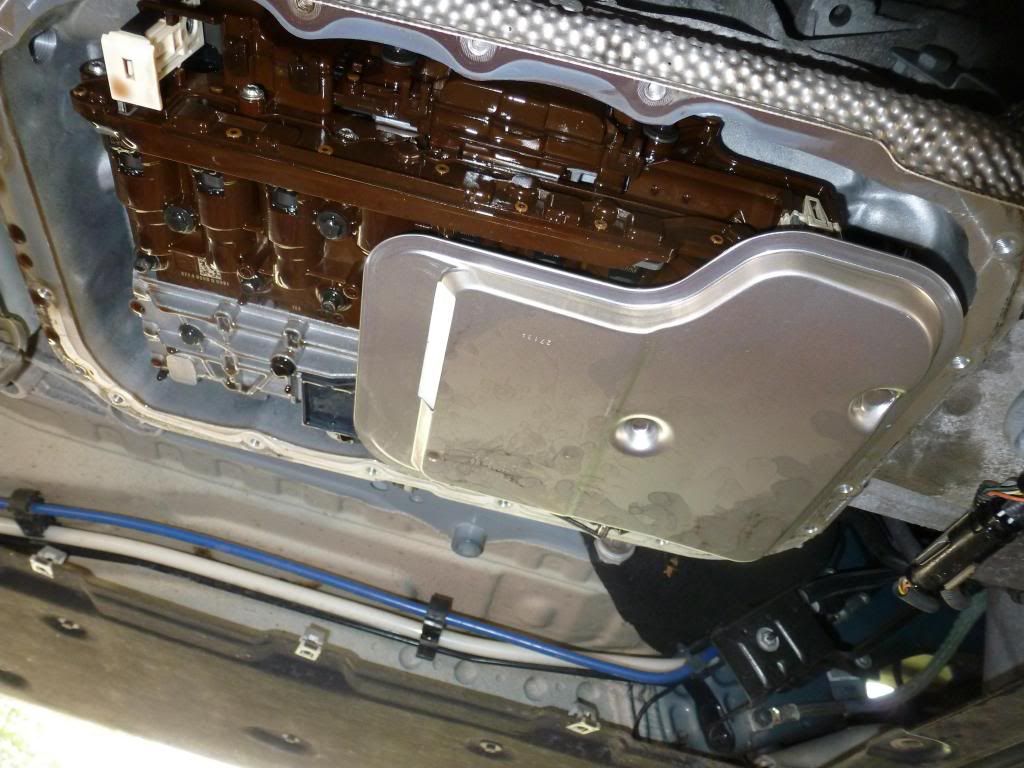
5. Reinstall the drain plug. Now, remove the 17 bolts along the perimeter of the transmission pan. The pan may be holding itself up on its own afterwards. Tap it lightly with a rubber mallet and be prepared to catch it.
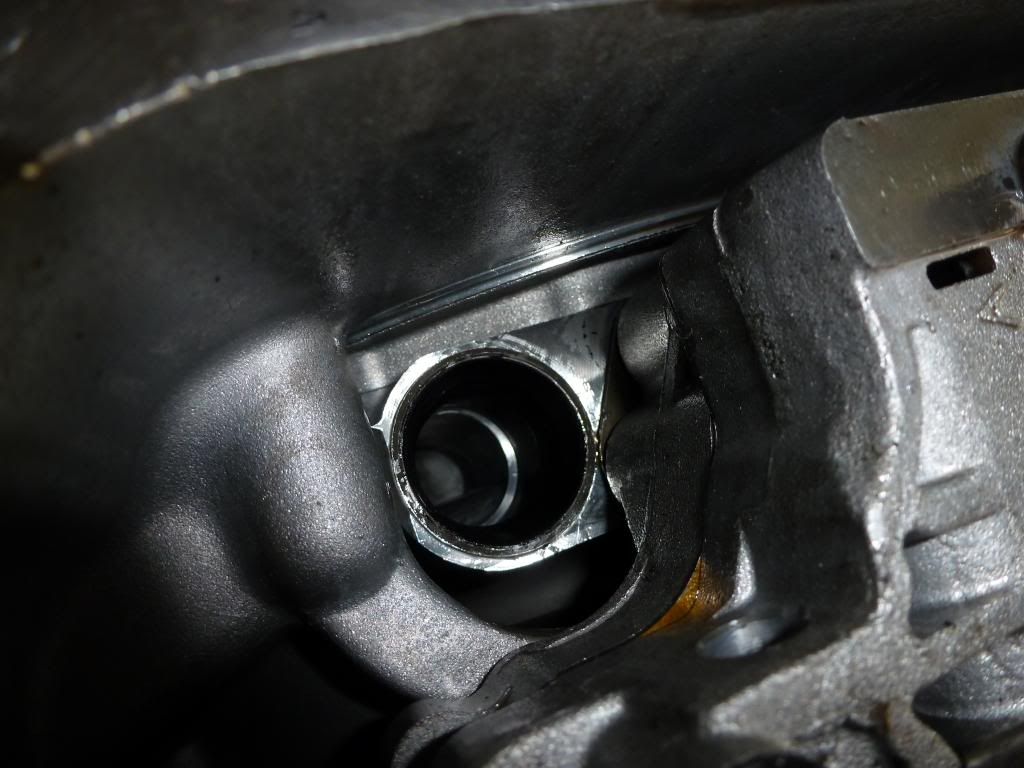
6. Remove the filter by pulling down on it. It took me a couple of tugs and it popped out once it broke free.
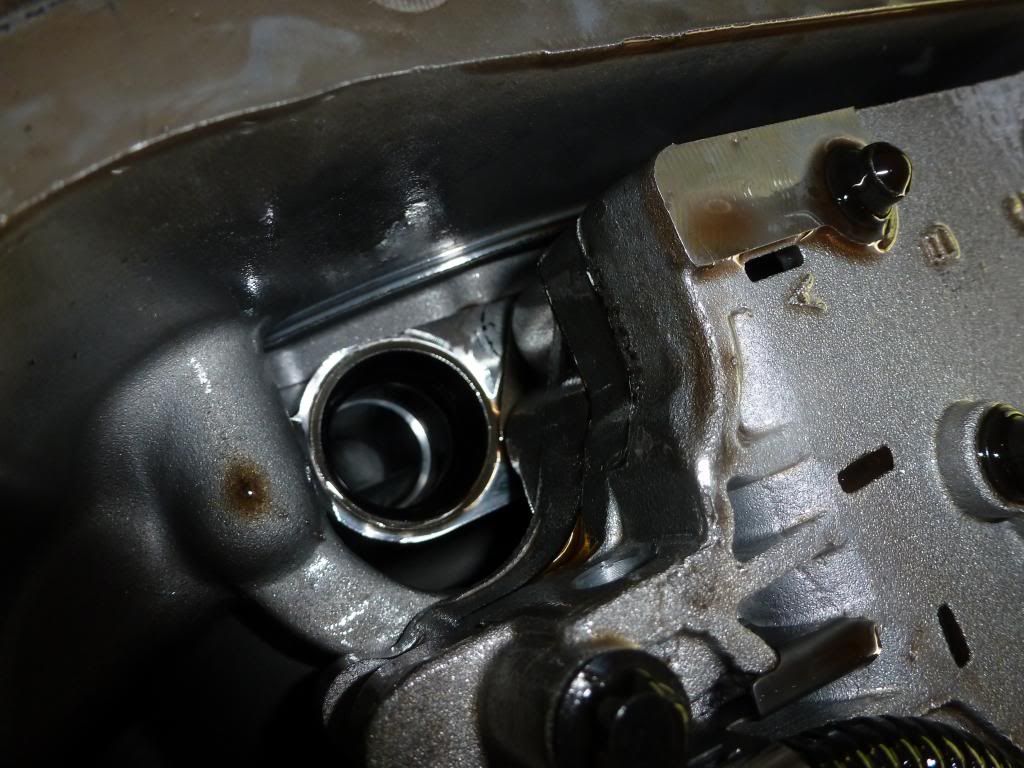
7. Remove the O-ring. The O-ring is a little ways up in a small space where the neck of the filter was inserted. I think I recall reading theres a special tool for this. I don't have it so I bent it at the lip to create a relief and then pulled it down from the top with a slightly bent pick. Be careful not to score the walls. I forgot to take a picture of the O-ring to show how I bent it.
*Note: Some research suggests that if the O-ring holds the filter in place without any wobbles it may still be good to reuse. It is part rubber so I feel more comfortable changing it out.
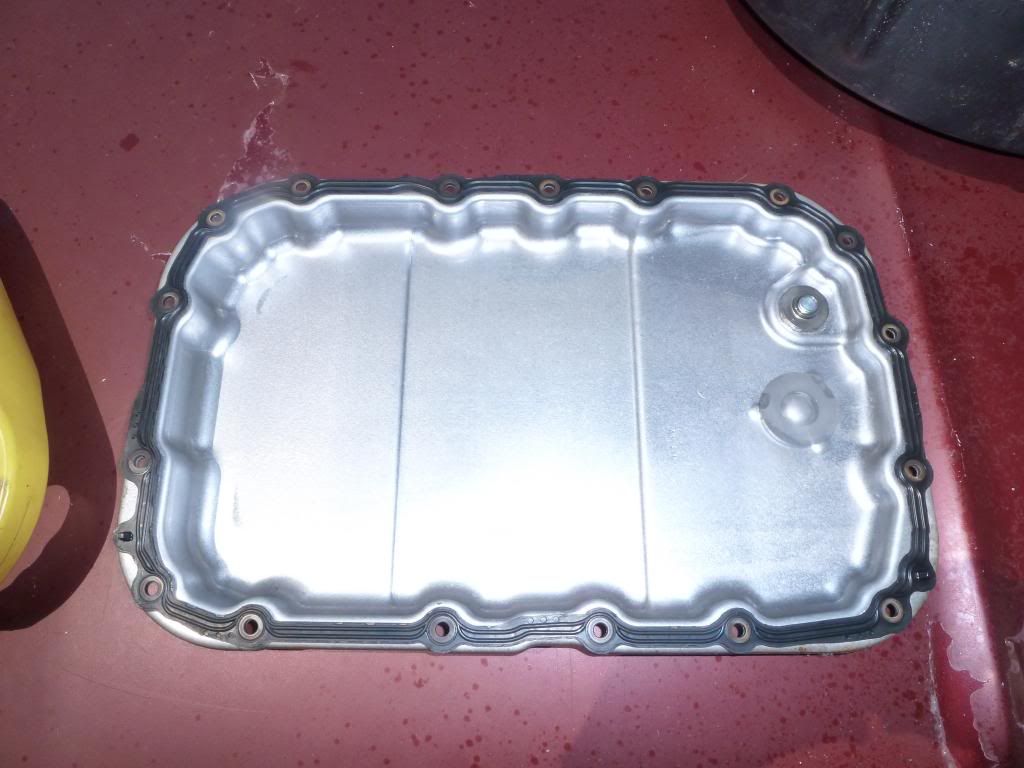
8. Let the transmission fluid continue to drip/drain. In the meantime, clean up the pan and magnet and install the new gasket on the pan. It has guide pins that help greatly with reinstallation.
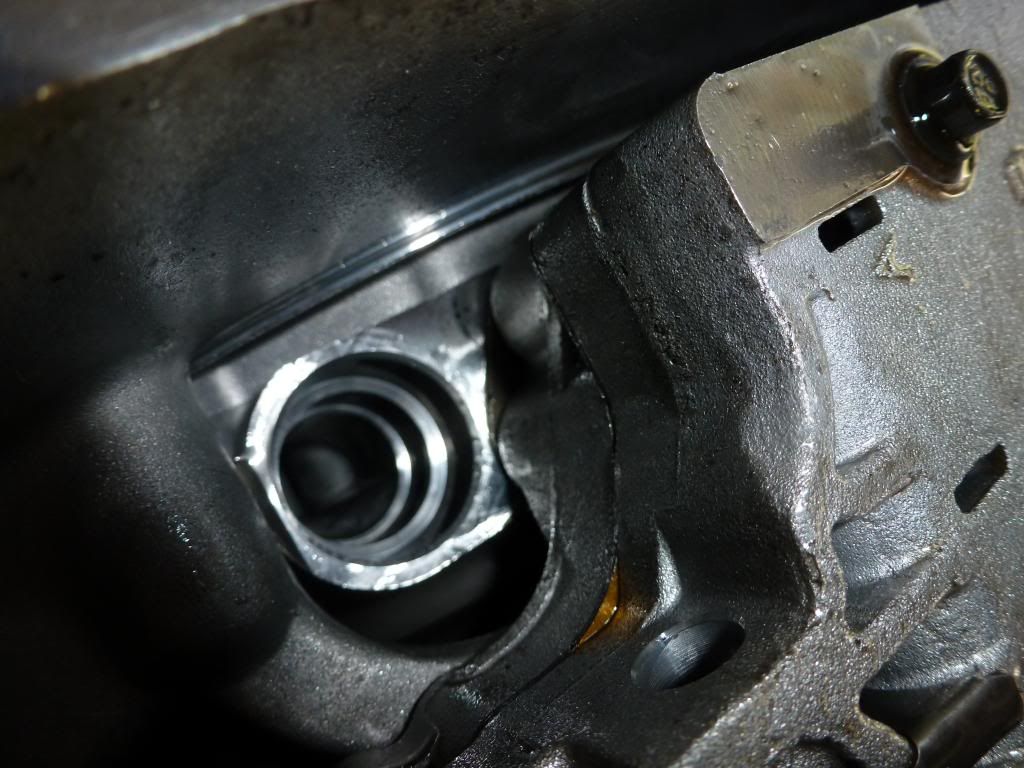
9. Now, install the new O-ring. Again, I believe theres a special tool for this. I had a drift that was able to fit in the open end of a socket that was slightly bigger than the O-ring. I dont really have any specific advice for this as I improvised with what I had. Softly tap the O-ring in making sure it goes in aligned properly. Lightly coat the O-ring with transmission fluid prior to installation.
*Note: Some research suggest that you can press the new O-ring in with the filter. I cannot confirm if this works or not.
10. Install the new filter. Lightly coat the neck of the tube with transmission fluid prior to installation.
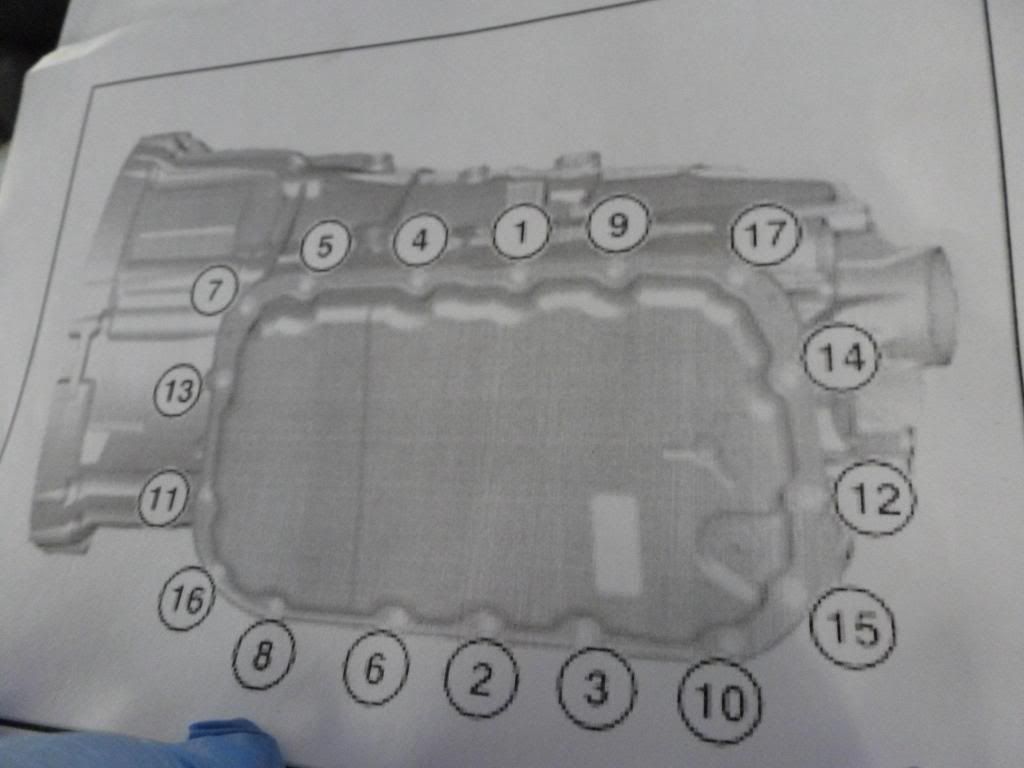
11. Clean the gasket mating surface and reinstall the pan. Follow this tightening sequence for proper installation. Tighten the bolts to 10nm. Now you can take the time to install the new drain plug if you did not already do so. Tighten to 8nm.
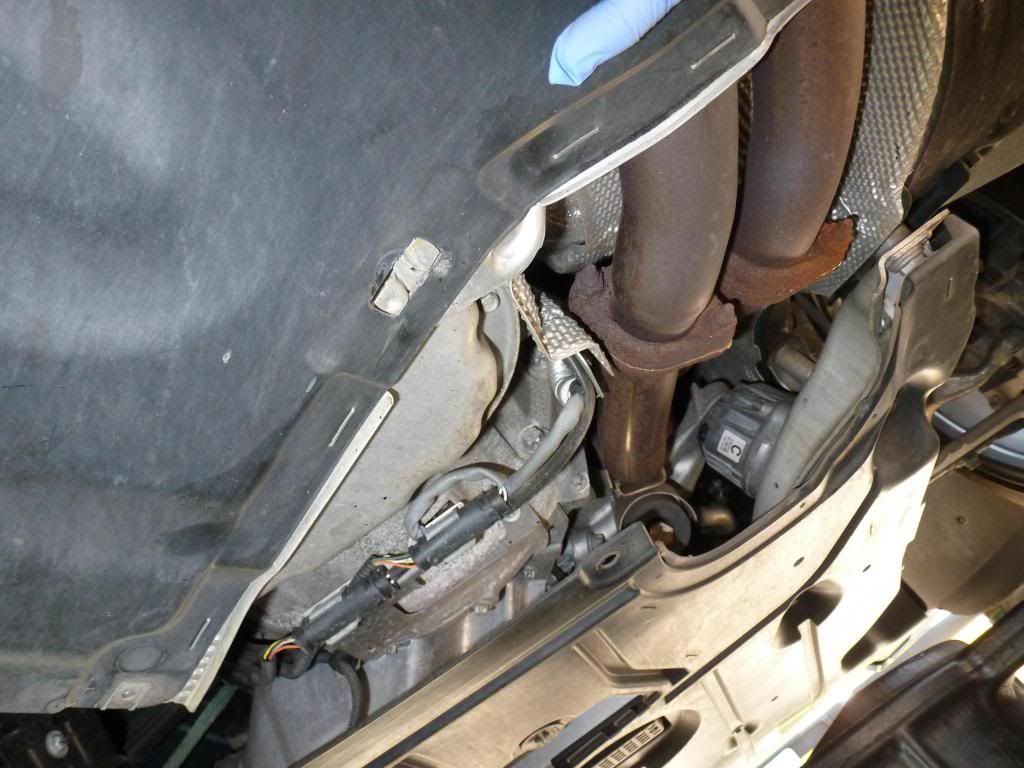
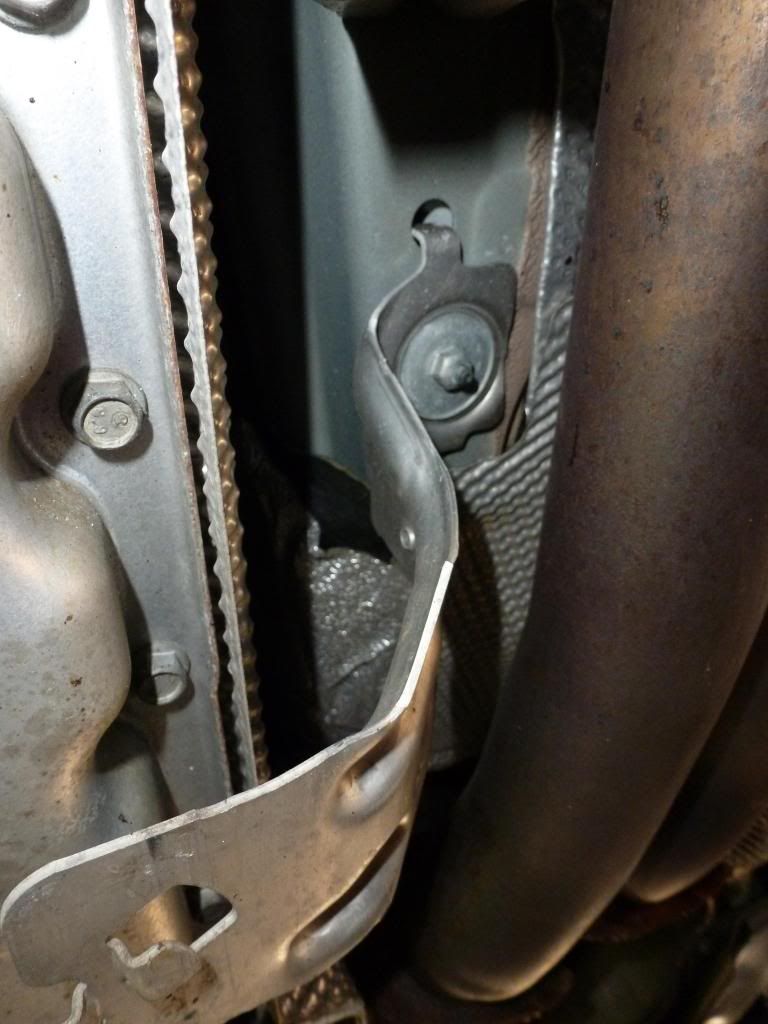
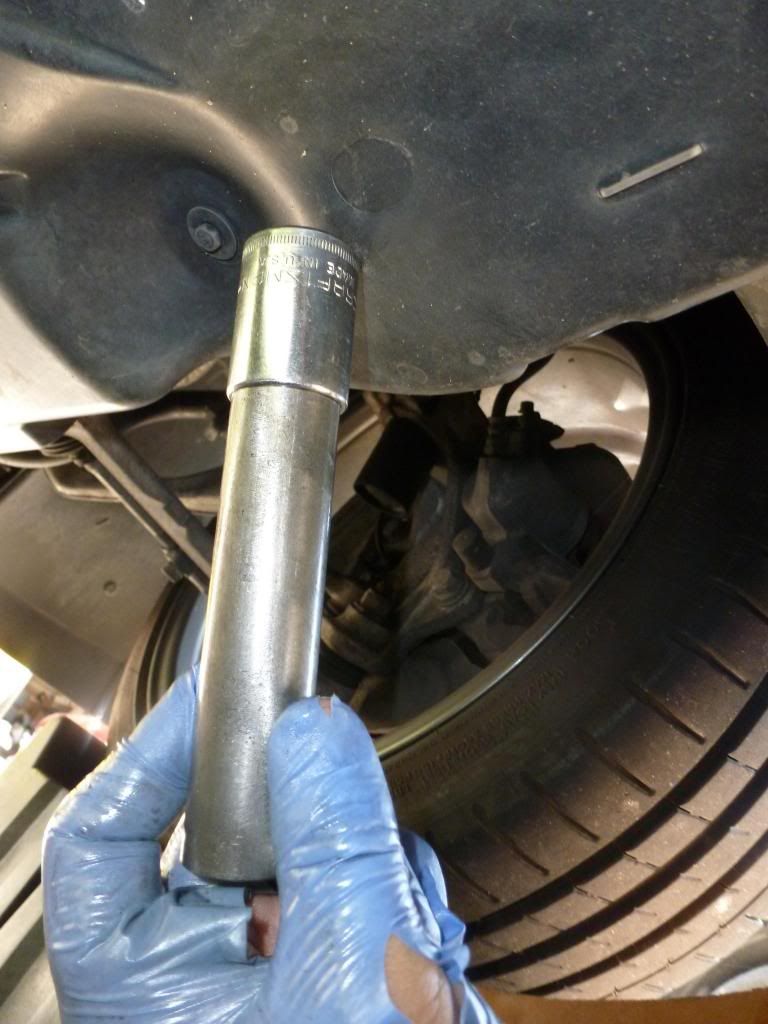
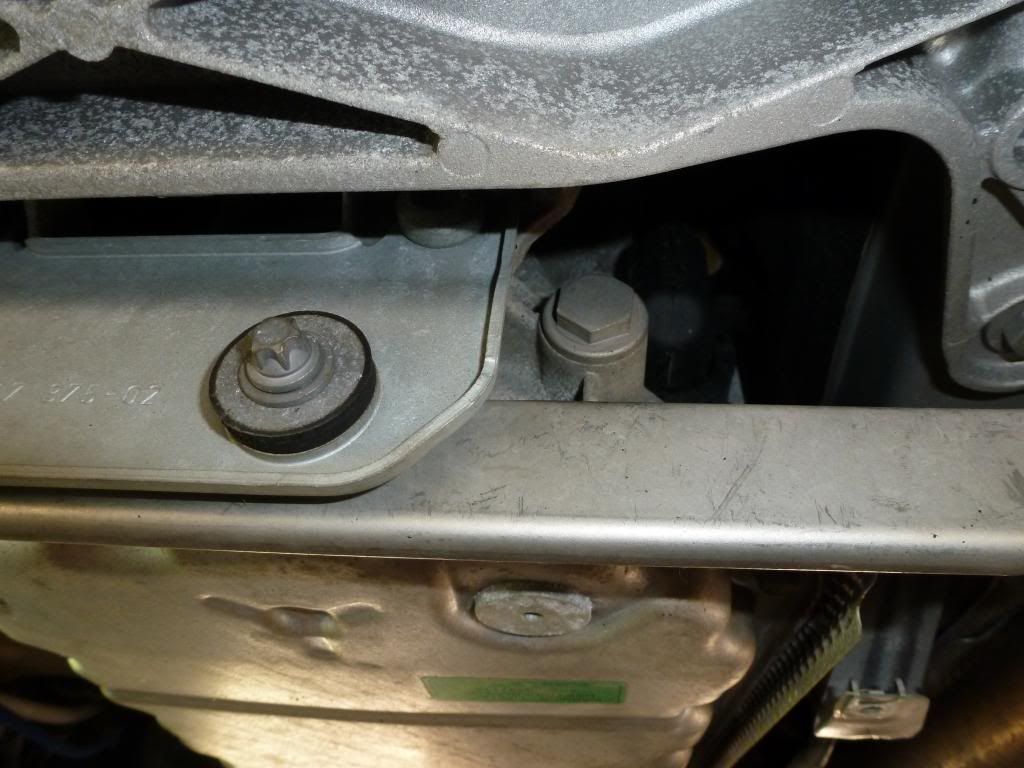
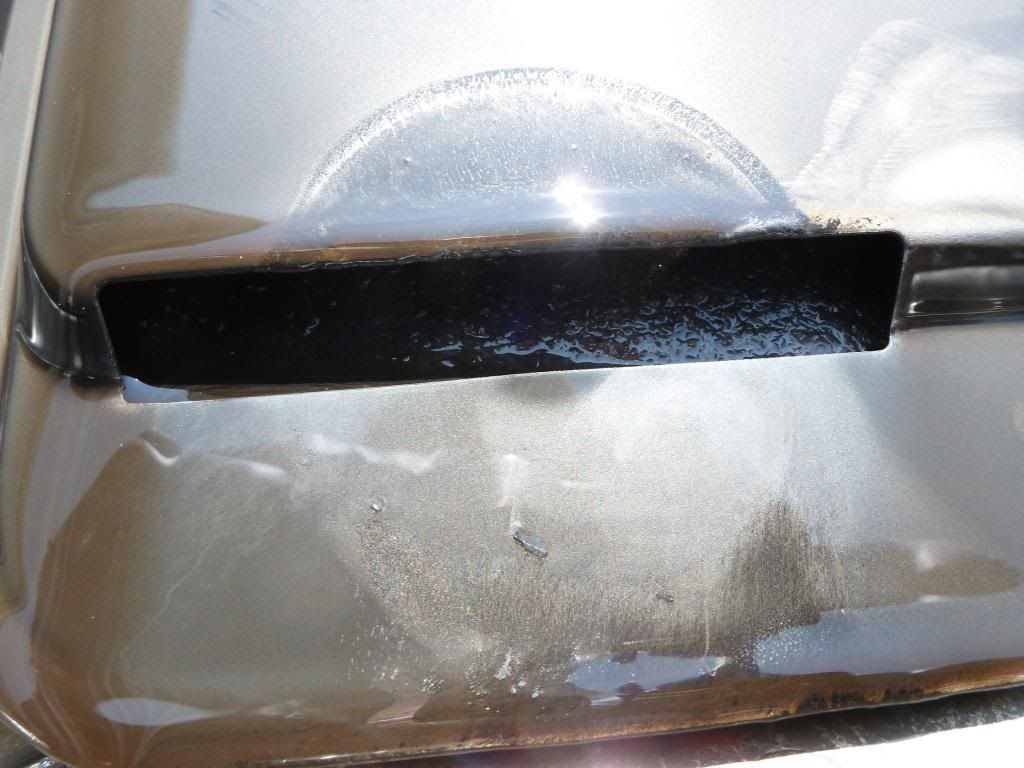
12. The fill plug is at the back of the transmission above the exhaust hanger. A 17mm wrench fits between the hanger and transmission. Fill the transmission until it starts to overflow, then, reinstall the plug . Mine took about 3qts before it started to overflow.
13. I reset the transmission adaptation settings before I started working on the car. You may or may not have to do this. I figured it was a good idea to do with fresh fluid. With the key in the ignition, press the ignition button with your foot off the brake, then hold the accelerator to the floor for 30 seconds. There are no chimes or dashboard indicators to tell you when the procedure is done. Then, press the ignition button again with your foot off the brake.
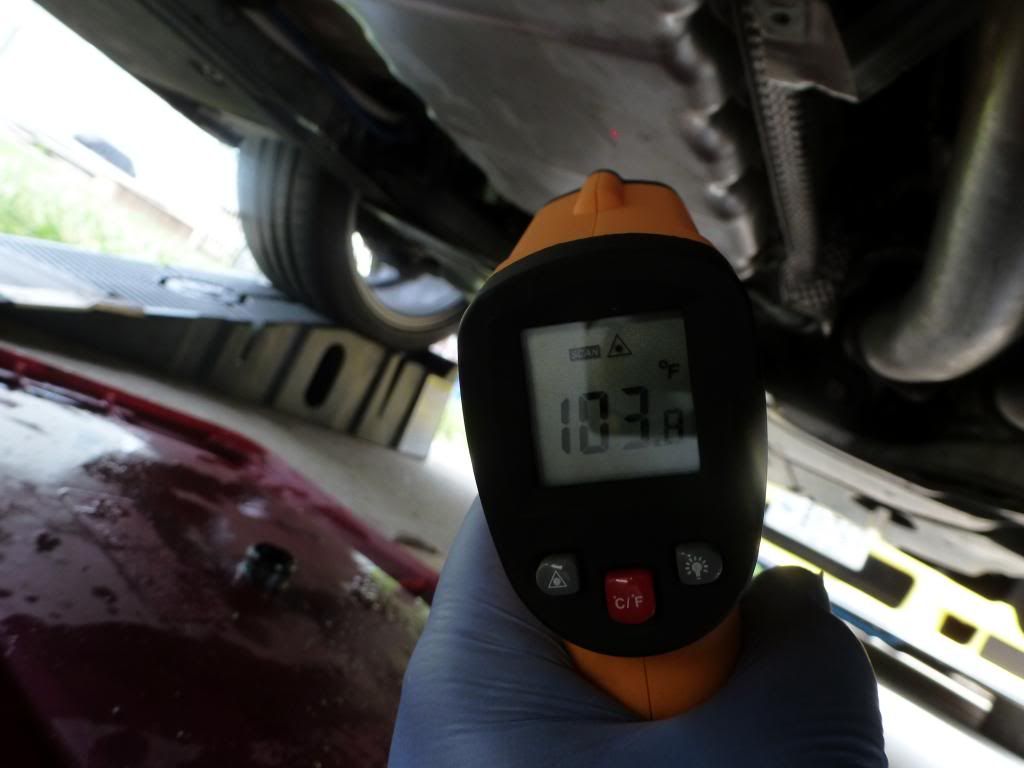
14. Start the car and run through its gears leaving it in each gear for a few seconds before changing it again. Let the car run (I left it in neutral) until the transmission gets up to temp. I think I let it run for about 20 minutes and verified the appropriate temperature for filling with an infrared thermometer on the pan.
14. Now be careful with the exhaust piping. You may want to come in from the opposite side of the car. Everything will be hot so carefully remove the fill plug and fill until it overflows again. Now, install the new fill plug and tighten it to 19nm. I approximated this since I was using a wrench and the transmission was warm.
15. Turn the car off, make sure everything is good before you lower it, and take it for a test drive. Verify everything is in working order. Now put the car back in the air and verify there are no leaks. Re-install the under panels (hand tight) and clean up shop.
Sidebar:
So here was my fluid. I am going to be sending it to Blackstone Labs for analysis to try and estimate an appropriate service interval. I will post back with the results. It appears 50k miles may have been too long on the original fluid judging by its color. It did not smell burnt though so that's good.
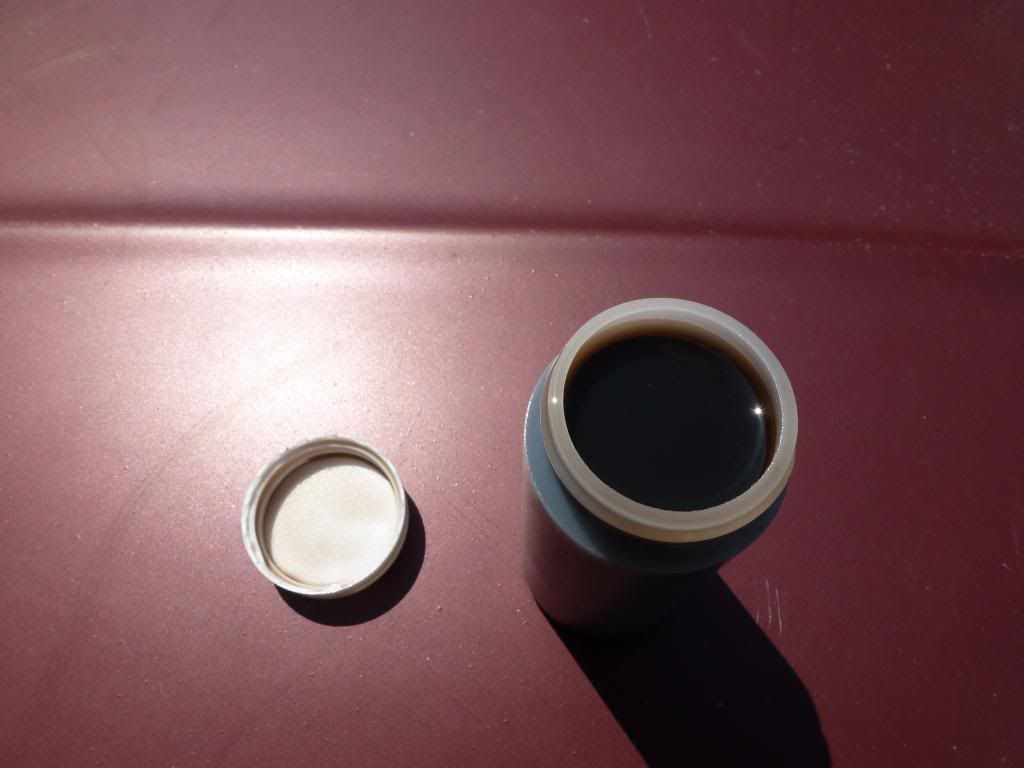
You cant tell the fluid used to be red.
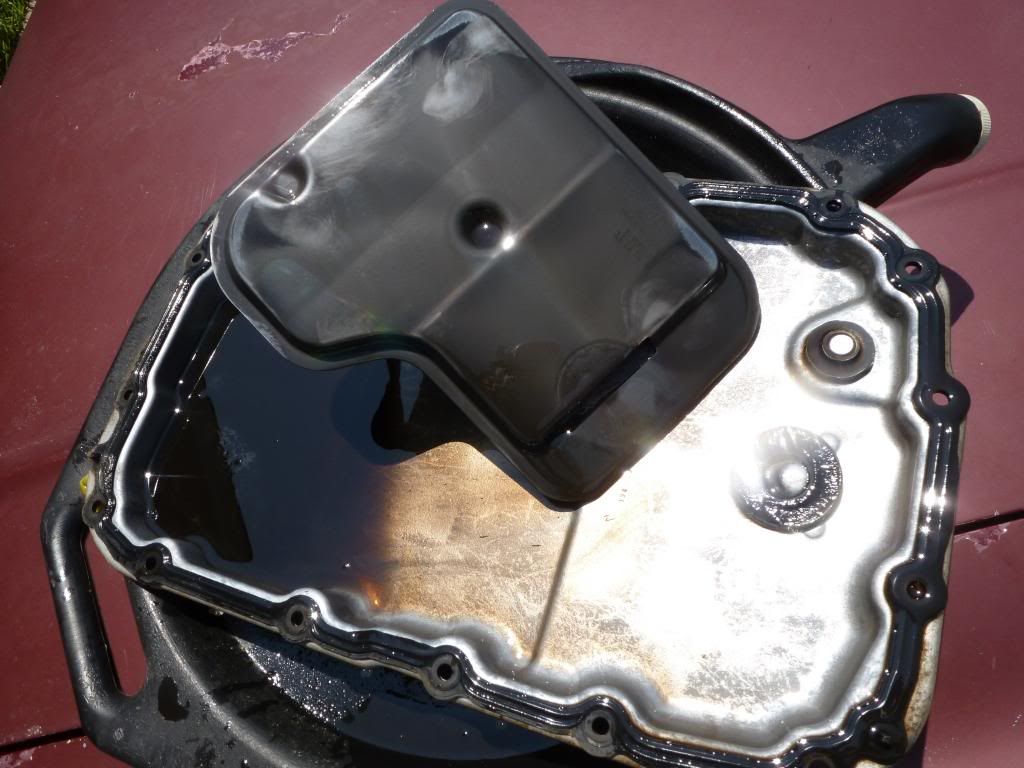
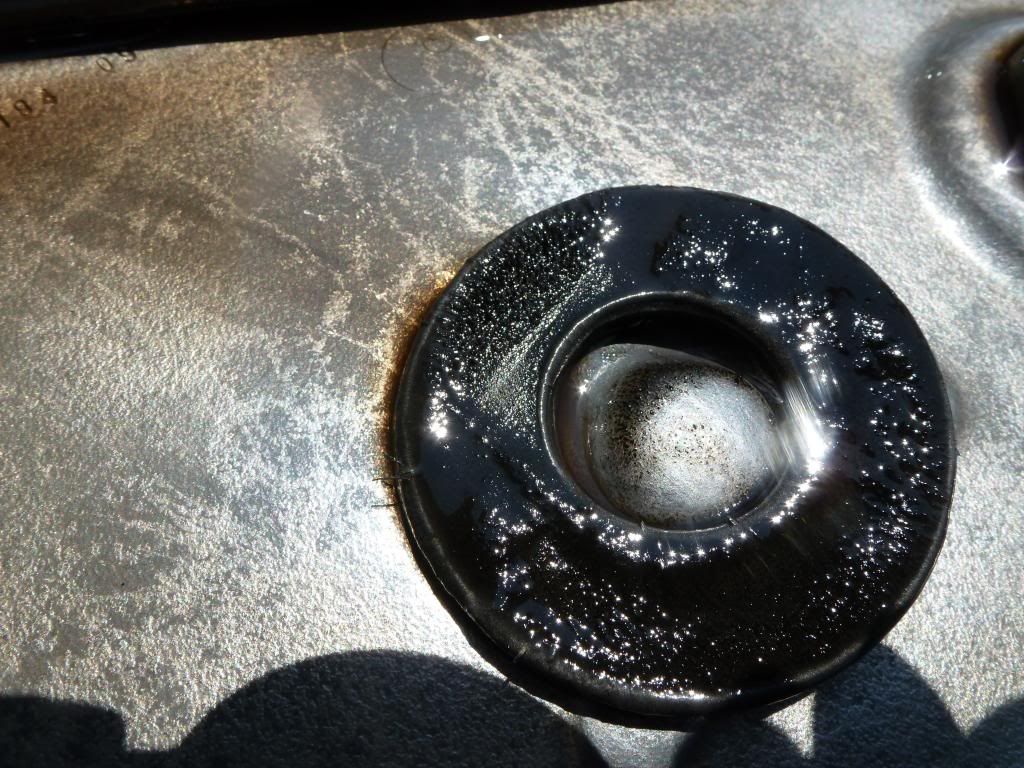
The stuff the magnet caught
And the stuff the filter caught. The new one looked like woven cotton. The old one is full of gunk.
UOA results show potential break in material in the fluid but nothing alarming. In fact they recommended a longer service interval next time around. I posted results in this
thread.