The next step of the process was to take care of some of the minor curb rash as shown below. There were some spots that were a little worse than this that I didn't get rid of completely because I didn't want to remove too much material.
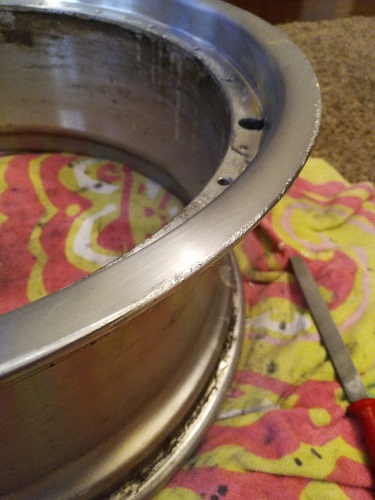
The easiest and fastest way to get rid of the rash without power tools was to use a fine file. Using a dremel with a flap wheel would be quicker, but I don't have one so hand tools had to make do. I tried to keep the area wet to keep the filings out of the way and the results turned out pretty good for my first time refinishing wheels.

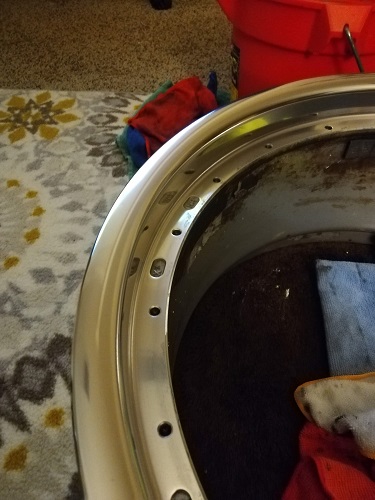
After the filing was done, I moved on to sanding with 220 grit paper to smooth out the filing marks. Then on to 400, 800, 1000, and 2000. This was pretty tedious and I didn't take any pictures in between steps, but y'all get the idea.
Helpful hint: Wear some heavy rubber gloves while doing this to save your fingers. It gives you better grip on the wet sandpaper, and keeps you from sanding away your fingerprints. I didn't use gloves until the last wheel and by that time I already had a pretty tender spot on my thumb where some skin was sanded away. The fingerprint scanner on my phone also didn't recognize my index finger for a couple of days!

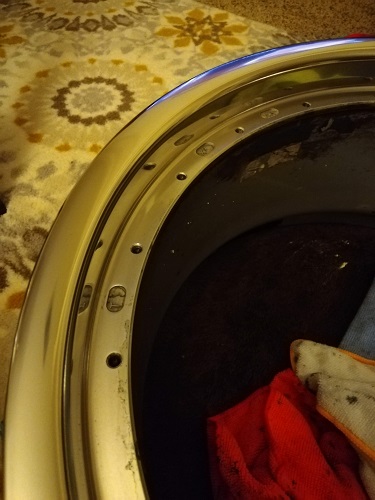
After all the sanding was done, I used some Mother's Mag and Aluminum polish and a mini powerball chucked into my cordless drill to polish the lips to a nice shine. Finally, I applied a sealant to hopefully keep them looking nice! I think they turned out looking great! Probably an 8.5-9/10 because there are still some deeper marks that I didn't remove but from 5 feet I think they look awesome

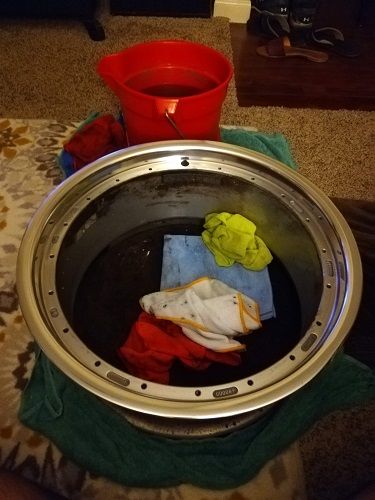
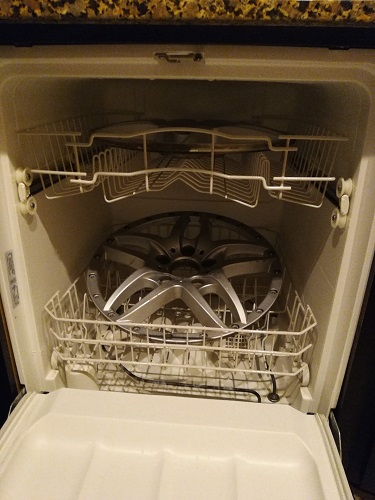
While I was sanding the barrels, I tried to get the centers as clean as possible to prep for paint. Work smarter not harder
Next on the list:
- Prep and paint centers
- Clean and polish original titanium bolts
- Anodize bolt heads
- Paint inner barrels?
- Reassemble!