This week has been fairly productive, albeit I only had a couple hours hear and there. I think I spent maybe five and a half hours total, but I'm happy with my progress. I apologize a head of time for my pictures. I had the wrong lense on my camera, and while it took some real good closeups of my work... you really can't get as good of an idea of what I am doing or where I am working as I'd have hoped. I will reshoot some pictures later to better show my cable and routing.
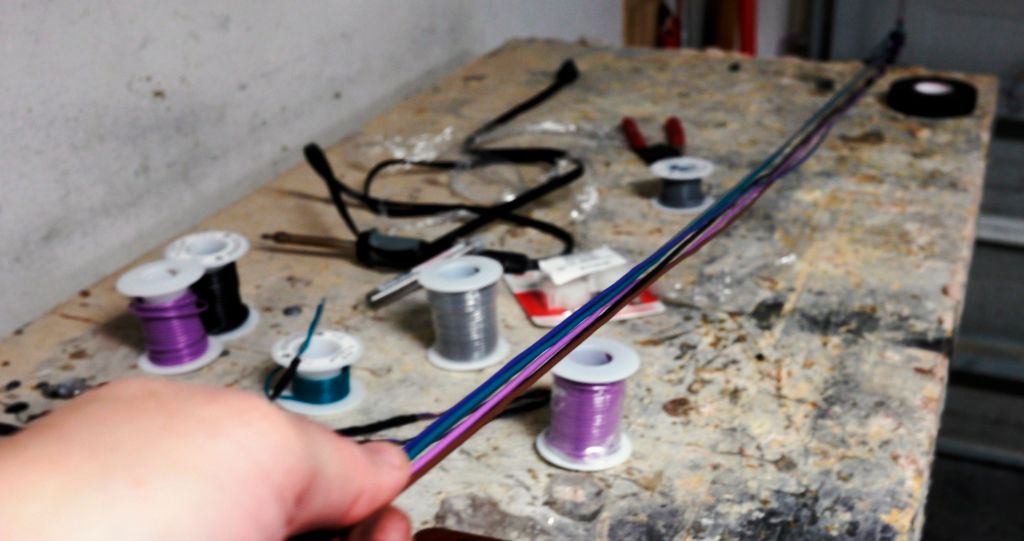
I was able to get my wiring harness completed except for one short run between the doors to under the front seats. I ran out of wire so had to order from my supplier. Basically I have made a short harness which ties the mid and tweet in the doors to a four-pin connector, then from there four wires will run to under the seat into a second harness (this one a 9-pin_ which carries 6 wires to a third harness at the amp that brings both sides of the car together. Bundled with the speaker wire from under the seat to my processor are two wires (signal)from the headunit on each side.
The reason for the harnesses is so I can install and remove equipment with ease and offer a more factory-esque install.
I also spent some time looking at power cable routing. Having reviewed several others installs where they put their amp in the OEM location at the left side of the trunk. Everyone seems to have a hard time routing their power cable to and from the battery without cutting or an unsightly path across the trunk.
The stock route along the back wall of the trunk offers a clear route once you remove the plastic trim around the lock mechanism.
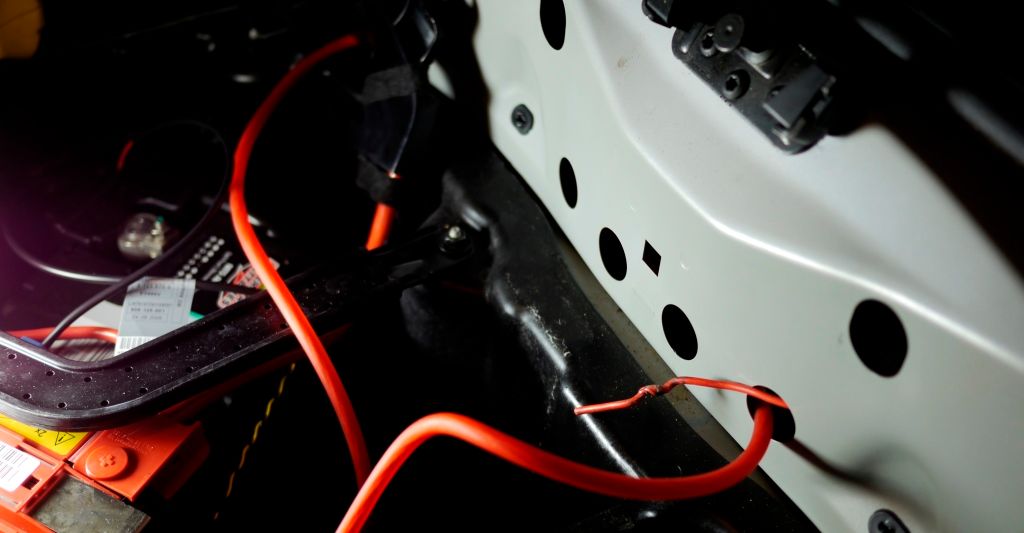
Using a coat hanger I routed my cable through the body along the trunk wall. I am only using 8 gauge power, so those running 4 gauge or larger may have a harder time.
I didn't feel my little class-d amp needed any more than an 8 gauge power and ground for the limited amount of power we will be pushing (85wx6channels)

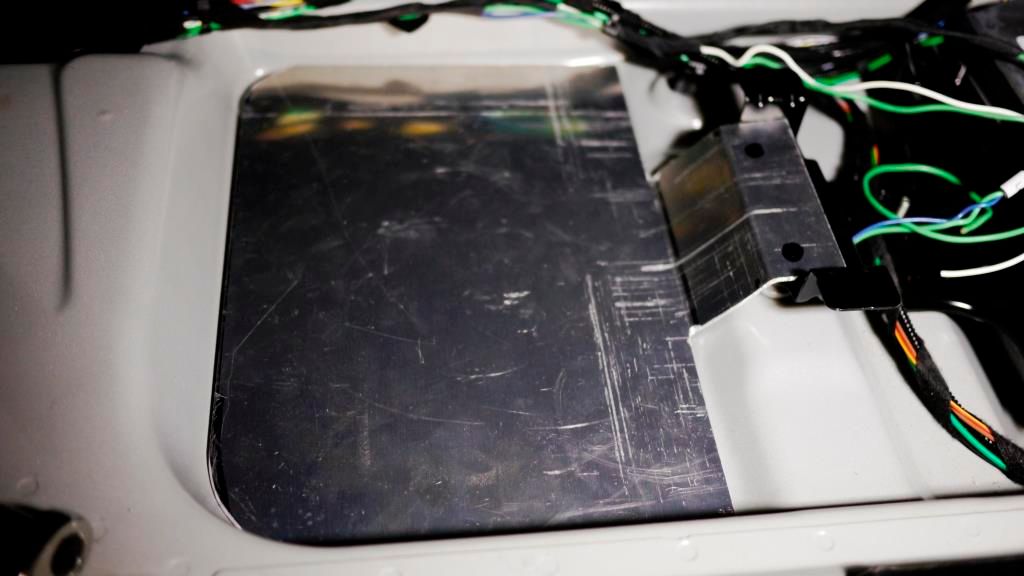
The last thing I got to this week was a mounting bracket for my processor. I used some picture mat material I had to make a template, and then cut a piece of aluminum to form the bracket.
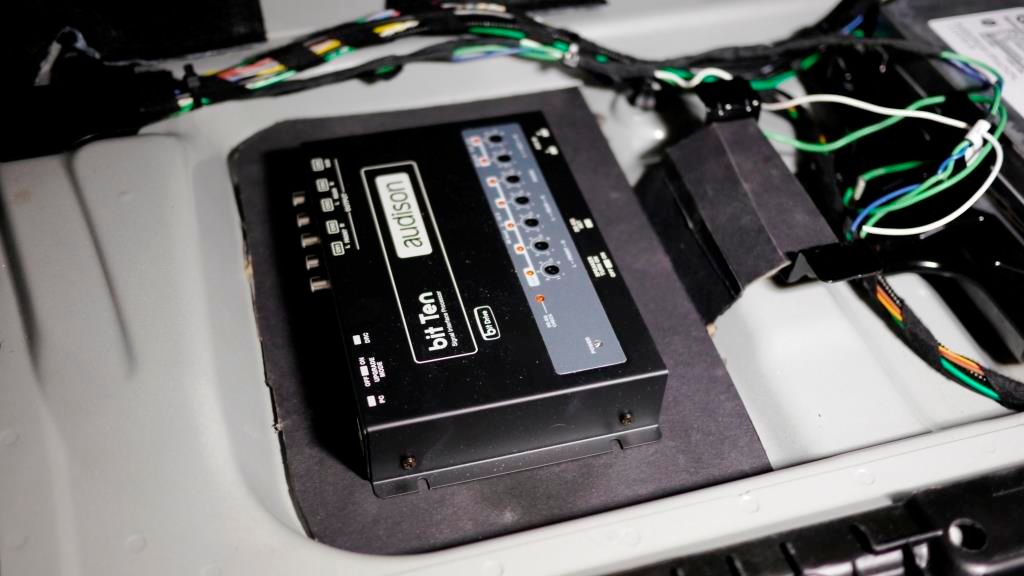
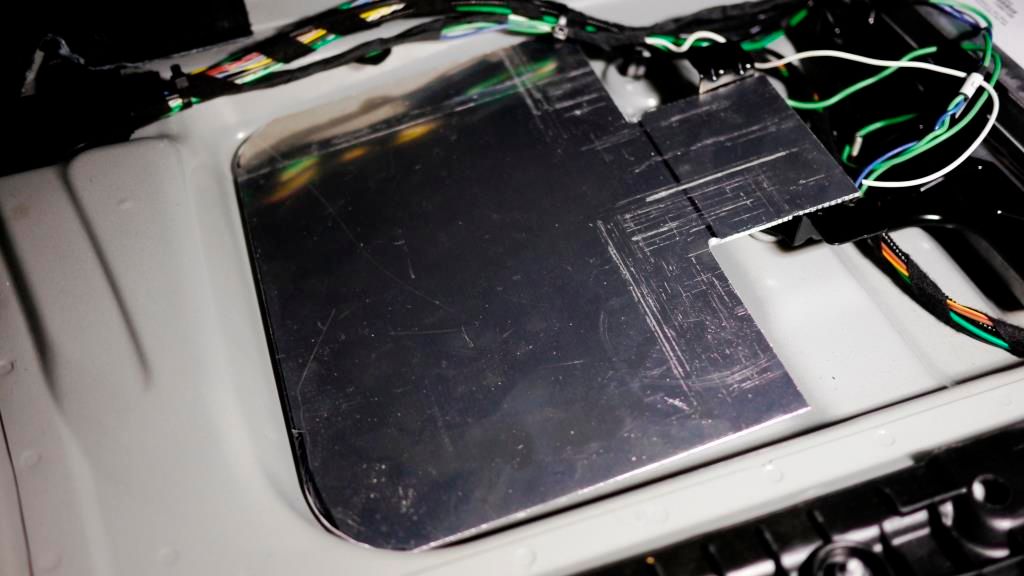
The end result will offer again an oem style mounting scheme for my components. I hope to finish this by painting and drilling mounting holes this weekend if I can.