In another episode of; "Matt does Something He Should Have Just Paid Someone Else to Do..."
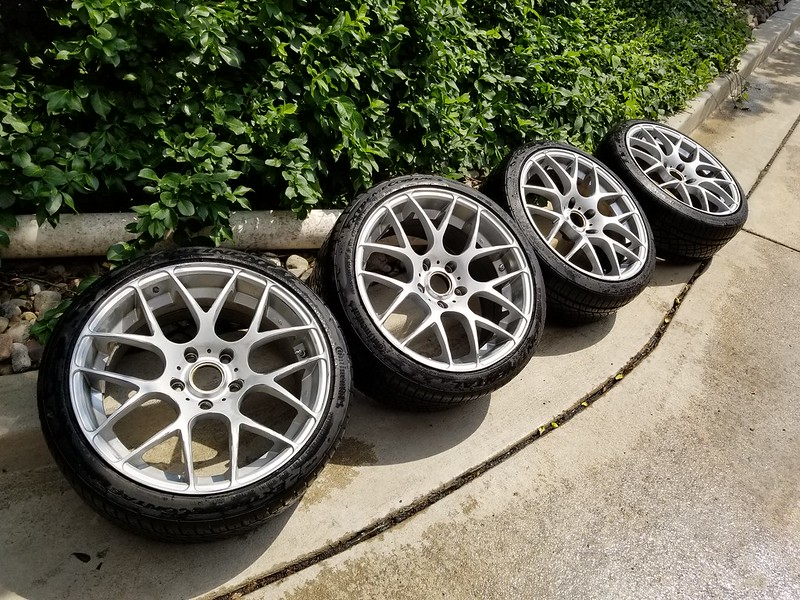
I decided on a bit of a whim to, instead of cleaning my car (which it actually really needs...), do a full(ish) resto on my wheels. They had really been showing their age lately; curb rash, pitting, burnt-in tar, clearcoat peeling, etc.
I'll spare the decision process and just go over the details of "how". Reason is because I would never do this again, despite the savings. It took an immense amount of very tedious effort, and all-in about 7 working hours. I should also mention I was not looking for perfection here, just for them to be in better condition than they were.
Steps:
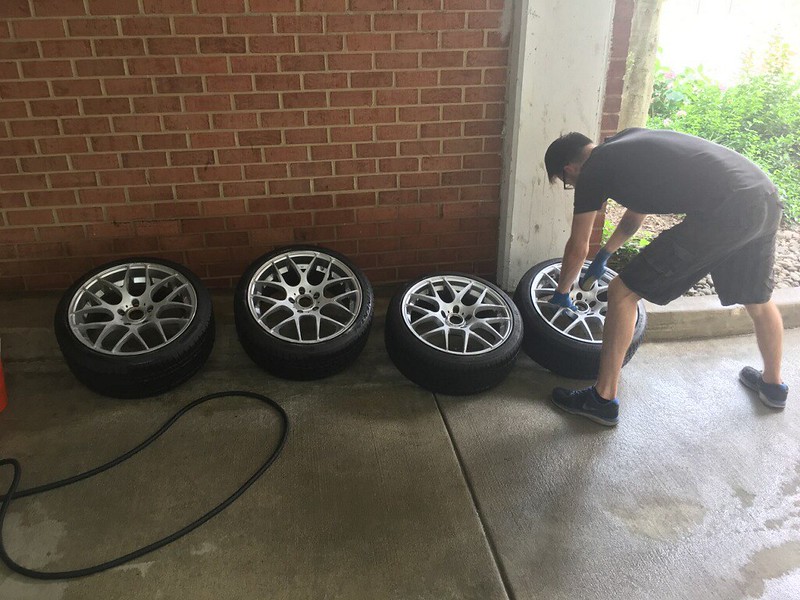
- Very thoroughly clean wheels and tires, inlcuding the back
- Sand down bigger imperfections with 80 grit paper and wire brush on a drill
- Sand further with 160grit on previously sanded areas as well as lesser imperfections
- Scuff all surfaces with 180grit pad
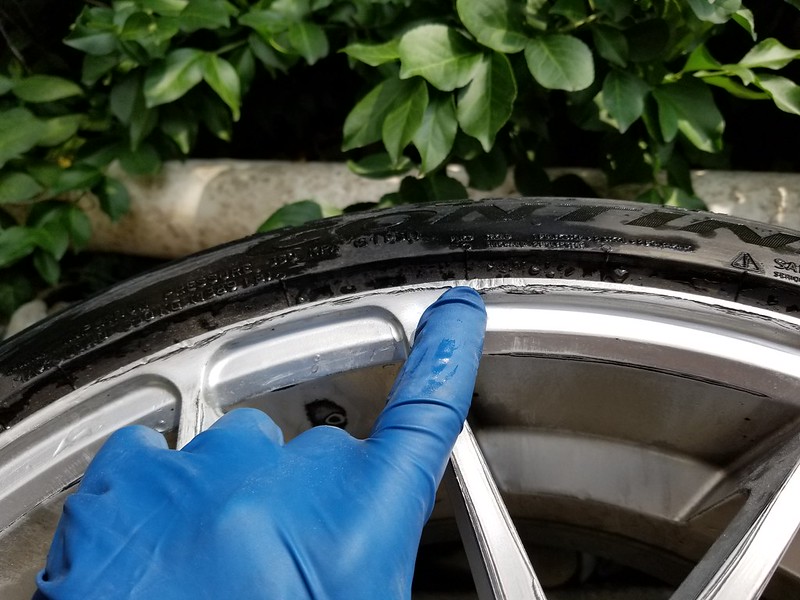
- Wash again and use alcohol to remove any substances on surface, apply automotive painters tape to tires and tire stems
- Spray down 2-30 thin coats of filler primer
- After 20 mins, wet sand with 320 grit (i wanted to kill myself during this part lol)
- Wash down and very thoroughly dry
- Apply 2-3 layers of base coat color
- After drying for 1 hour, apply 2 light coats of clear, followed by 2 heavy coats about 20 mins apart
Supplies Used:
- Dupli Color Hyper Silver Wheel Paint Kit $15
- Sand paper pack (wet/dry) $10
- Automotive painters tape $4
- Rubbing alcohol $2
- Soap/water/bucket/brushes etc
- Filler Primer $6
Washed up and out to dry for a bit
 20180617_153902
 by
Matt Steele, on Flickr
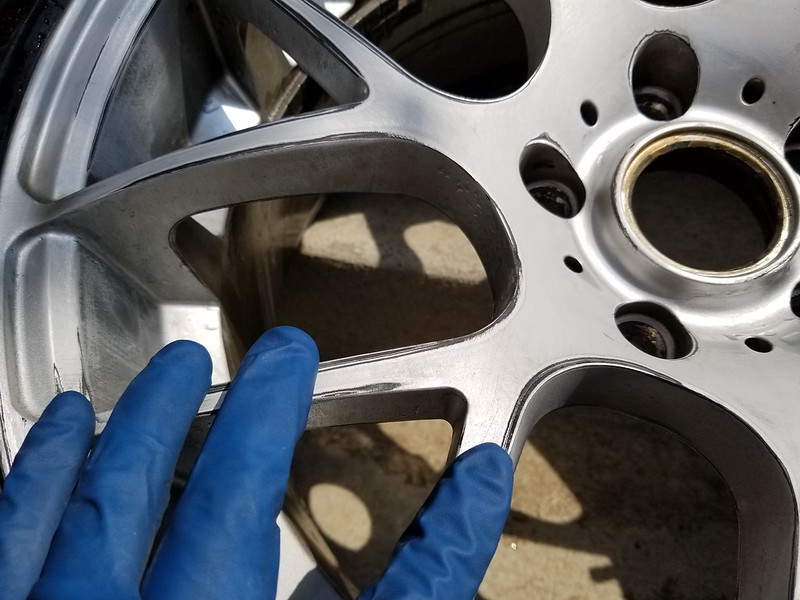
Sanded down major imperfections and scuffed up for primer. I could have used metal-infused body filler at this point to build up the bad curb rash, but these wheels honestly aren't worth the effort for how minimal the damage was.
 20180617_153912
 by
Matt Steele, on Flickr
 20180617_153931
 by
Matt Steele, on Flickr
Still sanding..........
 imagejpeg_0
 by
Matt Steele, on Flickr
 imagejpeg_4
 by
Matt Steele, on Flickr
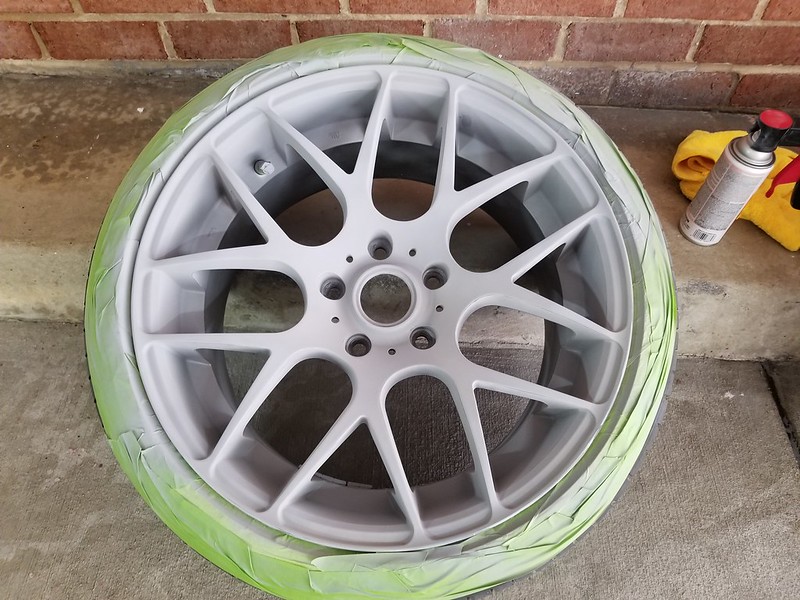
Primed up!
 20180617_182113
 by
Matt Steele, on Flickr
Primer sanded and smoothed
 20180617_202053
 by
Matt Steele, on Flickr
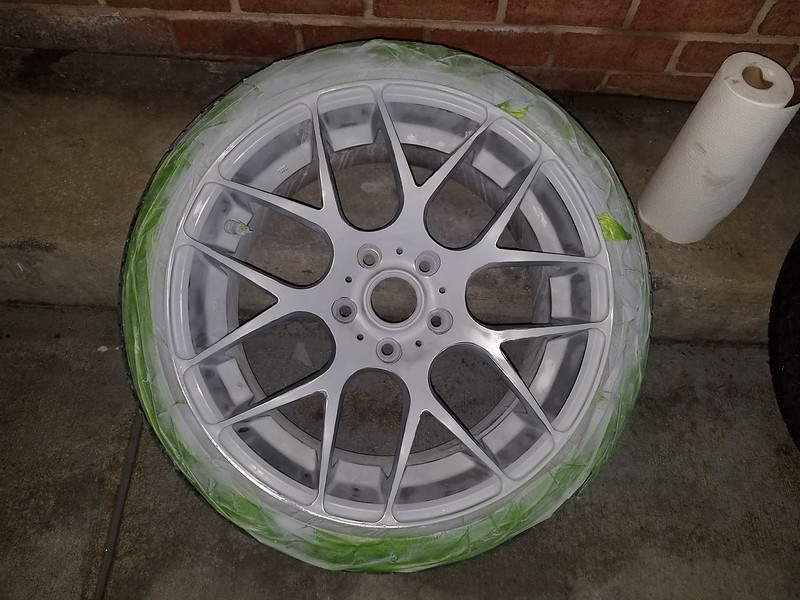
First coat of color
 20180617_204124
 by
Matt Steele, on Flickr
Color done, waiting on clear
20180617_204124 by
Matt Steele, on Flickr
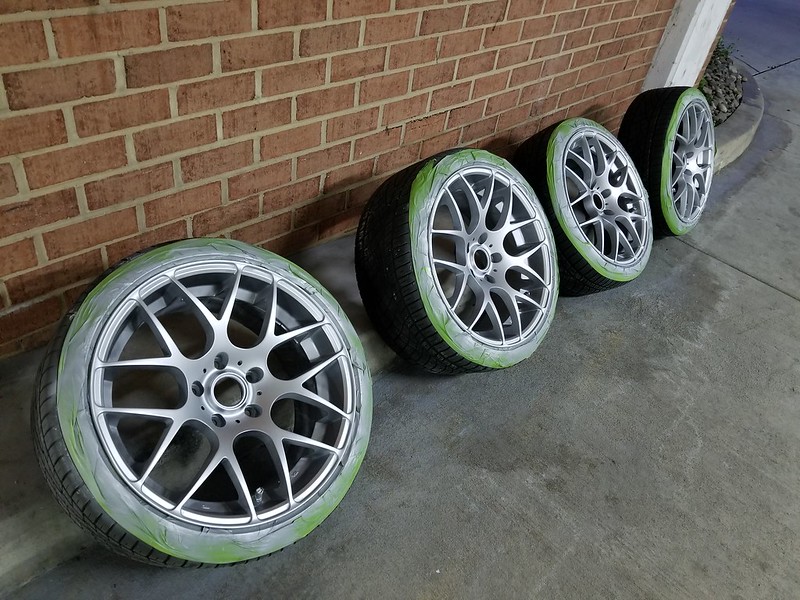
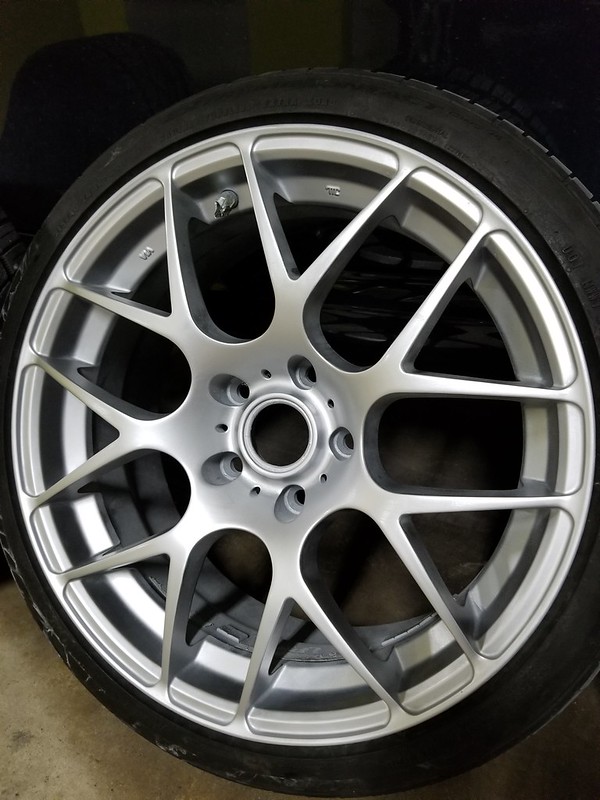
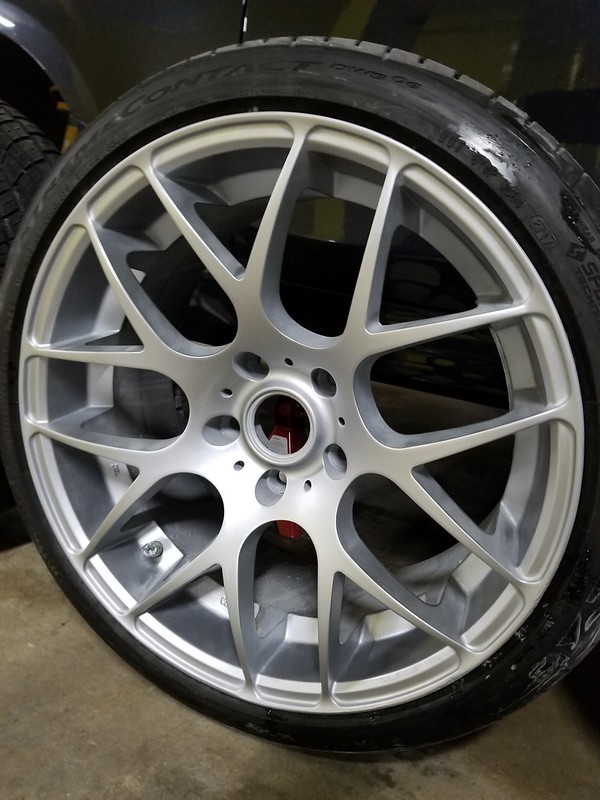
All done!
 20180617_211219
 by
Matt Steele, on Flickr
 20180617_211229
 by
Matt Steele, on Flickr
 20180617_211237
 by
Matt Steele, on Flickr
In the end, the fronts came out better than the rears, ironically since they were in worse shape to start. I'm thinking I spent more time sanding them for this reason, so the rears have some spots that aren't totally smooth.
Overall I'm happy with the results, especially for the cost. But the effort, specifically on these CSL style wheels, is insane. If I didn't have tires on them I'd have taken them to just get sand blasted.
In person I'd say they're up to a 8.7/10 in condition now, from a 6/10.