This thread is about how I installed F30 Calipers on my 128i, and trying to put everything I learned into one thread. Edit: This works the same for 135i owners.
CHOICES
There are basically four or five different types of Caliper and Rotor upgrades you can make.
1. The calipers that come stock on the 135i and also appear to be sold as 6 piston BMW Performance Brakes. (I did not go with this upgrade due to numerous posts regarding the pistons fracturing when tracked.)
2. M-SPORT CALIPERS (Blue four piston calipers)
3. Blue M-SPORT Four piston Brembo Calipers
3a. BMW M Performance Brake System, Yellow F30 F31 F32 F33 F34 F36 Big Brembo Kit.
4. F30 - 335i Standard model Calipers (Grey Brembos)
5. Big Brake Kit from Stop Tech, Brembo, etc.
I ultimately decided to go with the grey 335i calipers due to cost. I purchased an entire front and rear set off of ebay for $559 and $100 shipping. (My understanding is all Calipers on the f30 335i are either the grey brembos or the fancy pants blue brembos.)
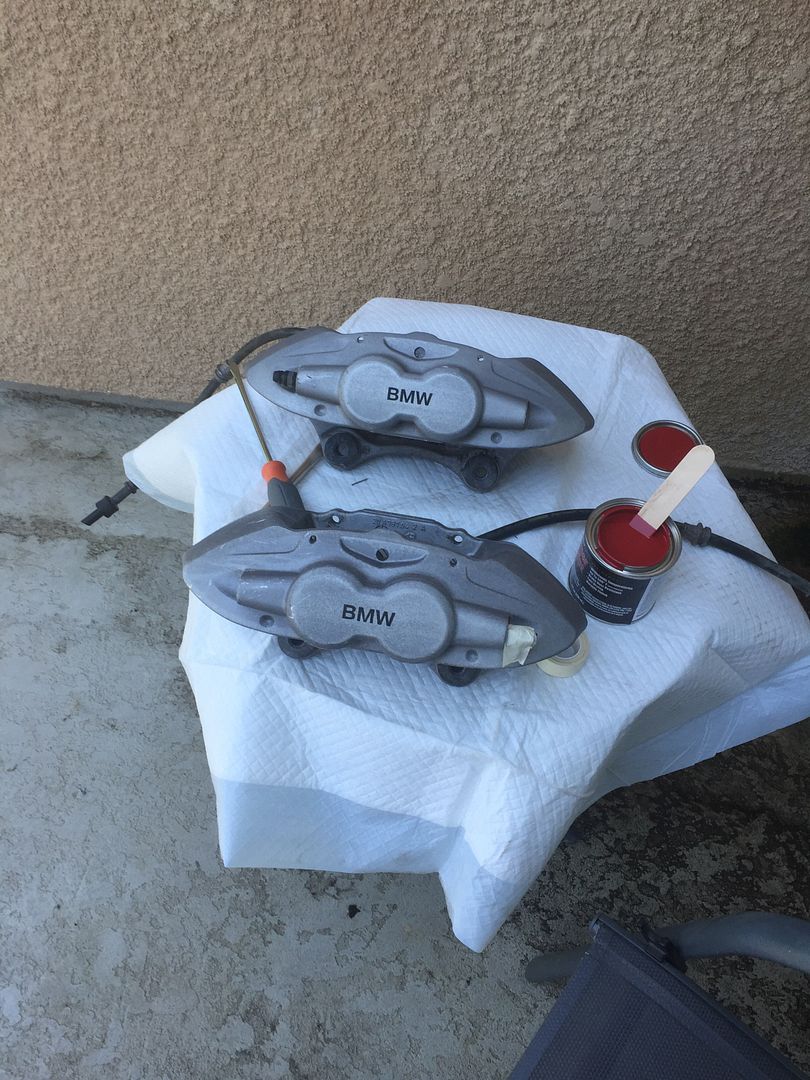
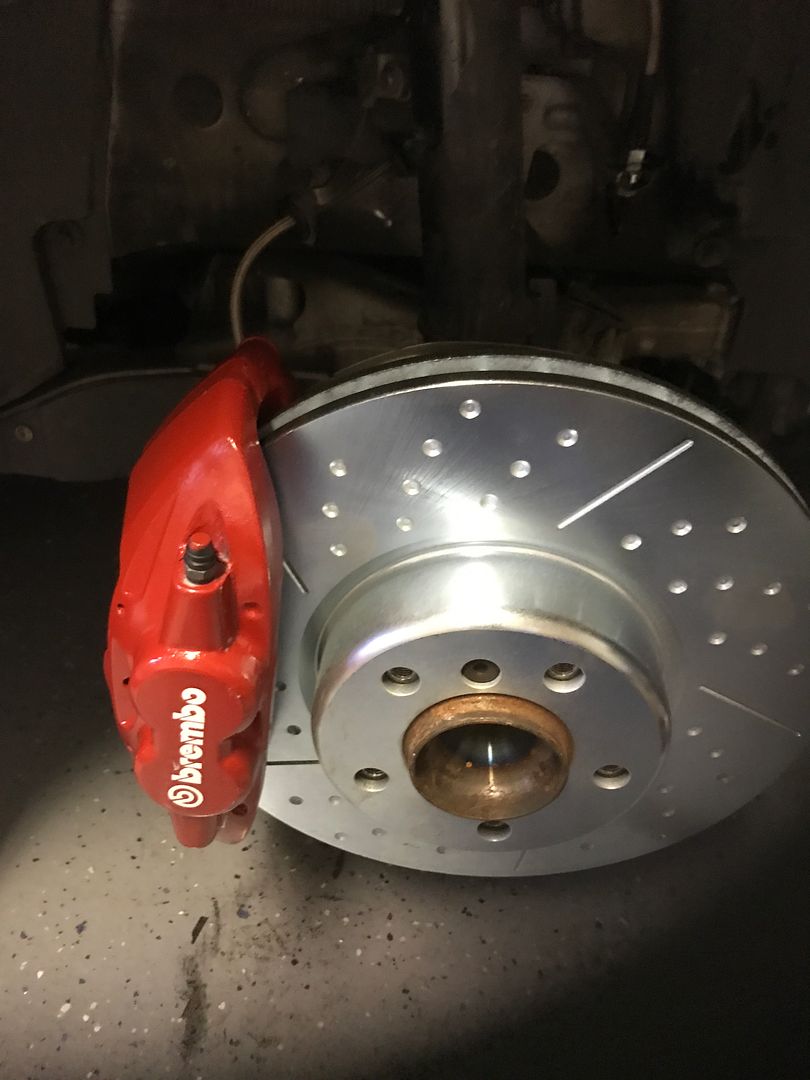
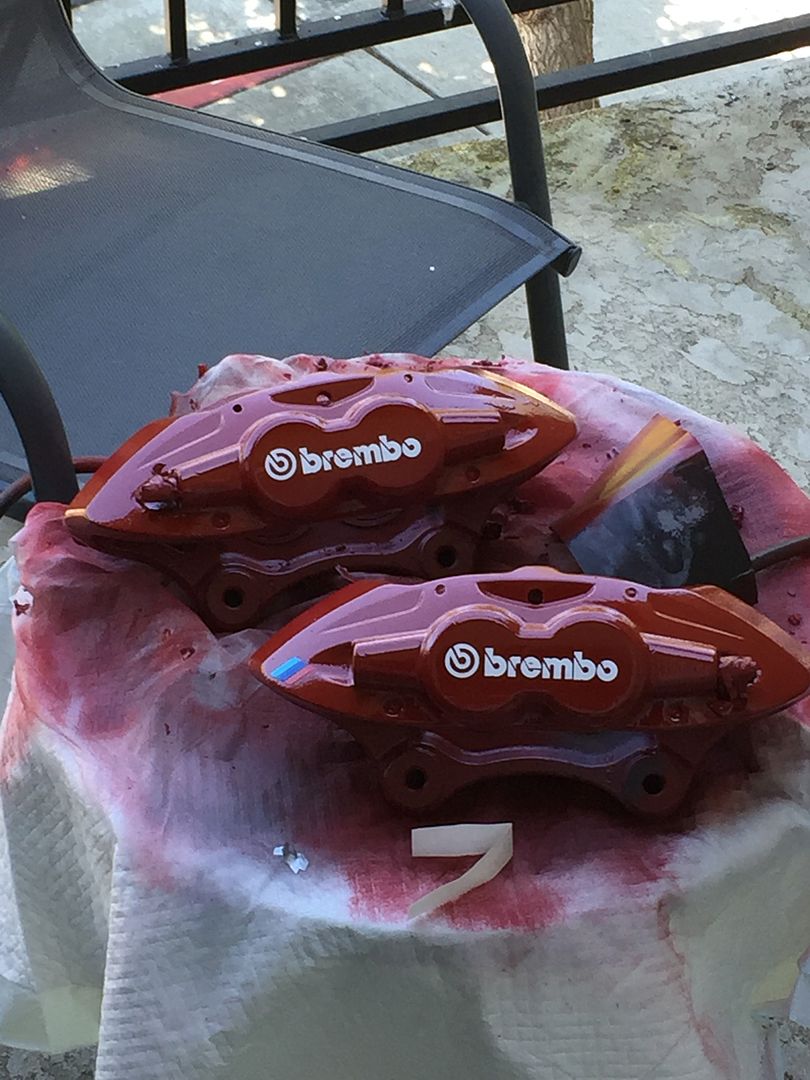
In order to class these up a little bit, I elected to paint them. I used Dupli-Color primer, red, and then clear coat.
(I first tried to use the brush on caliper paint. This stuff is not very good, and doesnt leave a nice clean look. I ended removing all of it and redoing with the Dupli-Color spray cans. Absolutely use primer.
ROTORS---
My understanding is that one difference between the Blue M-Sport Brembo Calipers and Grey Brembo Calipers is the size of the rotor used. The Blue M-Sport Brembo rotors are pricey. But the Grey Brembo stock rotors are plain but not pricey.
I sourced new slotted and dimpled rotors from CQUENCE.COM. I ordered rotors for a 2014 base 335i vehicle and then had them slotted and dimpled so they look identical to the pricey rotors for the Blue M-Sport Brembo Calipers. The total price per rotor was less than $100.00. (These rotors are actually made by Stop-Tech)
When ordering rotors I shopped by vehicle using 2013 BMW 335i.
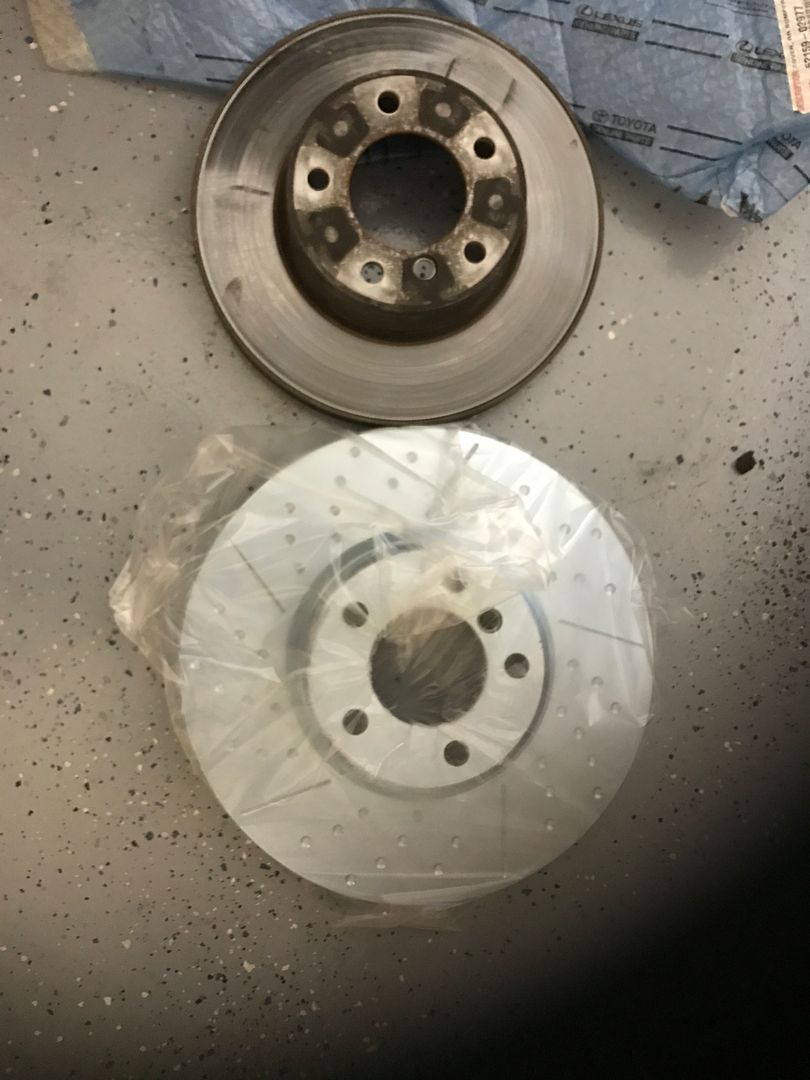
^^^^NOTE: For some reason, BMW slotted and dimpled rotors are not made to be directional, which means the slots will run in opposite directions on each side. Therefore, you get two identical rotors, which are not side specific.
PADS (and sensor)---
The used Calipers I purchased came with stock pads with lots of life. I elected to go with Ceramic Brake Pads because I like low dust and on the track they hold up better than the stock semi-metallic pads.
I ordered Centric Posi Quite Ceramic Pads from Tire Rack for $89.00. I searched using pads for a 2014 BMW 335i Base Model Built On Or After 3/2014. Manufacturer Part #: 105.16090. These pads are serviceable and they come with new pins and spring for the calipers with the brakes.
I ordered a new sensor from Tire Rack as well. I am not sure it matters, but I searched using 2008 128i. Manufacturer Part #: 116.34033. This was $13.00
BRAKE LINES---
I also upgraded brake lines to Stoptech Stainless Steel Brake Lines. These have the plastic coating on the lines to prevent dirt from prematurely wearing the stainless steel brake line. I ordered these from ECS.
In ordering this part, I searched for brake lines for a 128i. Mfg Part #PLBE9X335I; ECS Part # ES#3024290
Brake Fluid:
I used StopTech STR-600 High Performance Brake Fluid. I used 2 liters.
Dust Shields:
YOU DONT NEED TO REPLACE THEM. I read that you needed to replace the dust shields, this for me was false. I have my stock dust shields and they touch the caliper in one small area but work fine.
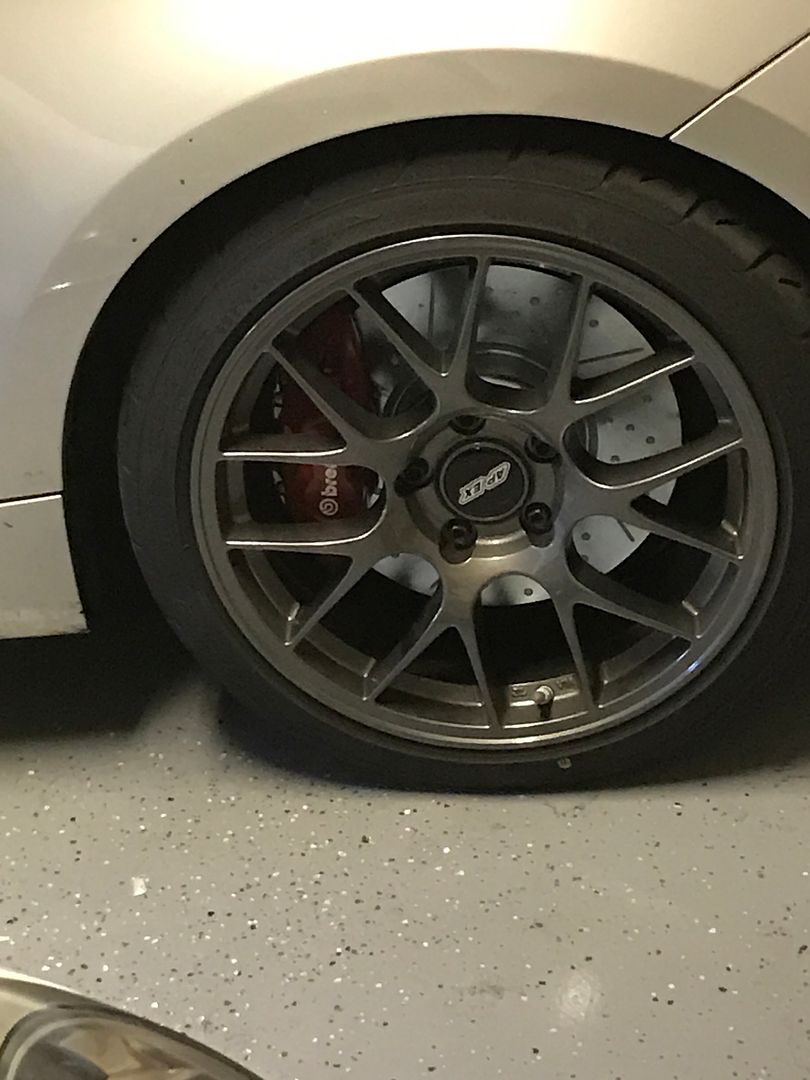
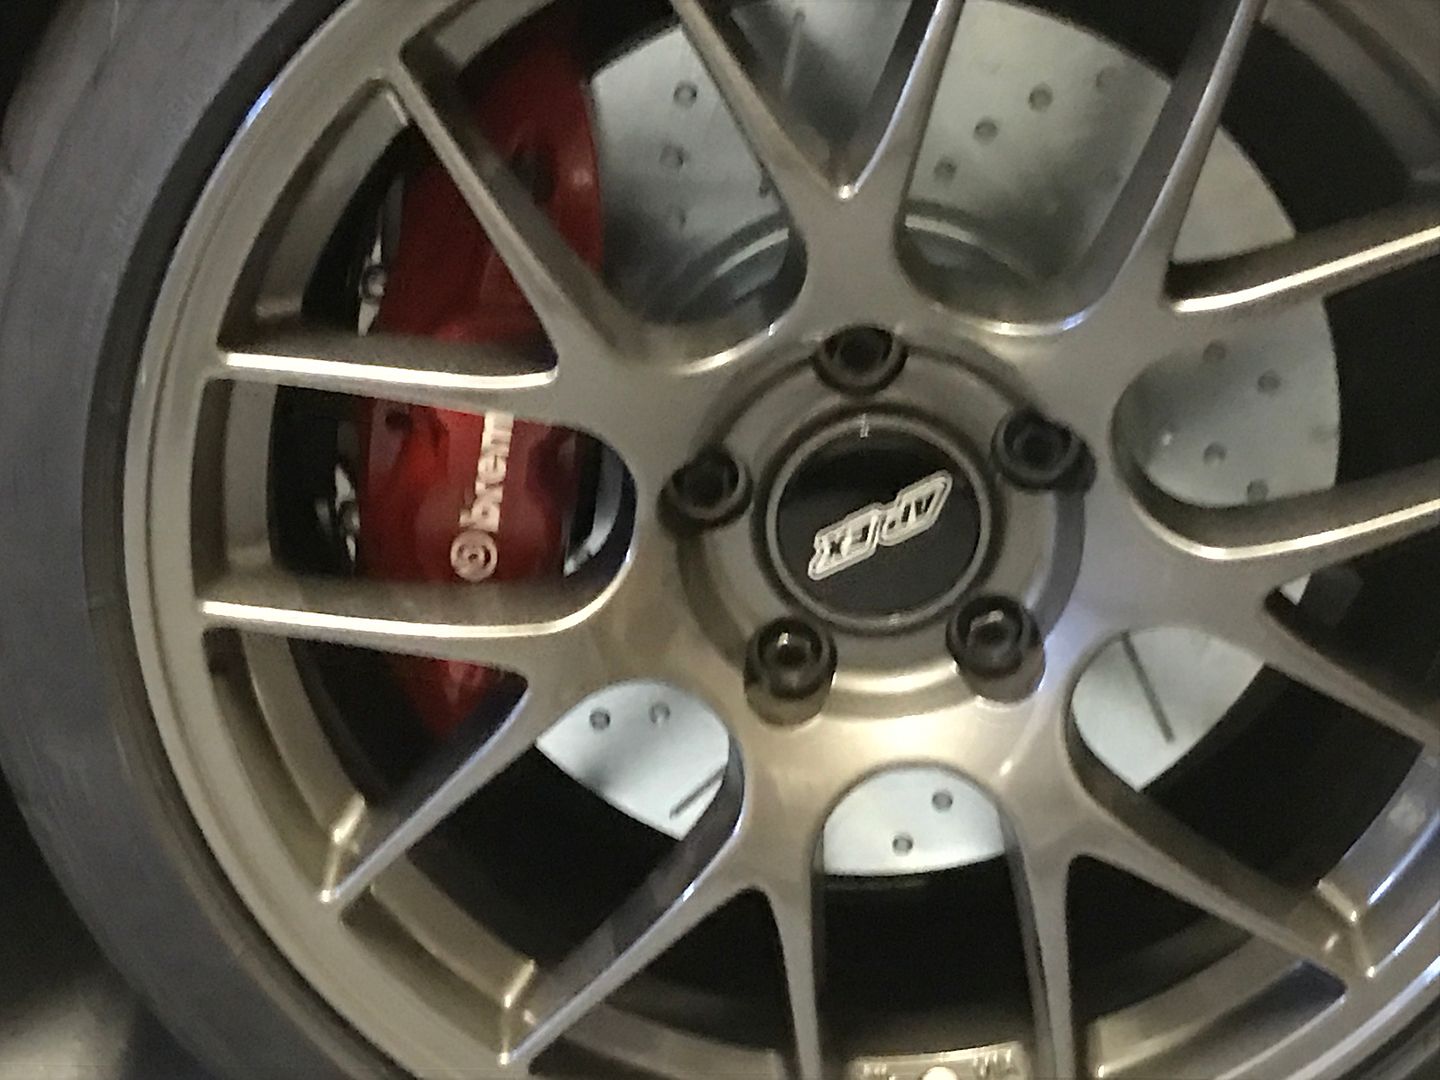
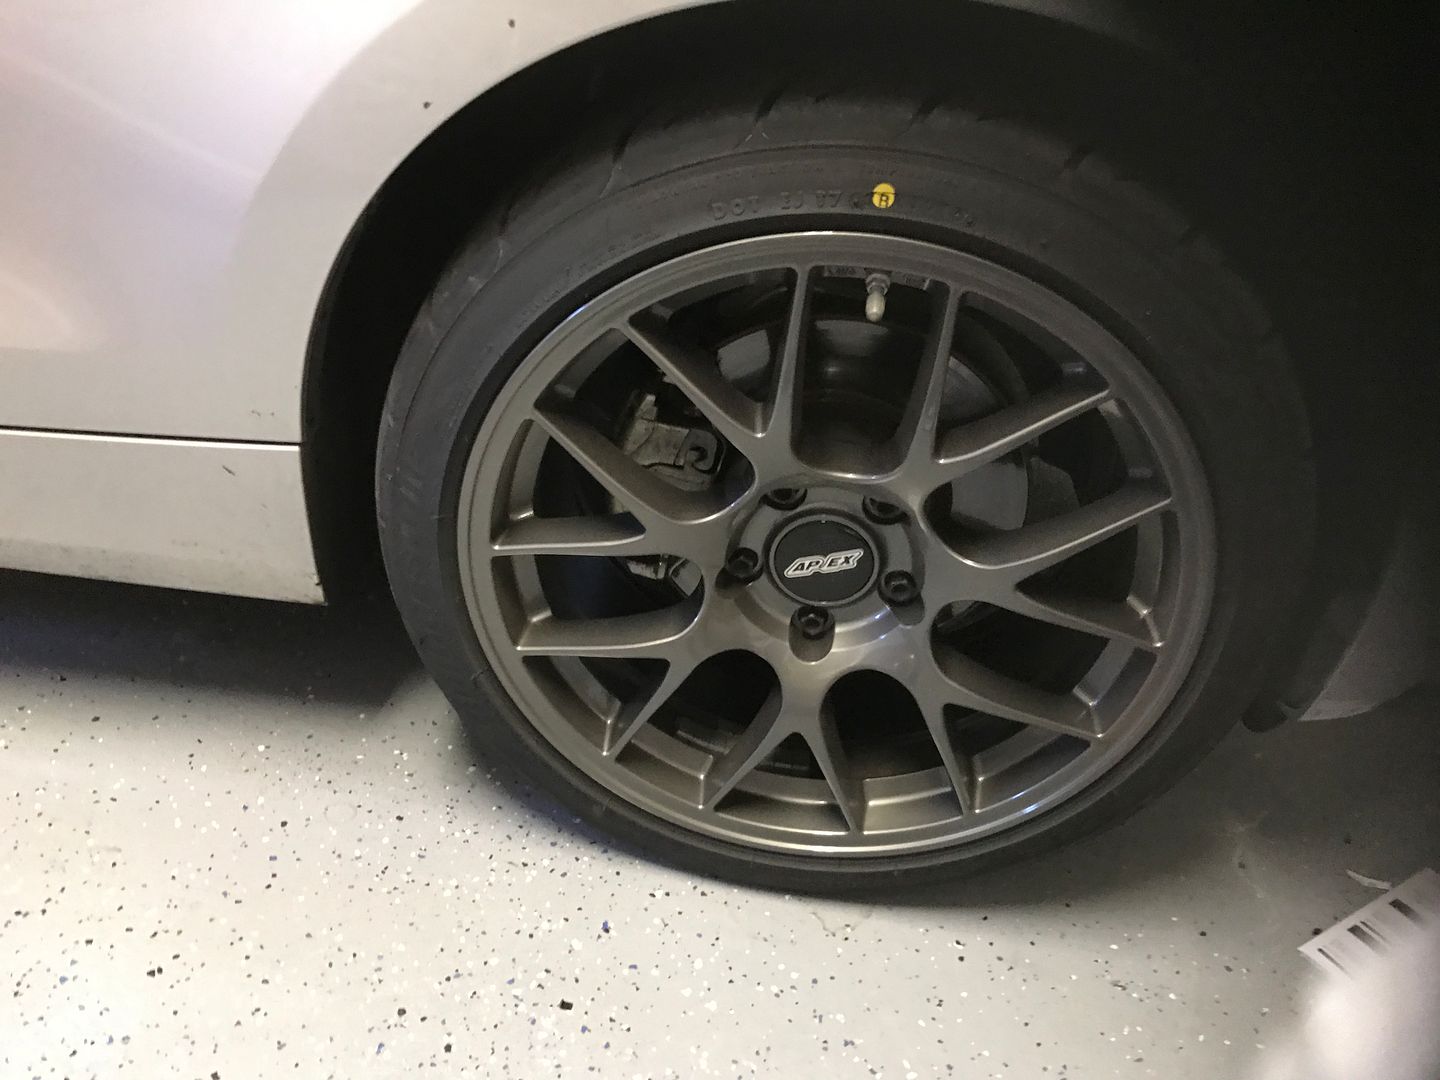
These parts bolt up fine and all work together. I have 18 inch wheels so I am not sure if these would fit a 17.
Installation is very easy.
1. Remove the two bolts holding the caliper to the spindle. Remove the old caliper and support it so it is not hanging by the brake line. Zip tie or a box to support.
2. Attach new stainless steel brake lines to the calipers BEFORE installing. (Also press in pistons). Do not install pads yet.
3. Place new Rotor on and screw in place.
4. Remove stock brake line from steel line. This will free the old caliper. (you will need to place something under the car or on the ground because brake fluid will leak out.)
5. Bolt up the new caliper to the spindle. I did not completely tighten. Just enough to hold caliper in place while I tightened the stainless steal brake line to the steel line. (When installing, make sure the bleed valve on the Caliper is facing up/ on the top)
6. Tighten brake line to steel line and position the two rubber grommets on the brake line accordingly.
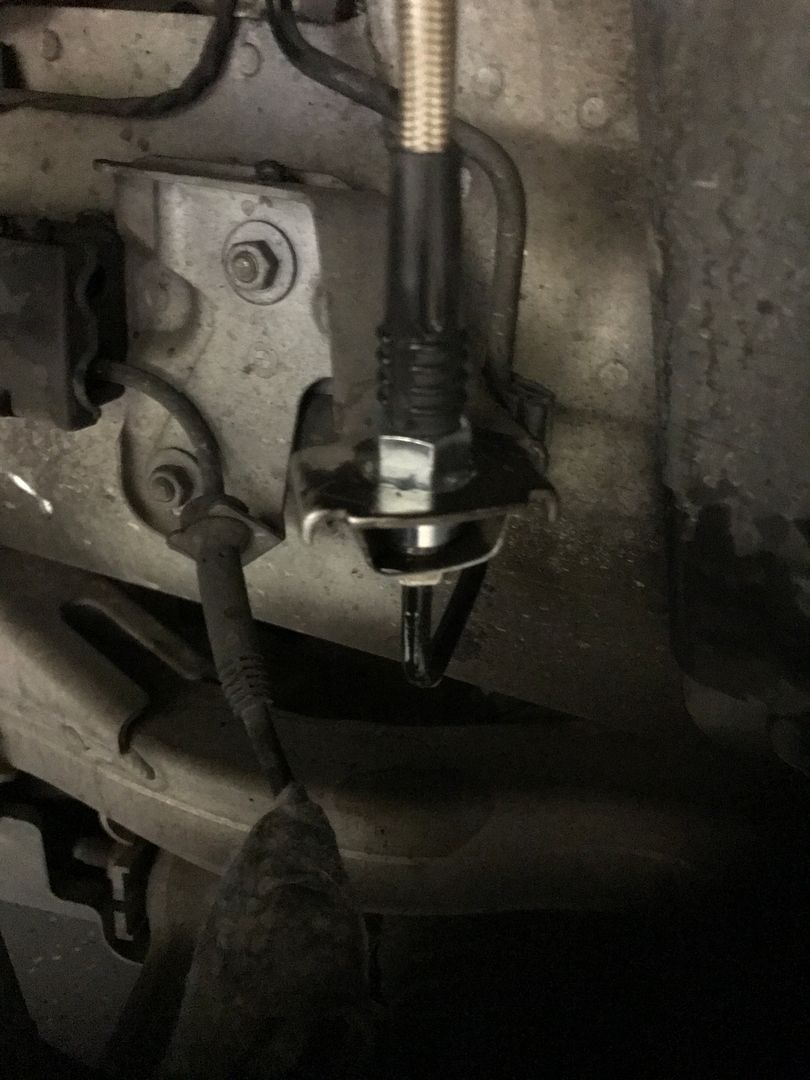
7. Replace the sensor. The connection point is in a small black rectangle box. I just removed the entire wire and connection from the box enough to take off the old sensor wire and reconnect the new. Then place back in the box.
8. Tighten up the Caliper, and now install brake pads. If the pads do not slide in, its because the pistons have not been full retracted.
9. Do the passenger side in same manner.
10. BLEEDING: Keep the master cylinder full. The new brembo calipers have two bleed valves. One on the interior and one the exterior. Bleed the exterior first and then the interior. (I forgot about the interior bleed valve and had some issues.)
Total Cost Roughly:
$660.00 Calipers and Shipping
$200.00 Rotors
$90.00 Pads
$13.00 Sensor
$30.00 Paint, Primer, Clear.
$993.00 total. Add another $130 of stainless steel brake line upgrade.
Review: I have not had an opportunity to drive the car too much, but the brakes feel great. I do not notice any issue with bias due to the different type of calipers. I guess I will learn more when I track it, but, initially, I have zero concerns about brake bias.