

|
|
|
|
|
| 07-24-2018, 01:35 PM | #1 |
|
Lieutenant
 
425
Rep 545
Posts |
DIY: Refinishing BMW Style 71 Wheels
I've been wanting to change up the look of my car a bit and recently found some BMW style 71 wheels for sale on craigslist. I like the two piece design and decided to buy the set and refinish them as a new set of wheels for daily driving.
Nice stack of new wheels hanging out with my track wheels and spare tires for the style 68's. Starting to acquire a bit of a collection here: The wheels themselves are in decent shape, no bends or cracks, but definitely need refinishing and there's a bit of pitting, some minor curb rash, and the paint is a bit faded on the centers. The first step was to clean them up a bit and remove the centers from the barrels. This was honestly a lot harder than I expected because the bolts were on there pretty tight and there's 76 of them! Not to mention it was hot as balls outside this weekend while I was doing this. Also, the bolts are a weird 8mm triple-square bit, but I was able to find one in stock at NAPA Auto parts for about 8 bucks. Luckily, I didn't snap any of the bolts, and a couple whacks with a dead blow hammer popped the centers out easily. With the centers removed, I stripped the clear coat from the lips and then scrubbed them off with a scotchbrite pad. It took two coats of the paint stripper to get all of the clear coat off, but I probably didn't wait long enough for the first coat to work its magic before I started scrubbing... Anyway, with the chipped and faded clear coat removed, the wheels are already starting to look better! The next step is to take care of the curb rash and polish the lips to a nice shine...to be continued!
__________________
2011 BMW 135i ///M-Sport, DCT
Bilstein B12 kit, Dinan camber plates, M3 front control arms, Whiteline poly RSFB, MHD Stage 1, cp-e Charge Pipe, H&R Front sway bar, BMW performance diffuser |
| 07-24-2018, 01:56 PM | #2 |
|
Lieutenant
425
Rep 545
Posts |
The next step of the process was to take care of some of the minor curb rash as shown below. There were some spots that were a little worse than this that I didn't get rid of completely because I didn't want to remove too much material.
The easiest and fastest way to get rid of the rash without power tools was to use a fine file. Using a dremel with a flap wheel would be quicker, but I don't have one so hand tools had to make do. I tried to keep the area wet to keep the filings out of the way and the results turned out pretty good for my first time refinishing wheels. After the filing was done, I moved on to sanding with 220 grit paper to smooth out the filing marks. Then on to 400, 800, 1000, and 2000. This was pretty tedious and I didn't take any pictures in between steps, but y'all get the idea. Helpful hint: Wear some heavy rubber gloves while doing this to save your fingers. It gives you better grip on the wet sandpaper, and keeps you from sanding away your fingerprints. I didn't use gloves until the last wheel and by that time I already had a pretty tender spot on my thumb where some skin was sanded away. The fingerprint scanner on my phone also didn't recognize my index finger for a couple of days!  After all the sanding was done, I used some Mother's Mag and Aluminum polish and a mini powerball chucked into my cordless drill to polish the lips to a nice shine. Finally, I applied a sealant to hopefully keep them looking nice! I think they turned out looking great! Probably an 8.5-9/10 because there are still some deeper marks that I didn't remove but from 5 feet I think they look awesome  While I was sanding the barrels, I tried to get the centers as clean as possible to prep for paint. Work smarter not harder Next on the list: - Prep and paint centers - Clean and polish original titanium bolts - Anodize bolt heads - Paint inner barrels? - Reassemble!
__________________
2011 BMW 135i ///M-Sport, DCT
Bilstein B12 kit, Dinan camber plates, M3 front control arms, Whiteline poly RSFB, MHD Stage 1, cp-e Charge Pipe, H&R Front sway bar, BMW performance diffuser |
|
Appreciate
1
Esteban43788.50 |
| 07-24-2018, 04:31 PM | #3 | |
|
Major General

43789
Rep 7,224
Posts |
Quote:
Looking good, though!
__________________
 |
|
|
Appreciate
1
Artdnj394.00 |
| 07-25-2018, 10:14 AM | #4 |
|
Lieutenant
425
Rep 545
Posts |
Got caught up at work yesterday so I didn't have time to stop and buy paint on the way home, but I tried to at least get a little bit done by polishing up the wheel bolts. First, I soaked the bolts in vinegar for a couple hours to get most of the dirt and grime off. Then, I chucked each one up in the drill and ran a scotchbrite pad over it for a few seconds. Repeat 75 times and you're left with a bowl full of nice shiny bolts! Gave them a quick rinse to get any remaining dust off and now they're ready for anodizing.
__________________
2011 BMW 135i ///M-Sport, DCT
Bilstein B12 kit, Dinan camber plates, M3 front control arms, Whiteline poly RSFB, MHD Stage 1, cp-e Charge Pipe, H&R Front sway bar, BMW performance diffuser |
|
Appreciate
1
desertman1232213.50 |
| 07-27-2018, 11:24 AM | #5 |
|
Lieutenant
425
Rep 545
Posts |
Bought a can each of duplicolor grey filler primer, graphite wheel coating, and gloss clear to try out on one of the centers and see if I liked it. First I scuffed the centers up with 400 grit sandpaper and then cleaned and degreased with simple green.
Laid down 3 coats of filler primer and then sanded with 800 grit Then came 3 coats of color as directed on the can And finally 3 coats of gloss clear After letting it dry for a bit, I had to put the center together with the barrel for a quick mock-up. I think it turned out great! Now to go buy a few more cans of everything for the other three wheels.
__________________
2011 BMW 135i ///M-Sport, DCT
Bilstein B12 kit, Dinan camber plates, M3 front control arms, Whiteline poly RSFB, MHD Stage 1, cp-e Charge Pipe, H&R Front sway bar, BMW performance diffuser |
|
Appreciate
2
Fakemike369.50 bobowar1353479.00 |
| 07-30-2018, 11:06 AM | #7 |
|
Lieutenant
425
Rep 545
Posts |
Over the weekend I got a lot more done on the wheels. First, I went to the store to get some supplies for anodizing the bolt heads:
- 6 pack of 9V batteries - Etching solution (I used a powdered cleaner that contained Oxalic acid, but it didn't really work. I'll get a bottle of Whink rust stain remover to try again since others have had good results using this) - Anodizing solution (Baking soda) Building the anodizer is easy. I set up three containers in a row so I could easily transfer each bolts between the three. First was the etching solution, then clean water, and then the anodizing solution. In the container with the anodizing solution, I placed a stainless steel measuring cup connected to the negative battery terminal to act as the cathode. The positive battery terminal was then connected to the threads of the bolt. Voltage was adjusted by changing the number of batteries connected in series. Make sure to wear rubber gloves for this part; you will be working with water and electricity and you can shock yourself!!! The process for anodizing titanium is fairly straightforward. First, etch the piece in your etching solution for a few seconds. Then, rinse in clean water, and finally dip into the anodizing solution until the color stabilizes. The color will vary based on the voltage applied. The way it works is that the electrolysis builds up an oxide layer on the surface of the metal. This layer is translucent, but as light passes through it, different wavelengths are reflected and refracted. Depending on the thickness of the oxide layer (which is controlled by the voltage applied), different wavelengths of light are allowed to reach our eyes, which are perceived as different colors. For example, below is a raw polished bolt, and bolts anodized at 9V, 27V, and 54V, from left to right: I was mainly targeting the 9V and 54V colors to get a bronze or gold, respectively. I anodized a handful of bolts at each voltage and installed them on the wheel to get an idea of which I liked best. Raw polished: Gold anodized: Bronze anodized: Which one do y'all like best? After all this work, I think I like the raw polished the best so far! I am going to try anodizing once more with a couple modification, however, to try to get some brighter colors since my first attempt left the colors a bit muted. 1. Add (2) 6V batteries to the setup. This will allow me to have voltage steps of 3V instead of 9V, which gives better color control. 2. Use Whink rust stain remover as the etching solution. The solution I used didn't remove the colors like it should, which tells me it wasn't really etching the surface prior to anodizing. Using the right solution should give better results. 3. Test different anodizing solutions. Borax, Trisodium phosphate, and ammonium-phosphate are all readily available and rumored to work well.
__________________
2011 BMW 135i ///M-Sport, DCT
Bilstein B12 kit, Dinan camber plates, M3 front control arms, Whiteline poly RSFB, MHD Stage 1, cp-e Charge Pipe, H&R Front sway bar, BMW performance diffuser |
| 07-30-2018, 03:30 PM | #8 |
|
First Lieutenant
370
Rep 324
Posts |
That's pretty cool, I had no idea you could anodize at home!
I think that I like the raw polished the best. I like how it matches the lip. But the bronze is kind of a nice subtle touch too |
|
Appreciate
0
|
| 08-06-2018, 04:13 PM | #9 |
|
Lieutenant
425
Rep 545
Posts |
Decided to test out the anodizing once more time with some better materials to get better results. The Whink rust and stain remover worked perfectly to etch the bolts and strip the anodizing off the ones I had done previously. With the 2 new 6V batteries, I could test anodizing voltages from 9 to 66 volts in 3V increments. I anodized a test bolt at each voltage to see what the colors would look like
I liked a couple of the gold and bronze shades, but in the end, decided to just go with the raw polished bolt heads to match the lip. Maybe in the future I'll try something with the deep blue color to match my paint? Anyway, I finished assembling all 4 wheels, and now just have to decide on tires. I'm pretty happy with how the wheels turned out and I'm excited to see how they'll look on the car!
__________________
2011 BMW 135i ///M-Sport, DCT
Bilstein B12 kit, Dinan camber plates, M3 front control arms, Whiteline poly RSFB, MHD Stage 1, cp-e Charge Pipe, H&R Front sway bar, BMW performance diffuser |
|
Appreciate
2
desertman1232213.50 99937.50 |
| 08-07-2018, 10:02 PM | #10 |
|
Commuter
38
Rep 87
Posts
Drives: 2013 135i 6MT
Join Date: Sep 2015
Location: Michigan
|
Dude! Very nice work. Love seeing people save old, somewhat-forgotten OEM wheels. Are these a staggered 18x8" et47/8.5" et50 set from an E46?
Really curious to see how these look on a 1er especially with your color combo. |
|
Appreciate
1
BimmerAg425.00 |
| 08-08-2018, 08:15 AM | #11 | |
|
Lieutenant
425
Rep 545
Posts |
Quote:
__________________
2011 BMW 135i ///M-Sport, DCT
Bilstein B12 kit, Dinan camber plates, M3 front control arms, Whiteline poly RSFB, MHD Stage 1, cp-e Charge Pipe, H&R Front sway bar, BMW performance diffuser |
|
|
Appreciate
1
99937.50 |
| 08-21-2018, 01:08 PM | #14 | |
|
Lieutenant
425
Rep 545
Posts |
Quote:
__________________
2011 BMW 135i ///M-Sport, DCT
Bilstein B12 kit, Dinan camber plates, M3 front control arms, Whiteline poly RSFB, MHD Stage 1, cp-e Charge Pipe, H&R Front sway bar, BMW performance diffuser |
|
|
Appreciate
0
|
| 09-17-2018, 11:19 AM | #15 |
|
Lieutenant
425
Rep 545
Posts |
Finally burned up my old rear tires and had new set of Firestone Indy 500's put onto the Style 71s. Ended up going with a 235/40R18 square setup; I had originally wanted a 245 square set, but time constraints limited my options a bit. The 235s were available the next day, guy on the phone said that he wasn't sure when he'd be able to get a full set of the 245s; with a ~400 mile weekend trip coming up, I went ahead and got the 235s. I'm really happy with how everything turned out, and that I'll be able to properly rotate tires now. I'm liking how the upsized fronts really fill out the wheel well now too, may need to grab some spacers for the rear though. It's been raining pretty much non-stop since I had the new tires put on, but so far they've preformed well in the wet.
Anyway, here's what everyone came here for anyway: Pictures!!!! Picking her up from the shop: And a couple quick pics at home when the rain let up for a bit:
__________________
2011 BMW 135i ///M-Sport, DCT
Bilstein B12 kit, Dinan camber plates, M3 front control arms, Whiteline poly RSFB, MHD Stage 1, cp-e Charge Pipe, H&R Front sway bar, BMW performance diffuser Last edited by BimmerAg; 09-17-2018 at 11:24 AM.. |
|
Appreciate
5
|
| 09-17-2018, 08:34 PM | #16 | |
|
Newbie
32
Rep 24
Posts |
Quote:
DAMN those are definitely unique! I love the retro look 
__________________
6MT 2009 BMW 128i
Instagram @evanhuynhhh |
|
|
Appreciate
1
BimmerAg425.00 |
| 09-18-2018, 08:11 AM | #17 | |
|
Lieutenant
425
Rep 545
Posts |
Quote:
__________________
2011 BMW 135i ///M-Sport, DCT
Bilstein B12 kit, Dinan camber plates, M3 front control arms, Whiteline poly RSFB, MHD Stage 1, cp-e Charge Pipe, H&R Front sway bar, BMW performance diffuser |
|
|
Appreciate
1
mackeroni326.50 |
| 01-20-2019, 04:46 PM | #19 |
|
BMW Cool Aide!
903
Rep 841
Posts |
Outstanding.
I am about to do my one piece wheels. The brake dust is terrible and on hard. Any suggestions? Stock, but rashed and scuffed: 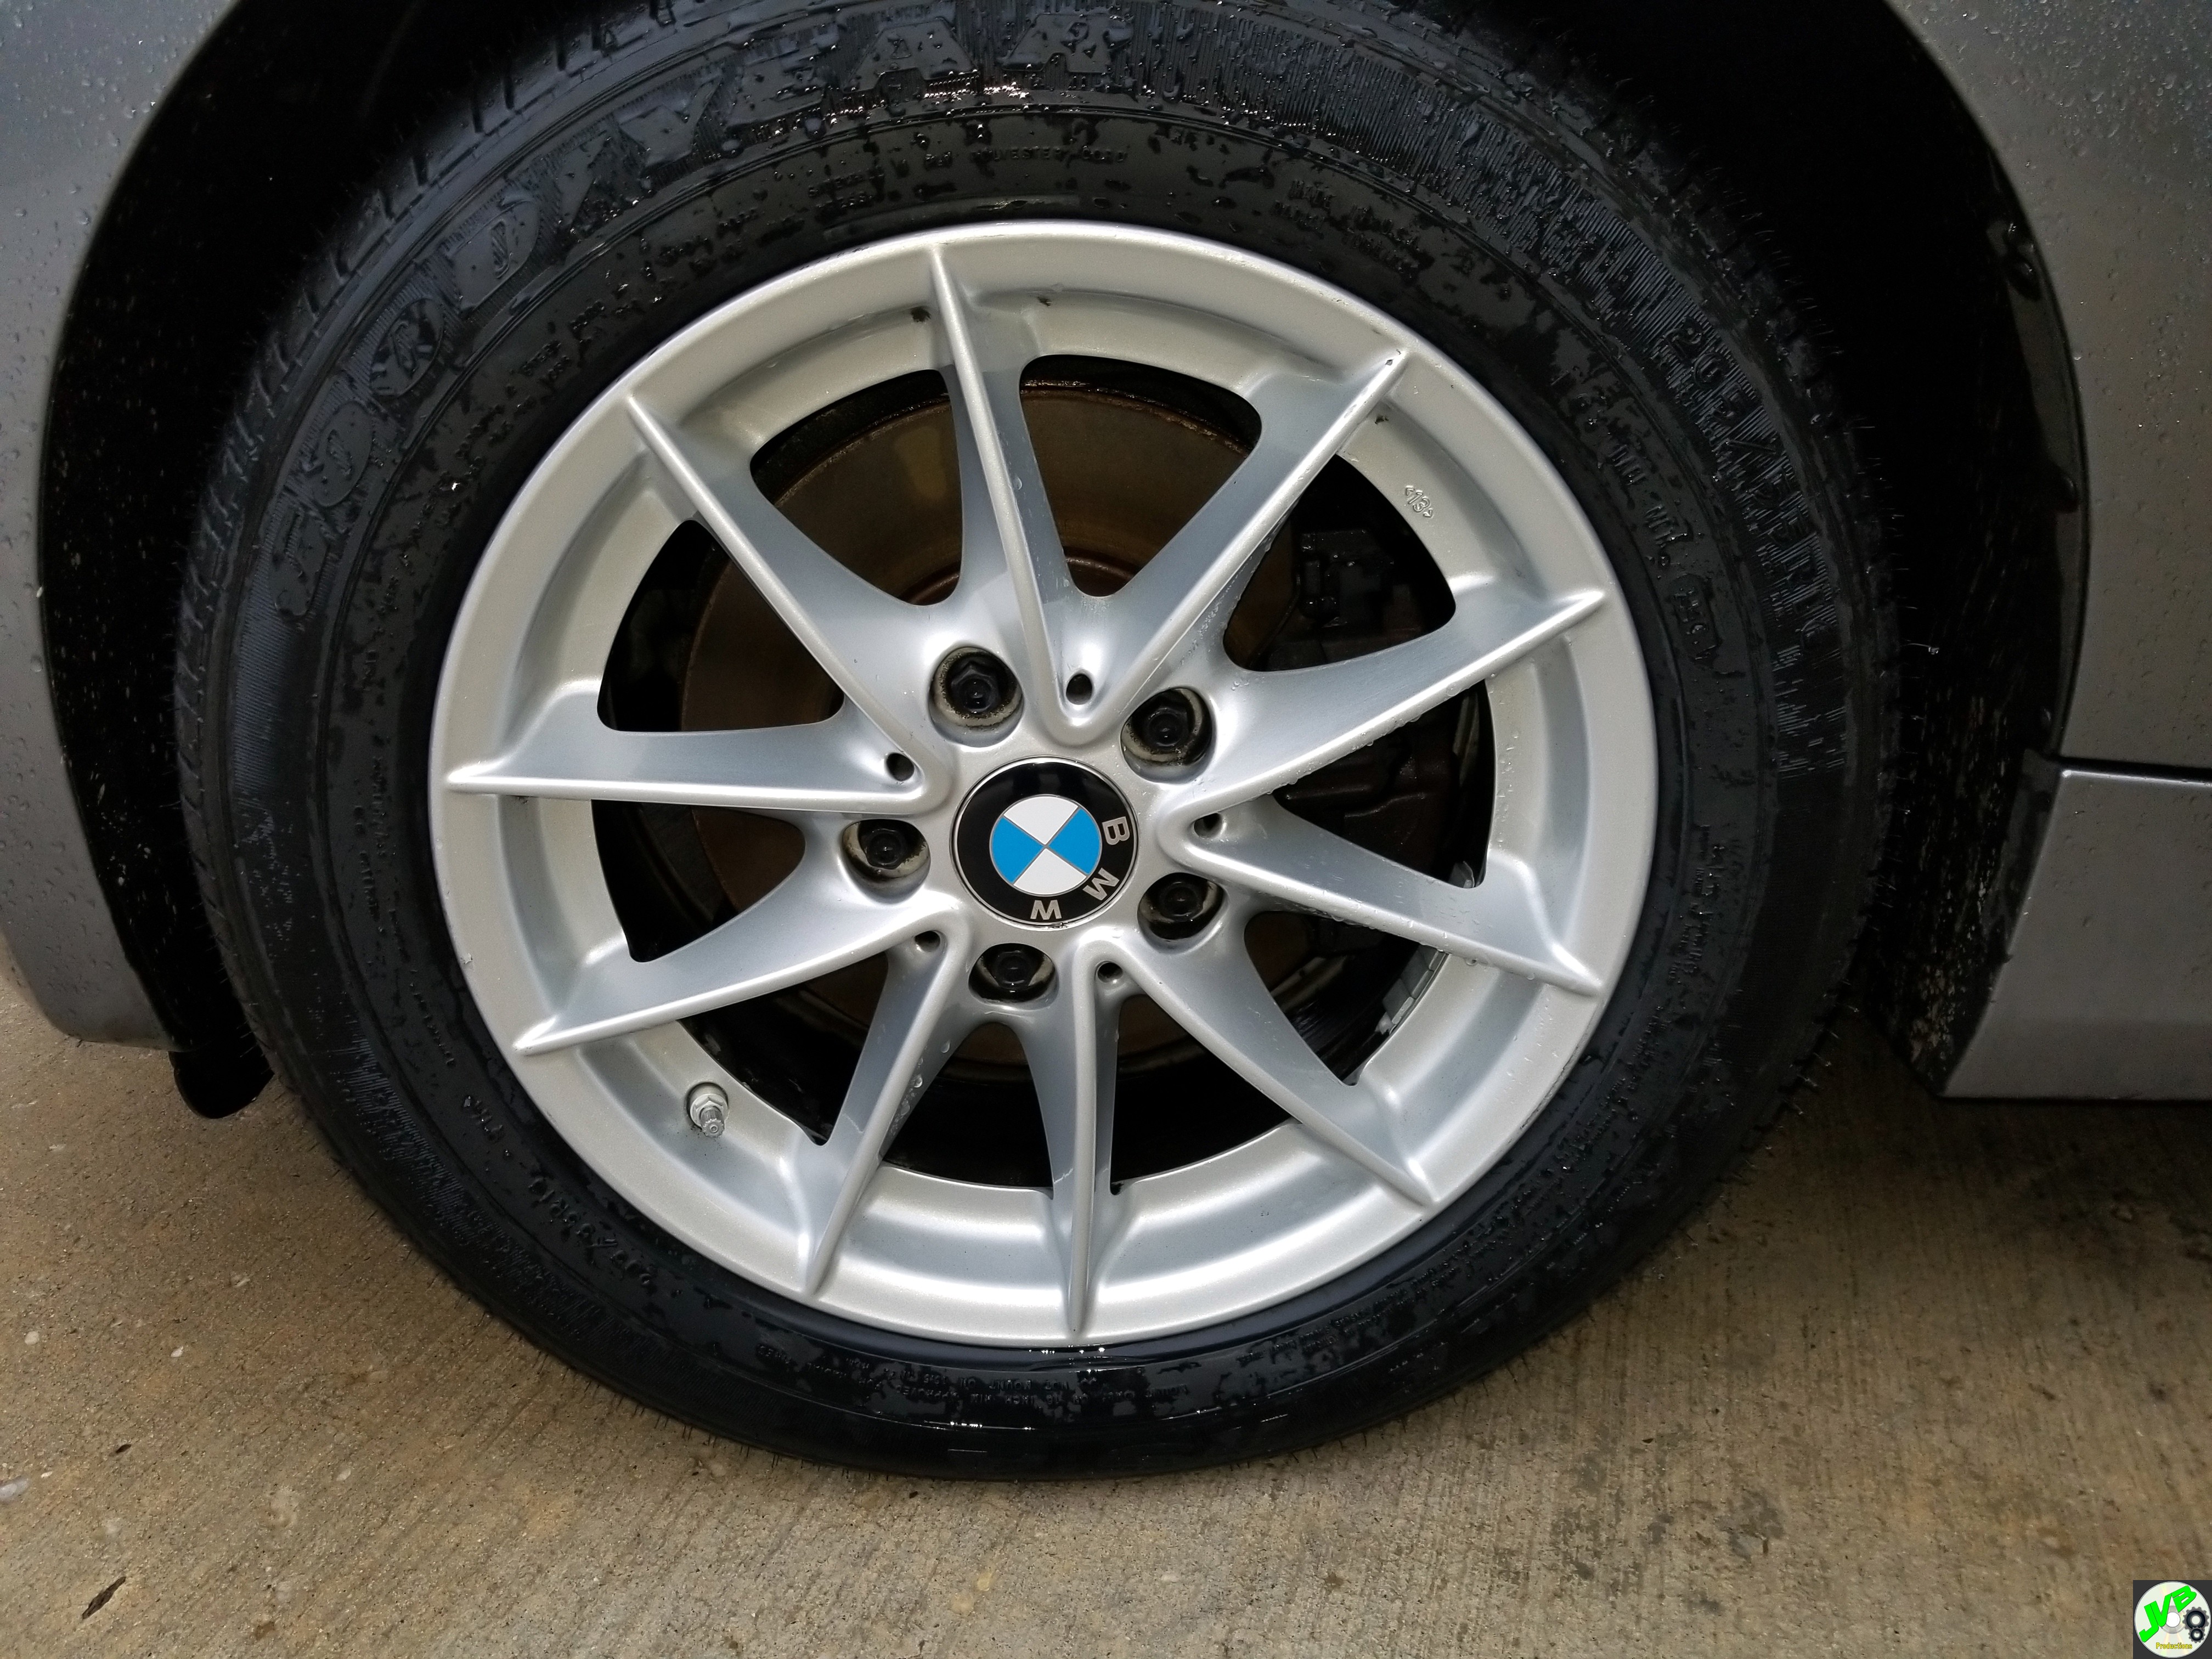 Inside dirt and brake dust baked on: 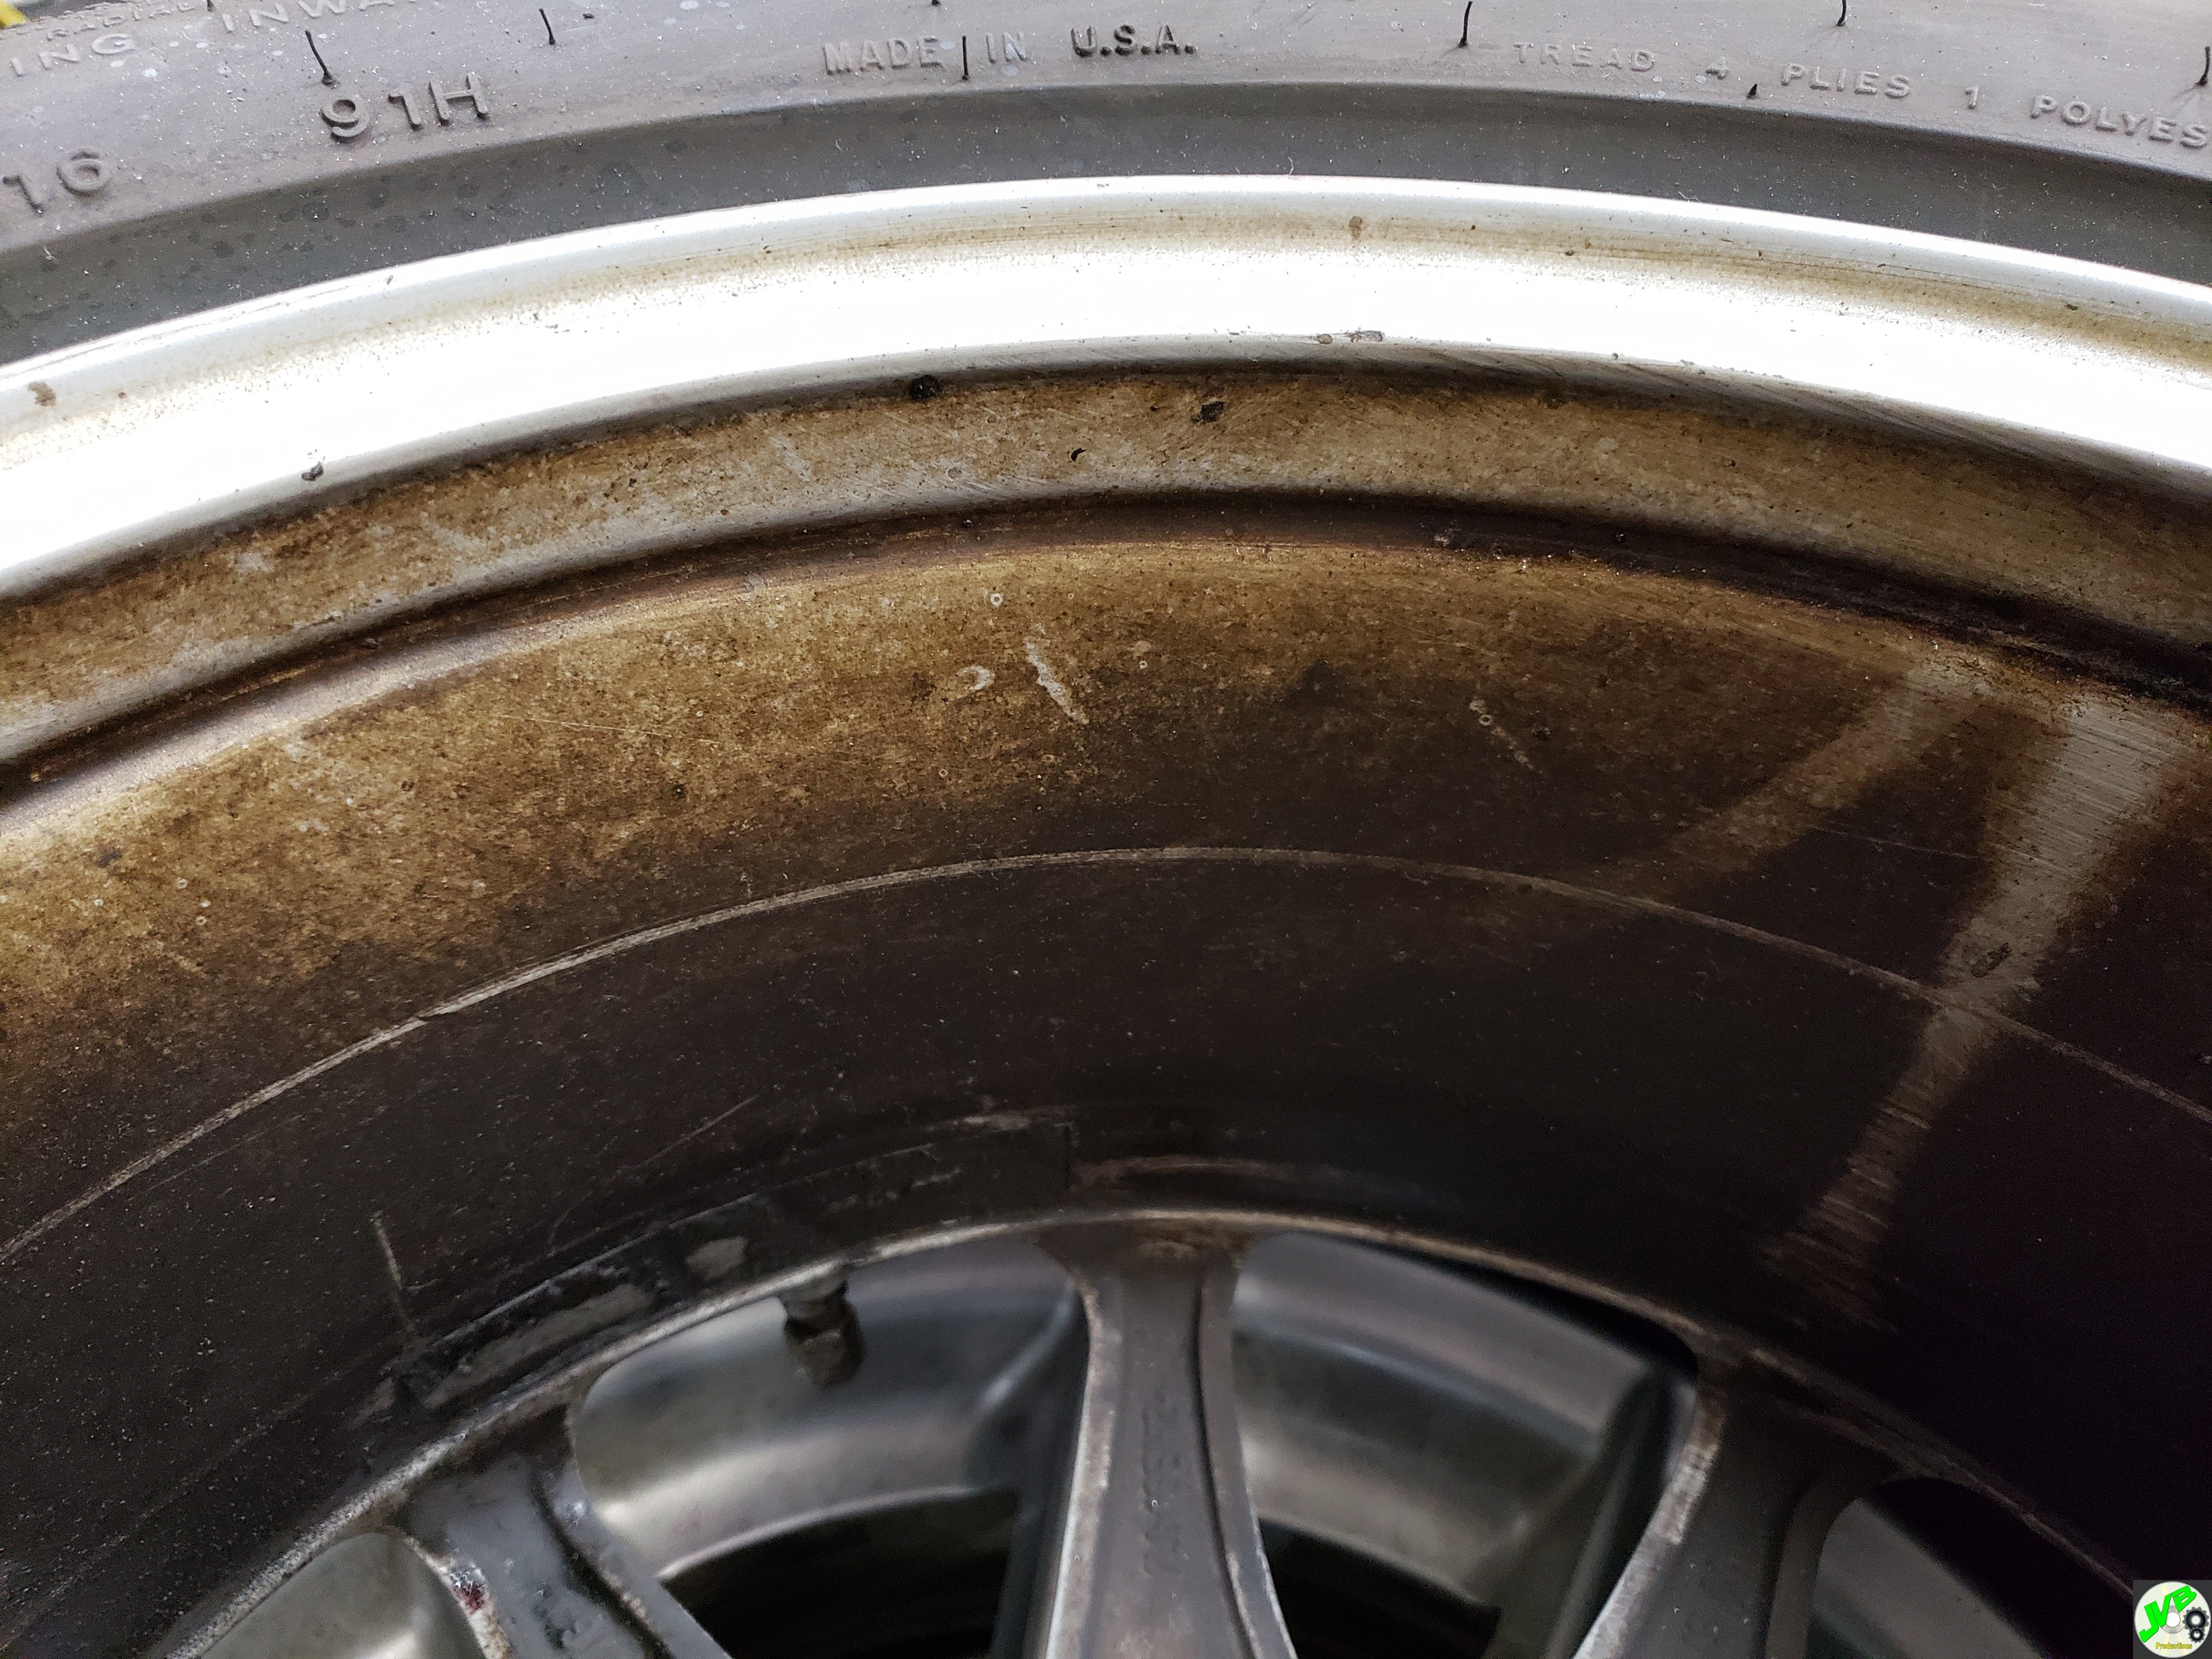
__________________
|
|
Appreciate
0
|
| 01-21-2019, 09:13 PM | #20 | |
|
Captain
641
Rep 695
Posts |
Quote:
|
|
|
Appreciate
1
JimVonBaden902.50 |
| 01-21-2019, 09:14 PM | #21 | |
|
BMW Cool Aide!
903
Rep 841
Posts |
Quote:
__________________
|
|
|
Appreciate
1
rowsdower640.50 |
Post Reply |
| Bookmarks |
|
|


