


|
|
|
 |
| 01-27-2019, 04:23 PM | #1 |
|
Major
 785
Rep 1,000
Posts |
Replacing rechargeable key fob battery
I couldn't find a decent write-up on this and the only video I saw glossed over all the important bits. You Comfort Access people have it easy. Those fobs just pop right open and you can install a new battery. For non-CA fobs, there is a rechargeable battery inside that was not meant to be user-serviceable. My fob still worked, but one of them needed to be within 8' to lock or unlock the car. Clearly the rechargeable battery was nearing the end of its life. Here's how I replaced the battery.
First you need to open the case. It's glued shut so you need to separate the two halves. Start at the back and work forward. It's easiest to separate the fob at the key ring hole. Use a small screwdriver and push it forward. Don't twist it or you will leave marks all along the side of the fob. Just push it forward like a wedge to pry the halves apart. 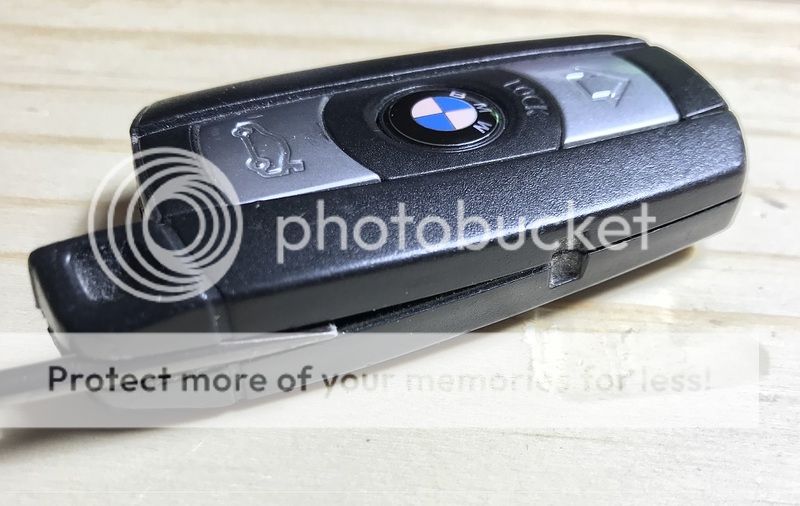 This is what it looks like opened. 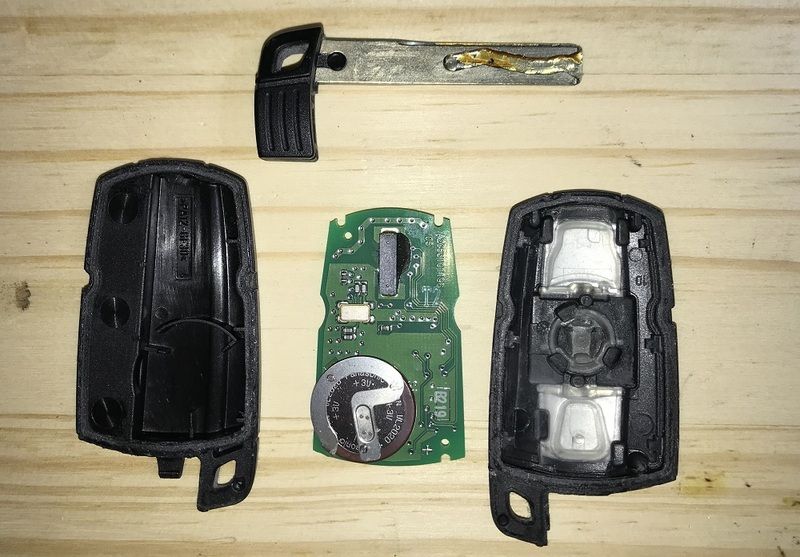 You now need to desolder the existing battery from the board. You should probably have a halfway decent soldering iron with adjustable temperature. If you don't have one, get one. Everyone DIY person needs a decent soldering iron. Once you pull the battery out, you will see the problem. 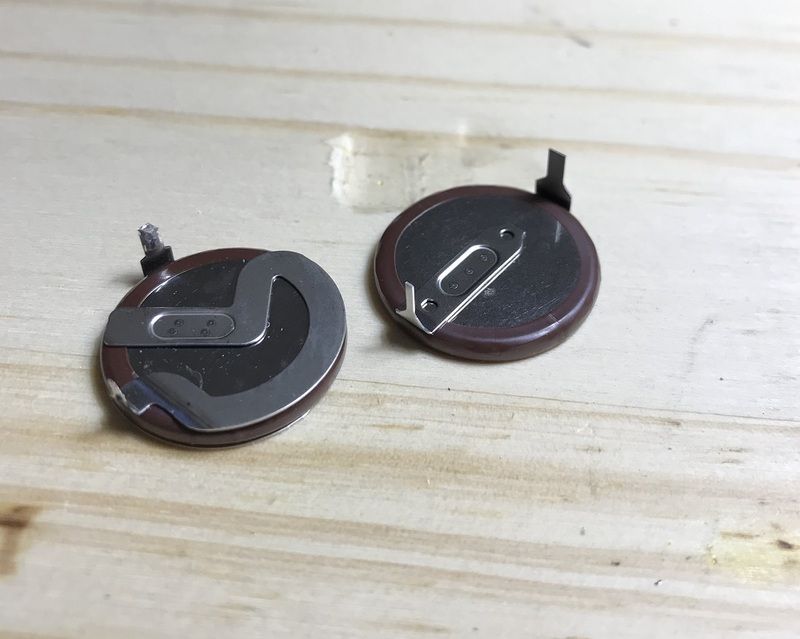 The battery on the left is the stock battery. It's a VL2020. The battery is not hard to find, but none of them have the connectors in the right place. I think I saw one battery that did, but it used a cheap no-name cell that I didn't want. I preferred to get an authentic Panasonic cell. That means you need to get creative. Fortunately the battery tabs correspond to an appropriately sized hole in the board so it's easy to know which way to install it. Place the negative tab through the hole on the board and then run a jumper from the positive tab to the board. This really isn't difficult. Trim the tab and solder a thin wire onto it. 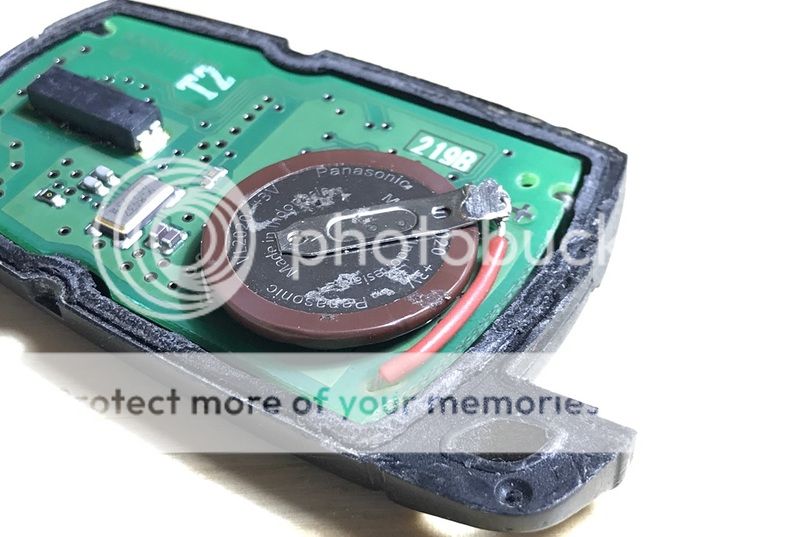 Solder the tabs into place and you're nearly finished. 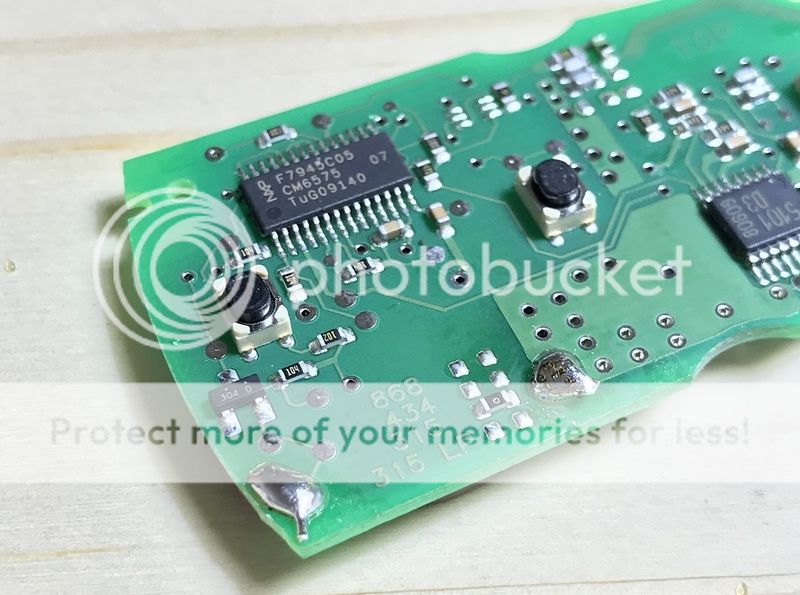 Glue the case back together with your basic CA glue (superglue). It helps if you have some clamps to hold it together. 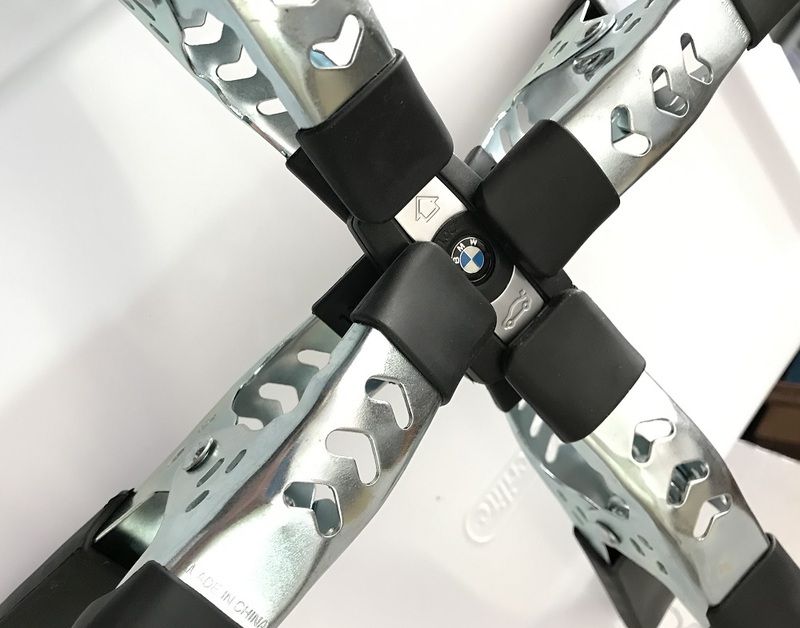 When you're finished. You should not be able to tell a difference. I did this to both my keys and both work perfectly. No recoding or any funny business required. 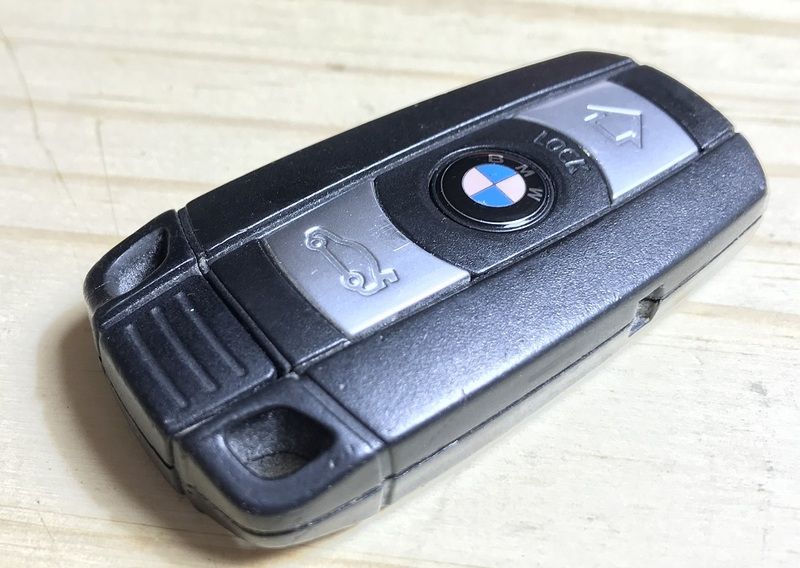 Last edited by Thunderguts; 01-27-2019 at 07:59 PM.. |
|
Appreciate
9
|
Post Reply |
| Bookmarks |
|
|