

|
|
|
|
|
| 10-25-2014, 04:49 PM | #1 |
|
Private First Class
 

50
Rep 161
Posts |
maintenance work
is a fully registered, licensed, and insured mobile mechanic service that provides custom one-on-one care for you and your vehicle. All work is by appointment custom tailored to fit around your busy schedule. Almost all maintenance, performance, and repair procedures are possible via a mobile service leaving you with the comforts of your home at all times. If you are located in the state of Florida - from the keys to the panhandle - don't hesitate to pm, call, text, or email for a detailed proposal.
Ive been hanging out in the 3 series forums but if any of you 1 series guys would like a carbon cleaning on your 135i or any automotive maintenance performed give me a text, pm or email. A link to my 3 series forum is below, and a link inside that thread is a link to my photobucket account. It has a small sample of some of the work I am capable of. I'm 100% mobile and fully self sufficient with power and air if required. I cover the entire state of Florida and can be swindled to travel further if there is a small group interested. Right now I have a $350 dollar special price, for anyone located from Tampa to Orlando. If you are outside that range a very very small travel fee is added to the $350. Feel free to ask for a proposal. Link to my thread on the 3-series forums: http://www.e90post.com/forums/showthread.php?t=1039433 Pictures of some of my previous work, including reviews, can be seen in my photobucket account: http://s518.photobucket.com/user/Luc...?sort=3&page=0 Recent pictures can be viewed in my new photobucket account. This folder is updated regularly. http://s1379.photobucket.com/user/li...?sort=3&page=0 Thank you Last edited by Luckystrike24; 12-02-2015 at 07:55 AM.. |
| 11-18-2014, 01:51 PM | #2 |
|
Private First Class
3
Rep 132
Posts |
Very Satisfied Customer
For anyone located in Florida, Id like to show my support for Daniel Lilly and share my story of satisfaction for the service he conducted on my car.
My 85,000 mile 2008 135i was in desperate need of a valve cleaning (Dan, feel free to post the pictures of your work). Due to the high mileage and with Dan being up to the task, I decided to get more preventative maintenance done in addition to the valve cleaning. He replaced a leaky valve cover gasket, installed a new accessory belt and tensioners, installed new gaskets for the water pump and thermostat, flushed the brakes and installed new spark plugs. I had to travel on business and left the car with Dan for a few days while away at work. He was kind enough to drop me off and pick me up at the airport and kept me informed of his progress via text and pictures while he worked on my car. The car now runs better than ever and I can feel the difference after the valve cleaning while it idles and especially during acceleration. Dan is trustworthy, has great integrity, and did fantastic work for a very fair price. Im still on my original clutch, but when it goes Ill be going to Daniel for the work! |
|
Appreciate
0
|
| 11-19-2014, 11:42 PM | #3 |
|
Private First Class
50
Rep 161
Posts |
Dave, Thank you, Thank you, Thank you, for the kind words! Totally unexpected! Here is a post of your car.
Project for the weekend Dave's 135i - intake valve cleaning, spark plugs, accessory belt, idlers, tensioner, valve cover gasket and all the bolts, oil filter housing gasket, oil filter thermostat gasket, coolant flush, and complete brake fluid flush - all four corners. Replacement engine oil not pictured. The car:   The parts:     Some progress for the a couple hours work... Got the car ready for a valve cleaning by removing air intake, air filter box, charge pipe, diverter valves, plastics, coils, radiator fan, belly pan, serpentine belt, idler pulleys, tensioner, intercooler, coolant drained, oil filter housing and oil coolant thermostat gaskets removed. I used compressed air extensively to remove all dirt amd dust around the perimeter of the valve cover, intake manifold, and oil filter housing. This includes all mating surfaces, recessed crevices, and bolts. Took pictures of the intake runners and this one is going to be fun. See some pictures below: When I finished removing the intake manifold:  Cylinder 6  Cylinder 5  Cylinder 4  Cylinder 3  Cylinder 2  Cylinder 1  More pictures from the completed job: The oil cooler gasket was changed as well, it was not pictured.                  Completed car:  |
|
Appreciate
0
|
| 12-31-2014, 12:56 PM | #4 |
|
Private First Class
50
Rep 161
Posts |
Here's a link to my photobucket account which is updated regularly with completed jobs, pictures, and reviews. If you guy have any questions, need advice, or would like a proposal, let me know!
http://s518.photobucket.com/user/Luc...?sort=3&page=0 |
|
Appreciate
0
|
| 01-22-2015, 05:46 PM | #5 |
|
Private
 13
Rep 65
Posts |
Daniel just left my house (this afternoon) for what turned out to be a solid 2 days of work on my 135i - including intake valve cleaning, general maintenance, and some bolt-ons.
Dan did a great job, he was very organized, and gave me a nice pile of all my old parts when he was done. Additionally he walked me though everything he did, and instead of upselling me on work, verified a few things that I didn't really need to do. I only put 2500 miles a year on the car, so I am hoping this is my one and only major service - wanted to make sure everything is in good shape for the next 2 years / 5k miles and then I'm going used M4 shopping in 2017. Very happy with his work and will certainly be calling him back next time there's a job I don't have time to tackle! Any questions, feel free to PM me. Last edited by Flot; 01-27-2015 at 12:50 PM.. |
|
Appreciate
0
|
| 01-26-2015, 06:49 PM | #6 |
|
Private First Class
50
Rep 161
Posts |
Adam thank you for the kind words and for leaving a review, it really made my day. Here is a small blog about your car.
Adam and I have been discussing his 135 convertible for some time now, and we finally got a date and time together to do the maintenance / performance items he wanted. I had to take time off during the work week to meet him, but working around your busy schedule is my main priority. He had me install downpipes, intercooler, charge pipe, dual cone intake, oil filter housing gasket, coolant hose o-ring replacement, brake fluid flush, spark plugs, cabin air filter, and a valve cleaning with a vacuum line replacement. Now on to some pictures. When I arrived: 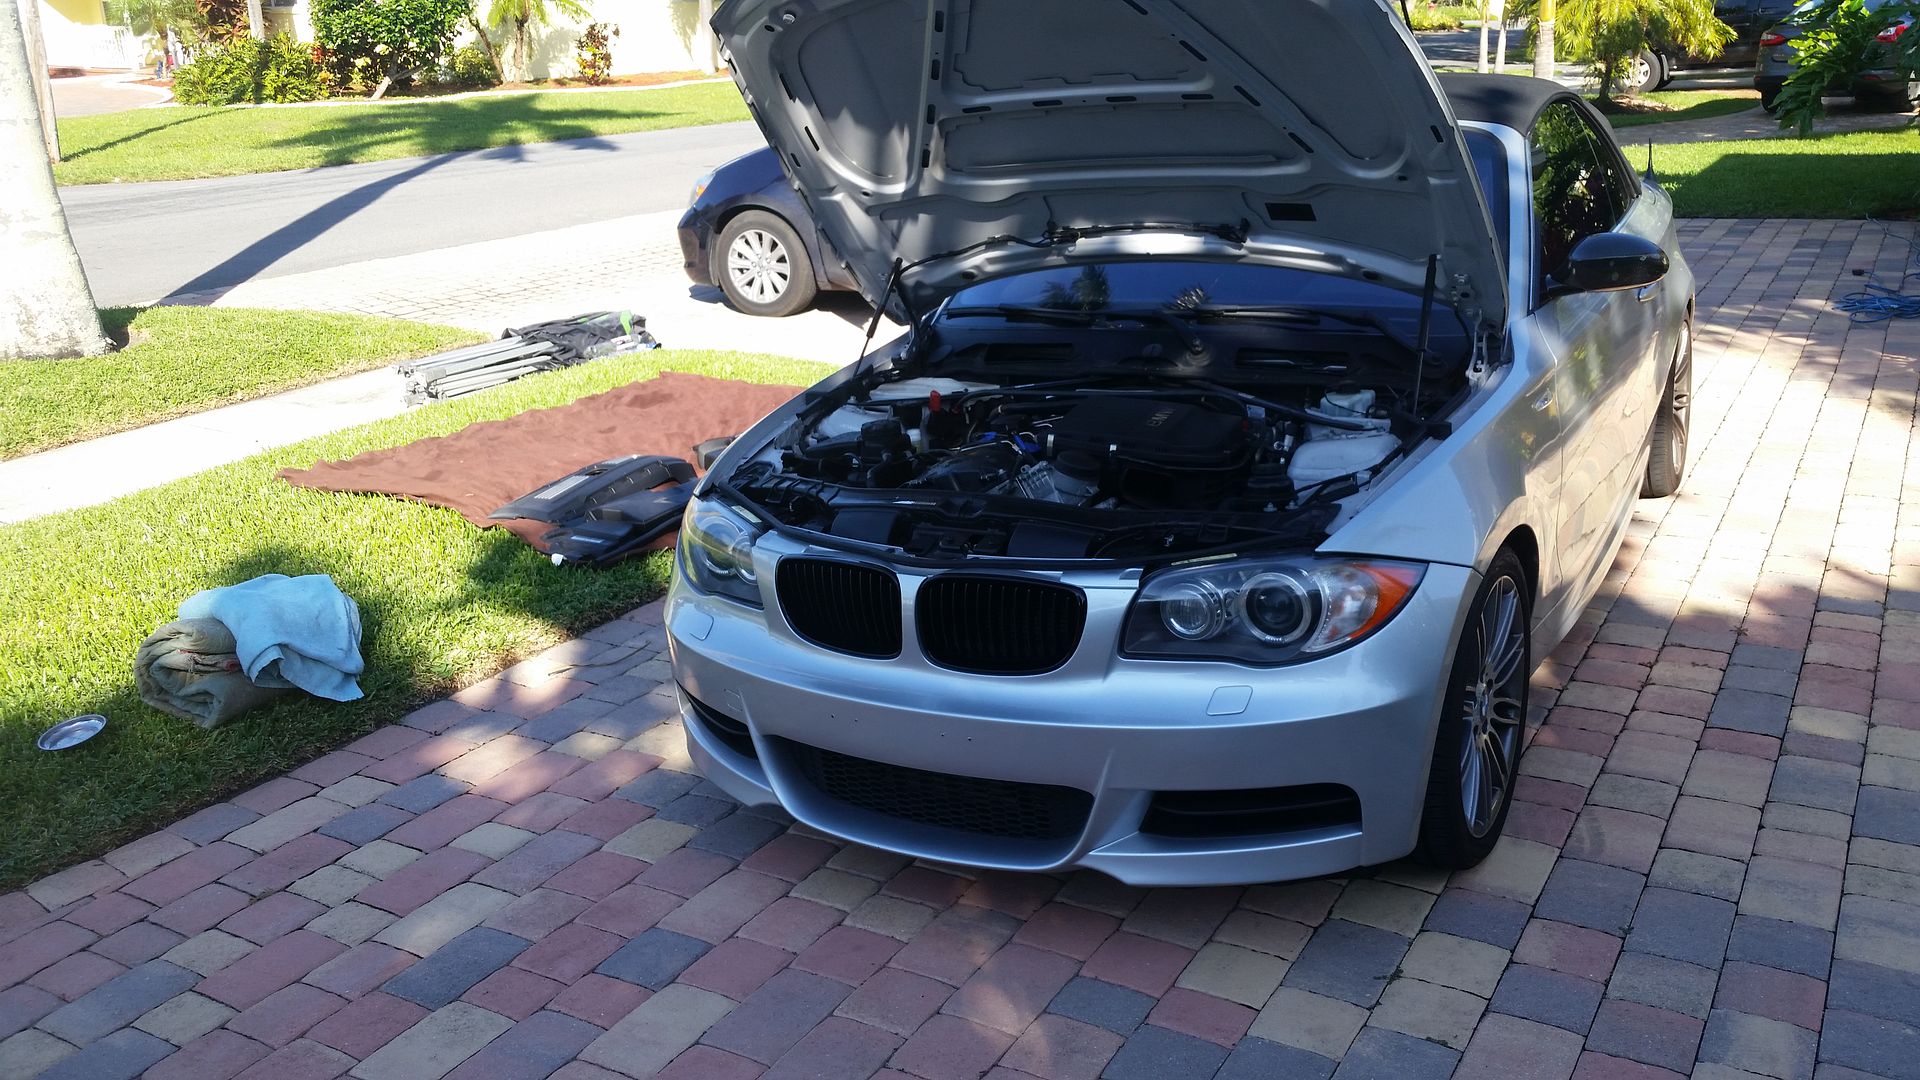 Adam has a beautiful home, that has a channel to the ocean in his back yard (  ), but he doesn't have a garage. No garage, no problem. I have a EZ-UP tent and stake it off in all four corners with down guys so it wont move. ), but he doesn't have a garage. No garage, no problem. I have a EZ-UP tent and stake it off in all four corners with down guys so it wont move. 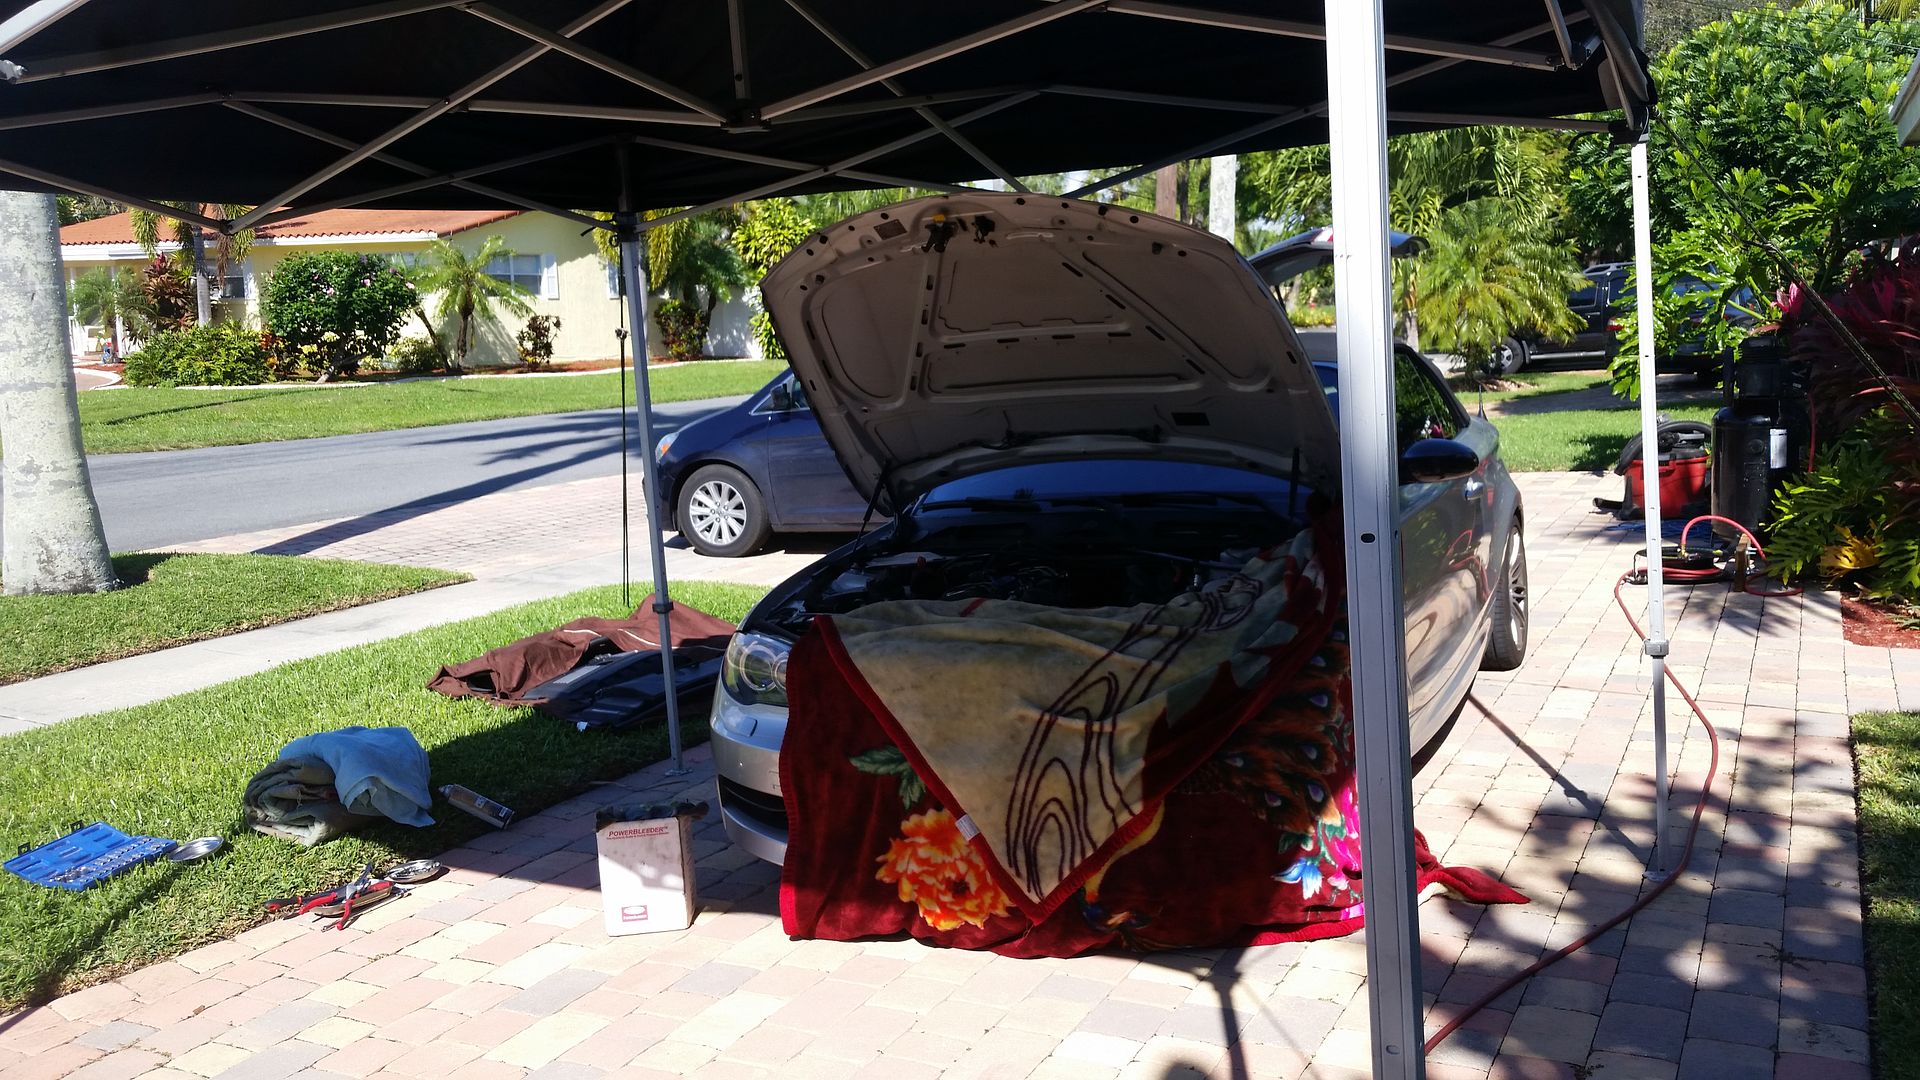 Some pictures of his performance parts, downpipes, intercooler, DCI's, charge pipe, etc 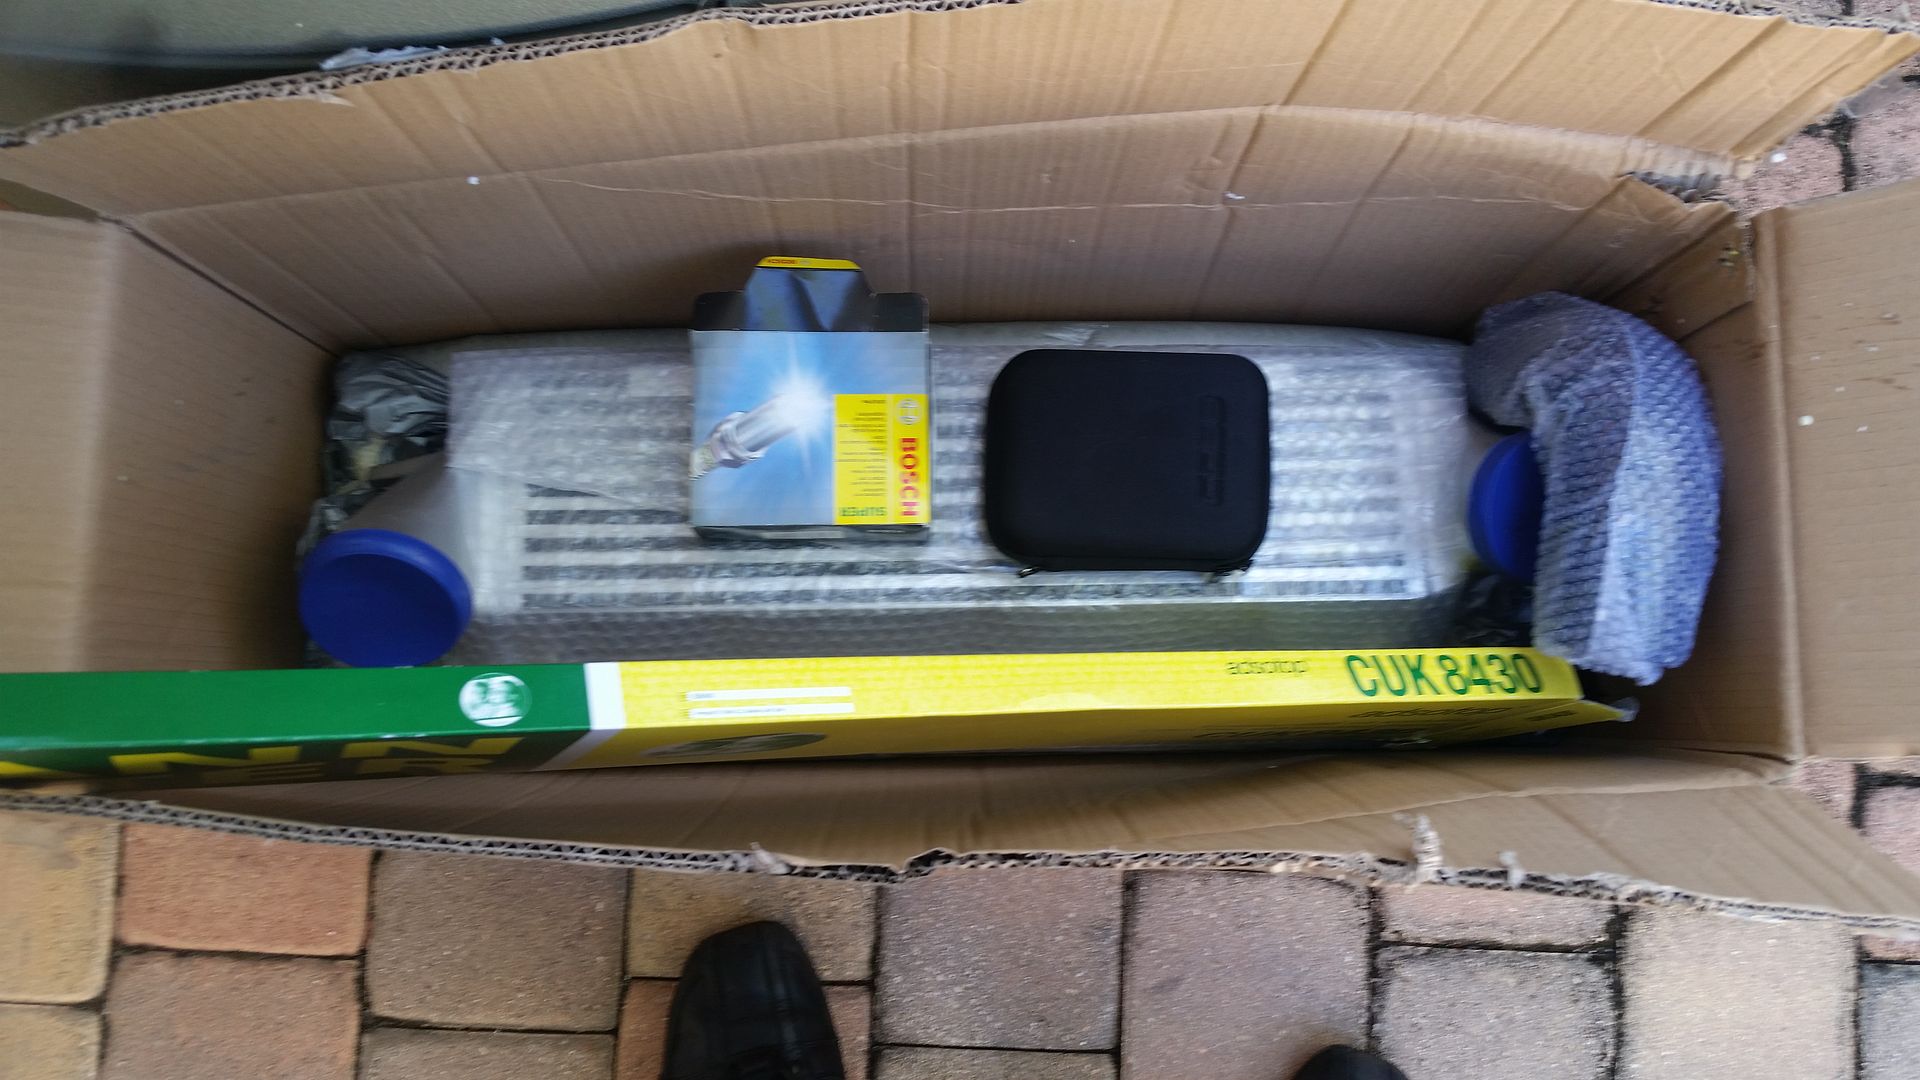 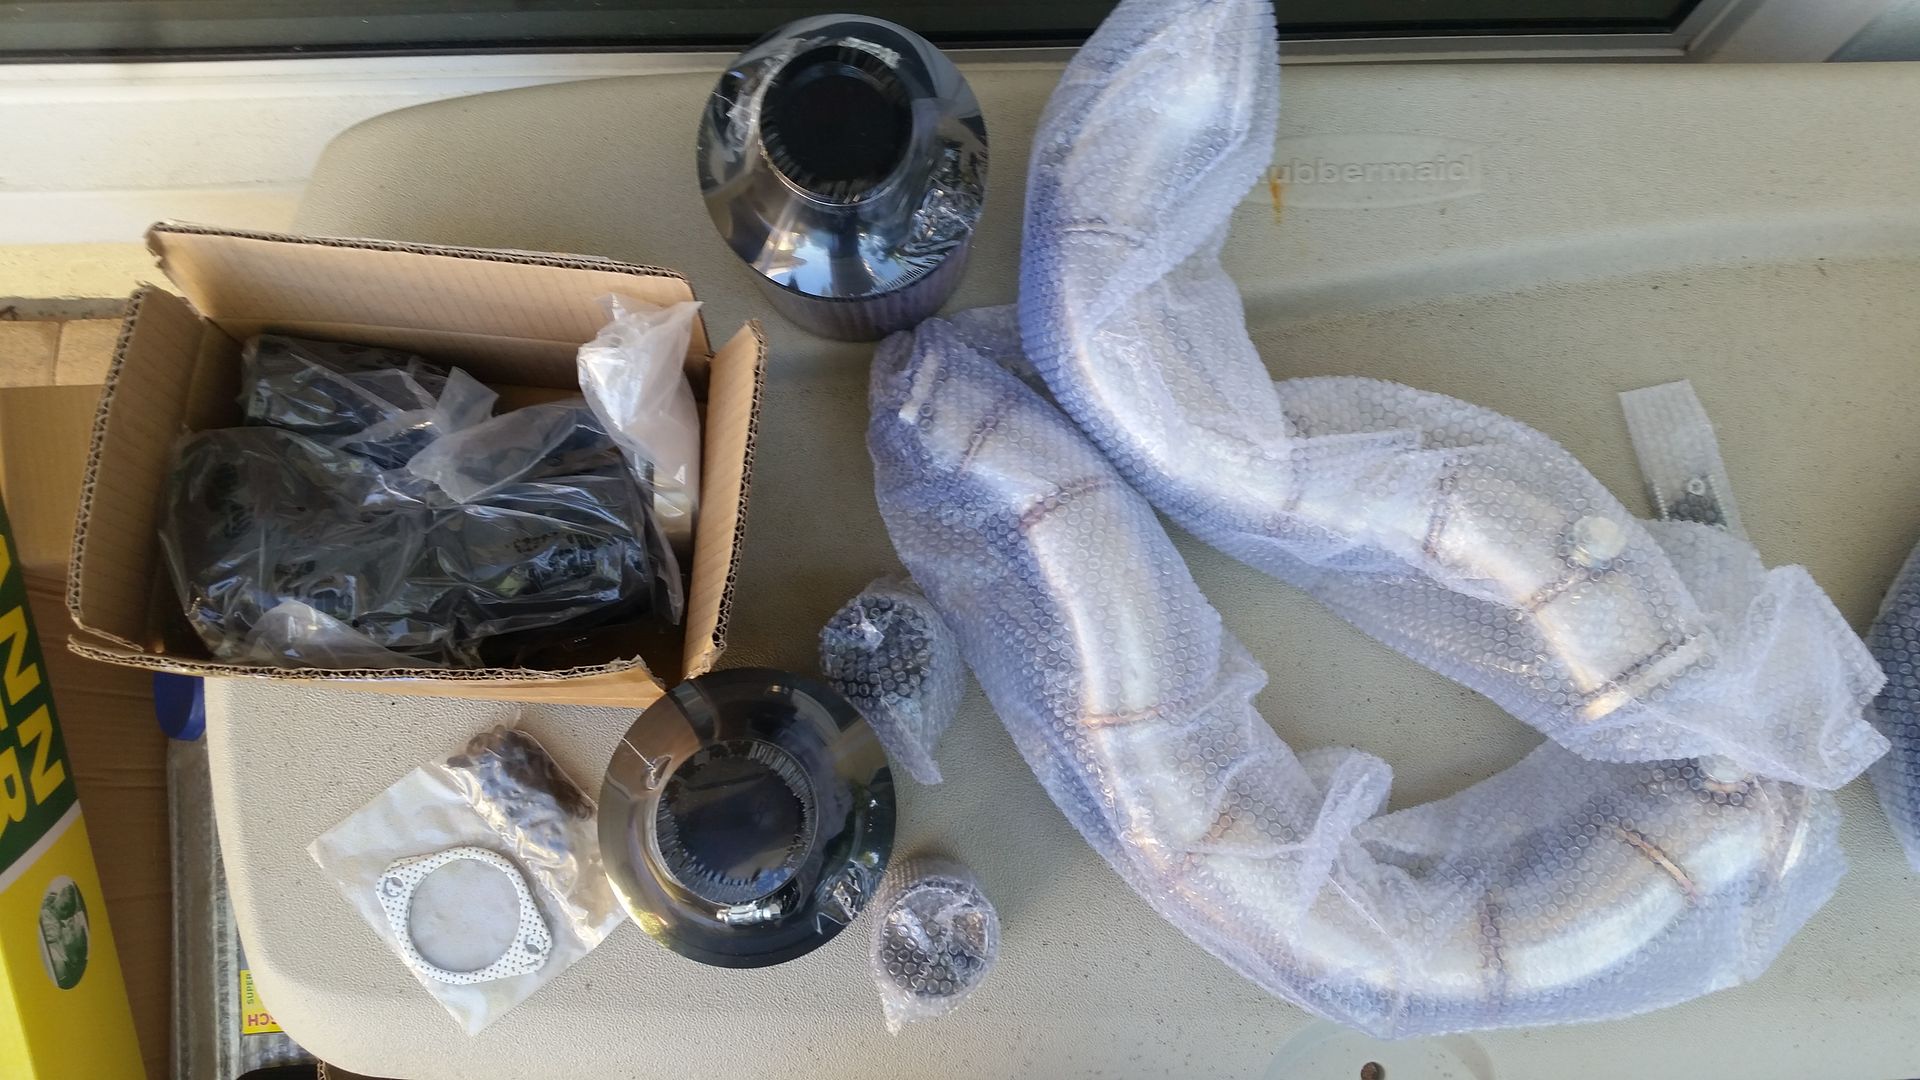  Dirty valves 1-6, he has about 50k miles on his car. (I accidentally deleted one of the pictures so 1-5.) 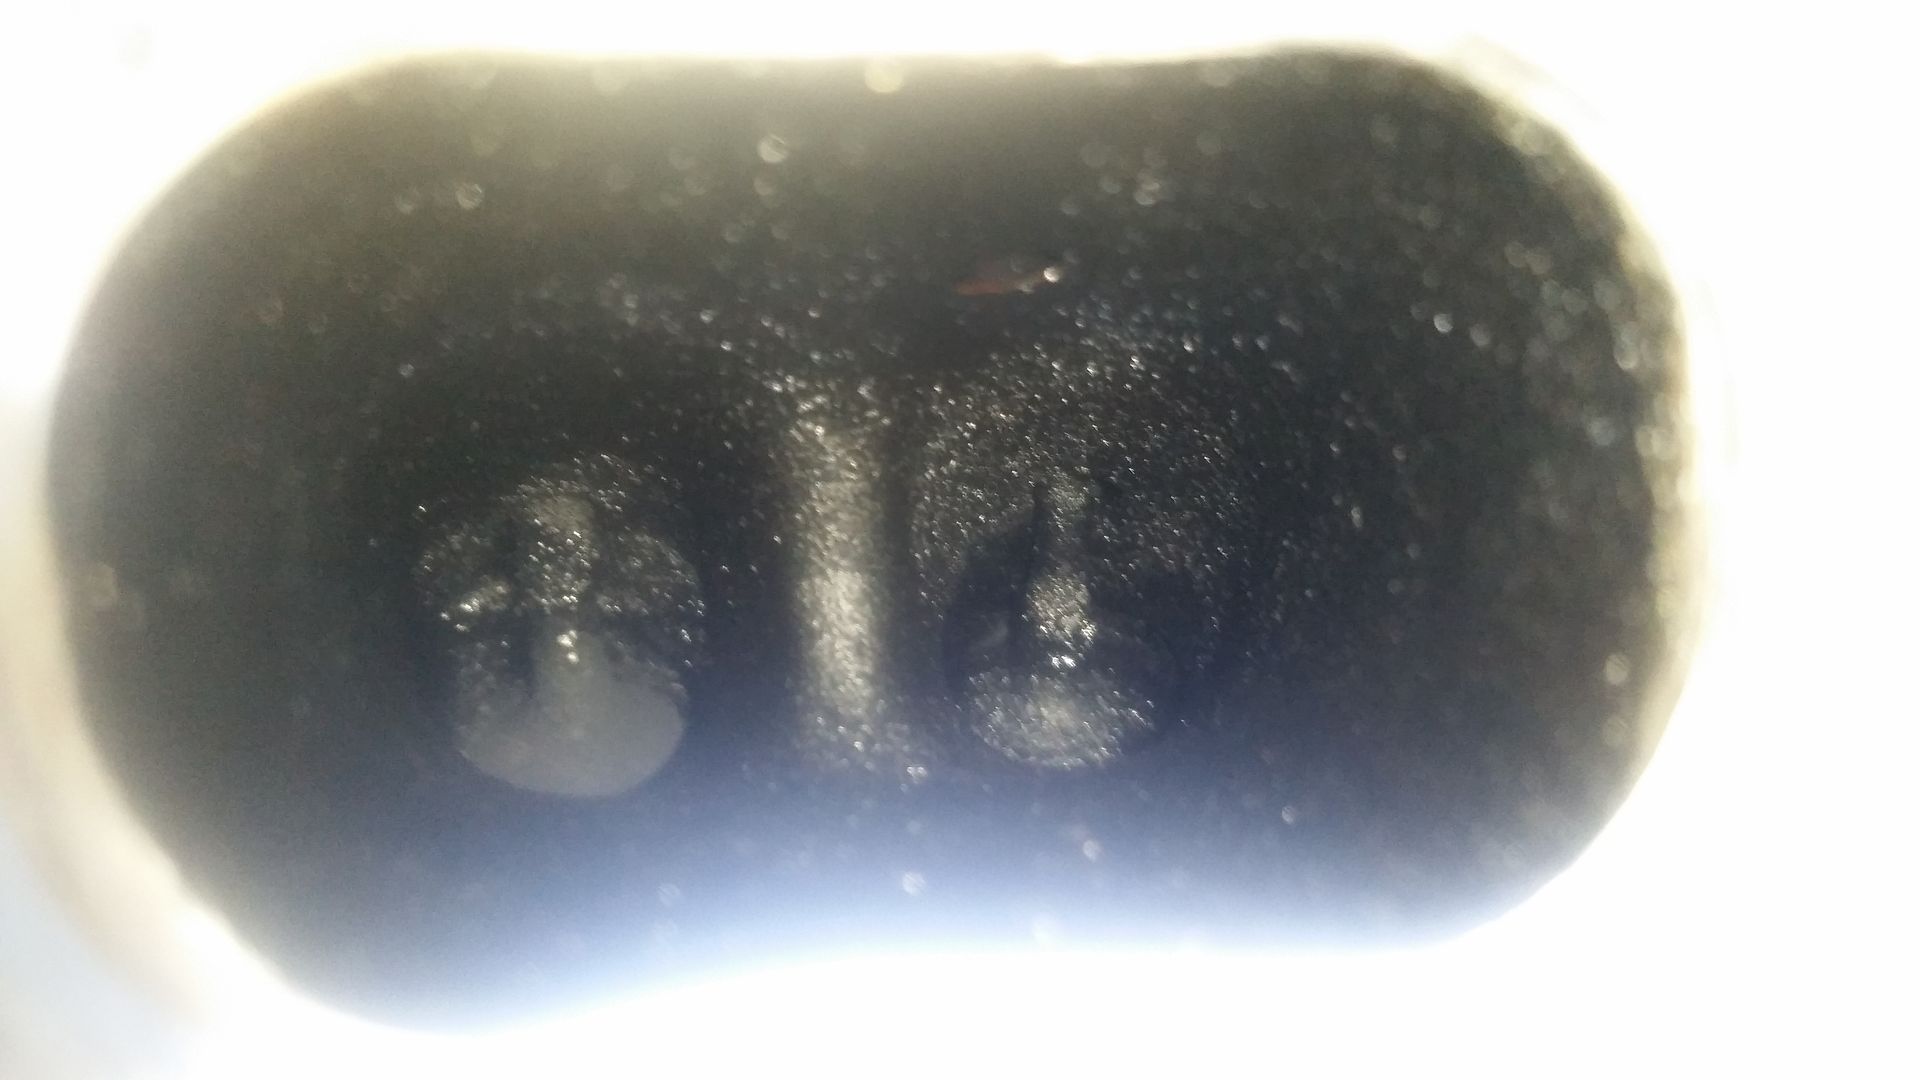 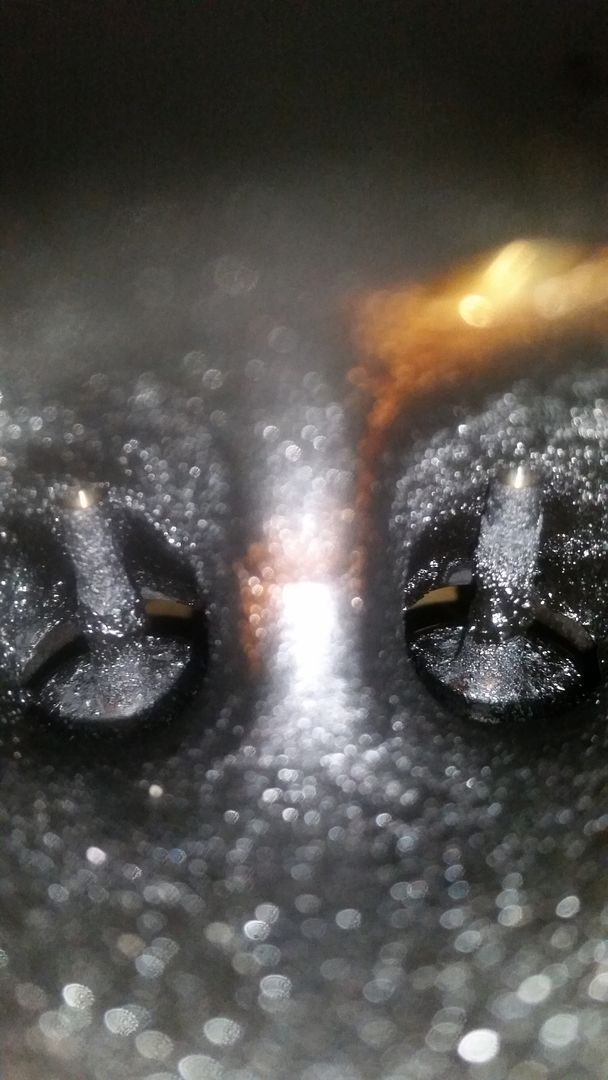 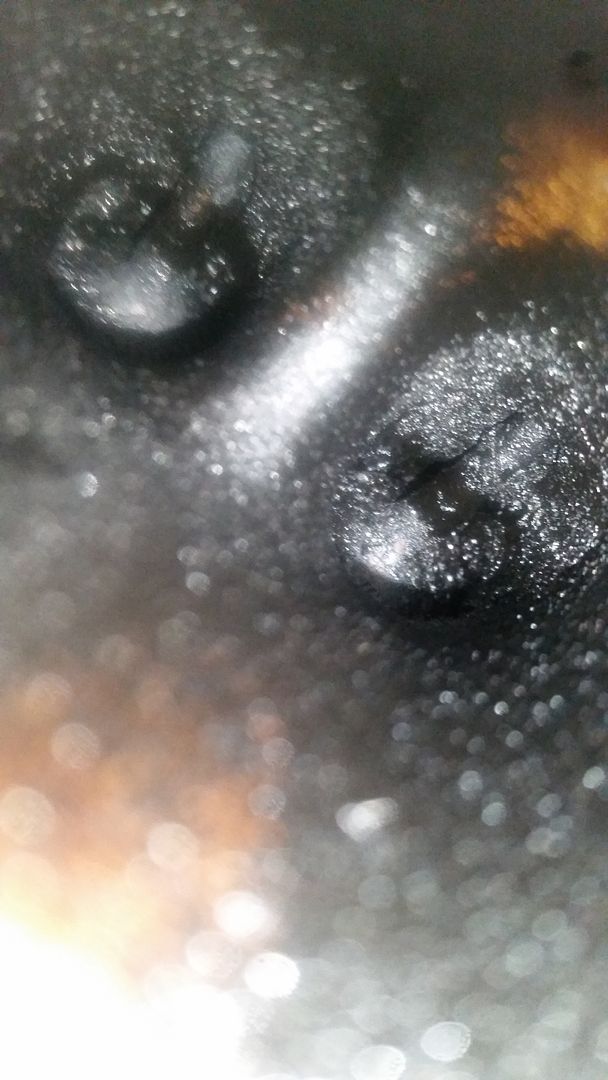 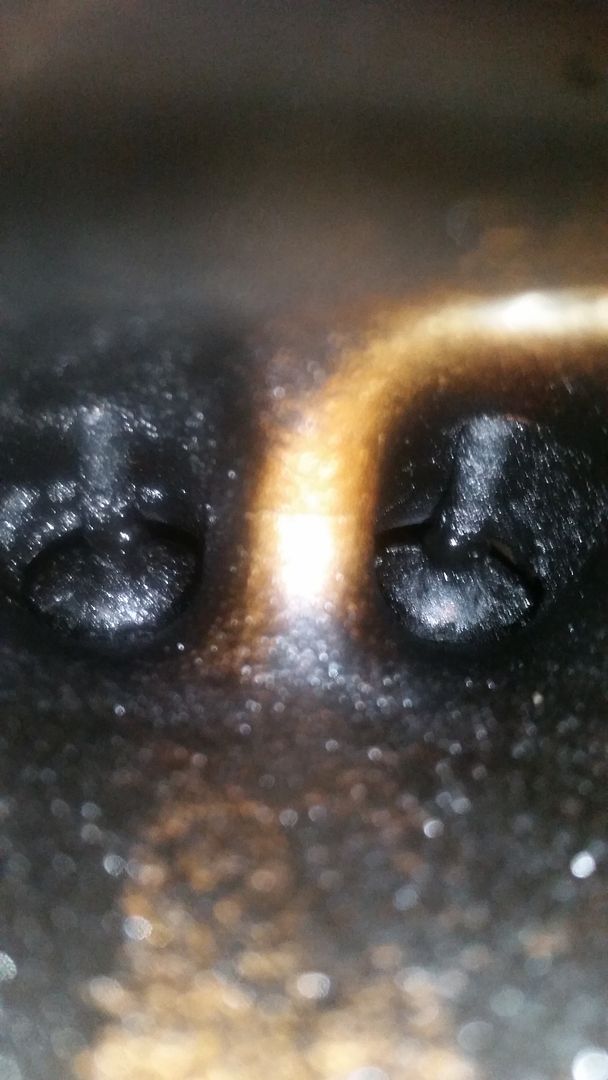 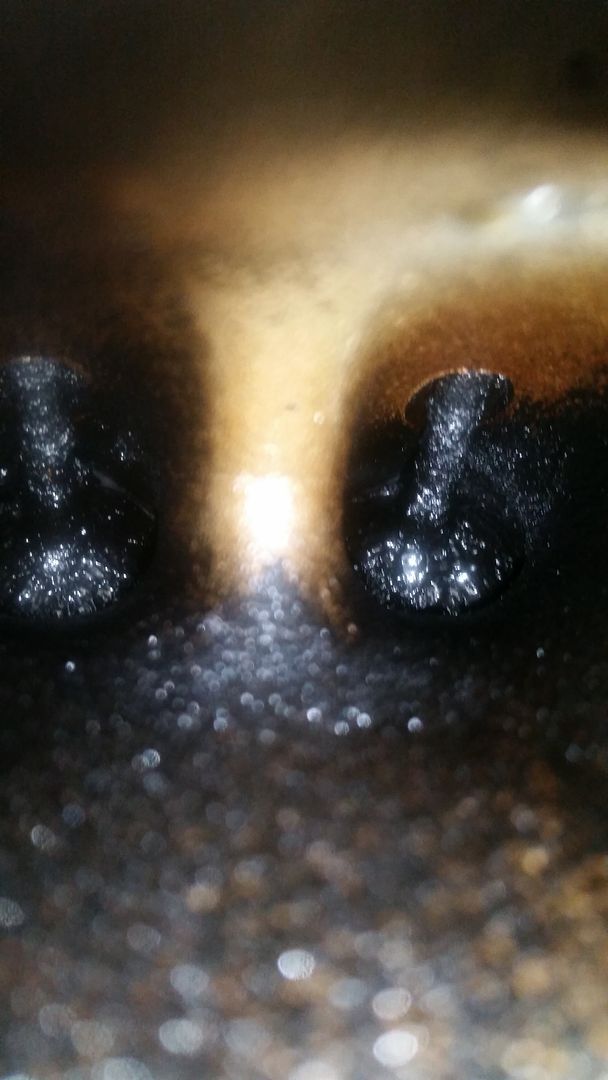 Cleaned valves 1-6: 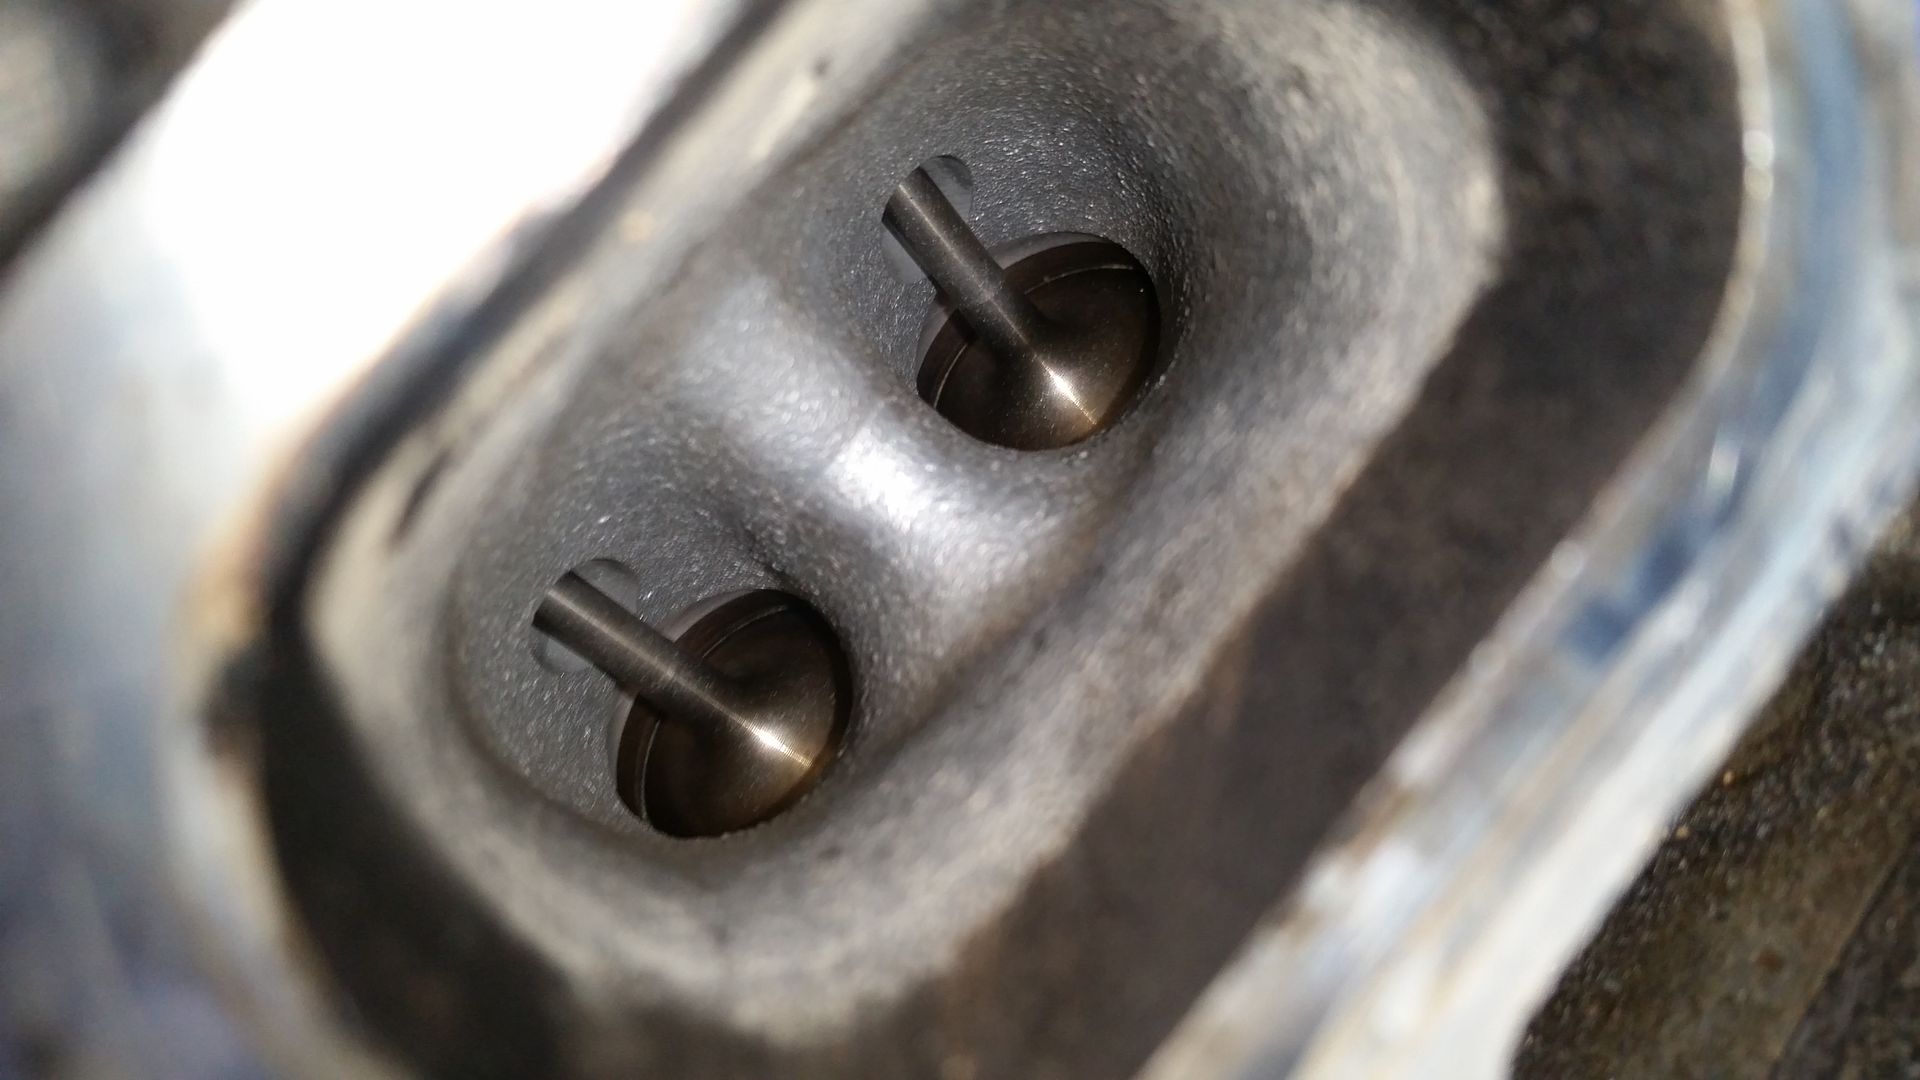 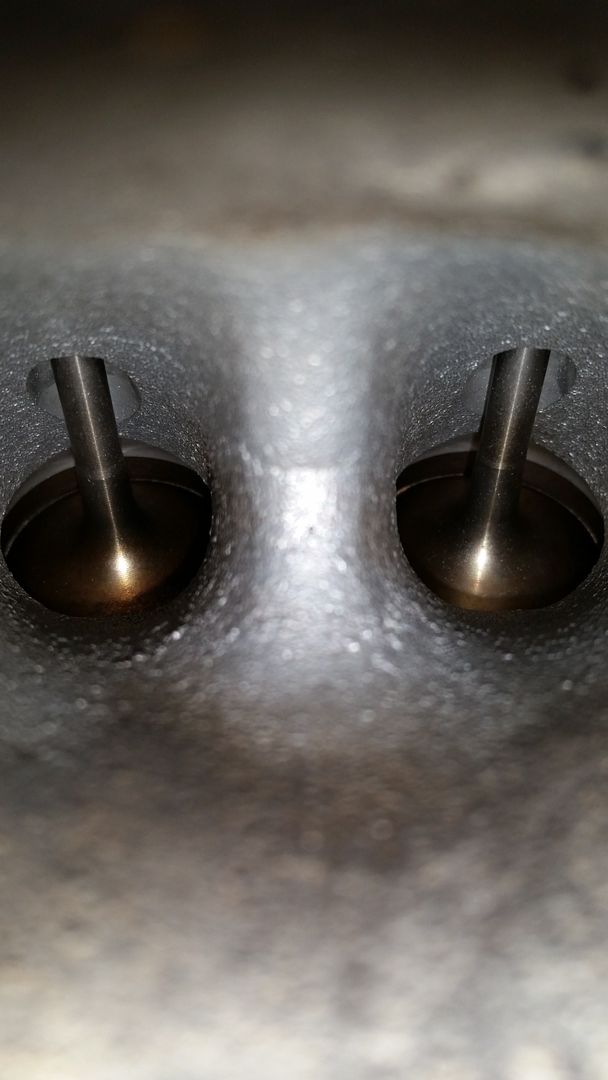 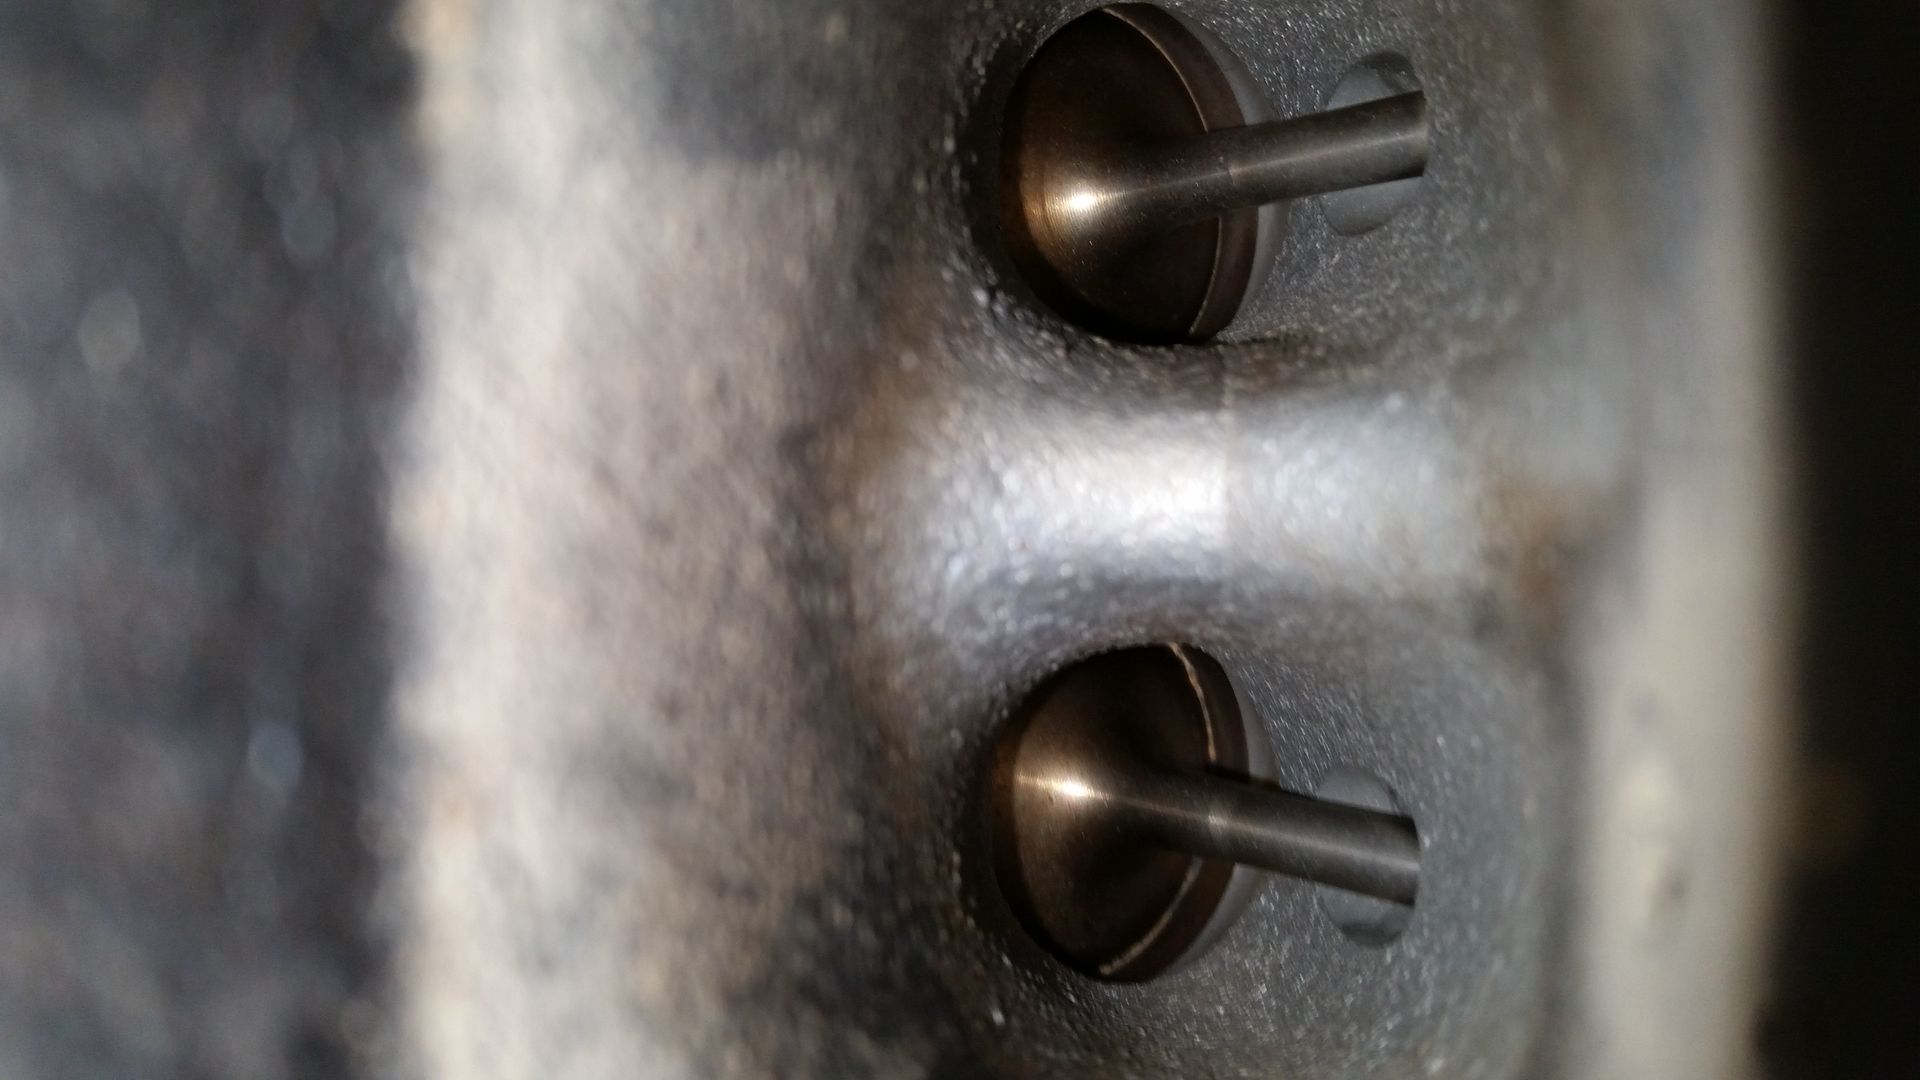 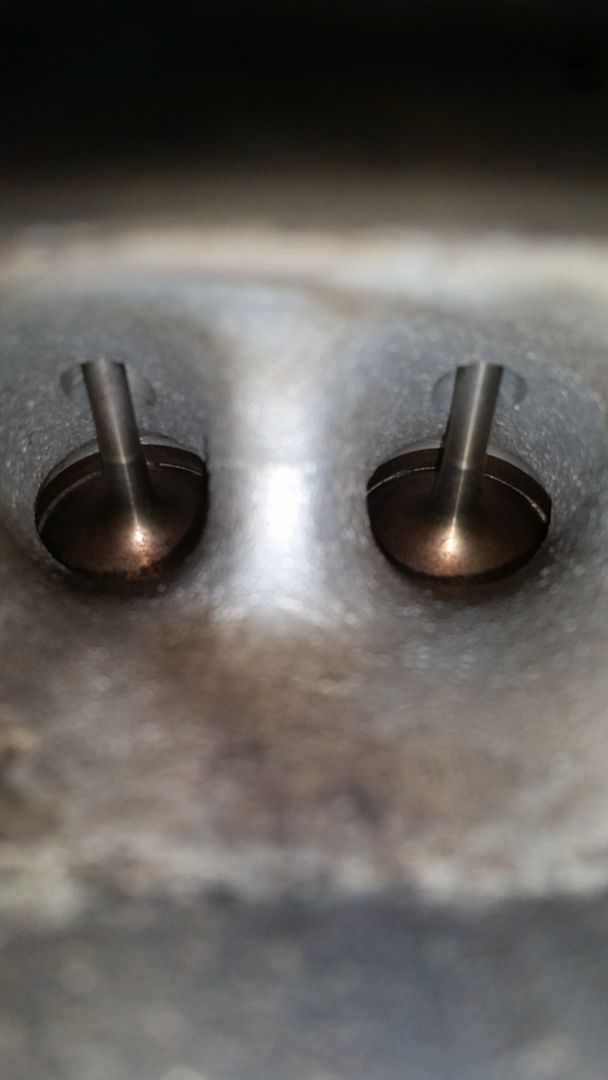 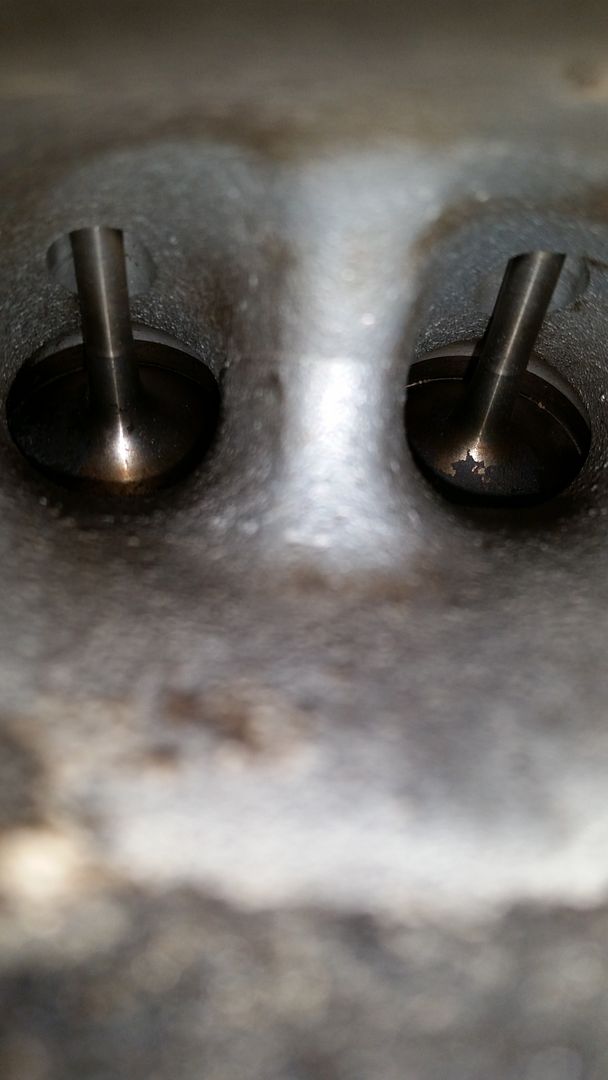 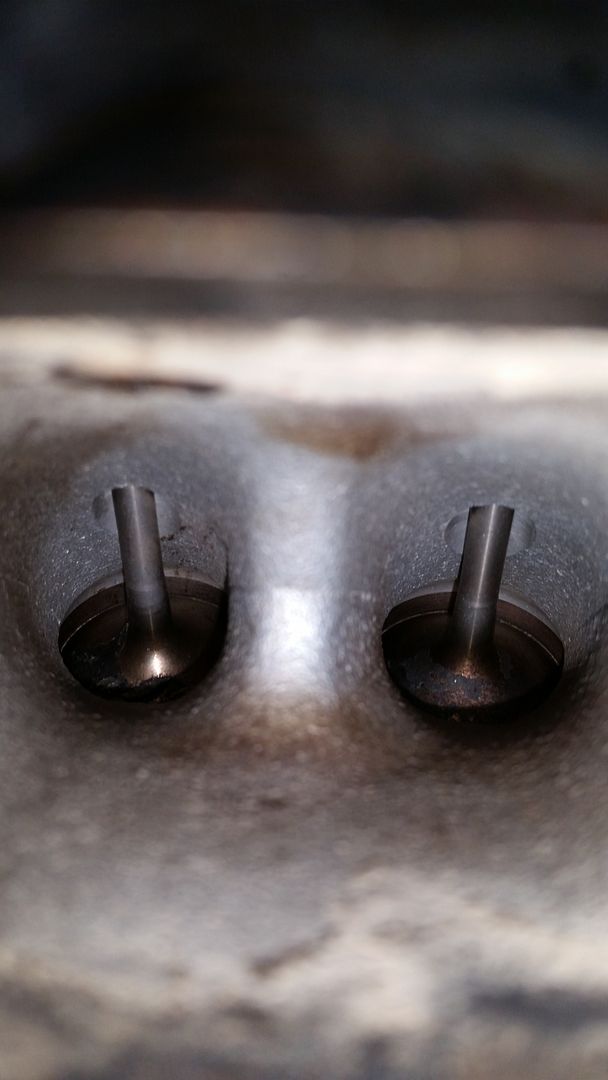 A few pictures of the oil filter housing gasket, coolant hose o-ring, spark plugs, and vac line replacements:    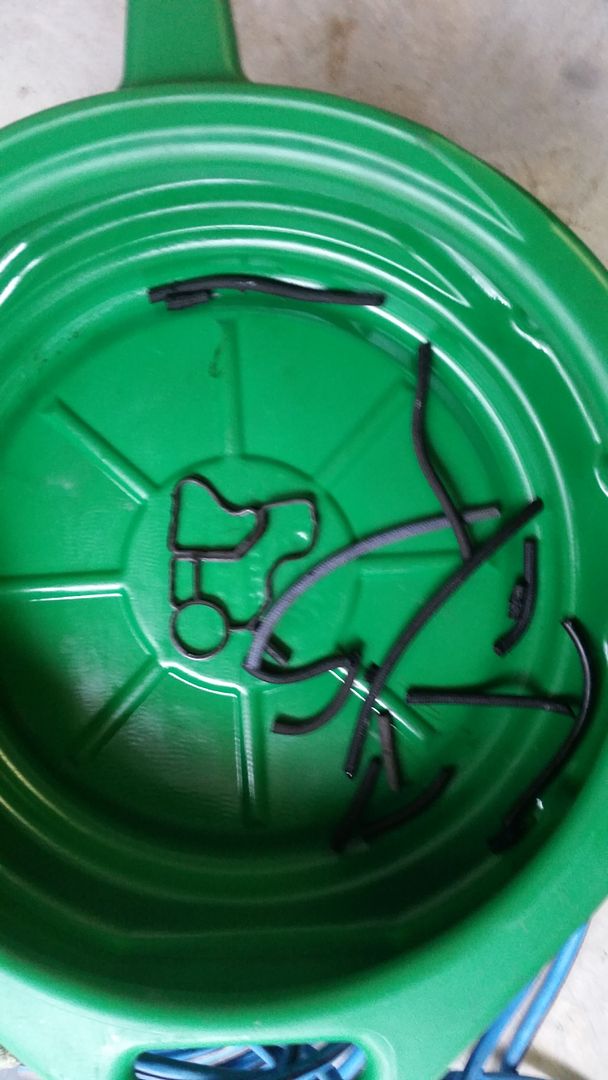 I numbered all the old plugs so the owner can look at them, and we can discuss any irregularities (if found). 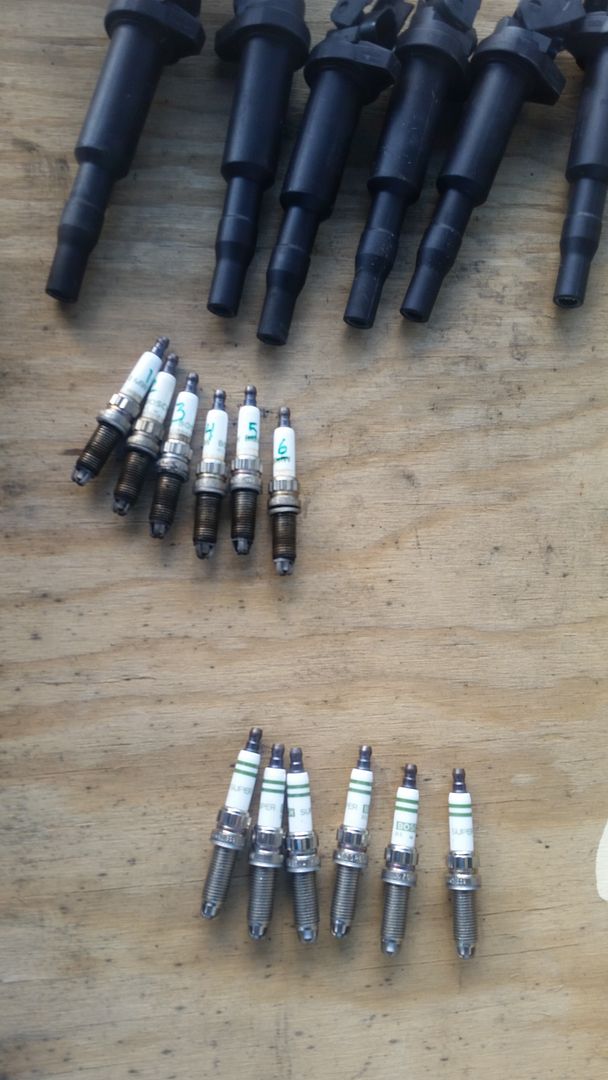 A few pictures of the downpipe install. The convertible has some under-bracing that has to be moved out of the way slightly to gain access but its not really a big deal. 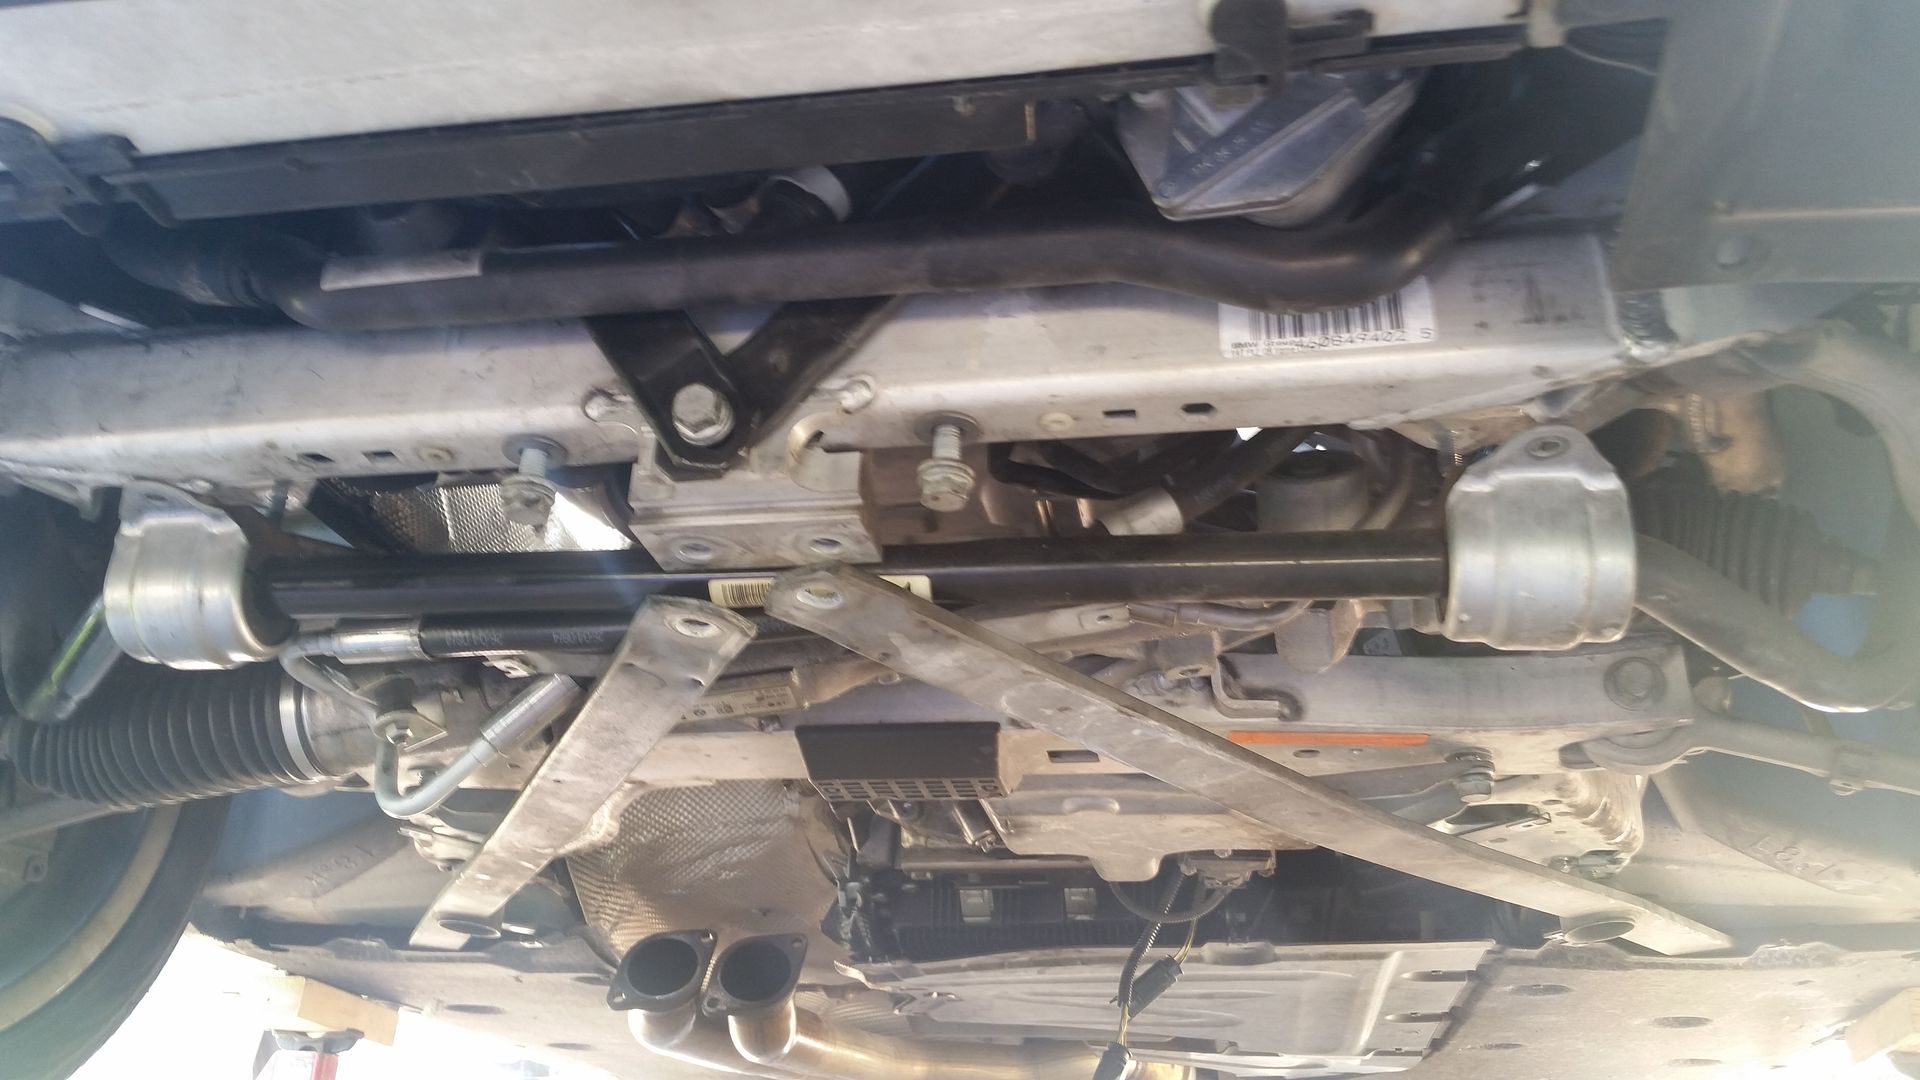  So when I install new downpipes, I always check the threads of the O2 sensors before I put them in. I found the threads on one of the 4 bungs to be troublesome. I chased the threads so there wouldn't be any install problems. 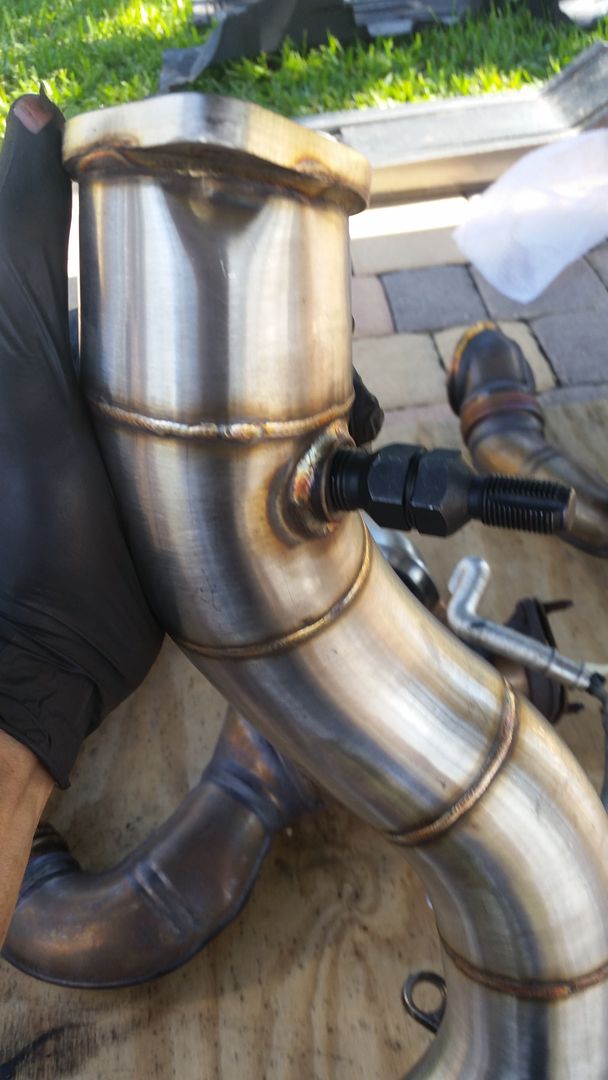 Installed: 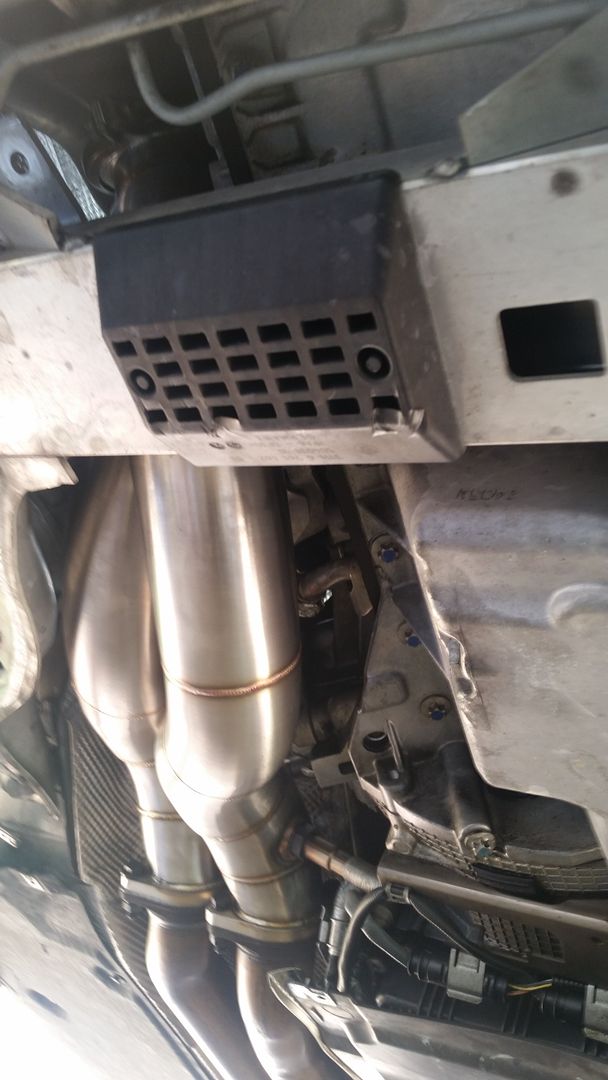 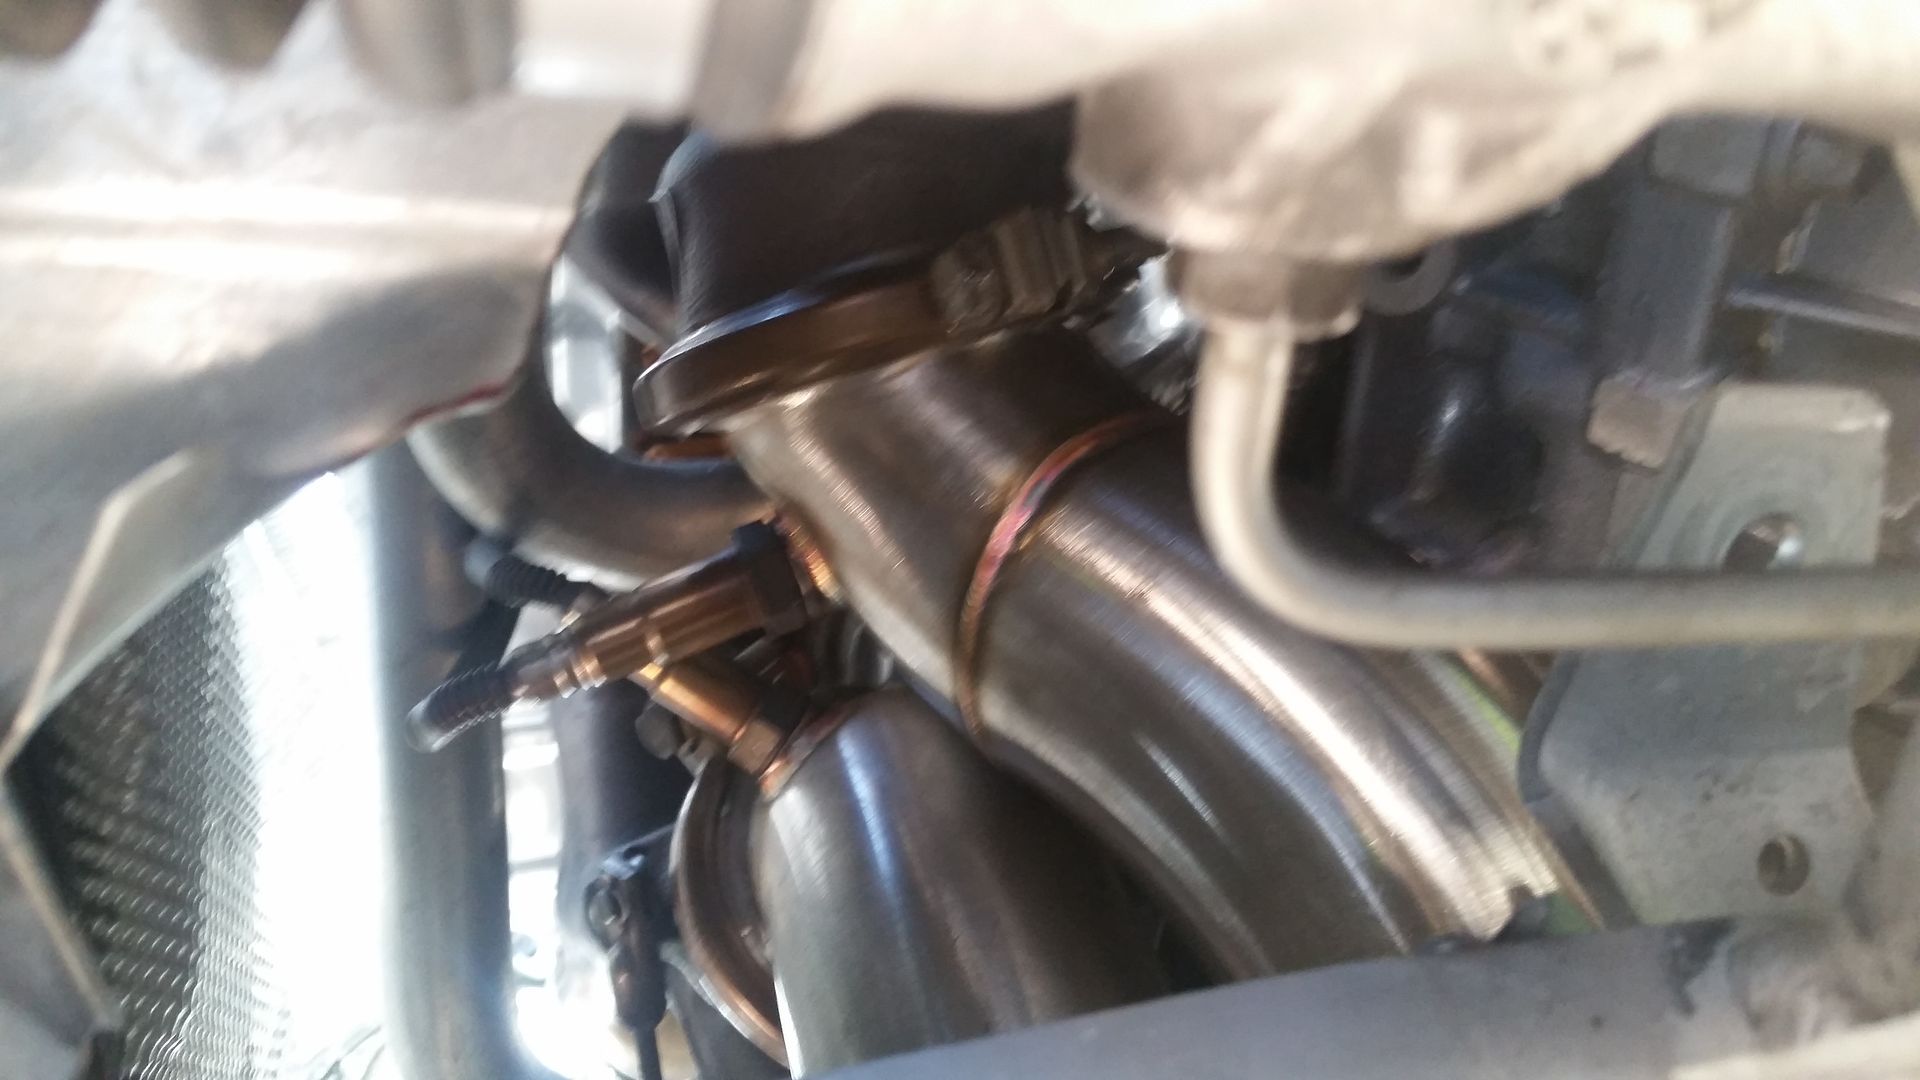 Old intercooler removed, sorry no installed pics: 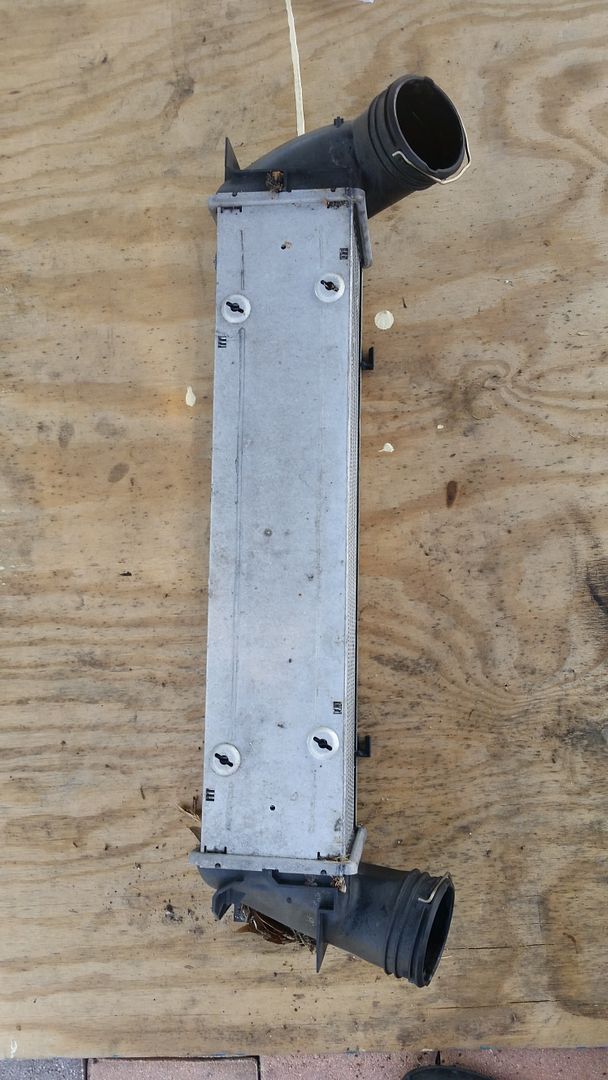 Brake fluid flush, sorry no dirty fluid pics but looked exactly the same (blue/grey as the previous job) 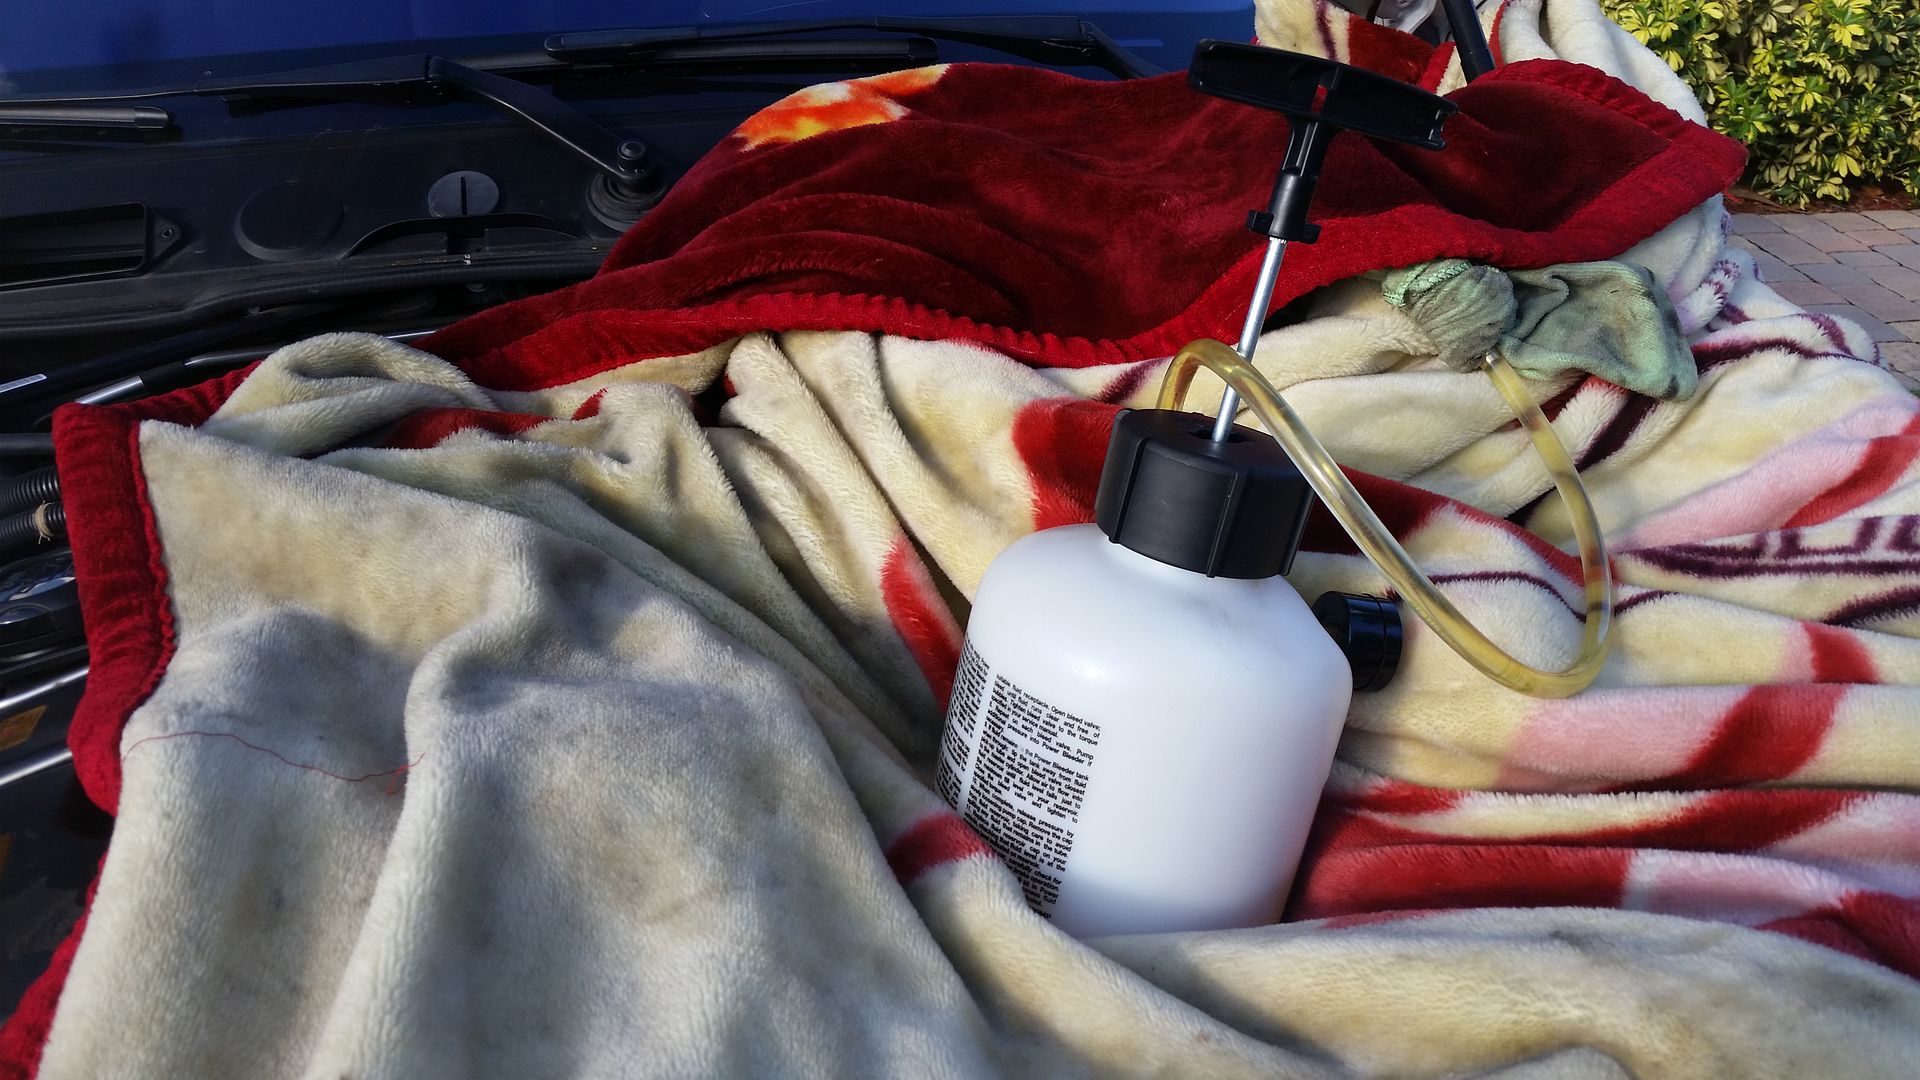 |
|
Appreciate
0
|
| 05-28-2015, 02:03 AM | #7 |
|
Private First Class
50
Rep 161
Posts |
Also don't have much time for a proper update tonight at 2am but thought you might enjoy this! I'm pretty excited to offer it to you guys!
A completely new service I now provide, M3 subframe bushing installs.      The tool works really well and the bushings are sooooooooo much better than the stock 335i /135i ones! Last edited by Luckystrike24; 12-02-2015 at 07:56 AM.. |
|
Appreciate
0
|
| 06-07-2015, 06:36 PM | #8 |
|
New Member
6
Rep 29
Posts |
Looks like great work that you do here! I can't want to move on from my current profession and do something similar, providing enthusiastic and informed car services for people like us!
|
|
Appreciate
0
|
| 06-13-2015, 09:42 AM | #9 |
|
Private First Class
50
Rep 161
Posts |
Ryki,
I only offer the upmost support for you and what you want to accomplish. Looking forward to seeing / hearing about your progress. If I can help let me know. |
|
Appreciate
0
|
| 06-13-2015, 09:43 AM | #10 |
|
Private First Class
50
Rep 161
Posts |
I did a valve clean and new injector install along with coding for a facebook client, Greg. Im sure hes on here too but unsure of his handle..
Anyway with out further ado.. a very clean 135i ..                     |
|
Appreciate
0
|
| 06-13-2015, 09:46 AM | #11 |
|
Private First Class
50
Rep 161
Posts |
I know it's not a 135 but it was a big project to do all this work and wanted to share with you guys here.
The third time I had johnny's car we did an oil pan gasket, coolant pipe replacement that is nestled between the down pipes, axle seal replacments - did I mention his car is an AWD?, full valve cover replacement, rb PCV install on the new valve cover, front diff fluid replacment, engine oil, coolant, a few turbo coolant line seals, dp gaskets, cam position seals, and probably a few other things I'm forgetting at the moment - like windshield washer motor and filter replacements, spark plugs - Some pics below. Since his car is an awd, had to pull the front suspension, axles, front diff, subframe, motor mounts, and support the engine from the top. The axles go through the oil pan so all that had to be removed to gain access to the pan. I also ordered some bmw specific tools to make the job go smooth.                    Edit to post... since I didn't keep up to date with the job, I took some photos of all the old parts that I changed. I forgot I changed the boost soleniods on his car as well.  Rear shock mount to control arm bolts were replaced  Front diff axle seals and washer bottle cap were replaced  Plugs  Head light washer motor and filter replaced  The aluminum one time use oil pan bolts were replaced  These orings which are the axle carrier to oil pan seal and the front diff to oil pan seal were replaced  This orange oring is the oil level sensor in the bottom of the oil pan which was removed cleaned and reinstalled with a new seal  This is the seal for the powersteering cap and it was replaced  This is the seals for the cam shaft position sensors and they were replaced. These are now included in oil filter housing gasket changes  These orings are the turbo charger coolant line orings to the coolant pipe that was changed  And this is the coolant pipe that was changed. It required the removal of the down pipes   The old valve cover and gasket that was replaced  Last edited by Luckystrike24; 06-21-2015 at 11:51 AM.. |
|
Appreciate
0
|
| 06-16-2015, 12:26 PM | #12 |
|
Captain
 50
Rep 739
Posts |
Looks like fantastic work, as always.
I just recently did a valve cleaning on my 1M, it is killer on your back! Don't know how you manage to do it all the time.
__________________
 |
|
Appreciate
0
|
| 06-21-2015, 11:52 AM | #14 |
|
Private First Class
50
Rep 161
Posts |
Today I was out running a few errands before I was going to swap cars with a client and then all of a sudden I got the dreaded temperature warning light. Crap. Well I did have all the parts I needed on hand, only a slight inconvenience with having to juggle my schedule around. I tried initiating the water pump bleeding procedure, nothing, and i let the car cool off for about a half hour.
  I grabbed the coolant hose and pumped it with my hands for a little bit and then tried the pump bleed again. I heard it working so I nursed it home (under three miles) and quickly got to work. I have an AWD manual, so it's slightly more involved than just a regular 335i to access all the clamps and bolts for the job, but not automatic transmission cooler to mess with either. So it was a little easier than Johnny's car in that regard. First thing first, get the car elevated with jackstands, or put it up on the lift if you have access to one.   Pull the under tray (lots of screws) and the alumn shield (6 bolts). Then pull the front brackets for the powersteering lines (2bolts), and coolant hose (3bolts) and drop the sway bar out of the way (4bolts).  Then the passenger front tire (5bolts) and removing the small shield for the powersteering will give some more access (2bolts).   Then remove the two quick disconnect radiator hoses that connect to the thermostat, the temp sensor wire, and then the clamps for the two radiator hoses - access via the tire well. You may need to remove the two bolts holding the thermostat to the water pump and rotate it slightly to gain access to the clamp screws, it all depends how they are clocked and the tools you have on hand.  With the thermostat bolts out you can remove it towards the front bumper and down. This gives room needed to remove the water pump electronic connector via the tire well and then the water pump outlet worm clamp. With this undone, remove the three bolts, the ground wire at the front of the engine and the wire stay on the Web of the water pump. It should slide out towards the front bumper and down. Installation is the reverse of removal, just pay attention to the clocking of the worm clamps and orientation. Sometimes better access to the clamps is found by putting them in flipped around... sometimes not. The pump goes in with the hose to the thermostat already on and tight, tighten the pump discharge worm clamp after starting the bolts, then final tighten the three bolts. You can reinstall the engine ground and the clamp on the web here as well. Install the wire connector to the pump and then put the thermostat in. Tighten the clamps and install the 2 quick connect hoses. Some completed shots   Fill with coolant and then bleed the system of air. To bleed the system put the car on a charger, turn the car on but not started, turn the fan speed to 1, and temp all the way up both sides. Hold the gas to the floor for 10 seconds and you should be able to hear the pump run. It's a 12 minute cycle. Top up with coolant until the stick reads 6mm over filled and you should be all set. With the way I got the pump working again i had a theory about what was failing. I dismantled the water pump to find out. The magnet casing in the middle of the motor had expanded cracking and started coming apart. This was catching on the outer housing the pump, preventing it from spinning.   I broke apart the casing to see how the magnet was contained  |
|
Appreciate
0
|
| 06-21-2015, 11:53 AM | #15 |
|
Private First Class
50
Rep 161
Posts |
I met up with Tony, another Facebook client and did a general inspection of his car, and a valve cleaning. He had 106k on the clock and it'd safe to say it's never been cleaned before. Lot of time to get this one cleaned up. I didn't take a lot of pictures but I have the ones that count.
Dirty pics 1-6       And clean pictures 6-1       |
|
Appreciate
0
|
| 07-14-2015, 10:47 AM | #16 |
|
Private First Class
50
Rep 161
Posts |
I just completed a 2006 330i oil pan gasket replacement. It was pretty straight forward. Below is an outline of the process and some pictures of the work. The N54 oil pan gasket will be similar, just a few differences which ill try to make note of.
So first thing you will want to do is pull the car in and get the car situated. Pop the hood and remove the top mounting bolt for the engine mounts. You'll want to remove the front accessory belt if your doing a N54/N55 as you have to undo the power steering pump to remove the oil pan. But for the N52 you dont have to do either. Pictures below show the bolt removed and the subframe lowered.   After you get the top bolts off (the drivers side can be accessed from the top, using long extensions and a swivel). Its a 16mm, then remove the plastic engine cover (you may have to remove the cowl to remove the cover, but i didnt have to). Retrieve the tow hook from the trunk and install it in the engine support hole. I like to tape both fenders tops around the area the A-frame support will be placed, using 2-3 layers of tape. Just helps as setting up the A-frame support is big and takes a little bit to get situated. I havent had any issues with deforming the fenders or anything using the standard universal A-frame support. BMW specific engine support has support feet in different locations than the universal support - but I havent had any issues. I like to use a chain wrapped through the tow hook and a second support rod as a back up to the primary support rod. After that is all set up, i put a heavily folded towel on top of the support rods, so if the hood ever fell, it would minimize or prevent any damage. Be sure to put the support rod under some tension so when undoing the subframe nothing settles downward. you want the A-frame to hold everything.  So that's pretty much everything from the top. Go ahead and center the steering wheel, and extend the column as far out as you can and move it so it is as straight as possible (basically up as high as possible), then elevate the entire car, and remove both front wheels. This will help give you clearer access to the car thru the wheel wells. If your car doesnt lock the front wheels you can use the seat belt to hold the steering wheel from spinning as you will be disconnecting the rack as shown below. I like to disconnect the battery here as well.  Remove all the plastics from under the car including the front belly pan, the two smaller plastic covers behind each front wheel, and the transmission plastic cover. You can go ahead and remove both rear 02 sensor plugs from the clips they are retained in. Unplug the oil level sensor from the harness. I removed the front sway bar from the lower endlinks and undid the sway bar mounts, and remove the entire bar. I then removed the black brace that attaches to the bottom of the subframe (6-16mm bolts) and slide it out of the way. The black brace and 02 sensor clips are in the picture below. Remove the 3 bolts that retain the power steering pump if you have a N54/N55.  Then remove the bolt that attaches the steering rack to the column, its a T-10, and its a one time use bolt as well, so have a new one ready. Then carefully separate the column universal joint from the rack itself. After that remove the 3 bolts that hold the lower coolant pipe to the front of subframe. On this car they were T-30 screws, but on N-54's they are 10mm. two are centered on the front and the third is on the drivers side. It can be a pain to get to. If you have an automatic, remove the torx that holds the tranny cooler to the electric fan, and pull that free. The coolant pipe is in the top of the picture below  After that is all done, remove the front level sensor from the control arm and undo the electrical plug. You can then begin pulling the 6-18mm bolts that hold the subframe to the chassis. Using jack stands to support the subframe, remove the 6 bolts, and then slowly work down the subframe checking the entire time to make sure you didnt miss anything. 4 inches is the maximum working clearance and its all you really need, but you can go further as long as nothing is getting pulled down (power steering lines keep an eye on them here).  With that down and out of the way drain the oil and undo the transmission line brackets that attach to the side of the pan - drivers side - 2-10mm. You may also need to undo the ac line that is clipped to the side of the engine here as well. Here is where i break out a can of brake clean and compressed air and clean the entire split between the engine girdle, the oil pan gasket and the oil pan itself. we want to minimize dirt especially for going back together. Then you should be free to undo all the oil pan bolts and the 3 bolts that go horizontally from the transmission into the oil pan. Those bolts also hold the bracket for the 02 sensor clips we removed earlier. Getting the pan down on a N52 can be a trick, pop the front down past the AC line and then work the tranny cooler lines around the lip of the pan, and then move the pan forward slightly to clear the rear and then drop the rear out and down. The pan comes out towards the rear of the car. Clean the pan, all the mating surfaces with a new razor blade, and replace the seal on the oil level sensor.     Double check everything is clean, all the surfaces are clean, and no dirt made its way onto the oil pump or timing chain. Get the new gasket in place and work the pan back into place. This is easier said than done especially on the N52, and a second pair of hands/eyes is helpful here. Install the new aluminum bolts and torque per specs. Refer to the manual here as there are some nuances here. Pretty much a reverse of reassembly here and make sure to double check everything fill with oil and youre all set. Some completed shots:    |
|
Appreciate
0
|
| 07-14-2015, 10:48 AM | #17 |
|
Private First Class
50
Rep 161
Posts |
I had a valve cleaning today, with an OCC install and full vacuum line replacement to red silicone. Got a date night so heres some pictures.
                 |
|
Appreciate
0
|
| 07-14-2015, 10:59 AM | #18 |
|
Private First Class
50
Rep 161
Posts |
I got a call from a client that just recently purchased a 2010 335i. He wanted a valve cleaning, spark plugs and we discussed doing an oil filter housing gasket based upon mileage. Upon opening up the car I could tell a valve cleaning recently happened within 10k miles or so. Upon informing the client we decided it would be in his best interest to skip the valve cleaning. I also told him it's possible that the oil filter housing gaskets may have been done along with the plugs. We decided to go forward with both those items to establish a base line for the car, and do an oil change.
Upon disassembly, the oil thermostat gasket was changed but the oil filter hosing gasket had not been changed, so I was really happy we decided to go forward with the full gasket change.      For oil filter housing gasket changes, I change the oil filter housing gasket, oil thermostat gasket, oil line o rings, cam position sensor o rings, and coolant hose o ring (if there isn't extensive leaking present - if there is I leave this hose alone and disassemble the housing differently)    |
|
Appreciate
0
|
| 07-15-2015, 03:11 PM | #19 | |
|
Captain
50
Rep 739
Posts |
Quote:
Do you normally use a scope or did you remove the intake manifold from the head?
__________________
|
|
|
Appreciate
0
|
| 07-15-2015, 05:21 PM | #20 |
|
Private First Class
50
Rep 161
Posts |
I have a scope but i dont typically use it. In the case of the job above, we were doing an oil filter housing gasket so youre 7/10 the way there. I didnt expect to find a previously cleaned intake and its not a big deal if i find they are clean or cleaner. Im here to advise my clients honestly and with integrity. If its not in their best interests to get any work done, then thats what will happen. Its the only way i will operate.
I will however use my scope on any N55 that anyone wants done. I did a N55 and it was slightly more work to pull the manifold off and I highly doubt anyone below 75-100k miles will need a valve cleaning performed. I need to see more N55 to really establish a base line, but for now thats what im going with. |
|
Appreciate
0
|
Post Reply |
| Bookmarks |
|
|


