|
|
|
|
|
| 10-15-2014, 11:53 AM | #221 |
|
Major
 193
Rep 1,181
Posts |
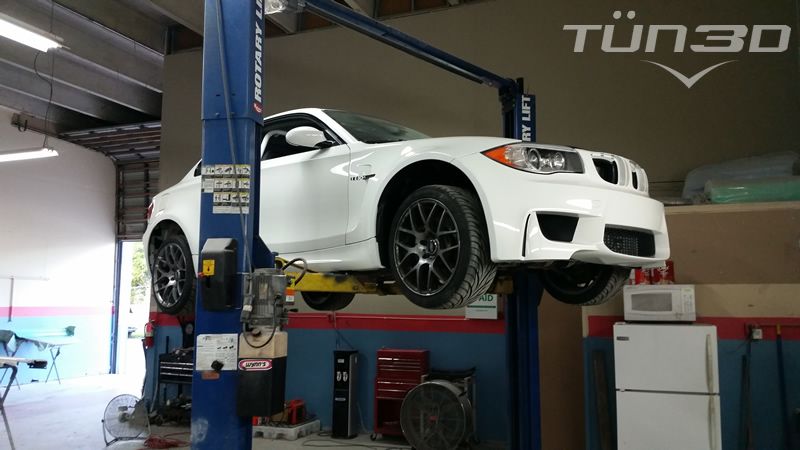
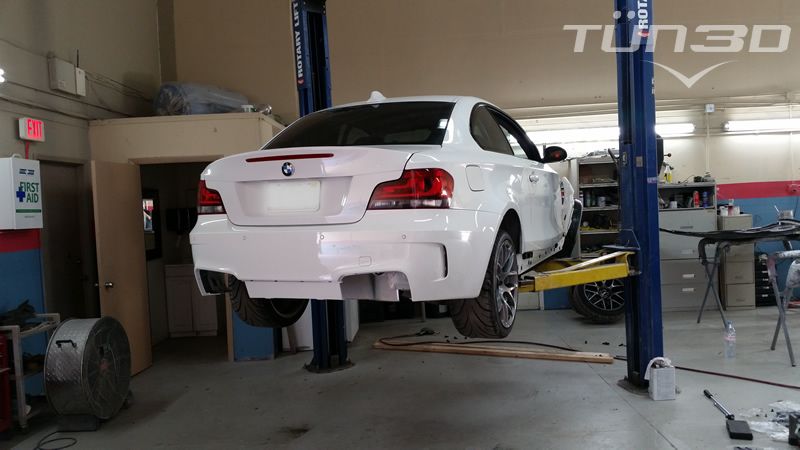
Yeineken > Yesir! Hood is in. Haven't been able to paint yet. Shop has been slammed with work so I've had to take a back seat and wait in line. Not really a big deal, I'm in no rush at this point. Car has been on the lift for about 2 weeks now -- straight. Tires haven't touch the ground...lol.
Truth be told, it's actually better for me that's it worked out like this. There were a few things I wanted to tighten up. For starters, I needed to shorten up the floor-bolts on the roll-bar base. They were too long and pressing up on the bottom panels. As a result, because the panels are made out of material...and not plastic -- the moisture was causing the ends of the bolts to rust. I also wanted to reposition the "big arch" on top of the rug as opposed to underneath -- I didn't like the finish. My man Xearo was able to send me his back rug -- so I popped that in on the weekend. Check it out below...that was fun! Heading to the shop tonight, hopefully we can get started. 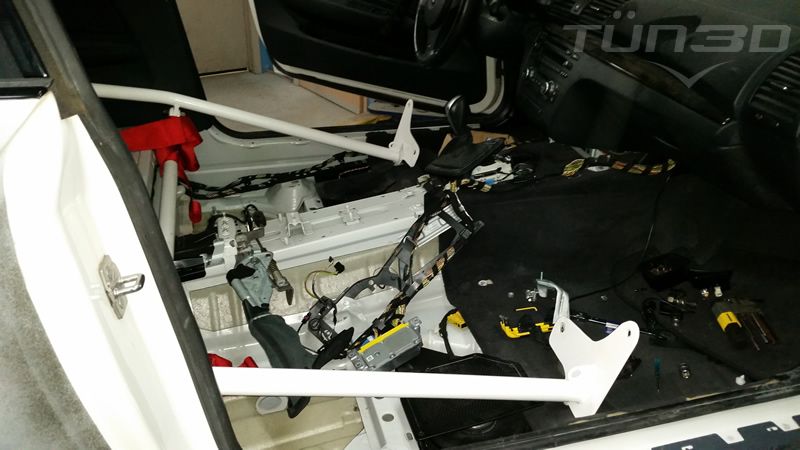 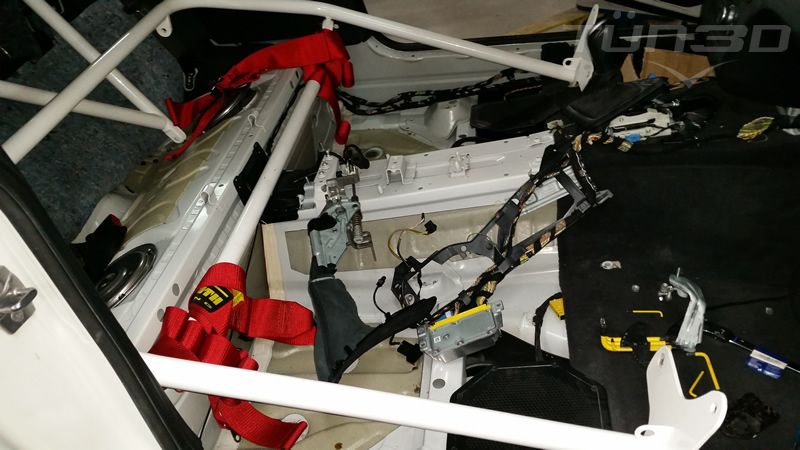 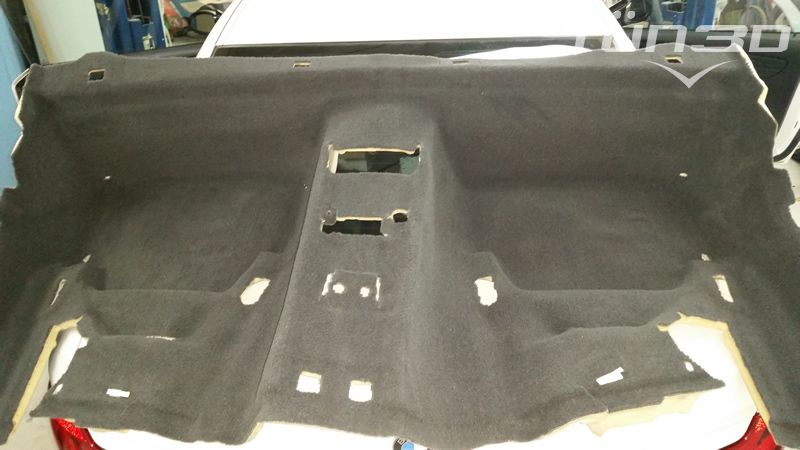
__________________
|
|
Appreciate
0
|
| 10-15-2014, 12:20 PM | #222 |
|
Major
193
Rep 1,181
Posts |
MaDoNiOn > Gonna be a while on that one man. Trying to get the damn thing painted and on the ground. I also have to get a diffuser. I'm getting the exhaust custom made -- just like the meisterschaft 1M exhaust.
__________________
|
|
Appreciate
0
|
| 10-16-2014, 04:02 PM | #223 |
|
General
 2040
Rep 25,989
Posts |
Good stuff! Making excellent progress
__________________
VMR|Wheels | 714.442.7916 |
sales@velocitymotoring.com | www.velocitymotoring.com | facebook | flickr | Instagram |
|
Appreciate
0
|
| 10-16-2014, 10:03 PM | #225 |
|
Major
193
Rep 1,181
Posts |
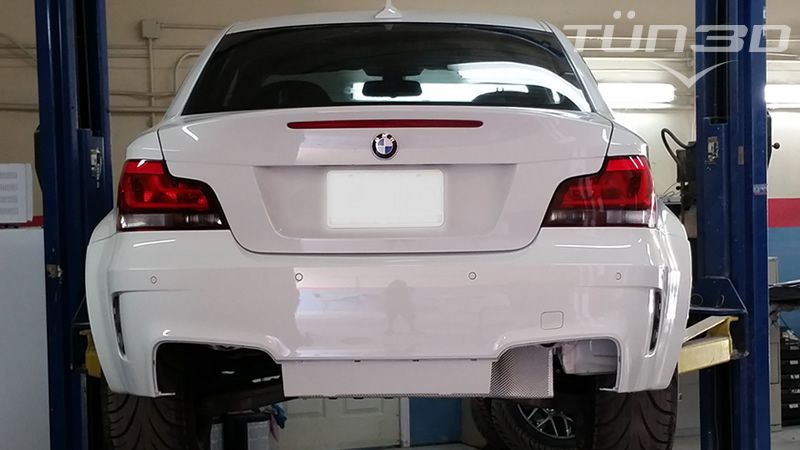
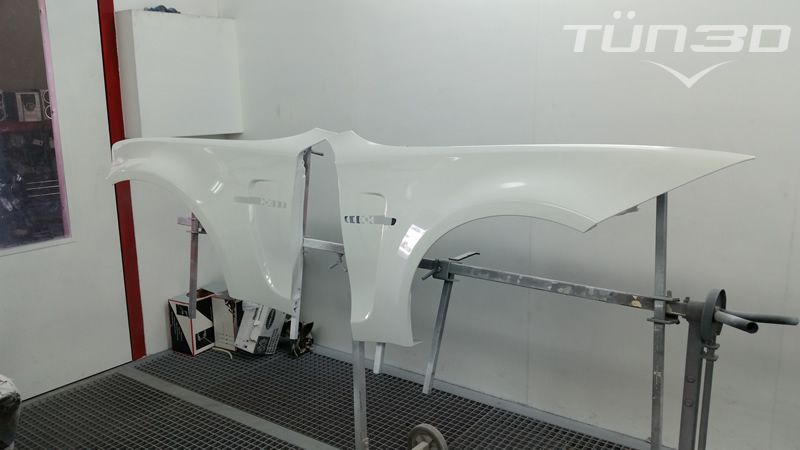
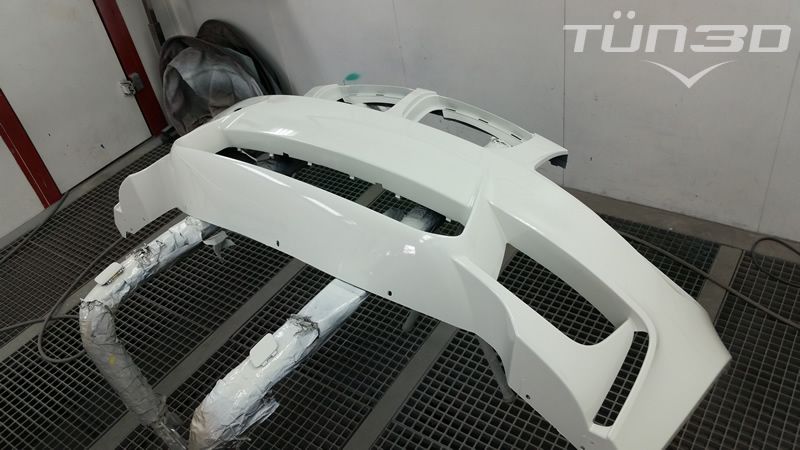
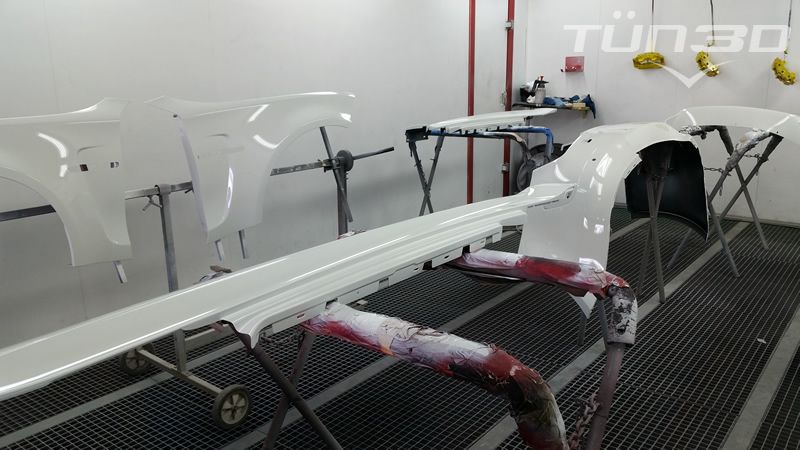
Update >
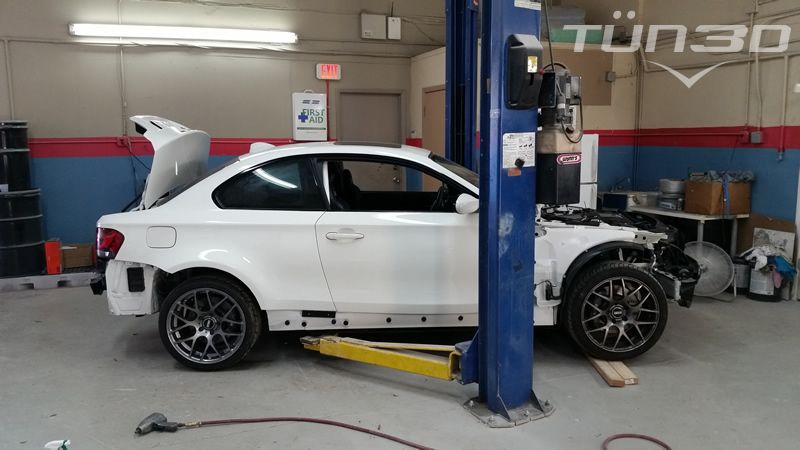
Parts are officially off the car and have been sanded/prepped for paint -- finally! Tire repair kit came in -- battery is done... 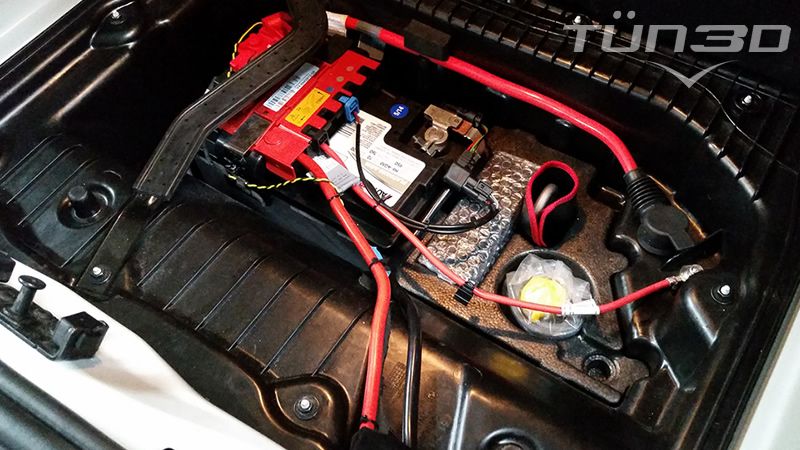 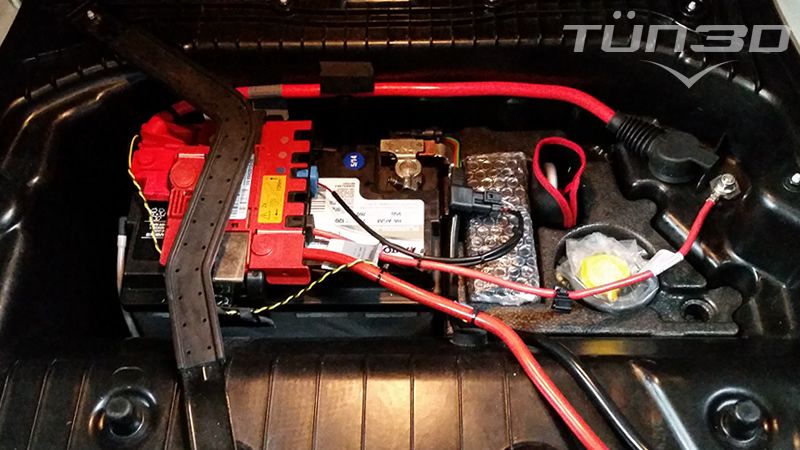
__________________
Last edited by TUN3D; 10-16-2014 at 10:13 PM.. |
|
Appreciate
0
|
| 10-16-2014, 10:11 PM | #226 |
|
Major
193
Rep 1,181
Posts |
Update >
Got the interior put back together with the new rug... 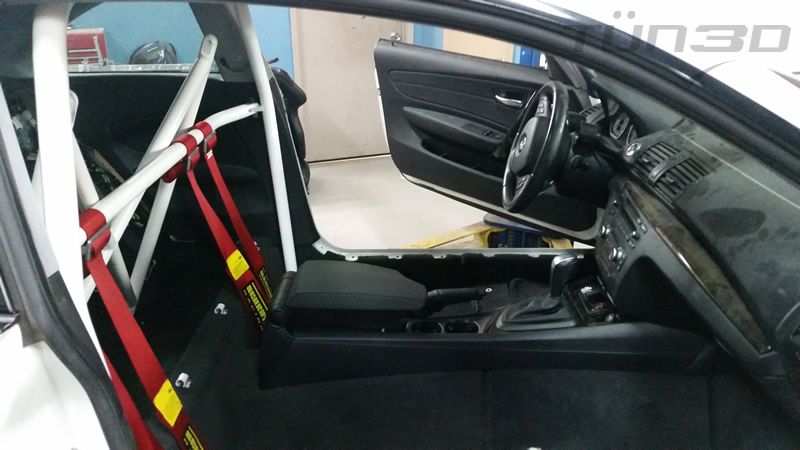 Got the cage re-bolted... 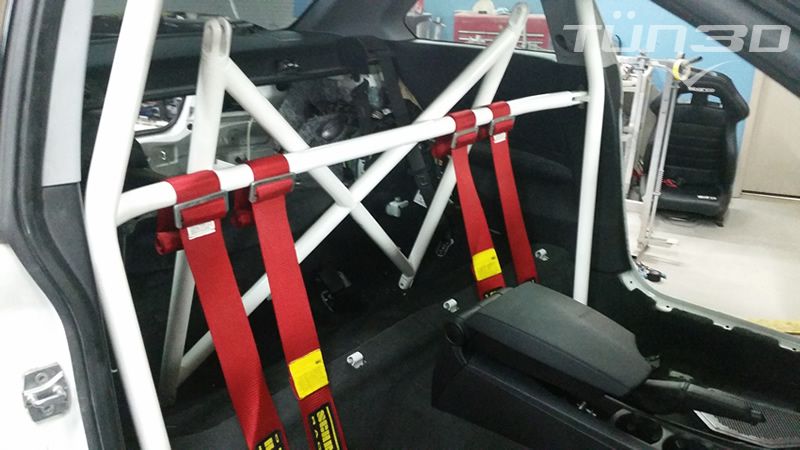 This is a much better look than having the bases underneath the rug -- cleaner... 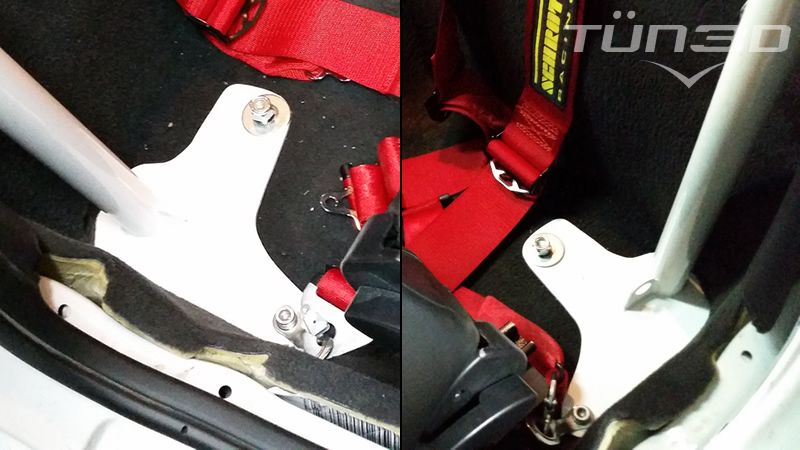 The larger bolts that go thru the base and trespass the floor are originally 5/8's. The hole on the base is about 1-2mm larger. It's a really snug fit and a real bitch to lineup. I went down to 9/16 -- night and day in terms of installation. I also went with a hex-bolt as opposed to an Allen-Key bolt (thinner head), and reversed the bolt. Initially, The Allen-Key head was inside the car with the nut on the outside. The positioning plus the base being under the rug (less cushion and closer to the floor), was causing the nut to press up on the under-panel. I had a hard time properly securing the under-panels, not to mention the rusting that was taking place. Here's what it looks like now. Much happier with this setup... 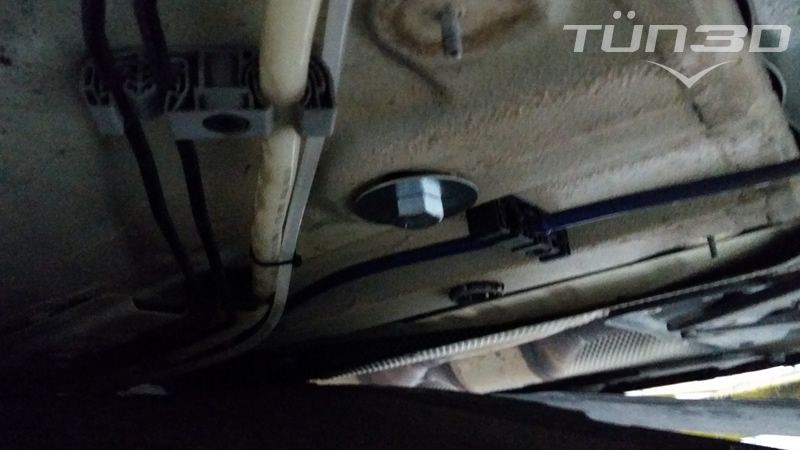
__________________
Last edited by TUN3D; 10-16-2014 at 10:40 PM.. |
|
Appreciate
0
|
| 10-28-2014, 05:39 AM | #229 | |
|
Lieutenant
 
153
Rep 428
Posts |
Quote:
Also, since stock seats have built-in air bags what are you going to do about the air bag light in the instrument cluster (will illuminate when you unplug the stock seats)? Does someone make/sell a plug to plug into the seat wire harness to "trick" the system into thinking that the seat is still plugged in? If not then what ohm resistor is needed to "trick" the system? |
|
|
Appreciate
0
|
| 10-28-2014, 05:46 AM | #231 | |
|
Lieutenant
153
Rep 428
Posts |
Quote:
|
|
|
Appreciate
0
|
| 10-28-2014, 07:50 AM | #234 |
|
Major
193
Rep 1,181
Posts |
Sk8fe > Those are Sparco R100 seats with Sparco rails and 135i specific bases. Definitely lighter than stock. Truth be told, I never weighed them but there is a significant difference. I've removed both the stock and aftermarket seats dozens of times. That said, Sparco's are easy-breezy to pull out and carry around as opposed to the OEM seat.
In terms of the airbag error, cluster lights, etc. -- I haven't really put much effort into eradicating them. I completely removed the seat-belts from the pillars and tucked the seat connectors under the rug. I had a professional coder attempt to remove the errors/codes but didn't have any success. According to them, it's not as easy to remove these codes as you would think. Haven't really pushed the issue either -- doesn't really bother me too much. LMAO! questionable> If you are 150% sure about this, and can get me the name(s) or reference points in the code that need to be changed...let me know. It would be much appreciated.
__________________
Last edited by TUN3D; 10-29-2014 at 10:31 AM.. |
|
Appreciate
0
|
| 10-28-2014, 09:07 AM | #235 |
|
Lieutenant
153
Rep 428
Posts |
Tun3D > nice pics and great update.
I have Sparco Pro2000 seats that I was going to use with Sparco manual sliders. Can you post more info on the "135 specific bases"? Are those 135 specific bases from Sparco or from someon else? Thanks  |
|
Appreciate
0
|
| 10-28-2014, 10:18 AM | #236 |
|
Major
193
Rep 1,181
Posts |
Sk8fe > Bases are Sparco, 600 Series. I waited 3+ weeks to have them made. Give them a call when you're ready to order. Double check with them in terms of compatibility with your seat model. Should work, but just to be on the safe side.
The parts numbers you need are: Product Number: 600SB139L SEAT BASE 600: BMW 1 SERIES (08-11) LEFT Product Number: 600SB139R SEAT BASE 600: BMW 1 SERIES (08-11) RIGHT Note: The shop I got my seats from specialize in this sorta thing -- they were really great. I had the option to have the bases made (same manufacturer but without the Sparco logo), cheaper and faster. Shoot me a PM if you want to exercise that option. Additionally, due to the construct of the bases, you'll need a new set of floor-bolts. Was a real bitch to find due to the pitch. Anyways, when the time comes -- I got you covered. You'll also need a ratcheting box wrench -- space is limited down there.
__________________
Last edited by TUN3D; 10-29-2014 at 10:31 AM.. |
|
Appreciate
0
|
| 10-28-2014, 10:47 AM | #237 | |
|
Brigadier General
827
Rep 3,856
Posts |
Quote:
|
|
|
Appreciate
0
|
| 10-28-2014, 01:46 PM | #238 |
|
Major
193
Rep 1,181
Posts |
Chrisar82 > Difficult for me to say. I'm tied at the hip with some really good people in my town so...I didn't have to pay for it.
If you're bumper is already painted, they'll have to sand it down it and remove the clear-coat. If it's damaged or has deep scratches -- add the repair work. Afterwards, they need to respray the base paint & clear-coat. The better the clear-coat, albeit the more coats they spray, the more expensive it will be. Generally, a bumper will set you back about $175 - $400. Again, it depends on the shop and the materials they use. You'll just have to shop it around.
__________________
Last edited by TUN3D; 10-29-2014 at 10:31 AM.. |
|
Appreciate
0
|
| 10-28-2014, 04:14 PM | #239 |
|
General
2040
Rep 25,989
Posts |
Can't wait

__________________
VMR|Wheels | 714.442.7916 |
sales@velocitymotoring.com | www.velocitymotoring.com | facebook | flickr | Instagram |
|
Appreciate
0
|
| 10-29-2014, 10:29 AM | #241 |
|
Major
193
Rep 1,181
Posts |
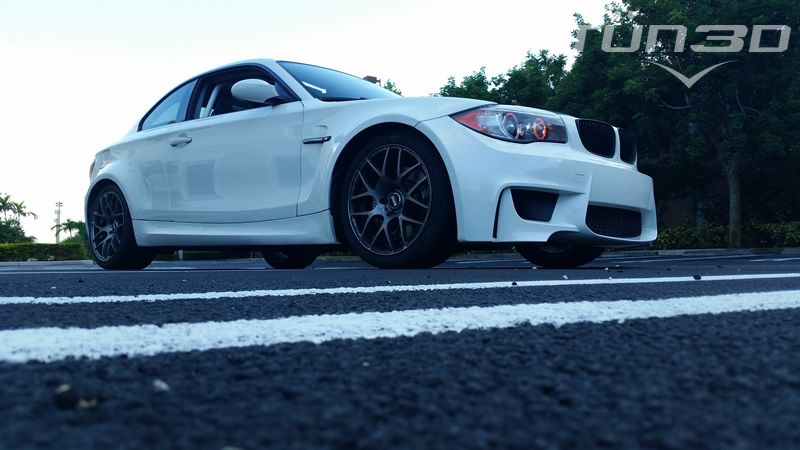
Tony135 > Mode Carbon? Is that a company? Tried looking for them...
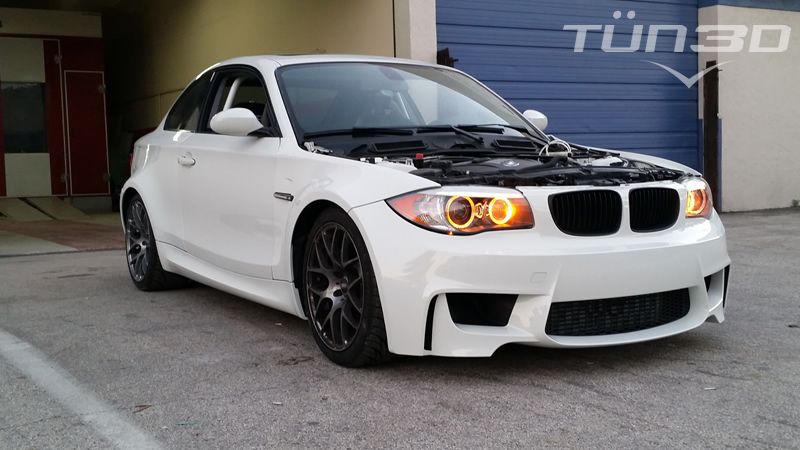
VMRWheels > Yesir! Can't wait either man. Thanks for setting me up. This would be my third set of VMR 710's. Love the way it looks on this car.
__________________
|
|
Appreciate
0
|
Post Reply |
| Bookmarks |
|
|